Validator Onboarding
Once you have finished setting up the manager account, you can perform the on-chain registration steps to onboard as a validator. Note that you must first run an actual Consensus Node (kcn) before starting this process.
To onboard as a Kaia validator, you need to deploy one staking contract and submit the staking contract address together with the other required information.
During Permissionless Phase 1, onboarding requires administrative approval from the Kaia Team for smooth operations. A new validator operator can submit an onboarding request, and the Kaia Team completes the on-chain registration after an internal approval process.
Starting from the upcoming Permissionless Phase 2, information can be registered on-chain directly without administrative approval from the Kaia Team.
After registration, the validator's information is recorded in the AddressBook and SimpleBlsRegistry contracts, which Kaia nodes reference during consensus. For more technical details on Self Validator Registration, see KIP-277.
Deploy Your First Staking Contract
Navigate to the Deploy Staking Contract menu to deploy a staking contract.
Currently a single staking contract can have multiple admin accounts registered, but starting from Permissionless Phase 2 only one admin account will be allowed per staking contract. For this reason, we recommend registering a single Safe Wallet account as the admin.
Before deploying the staking contract, you also need an additional temporary account�—on top of the admin—to perform the deployment. This account is called the contract validator and exists for backwards compatibility. Since the staking contract admin account and the validator manager account are typically kept separate, you may reuse the validator manager account as the contract validator.
The staking contract admin wallet and the temporary contract validator wallet must each hold a small amount of KAIA. Once everything is ready, proceed with the steps below.
-
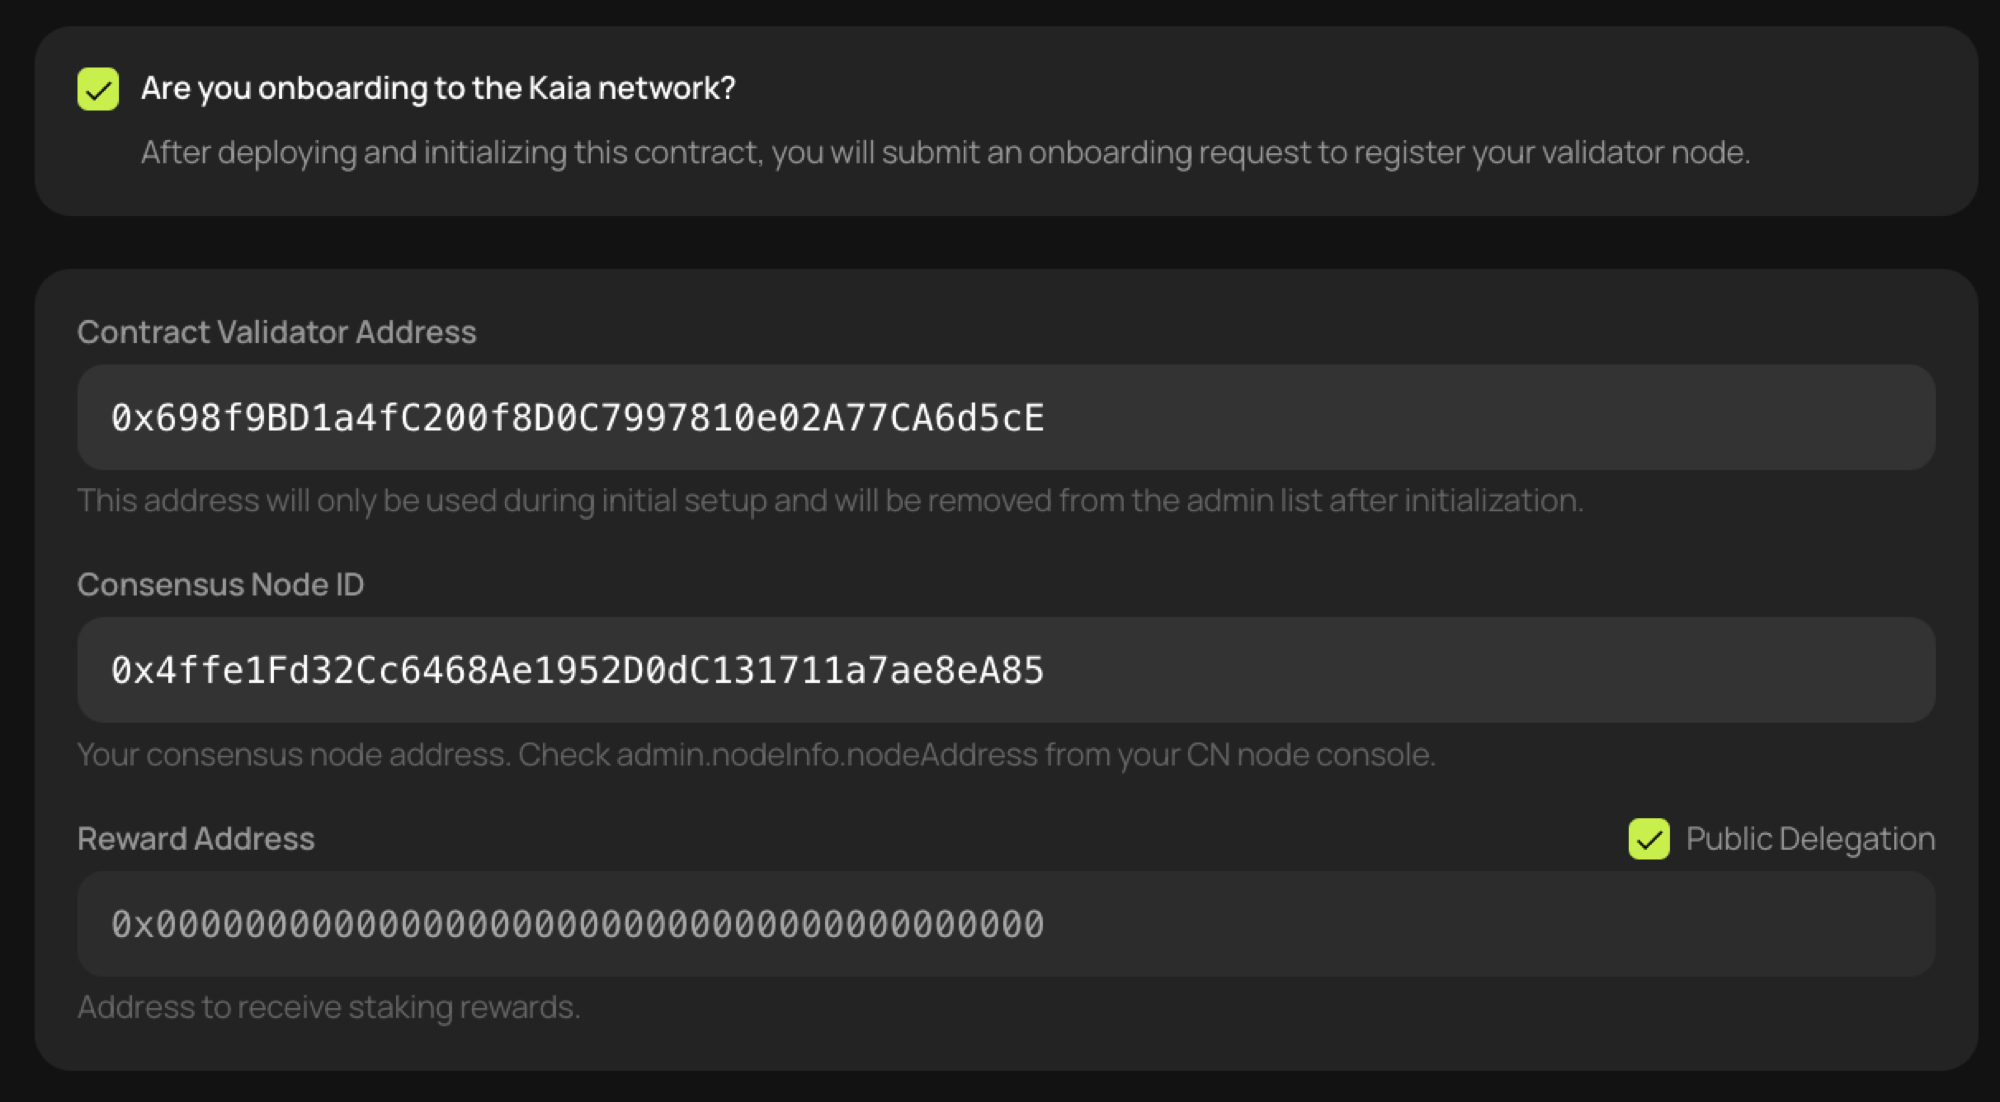
Click the [Are you onboarding to the Kaia network?] checkbox.
-
Enter the contract validator account address that you prepared in advance.
-
For Consensus Node ID, enter the address returned by calling the
admin.nodeInfo.nodeAddressRPC on the CN console. -
The Reward address depends on whether you use Public Delegation.
- To onboard as a validator without Public Delegation, enter the address that will receive rewards directly.
- To onboard with Public Delegation enabled, click the Public Delegation checkbox. Rewards will then be automatically distributed to delegators through the Public Delegation contract.
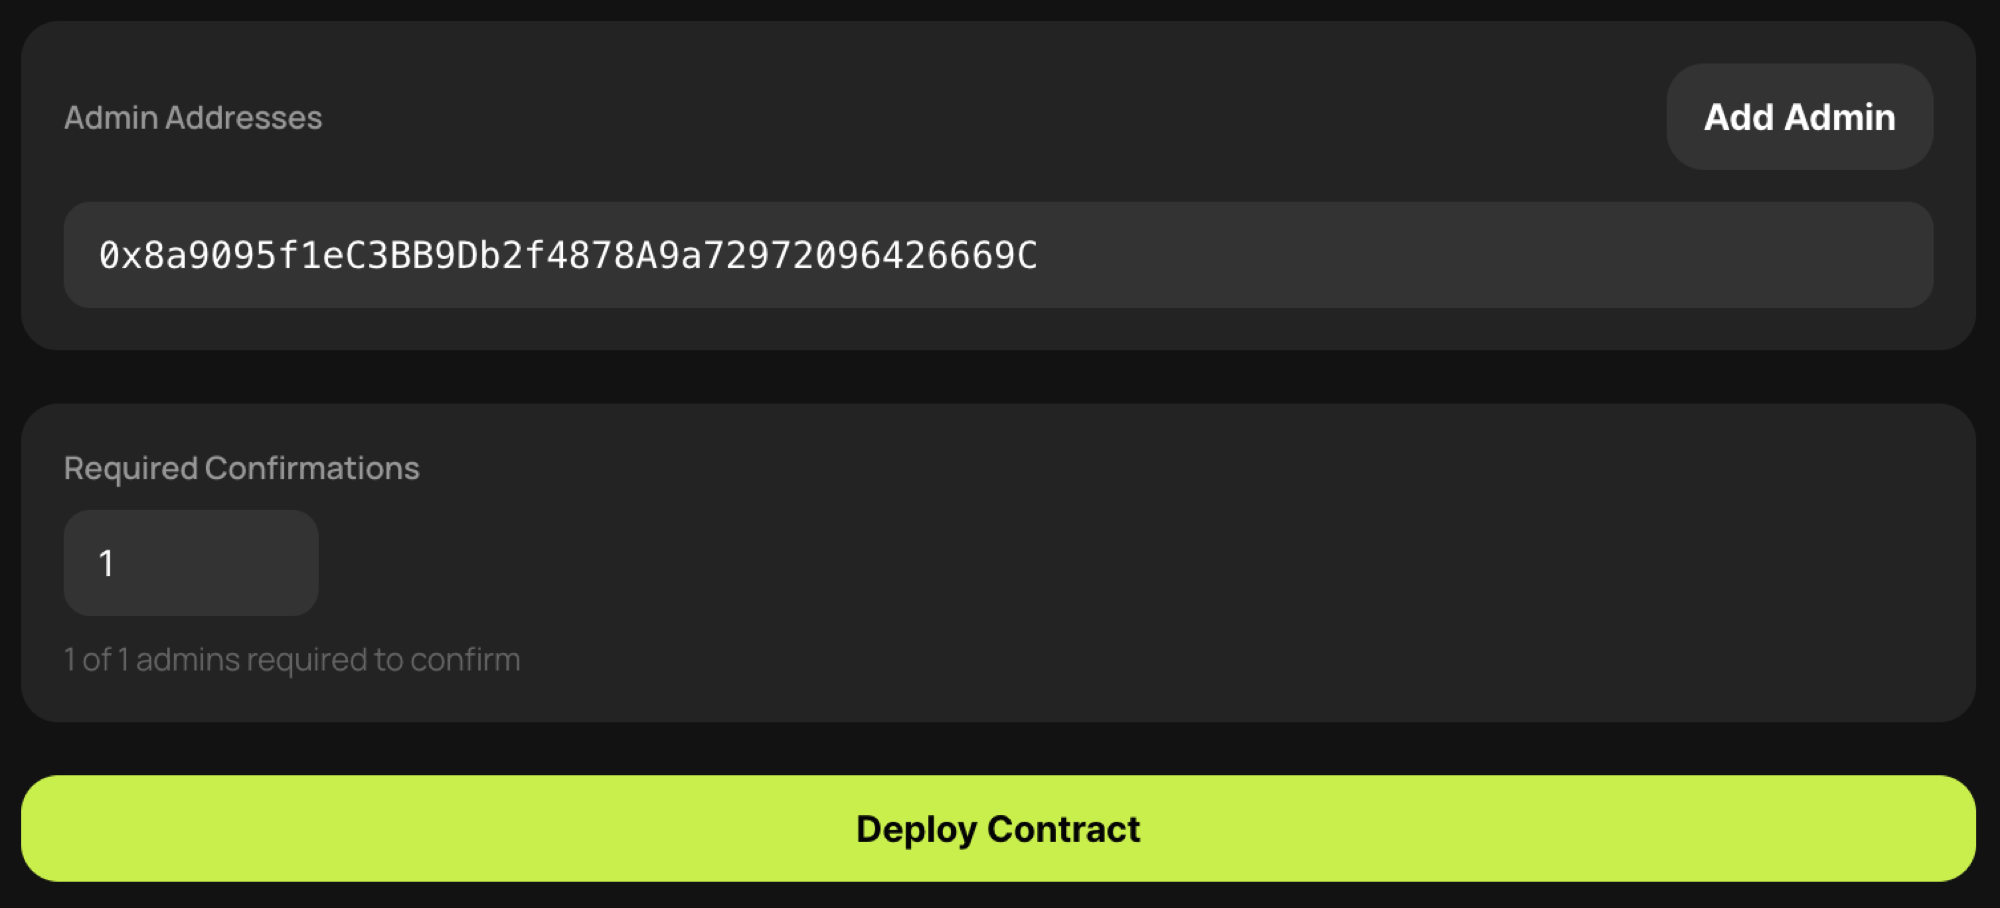
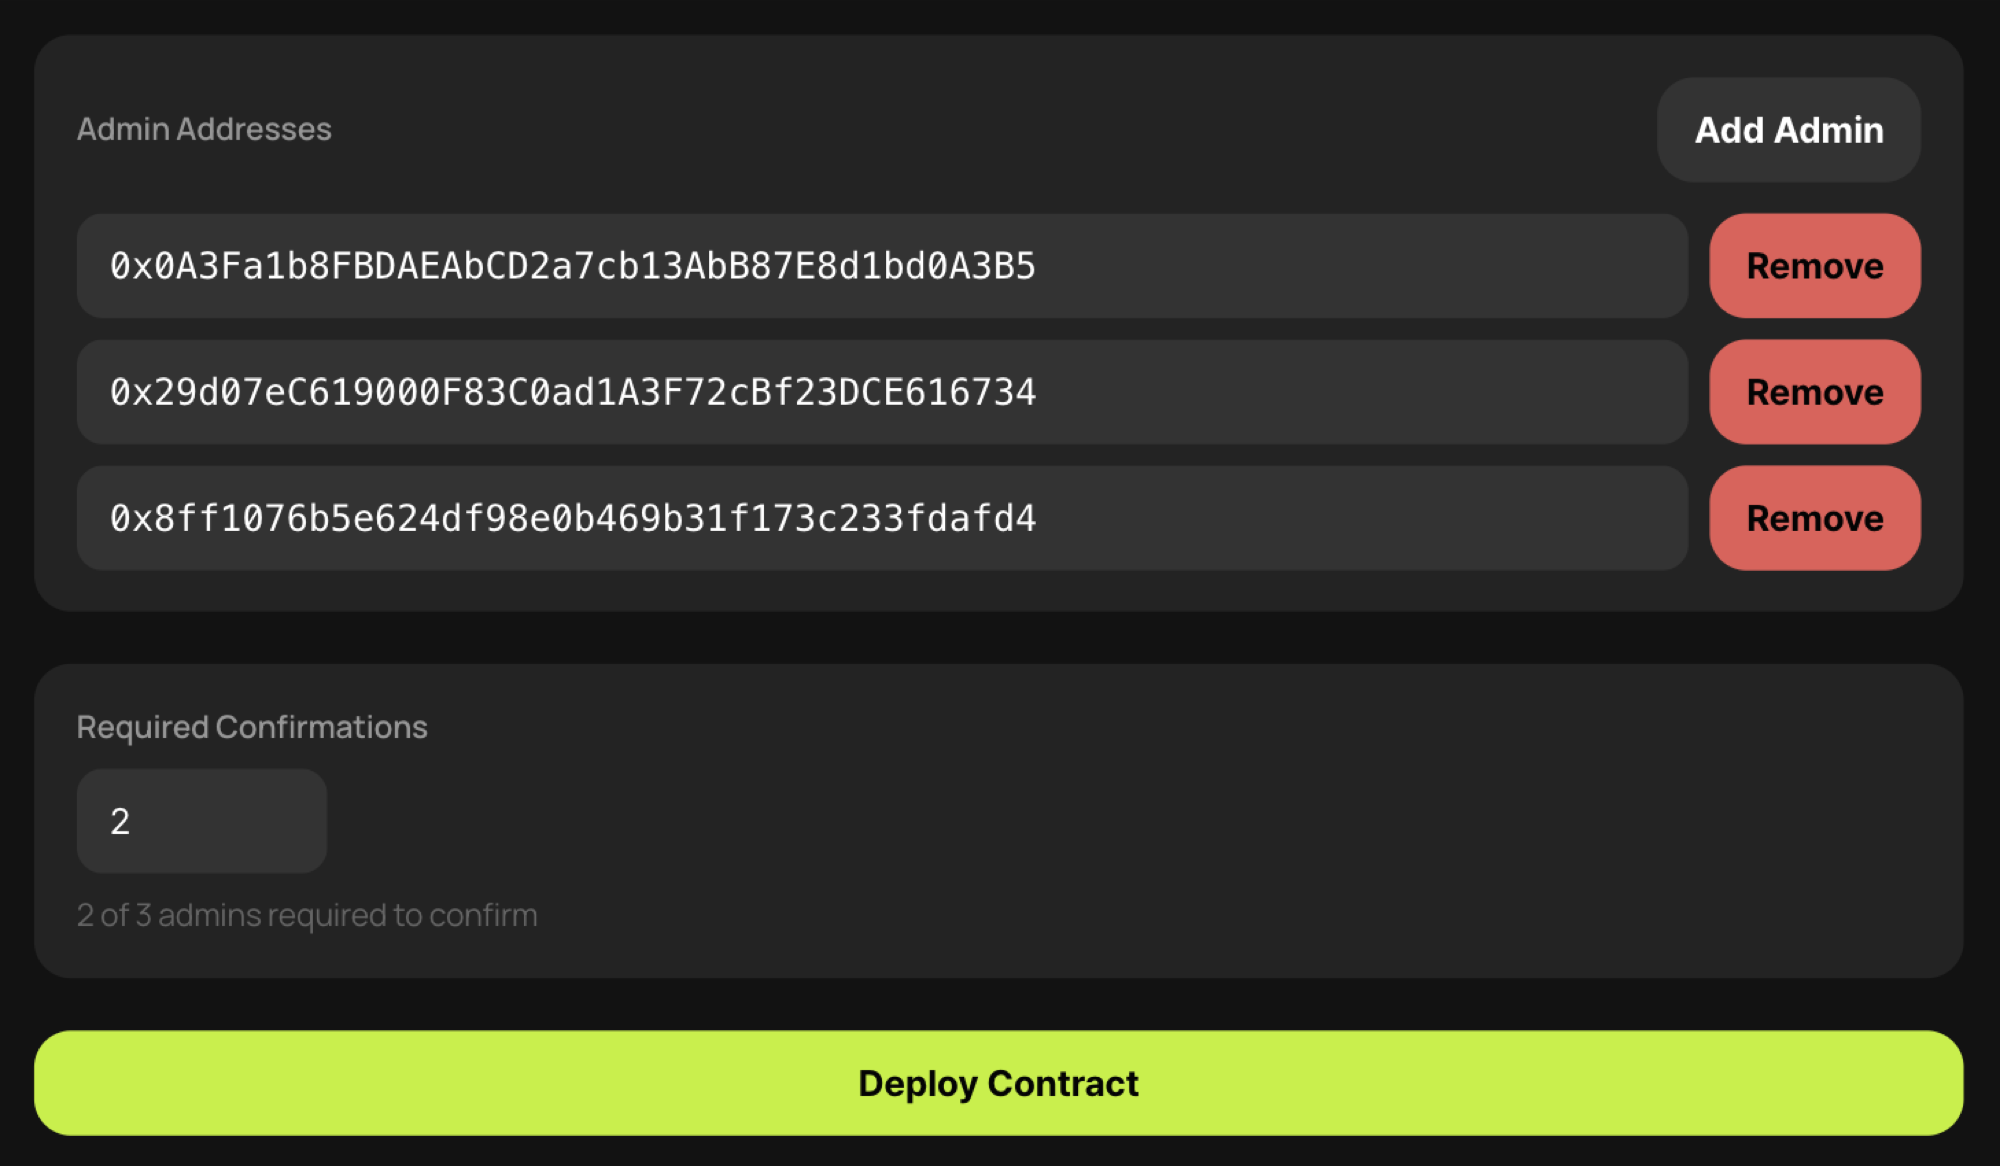
- Enter the staking contract admin address(es) and the multisig threshold. If you enter the Safe Wallet address as the Admin address and set the threshold to
1, the multisig function will be handled by Safe. If you enter multiple admin addresses and set the threshold to an arbitrary value, the multisig function will be handled within the Manage Staking menu.
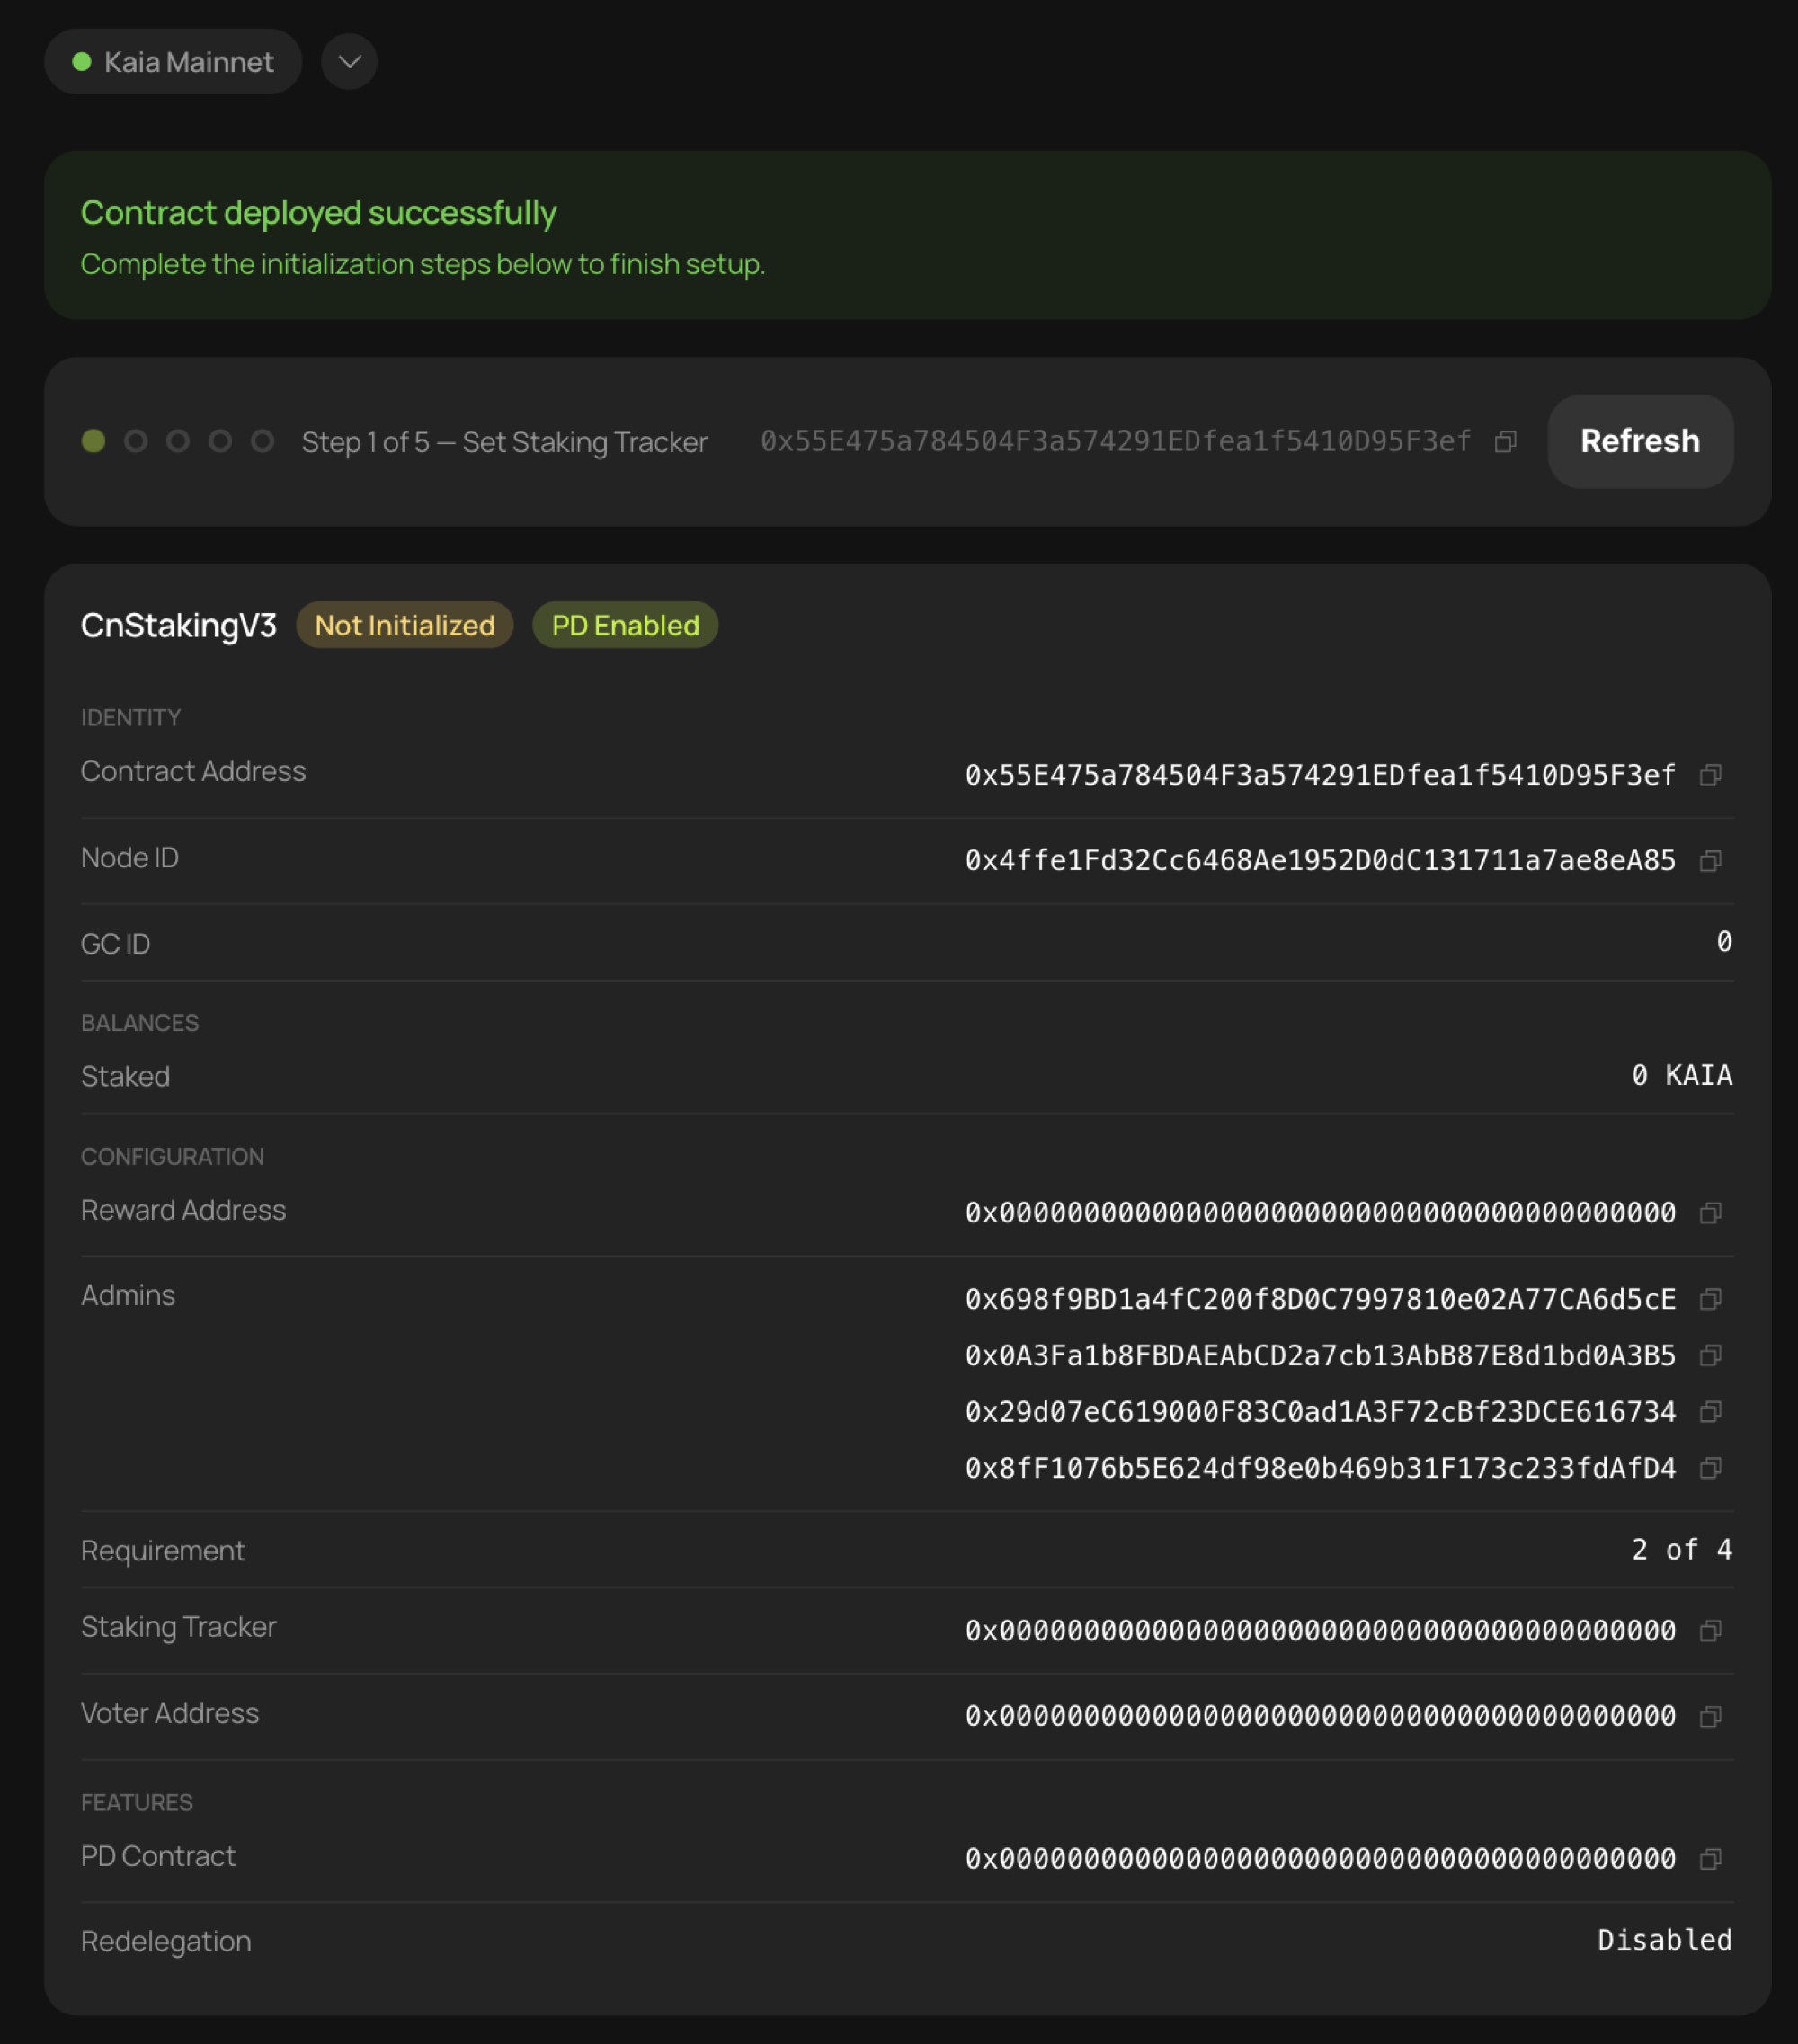
- Click [Deploy Contract] to execute the transaction. After the contract is deployed, it will appear in the [Not initialized] state.
Initialize the Staking Contract
A newly deployed staking contract must be initialized before it can be used. Enter the required information and send one transaction from each admin account to verify the wallets, then the contract becomes usable.
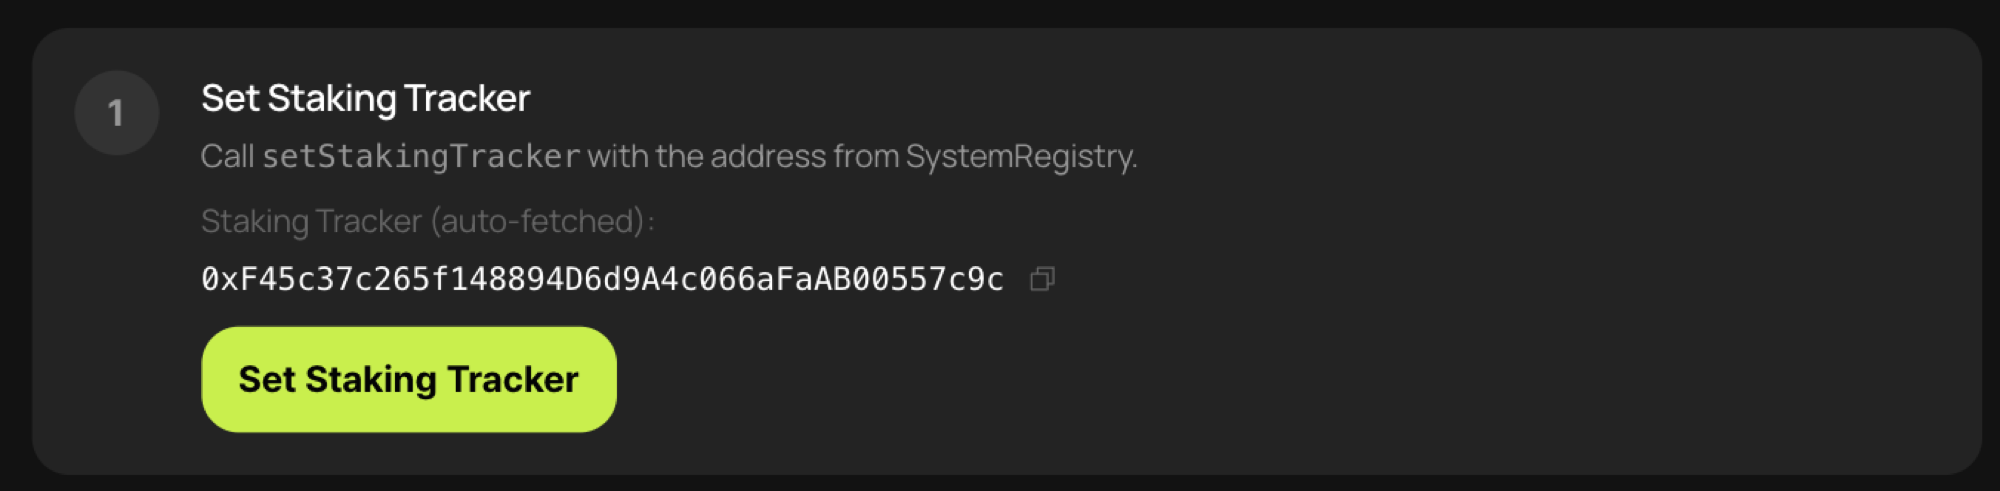
- Click [Set Staking Tracker] to write the Staking Tracker address into the staking contract. The correct Staking Tracker address is filled in automatically.
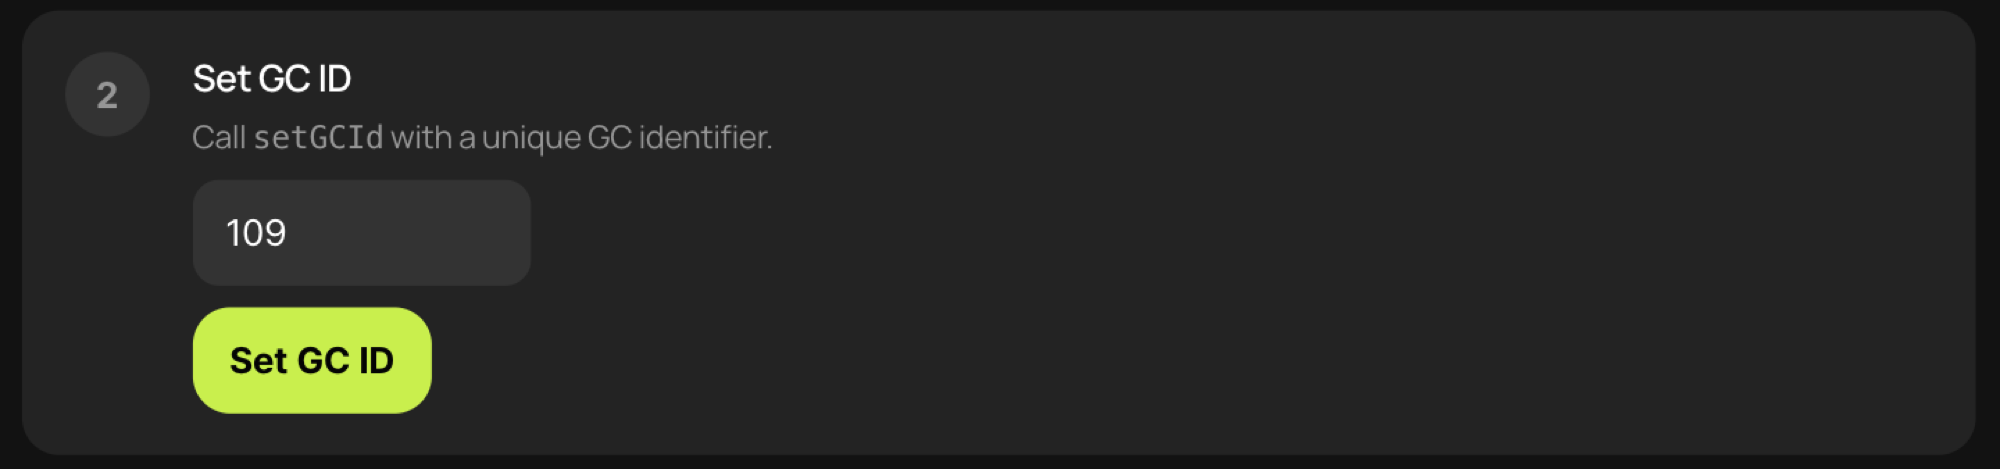
- Receive a GC ID from the Kaia Team and enter it. Click [Set GC ID] to write the GC ID into the staking contract. Starting from Permissionless Phase 2, the GC ID will be assigned automatically.

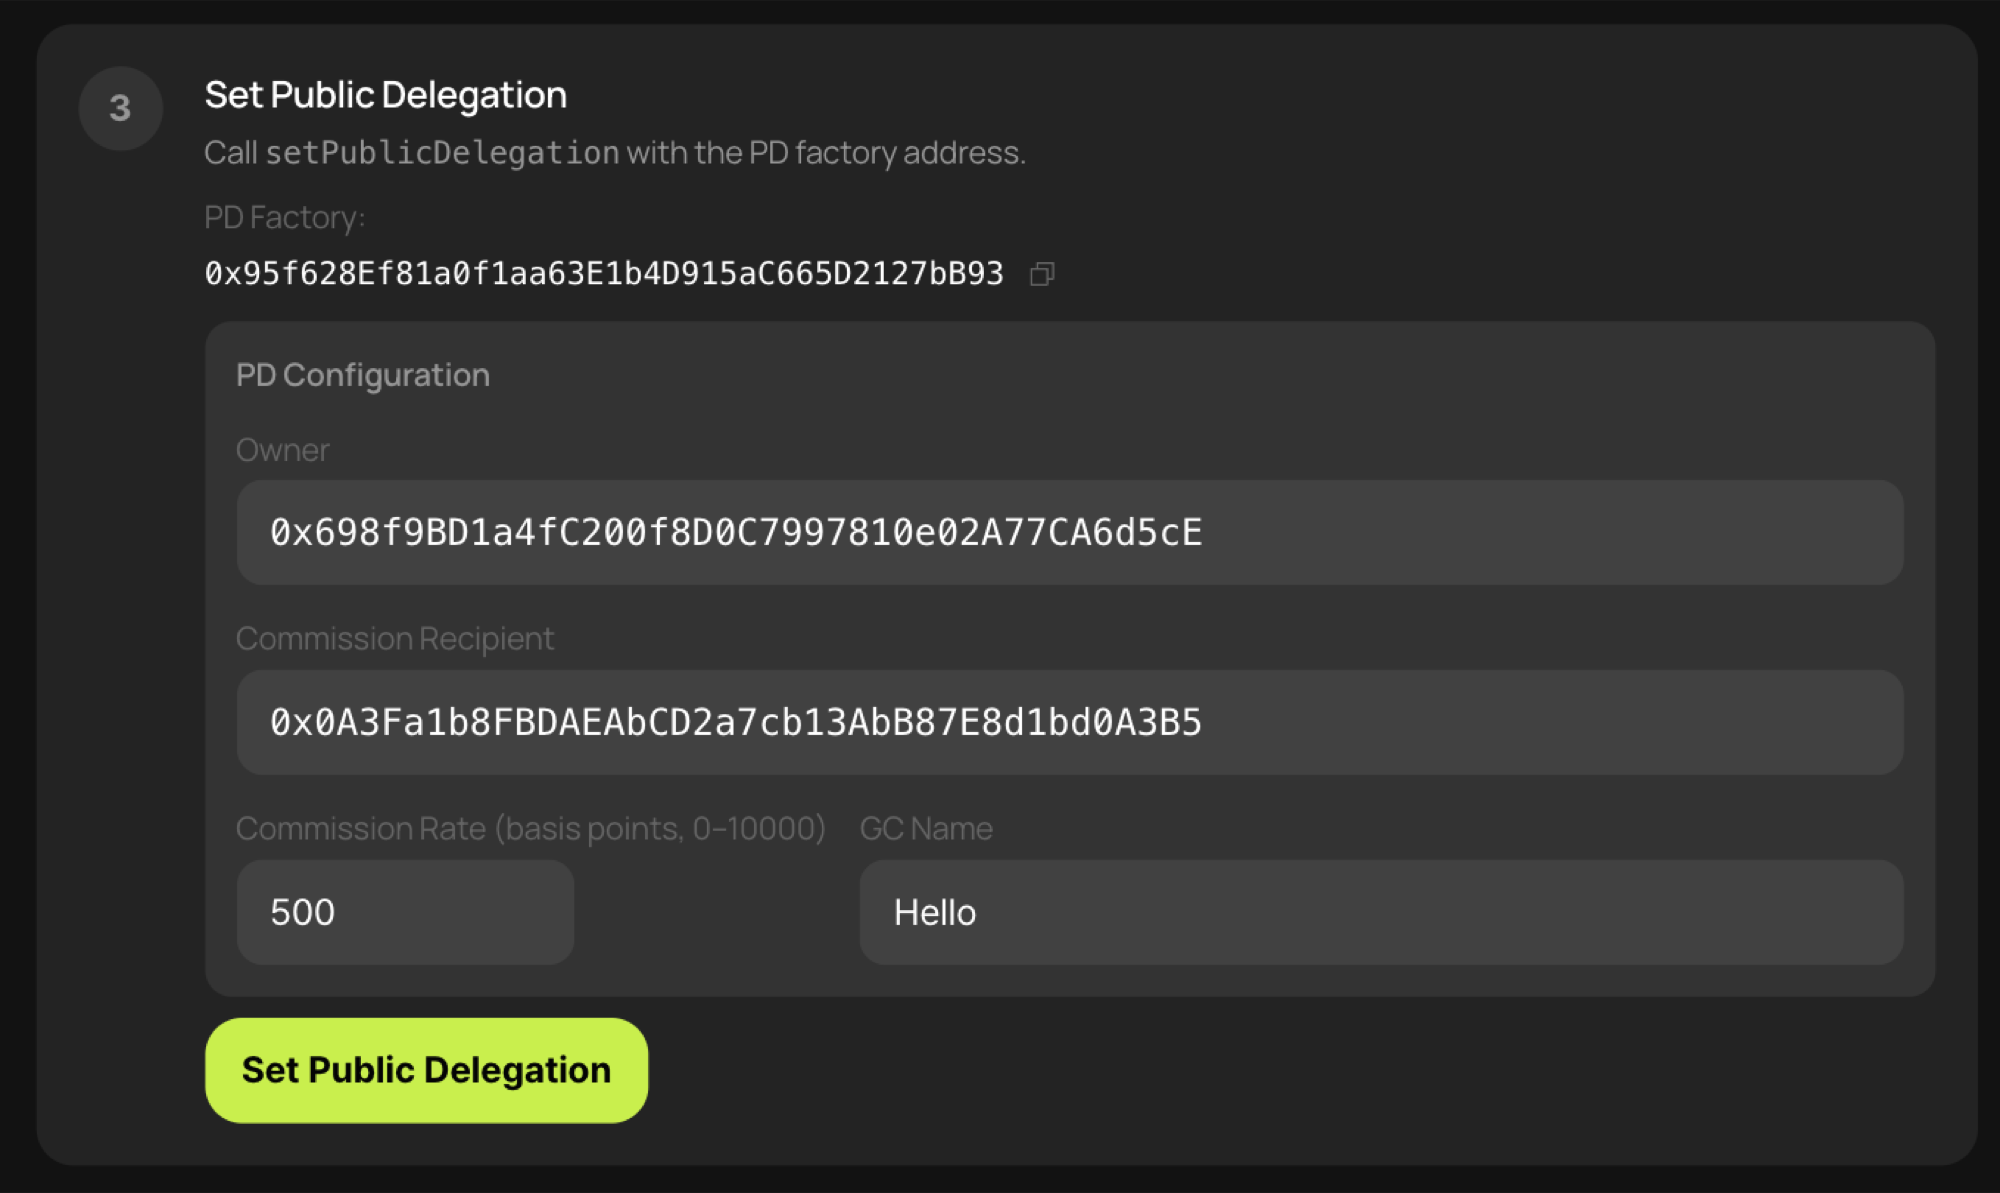
- If Public Delegation was enabled, enter the related information. Skip this step if Public Delegation was not enabled during contract deployment.
- Owner: the account that can change the commission recipient and commission rate.
- Commission recipient: the account that receives commissions.
- Commission rate: a value in basis points between
0and10000. - GC Name: a short name that will be exposed as the pdKAIA token name. For example, if the GC Name is
Hello, the Public Delegation's deposit token name becomesHello-pdKAIA. (Example: kaiascan search for pdKAIA tokens)
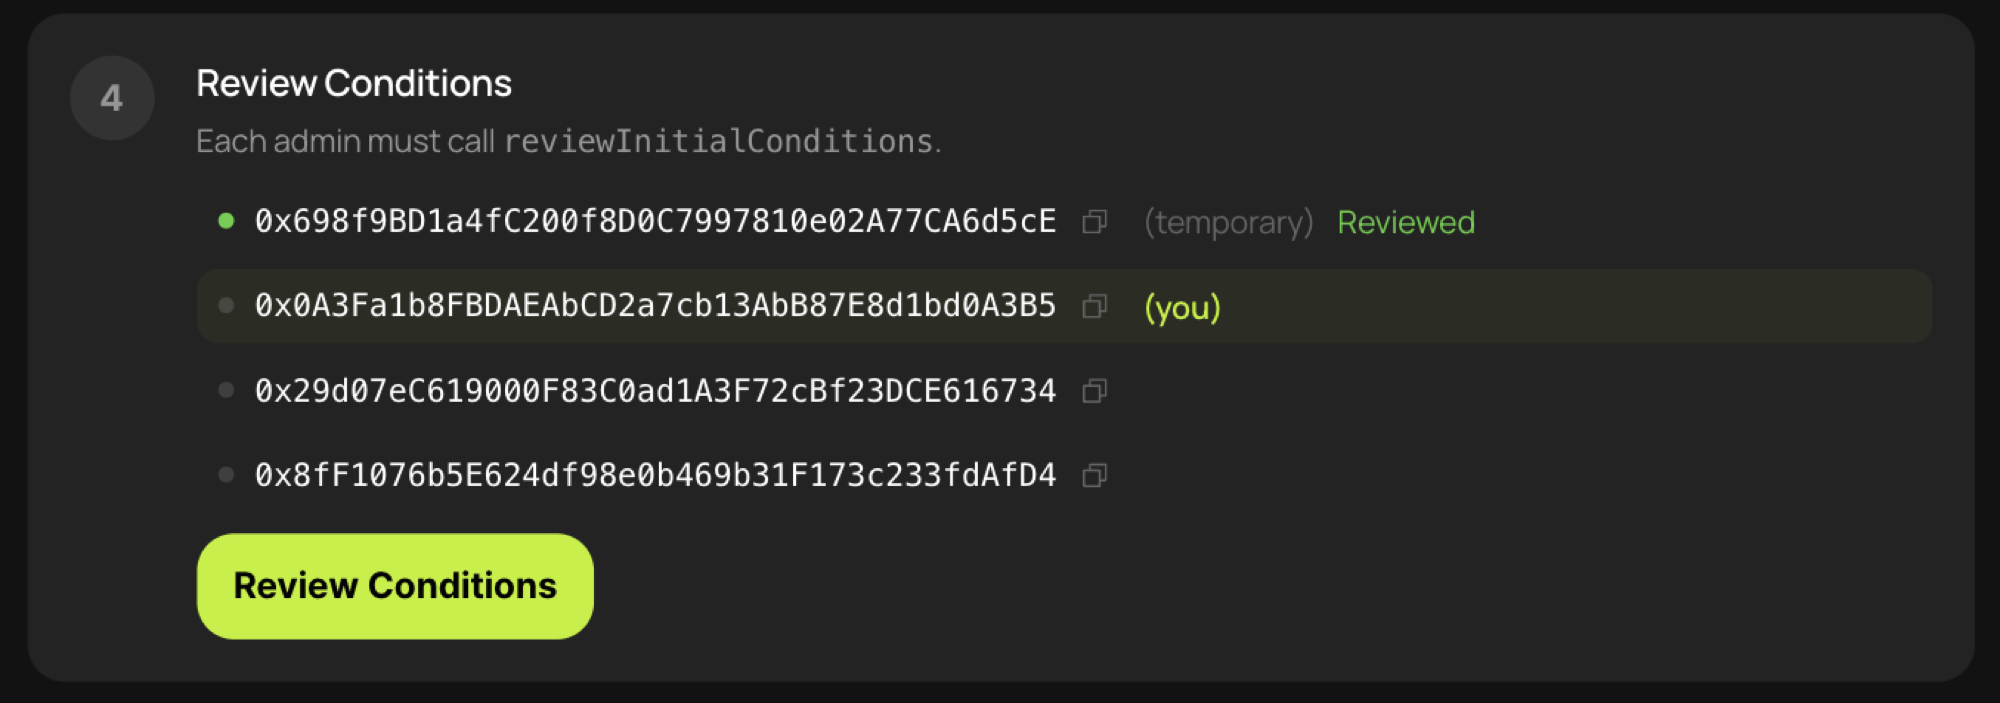
- Send one transaction each from the contract validator set earlier and from every staking contract admin to verify the wallets. Log in using each wallet in turn and click [Review Conditions] once for each.

- Finally, click [Deposit & Init] to complete the contract initialization.
Submit an Onboarding Request
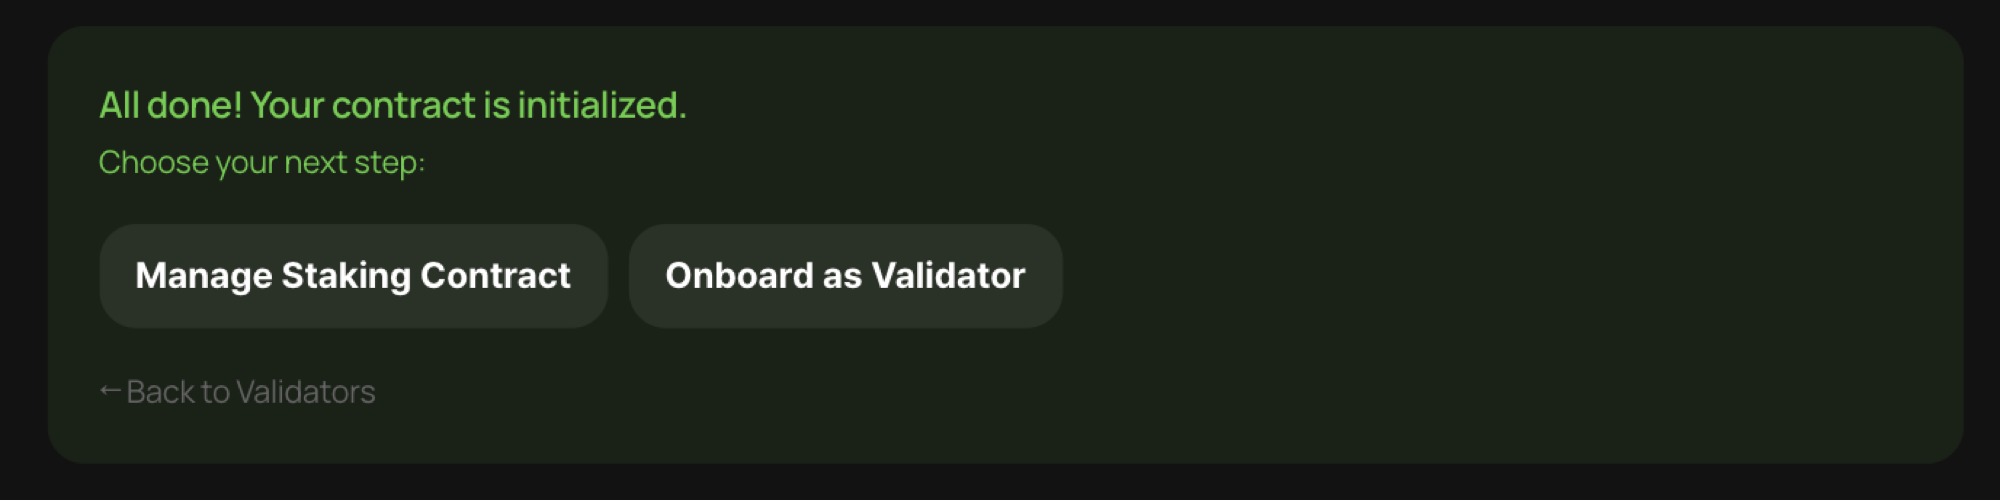
When you return to the Home menu, the deployed staking contract is shown in the [Initialized] state.
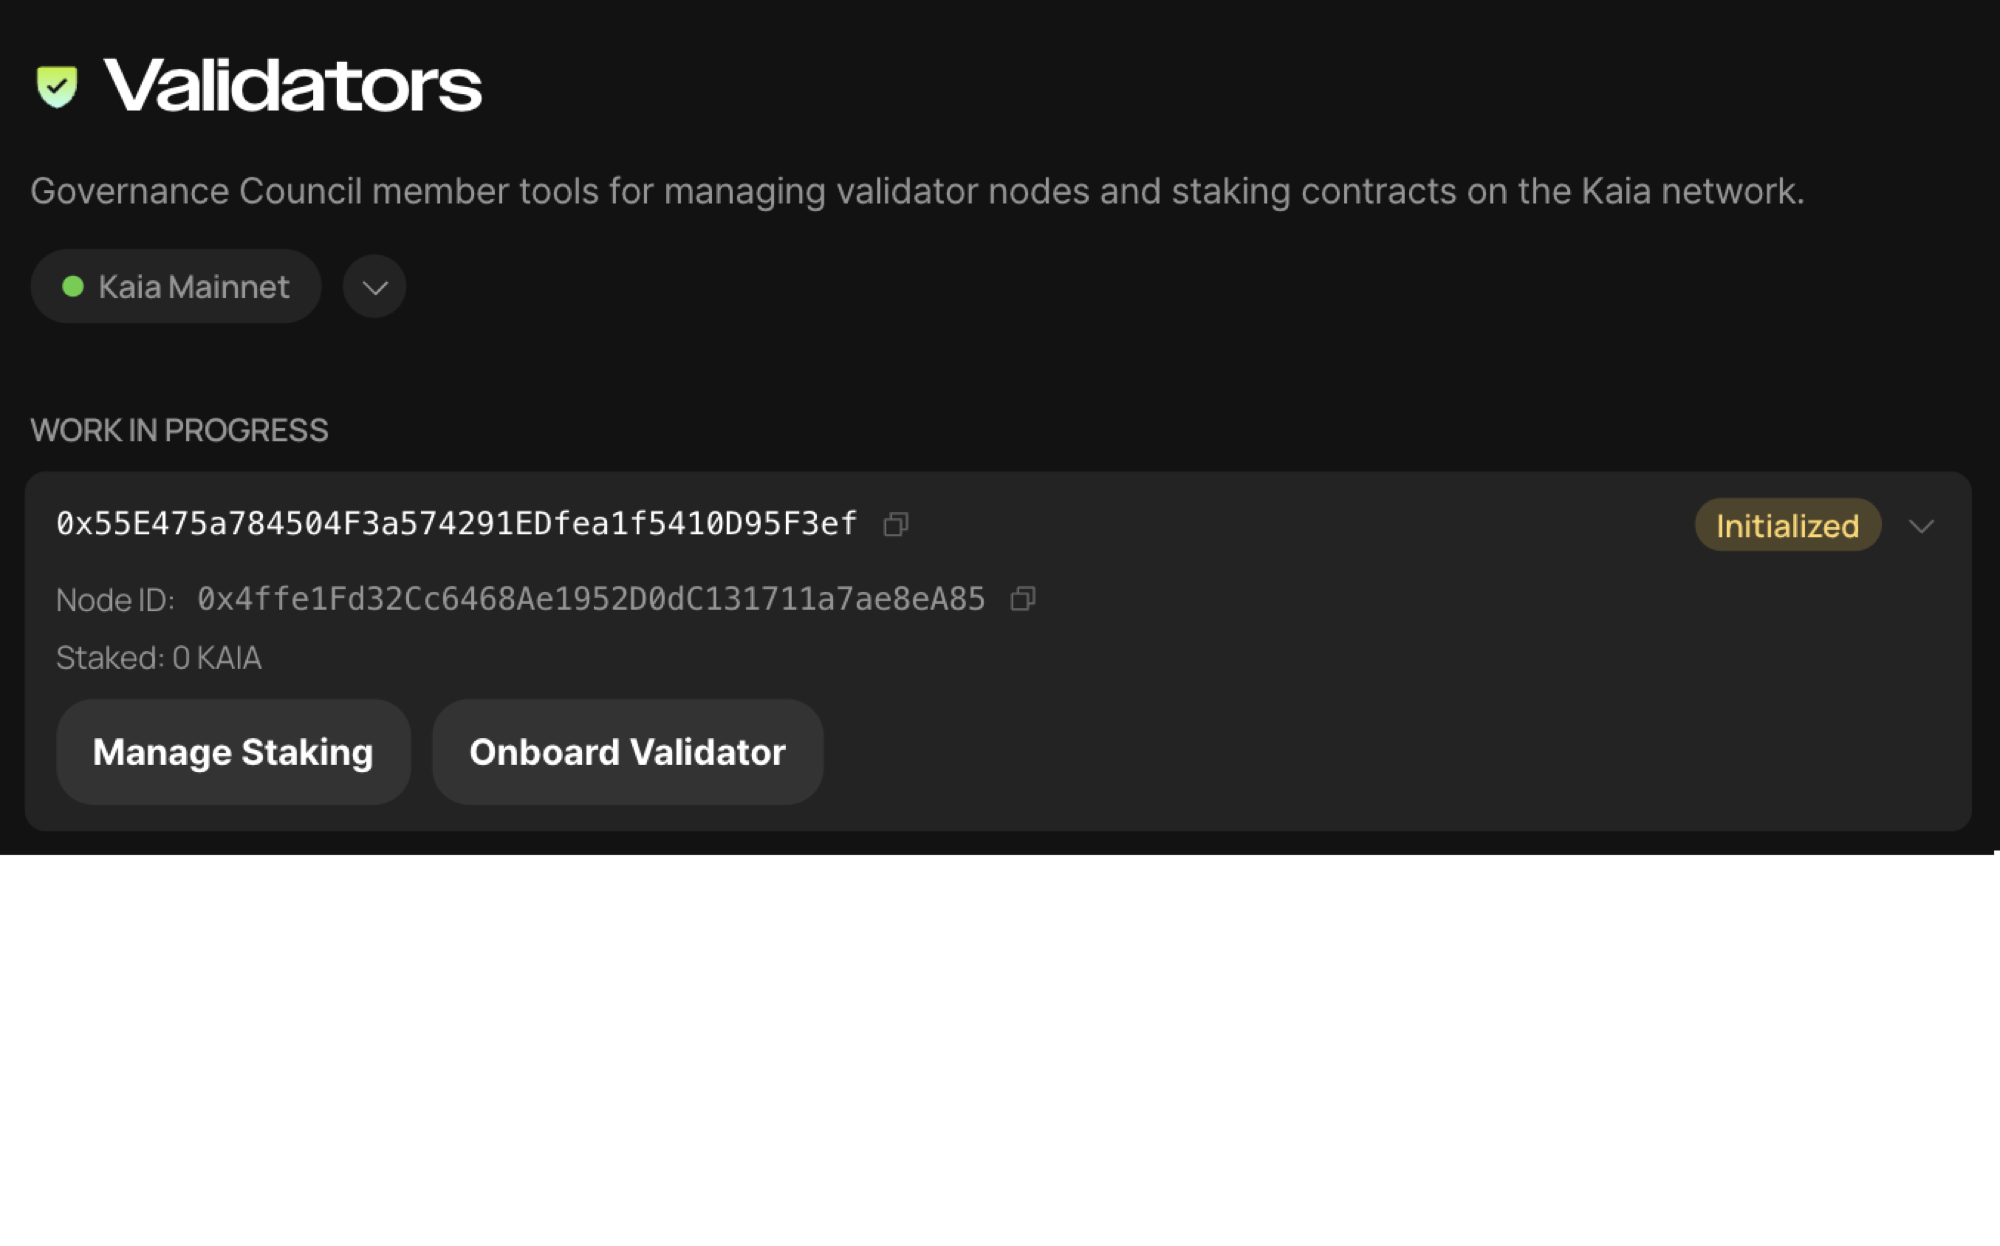
Click [Onboard Validator] to submit an onboarding request to the Kaia Team.

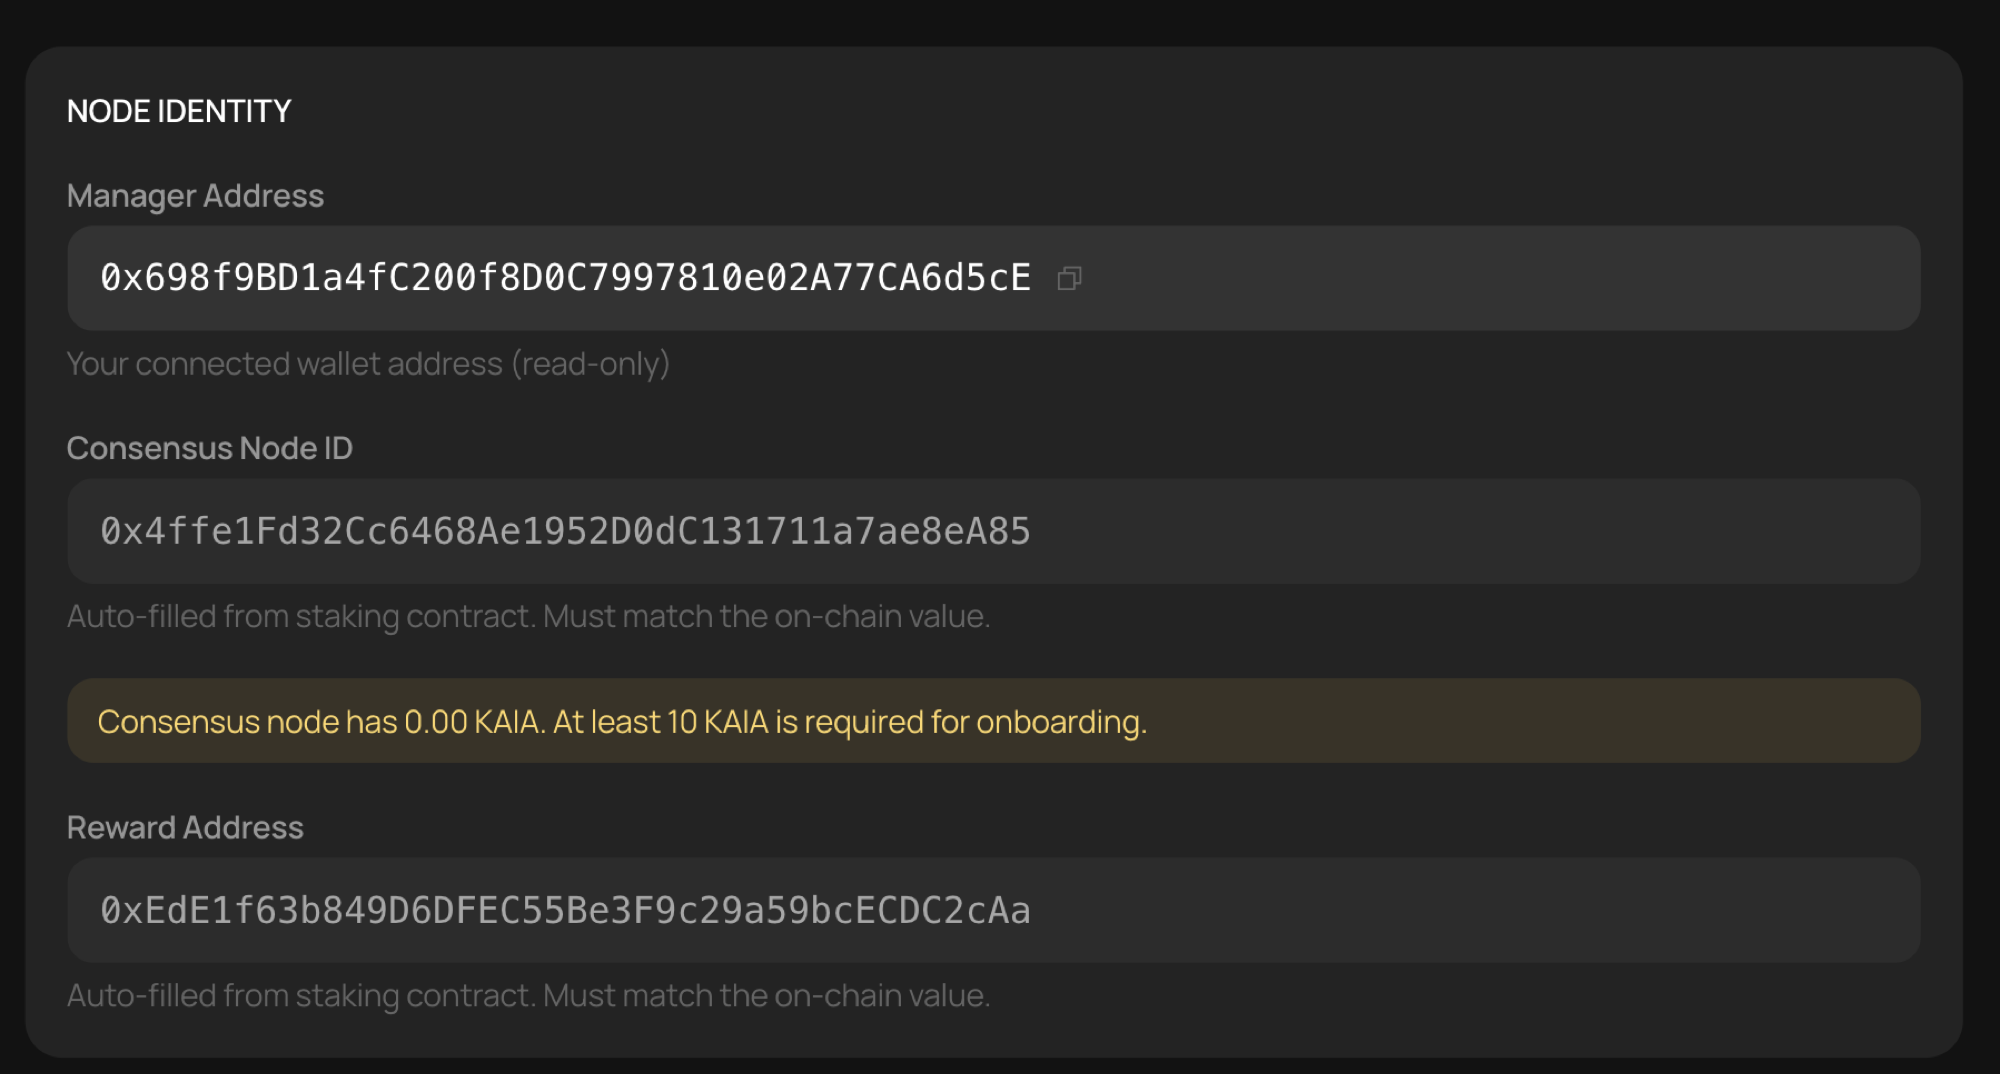
- Review the displayed information.
- Review the node information. The Consensus Node ID address must hold at least 10 KAIA—the minimum required to process Gas Abstraction and MEV Auction transactions. The 10 KAIA is not deducted; it is briefly used while processing those transactions and then immediately returned.
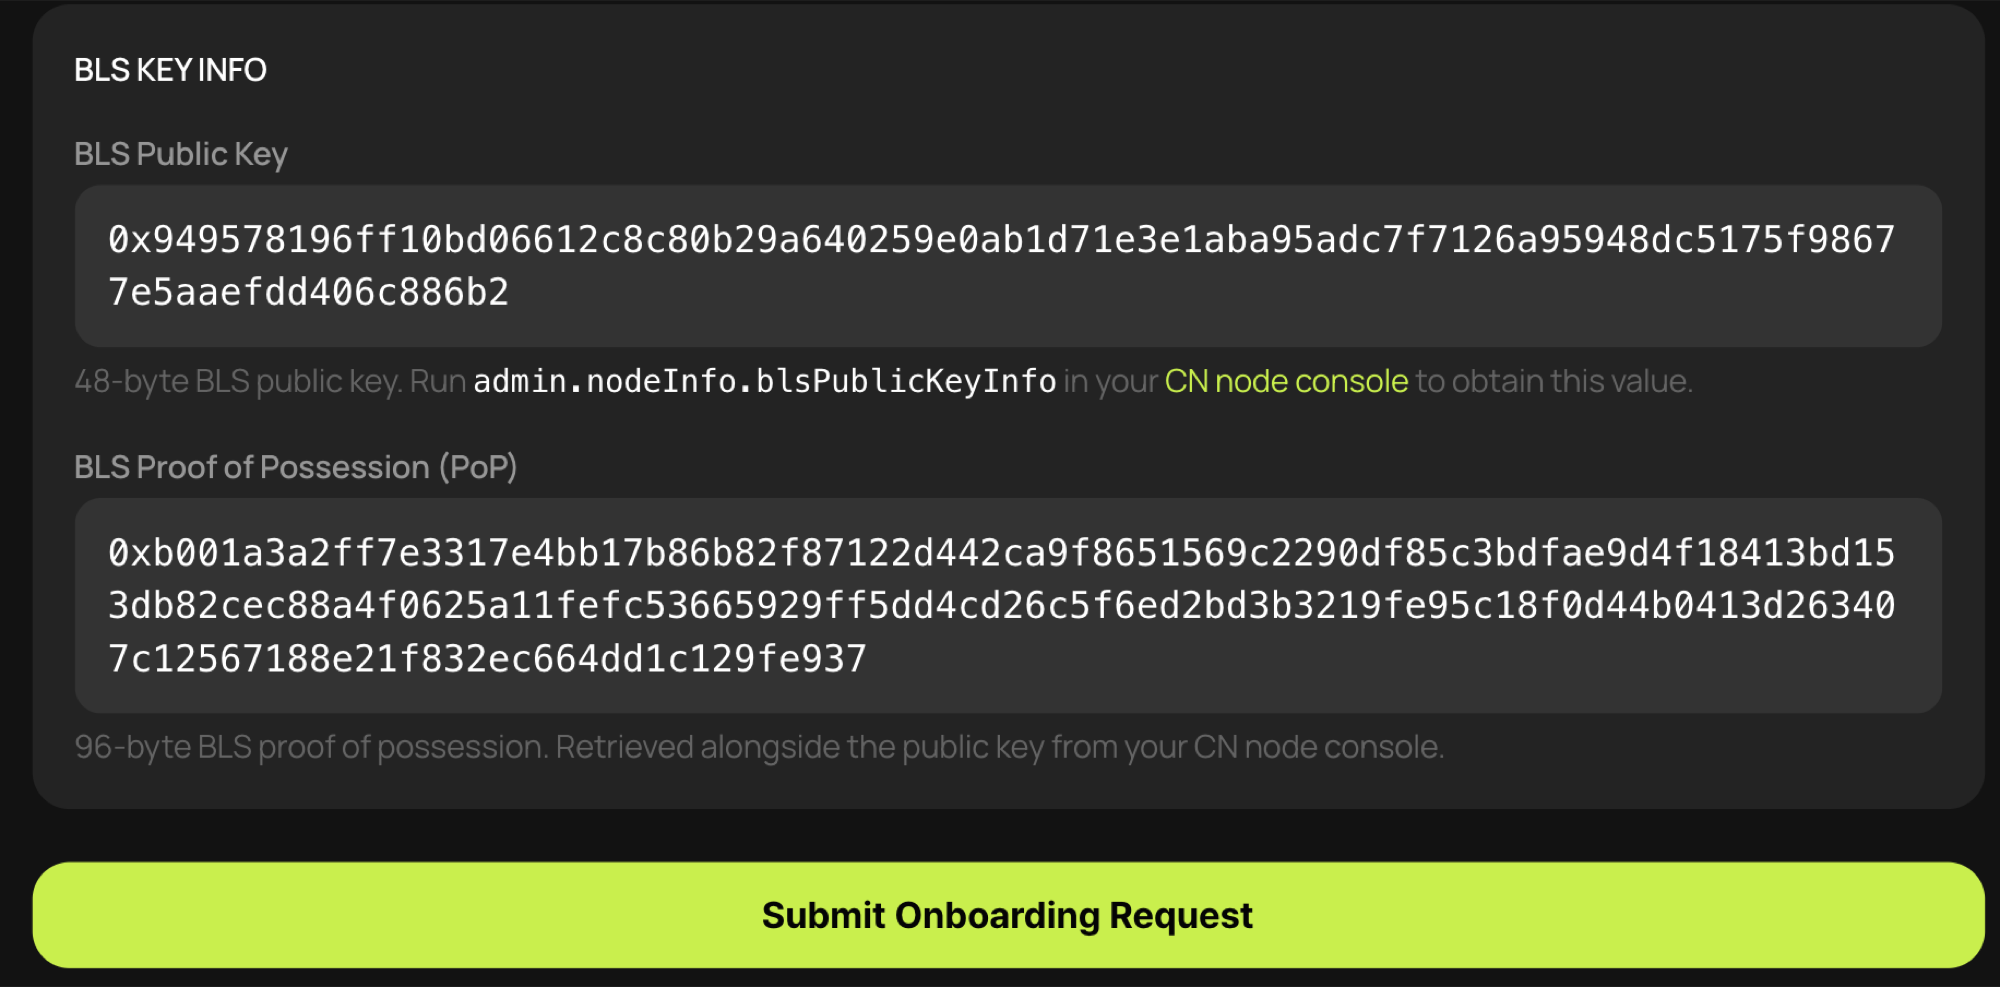
- Query the node for its BLS public key information and enter it. On the CN console, call the
admin.nodeInfo.blsPublicKeyInfoRPC and enter thepublicKeyandpopvalues returned.
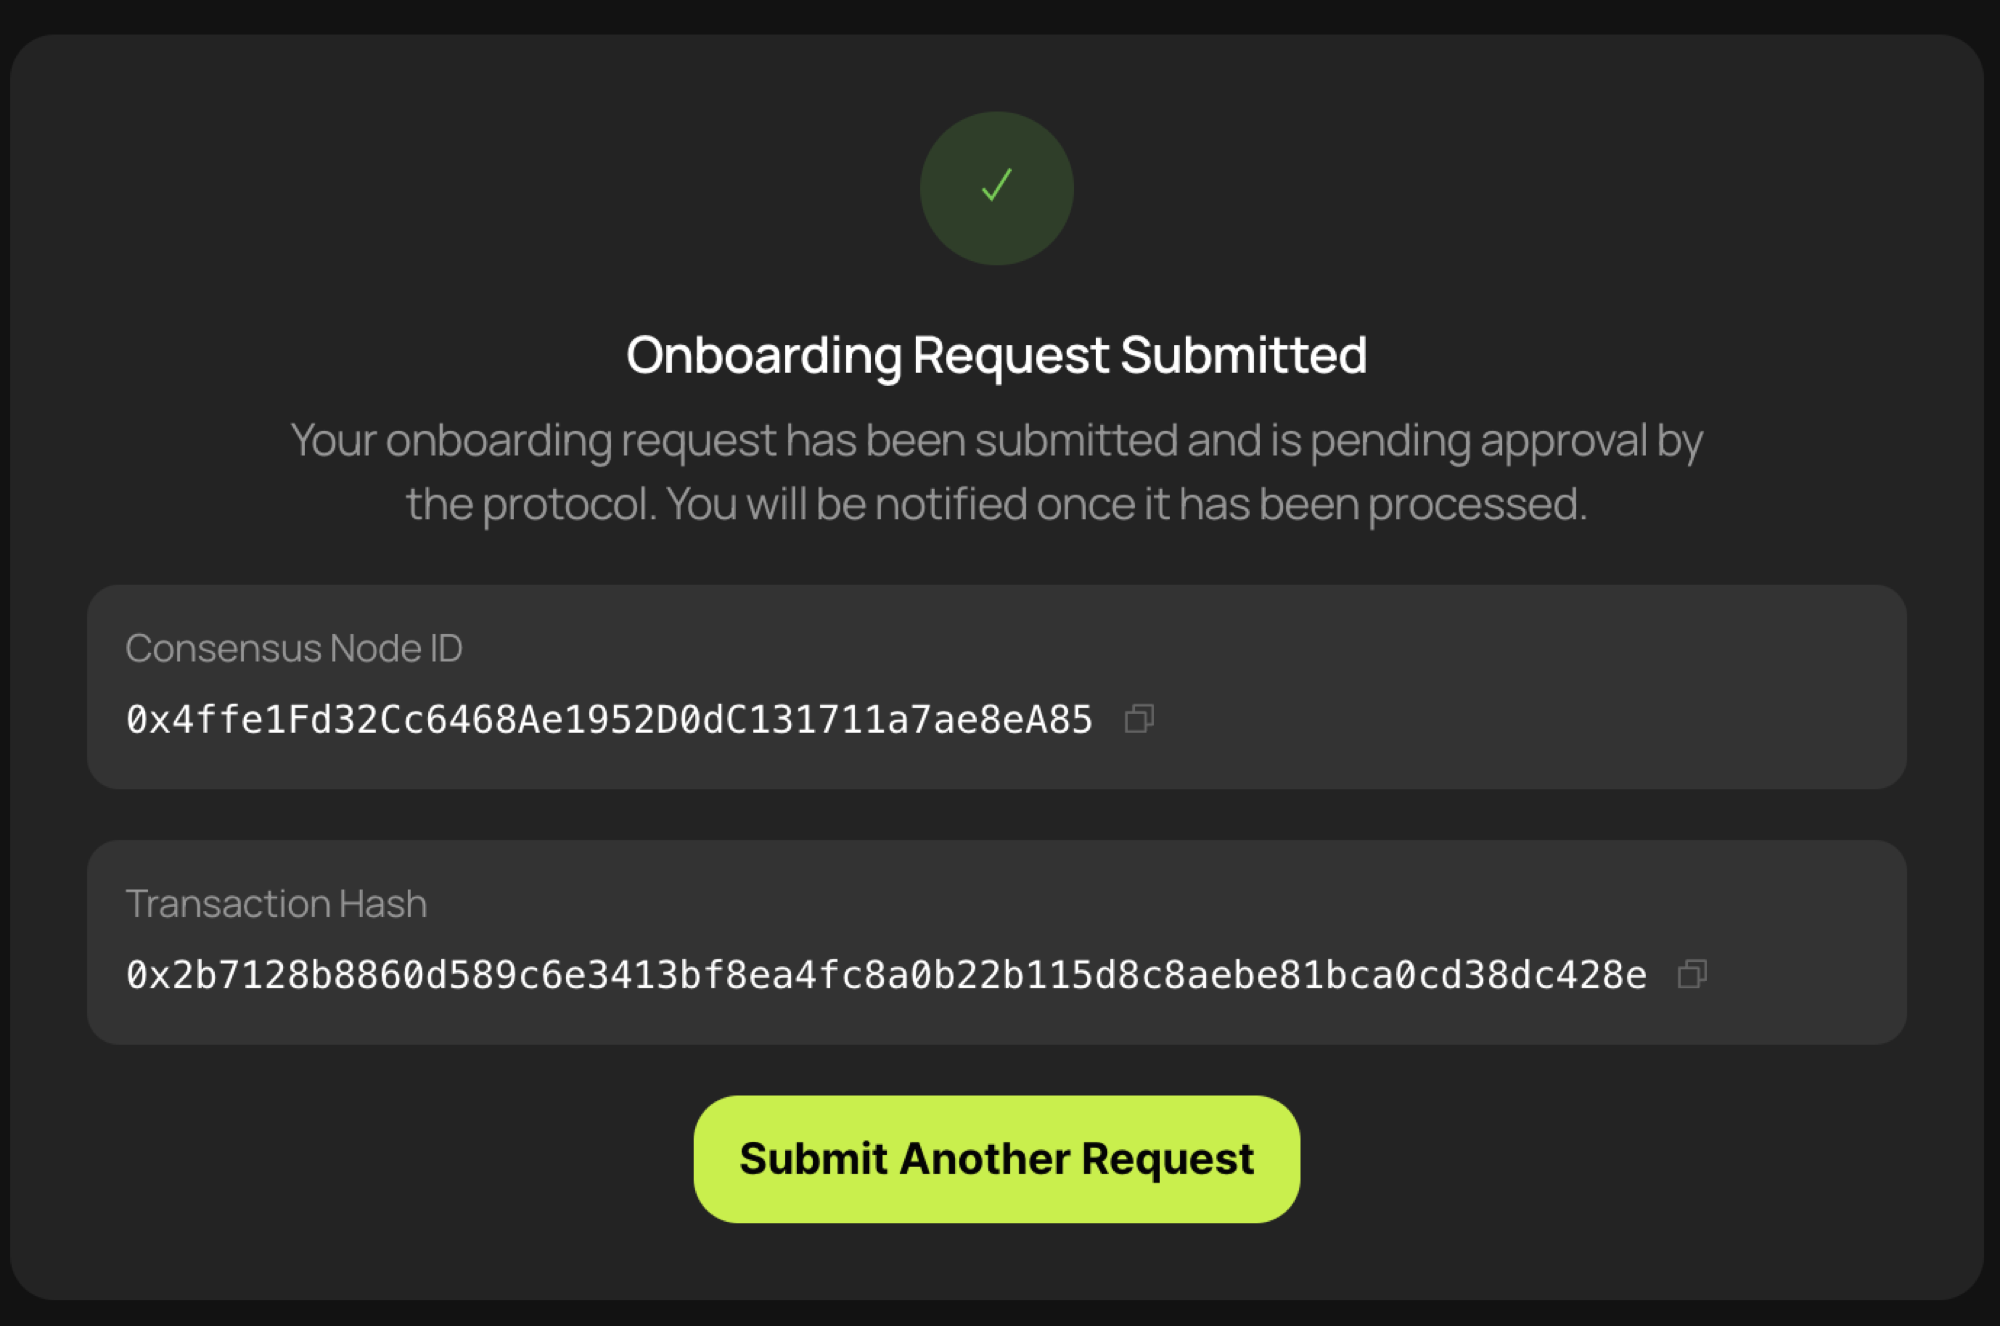
- Click [Submit Onboarding Request] to submit the onboarding request.