This page uses machine translation from English, which may contain errors or unclear language. For the most accurate information, please see the original English version. Some content may be in the original English due to frequent updates. Help us improve this page's translation by joining our effort on Crowdin. (Crowdin translation page, Contributing guide)
Khóa NFT
Tính năng khóa NFT của Team Finance cho phép người sáng tạo khóa an toàn NFT cá nhân hoặc NFT do nhóm phân bổ trong một khoảng thời gian nhất định bằng cách chuyển chúng vào kho hợp đồng thông minh có khóa theo thời gian.
Bằng cách sử dụng khóa NFT của Team Finance, các dự án có thể chứng minh cam kết, xây dựng uy tín và giảm nguy cơ lừa đảo, từ đó tạo dựng lòng tin trong cộng đồng và giữa các nhà đầu tư.
Bắt đầu
Trong hướng dẫn này, bạn sẽ học cách khóa NFT bằng Team Finance. Chúng ta hãy bắt đầu nhé!
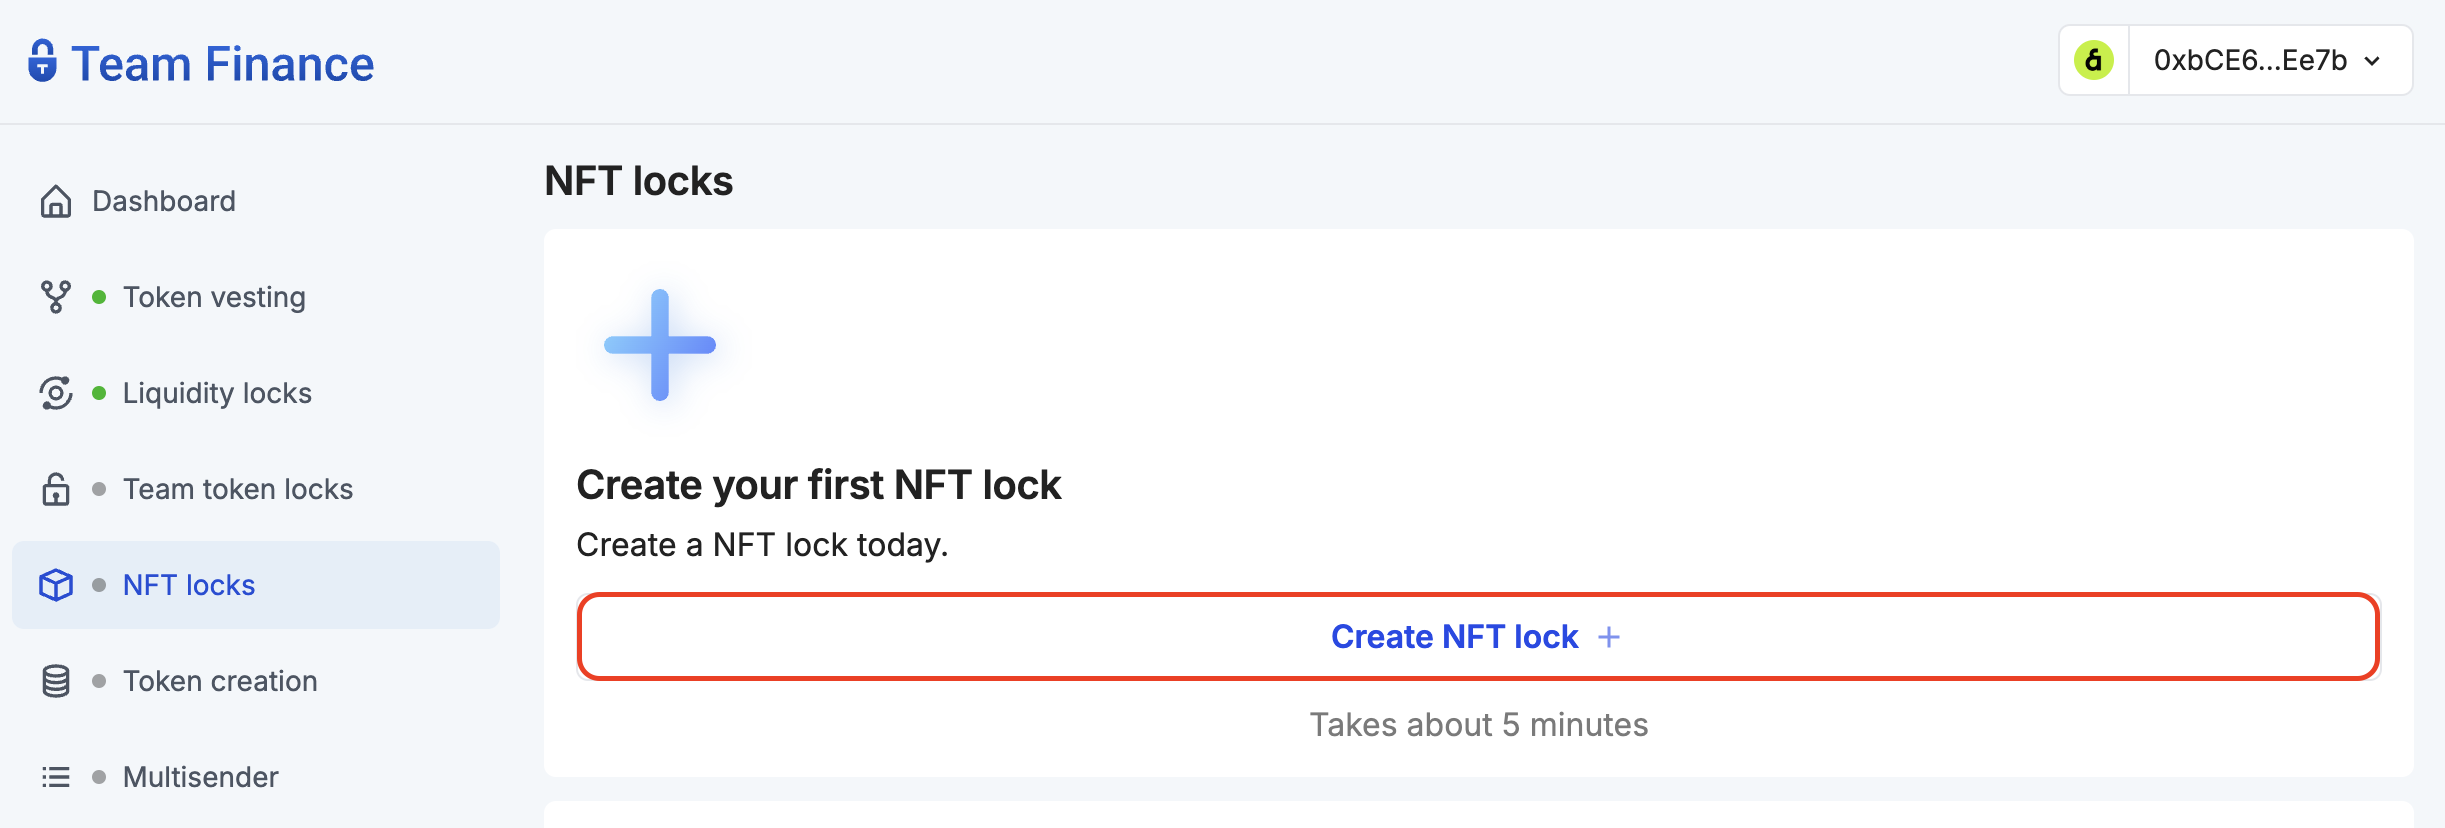
- Điều hướng đến tab [Khóa NFT] của Team Finance (https://app.team.finance/nft-locks) và nhấp vào Tạo khóa NFT.
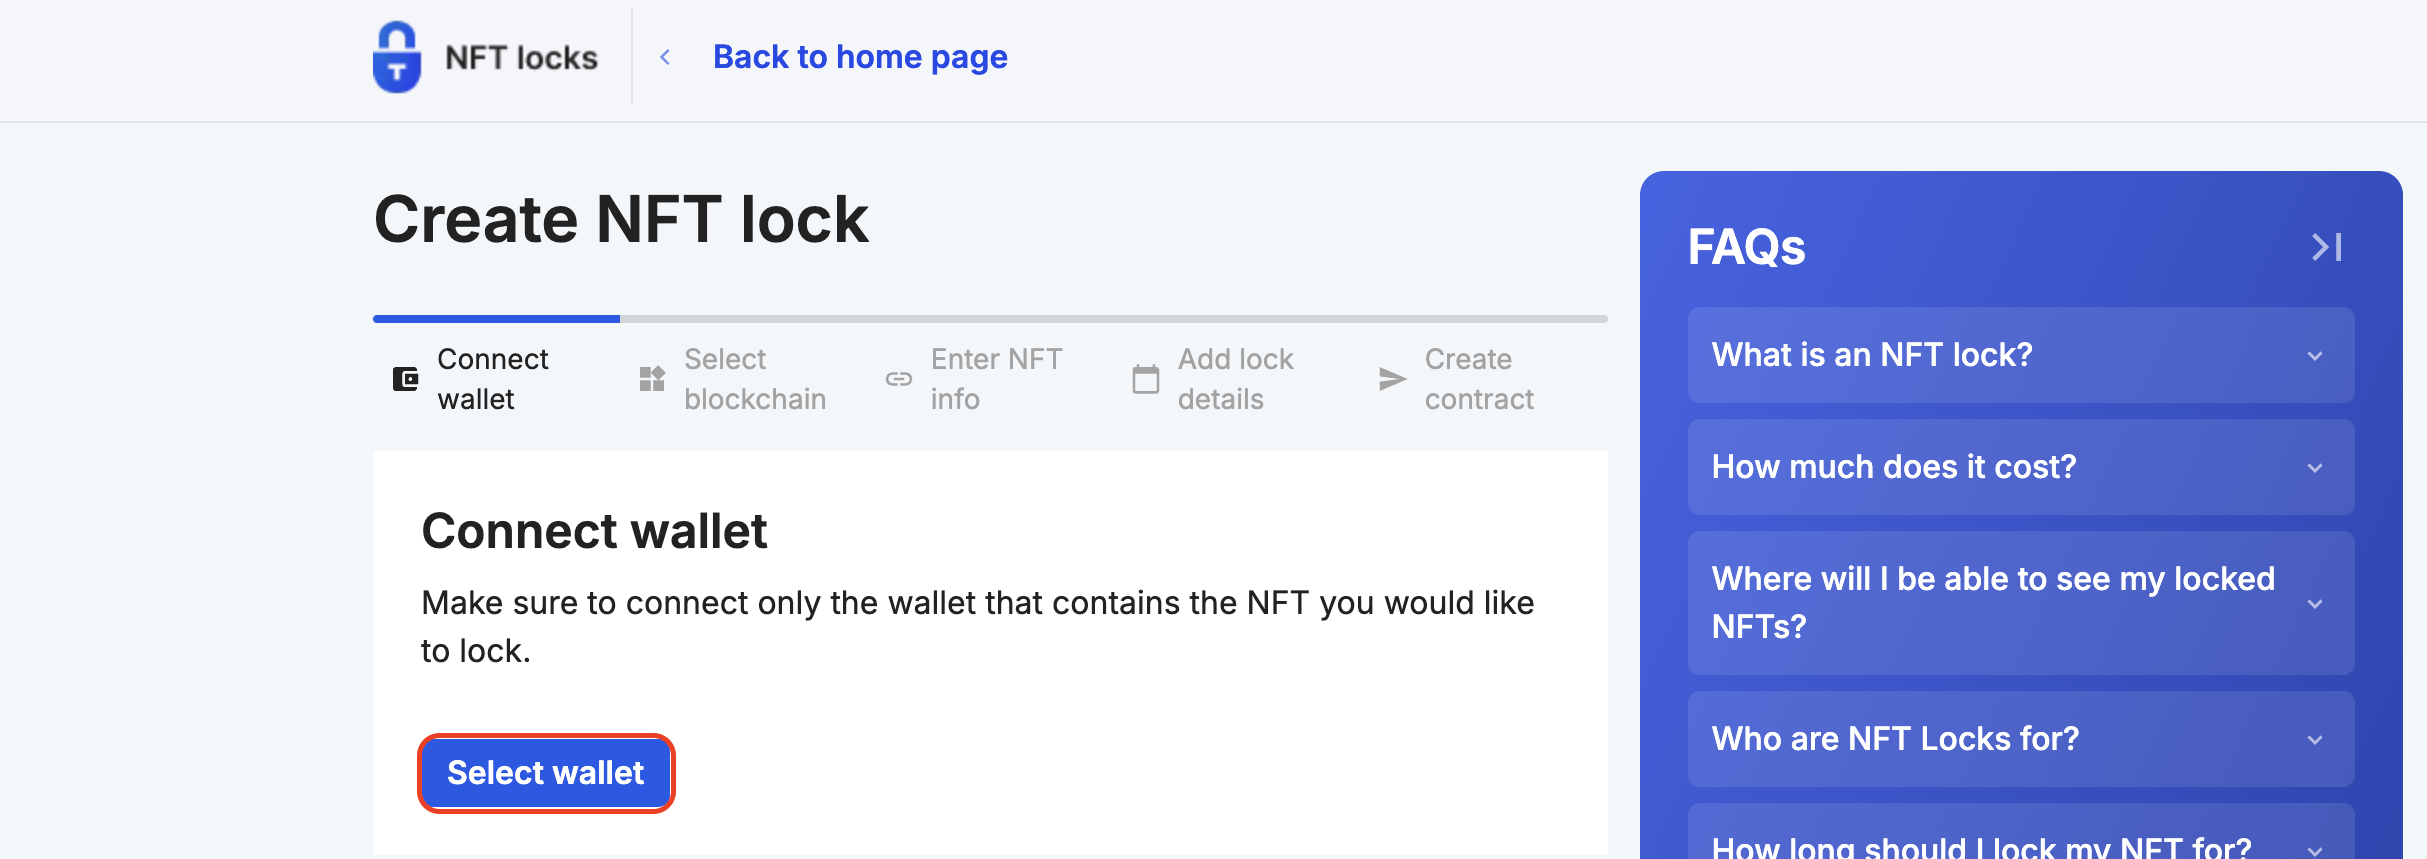
- Kết nối ví của bạn với Team Finance bằng cách nhấp vào Chọn ví và nhấp vào Tiếp tục.
- Chọn Kaia trong mạng lưới blockchain và nhấp vào Tiếp tục.

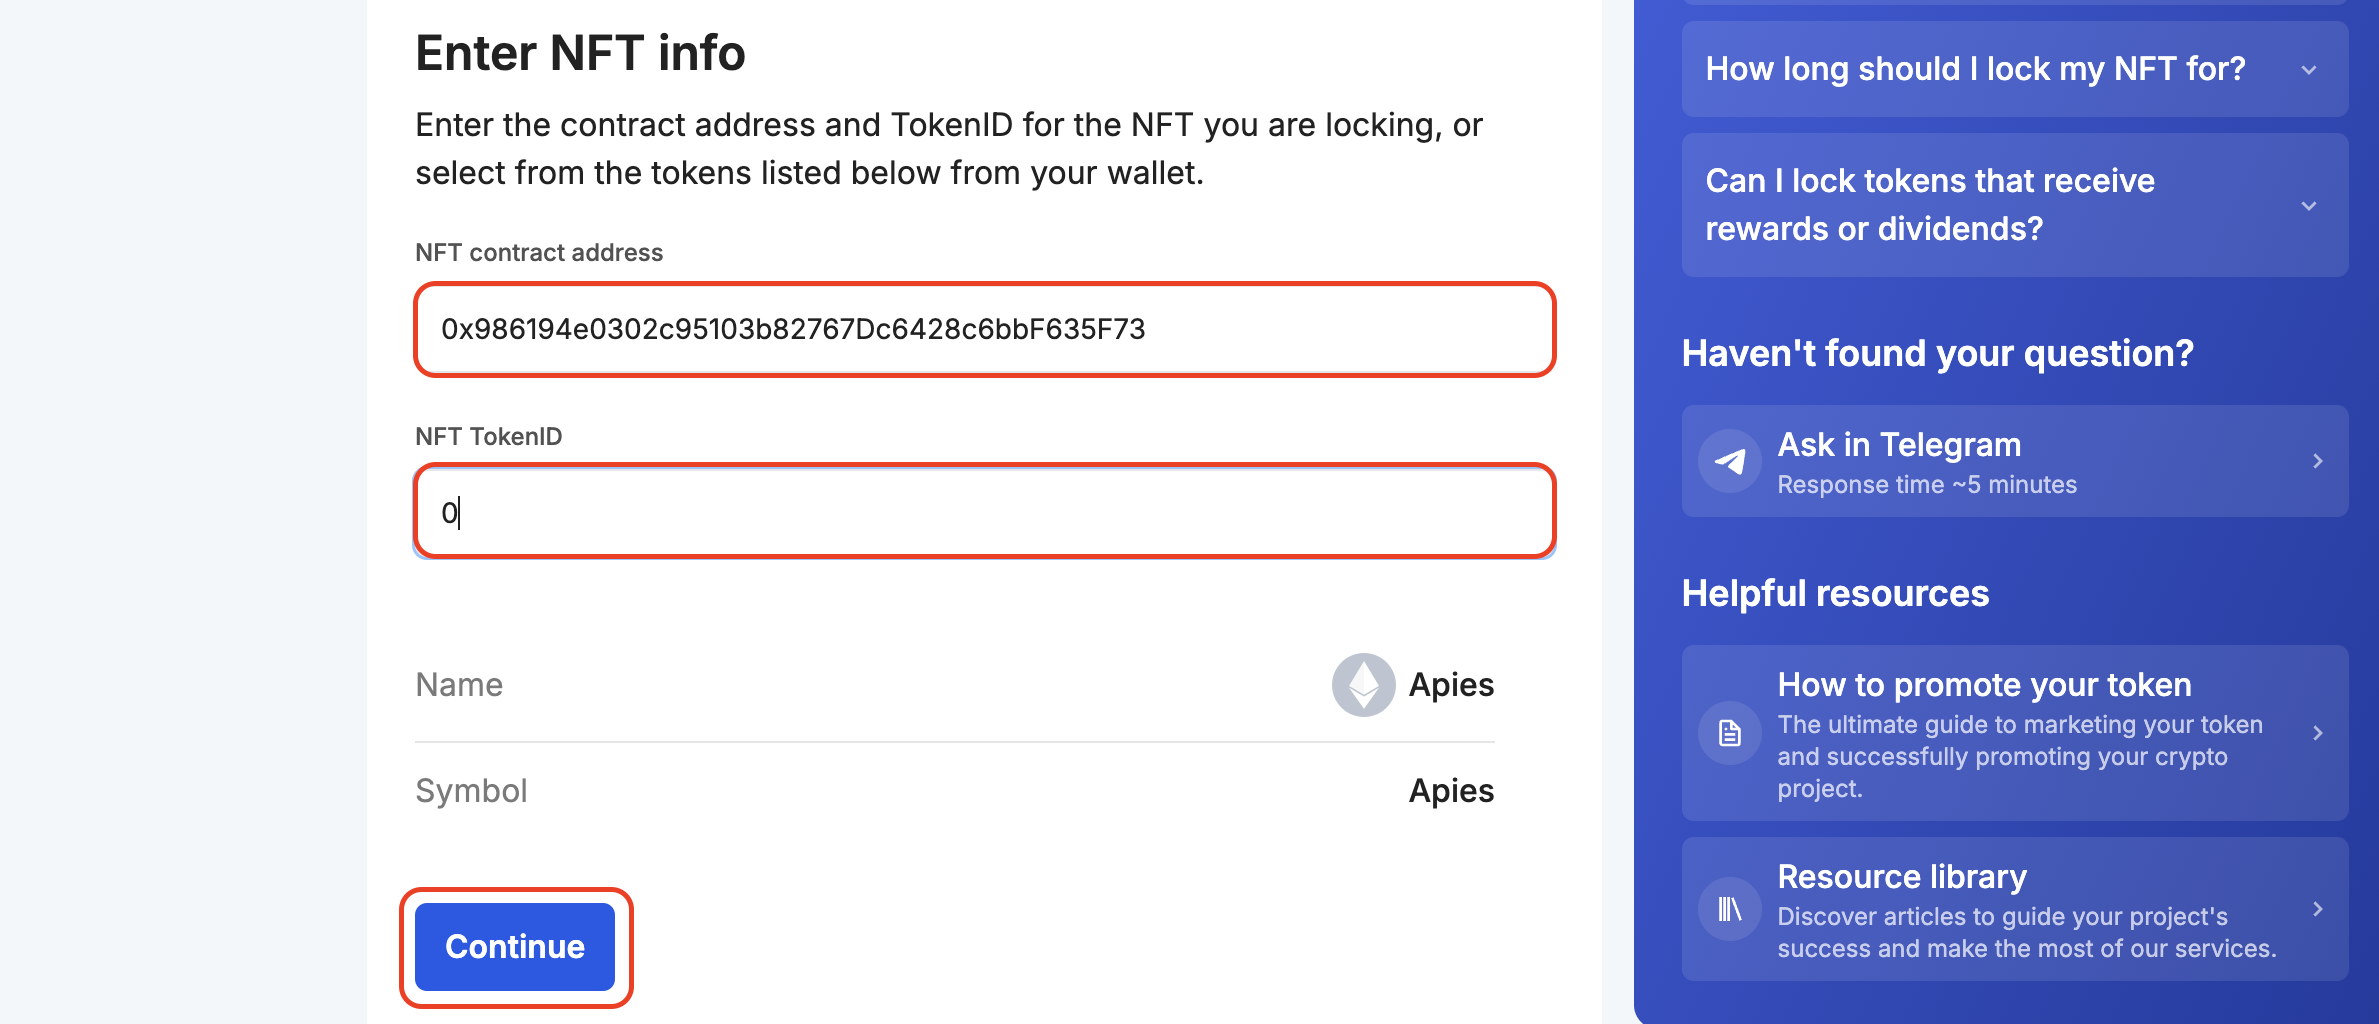
- Nhập thông tin NFT (địa chỉ hợp đồng và tokenid) cho NFT mà bạn đang khóa và nhấp vào Tiếp tục.
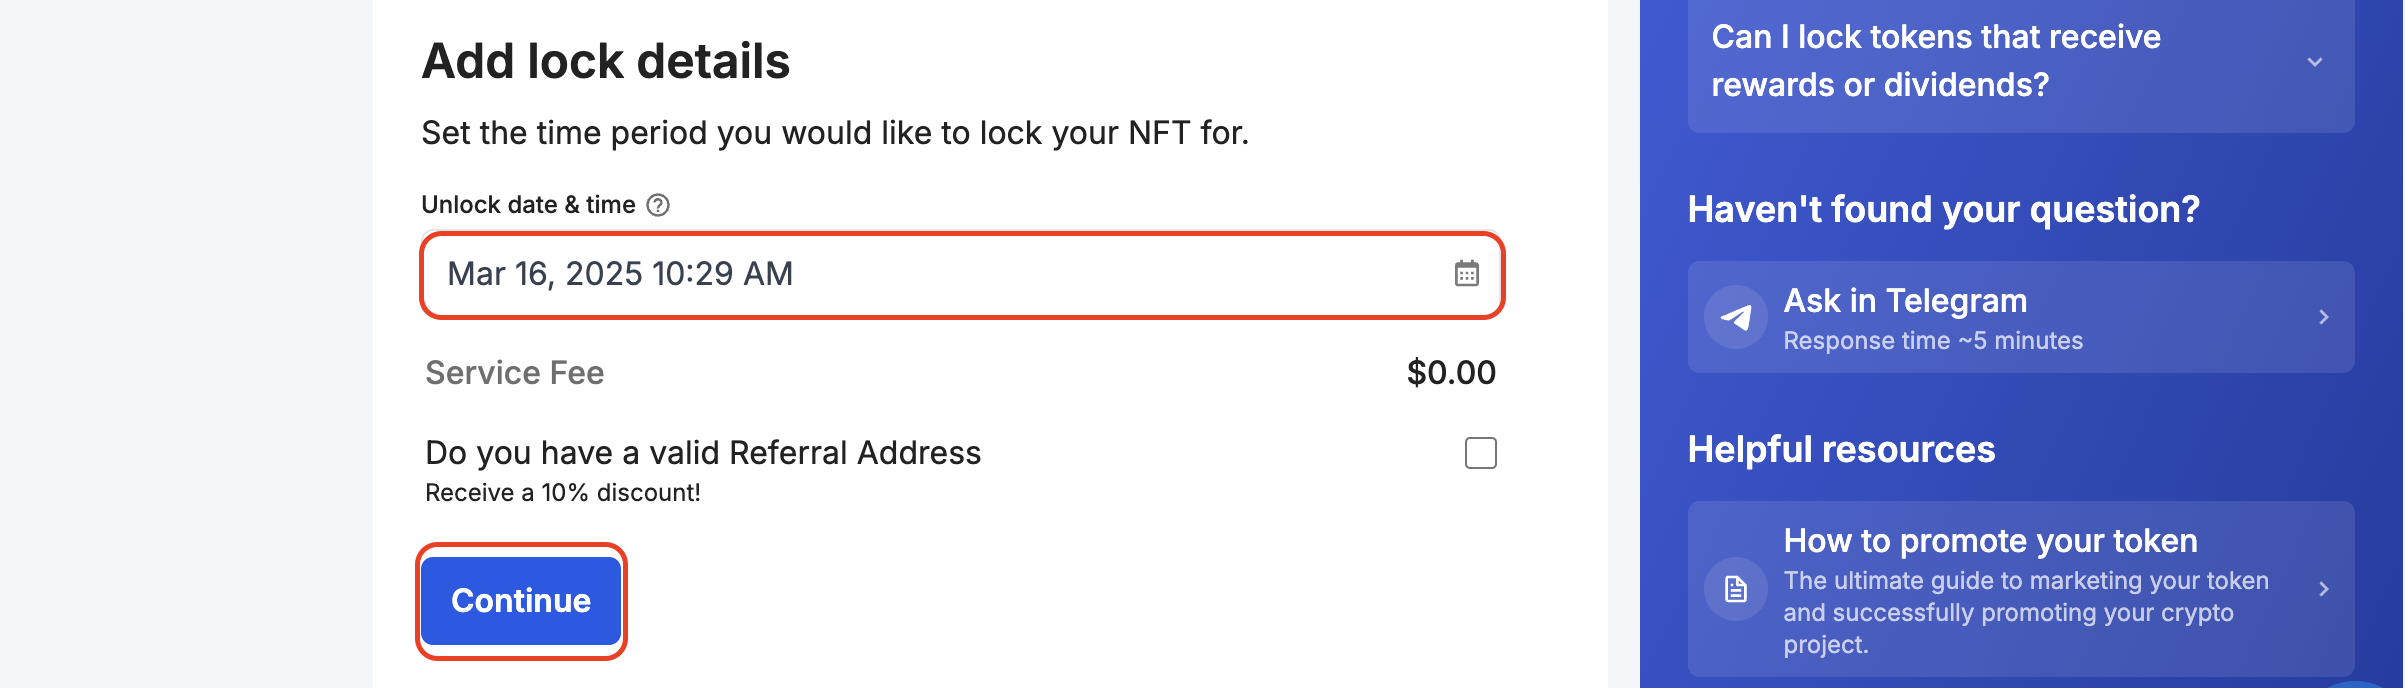
- Đặt khoảng thời gian bạn muốn khóa NFT của mình.
- Cấp quyền khóa mã thông báo NFT của bạn bằng cách nhấp vào Cấp quyền.

Thao tác này sẽ nhắc bạn ký giao dịch ủy quyền.
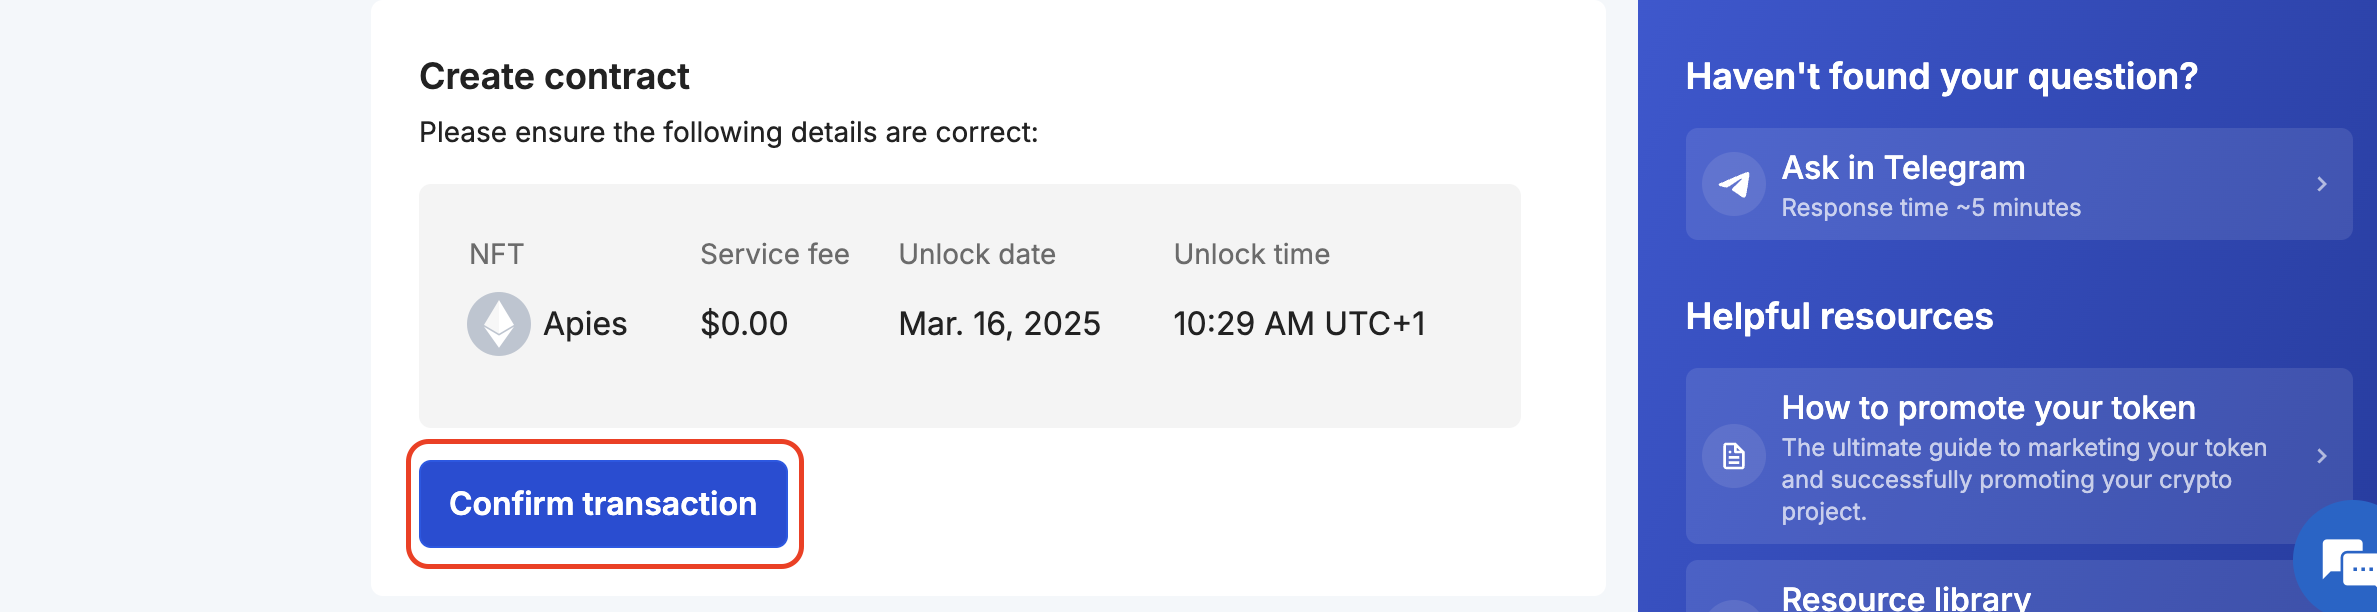
- Xác minh thông tin khóa NFT của bạn và sau đó nhấp vào Xác nhận giao dịch. Ví của bạn sẽ được nhắc ký giao dịch để hoàn tất quy trình.
- Sau khi xác nhận, bạn sẽ được chuyển hướng đến trang hiển thị trạng thái của giao dịch. Vui lòng không thoát khỏi trang cho đến khi giao dịch được xác nhận.
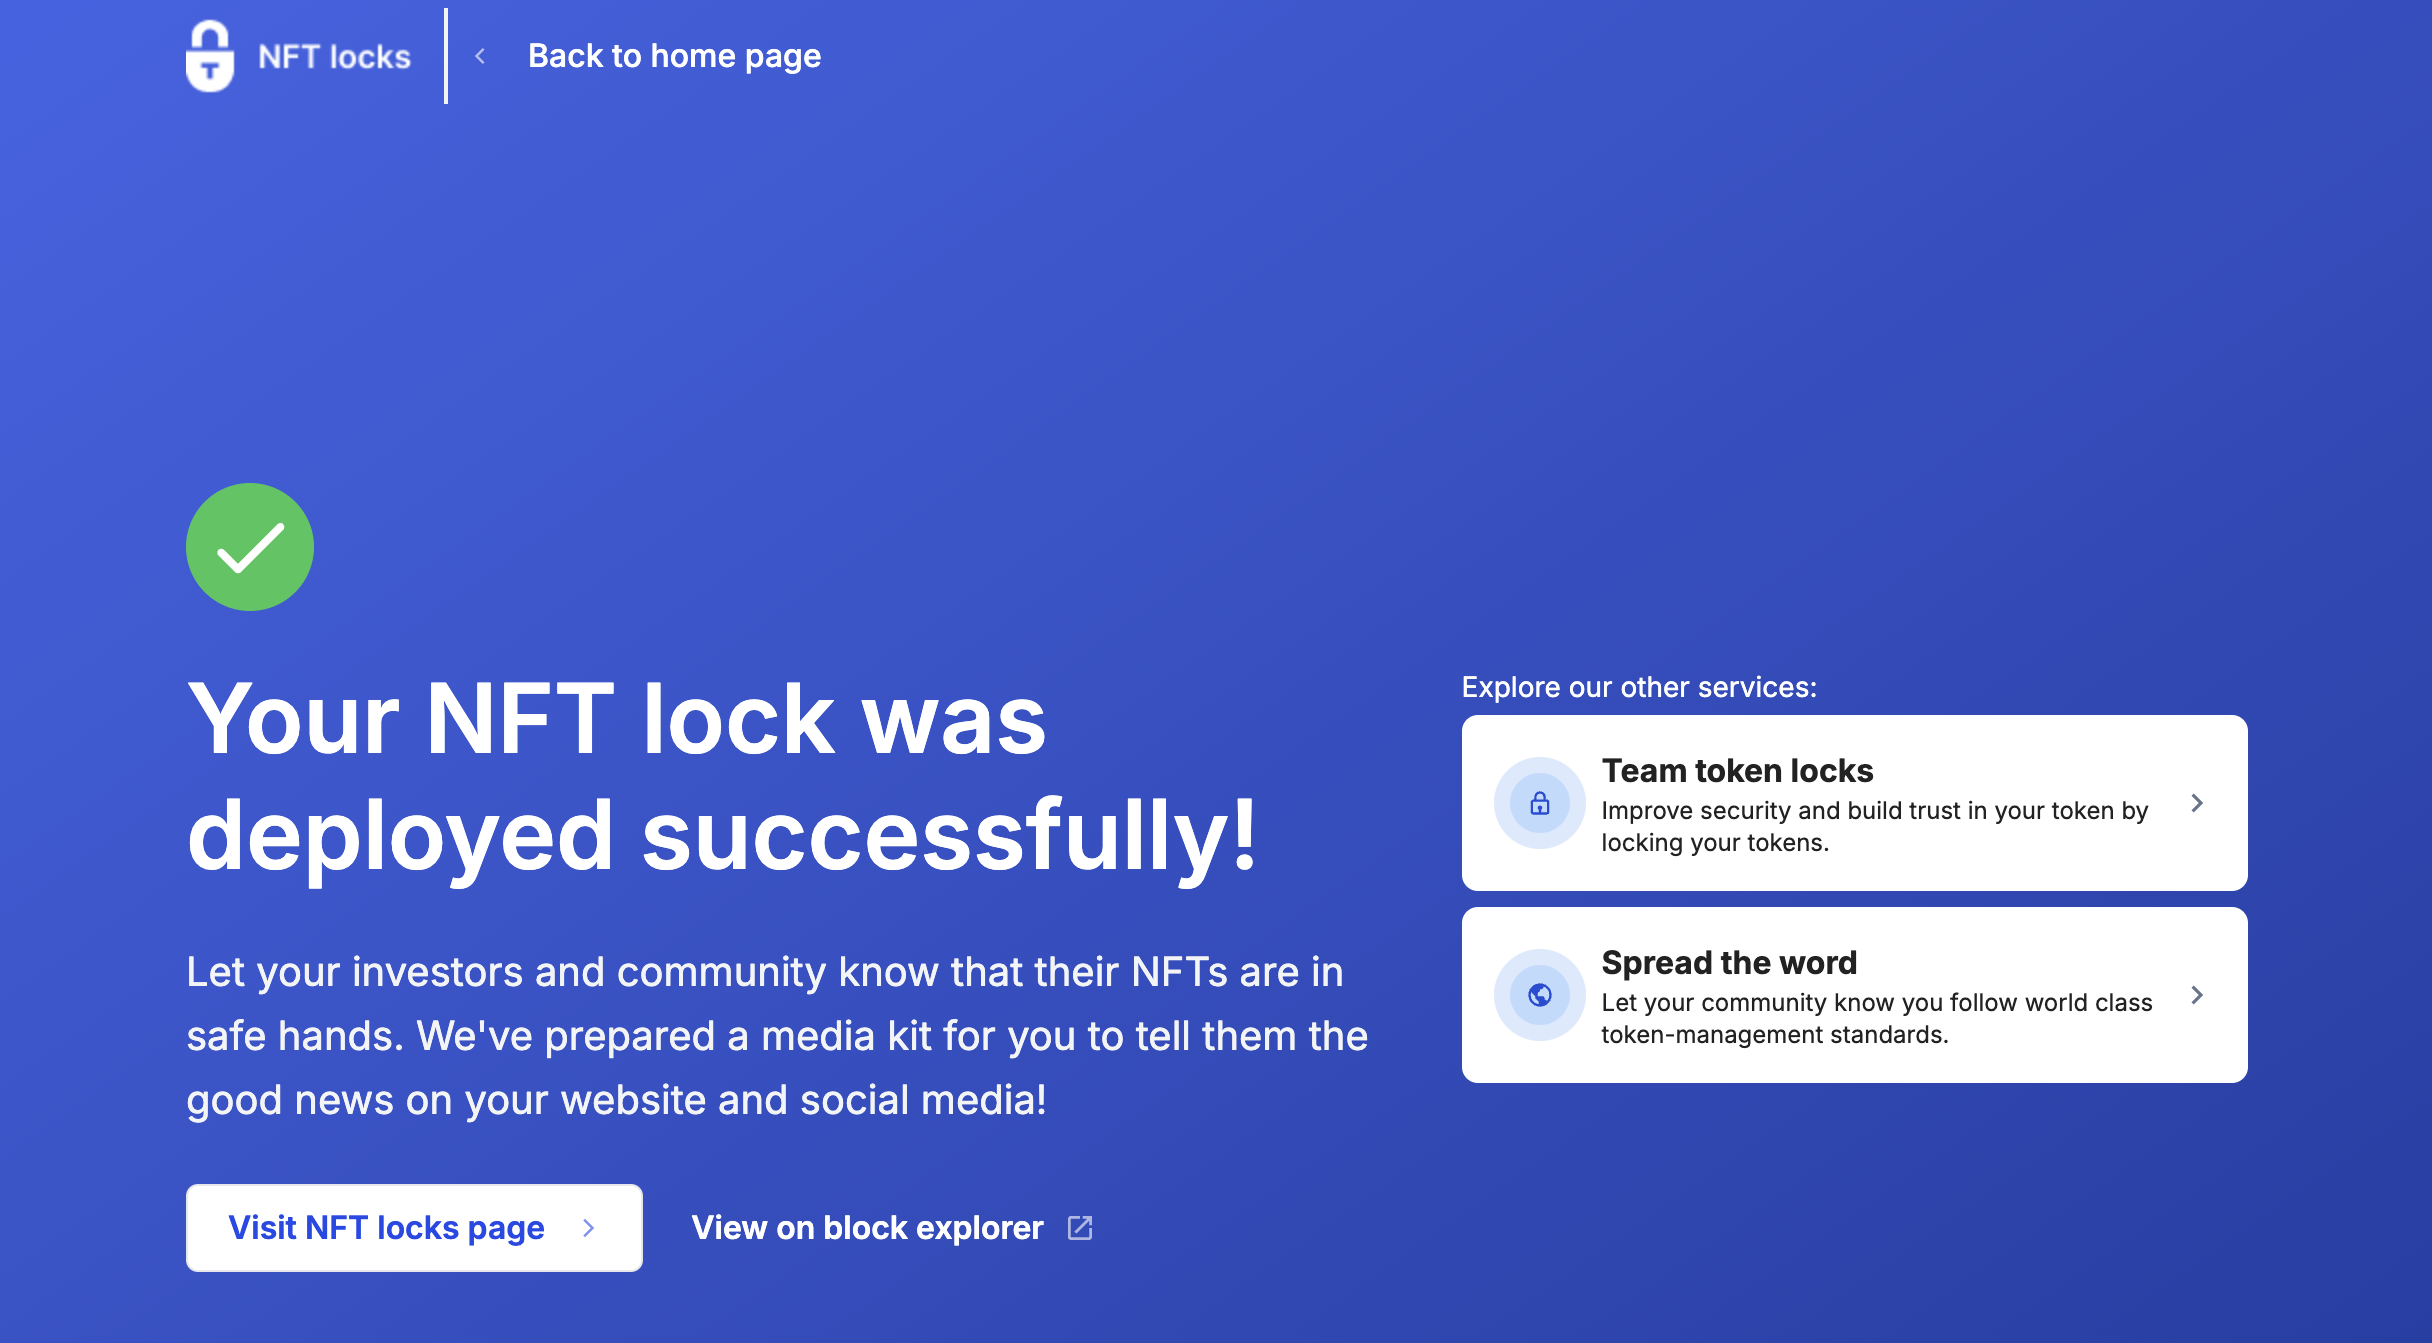
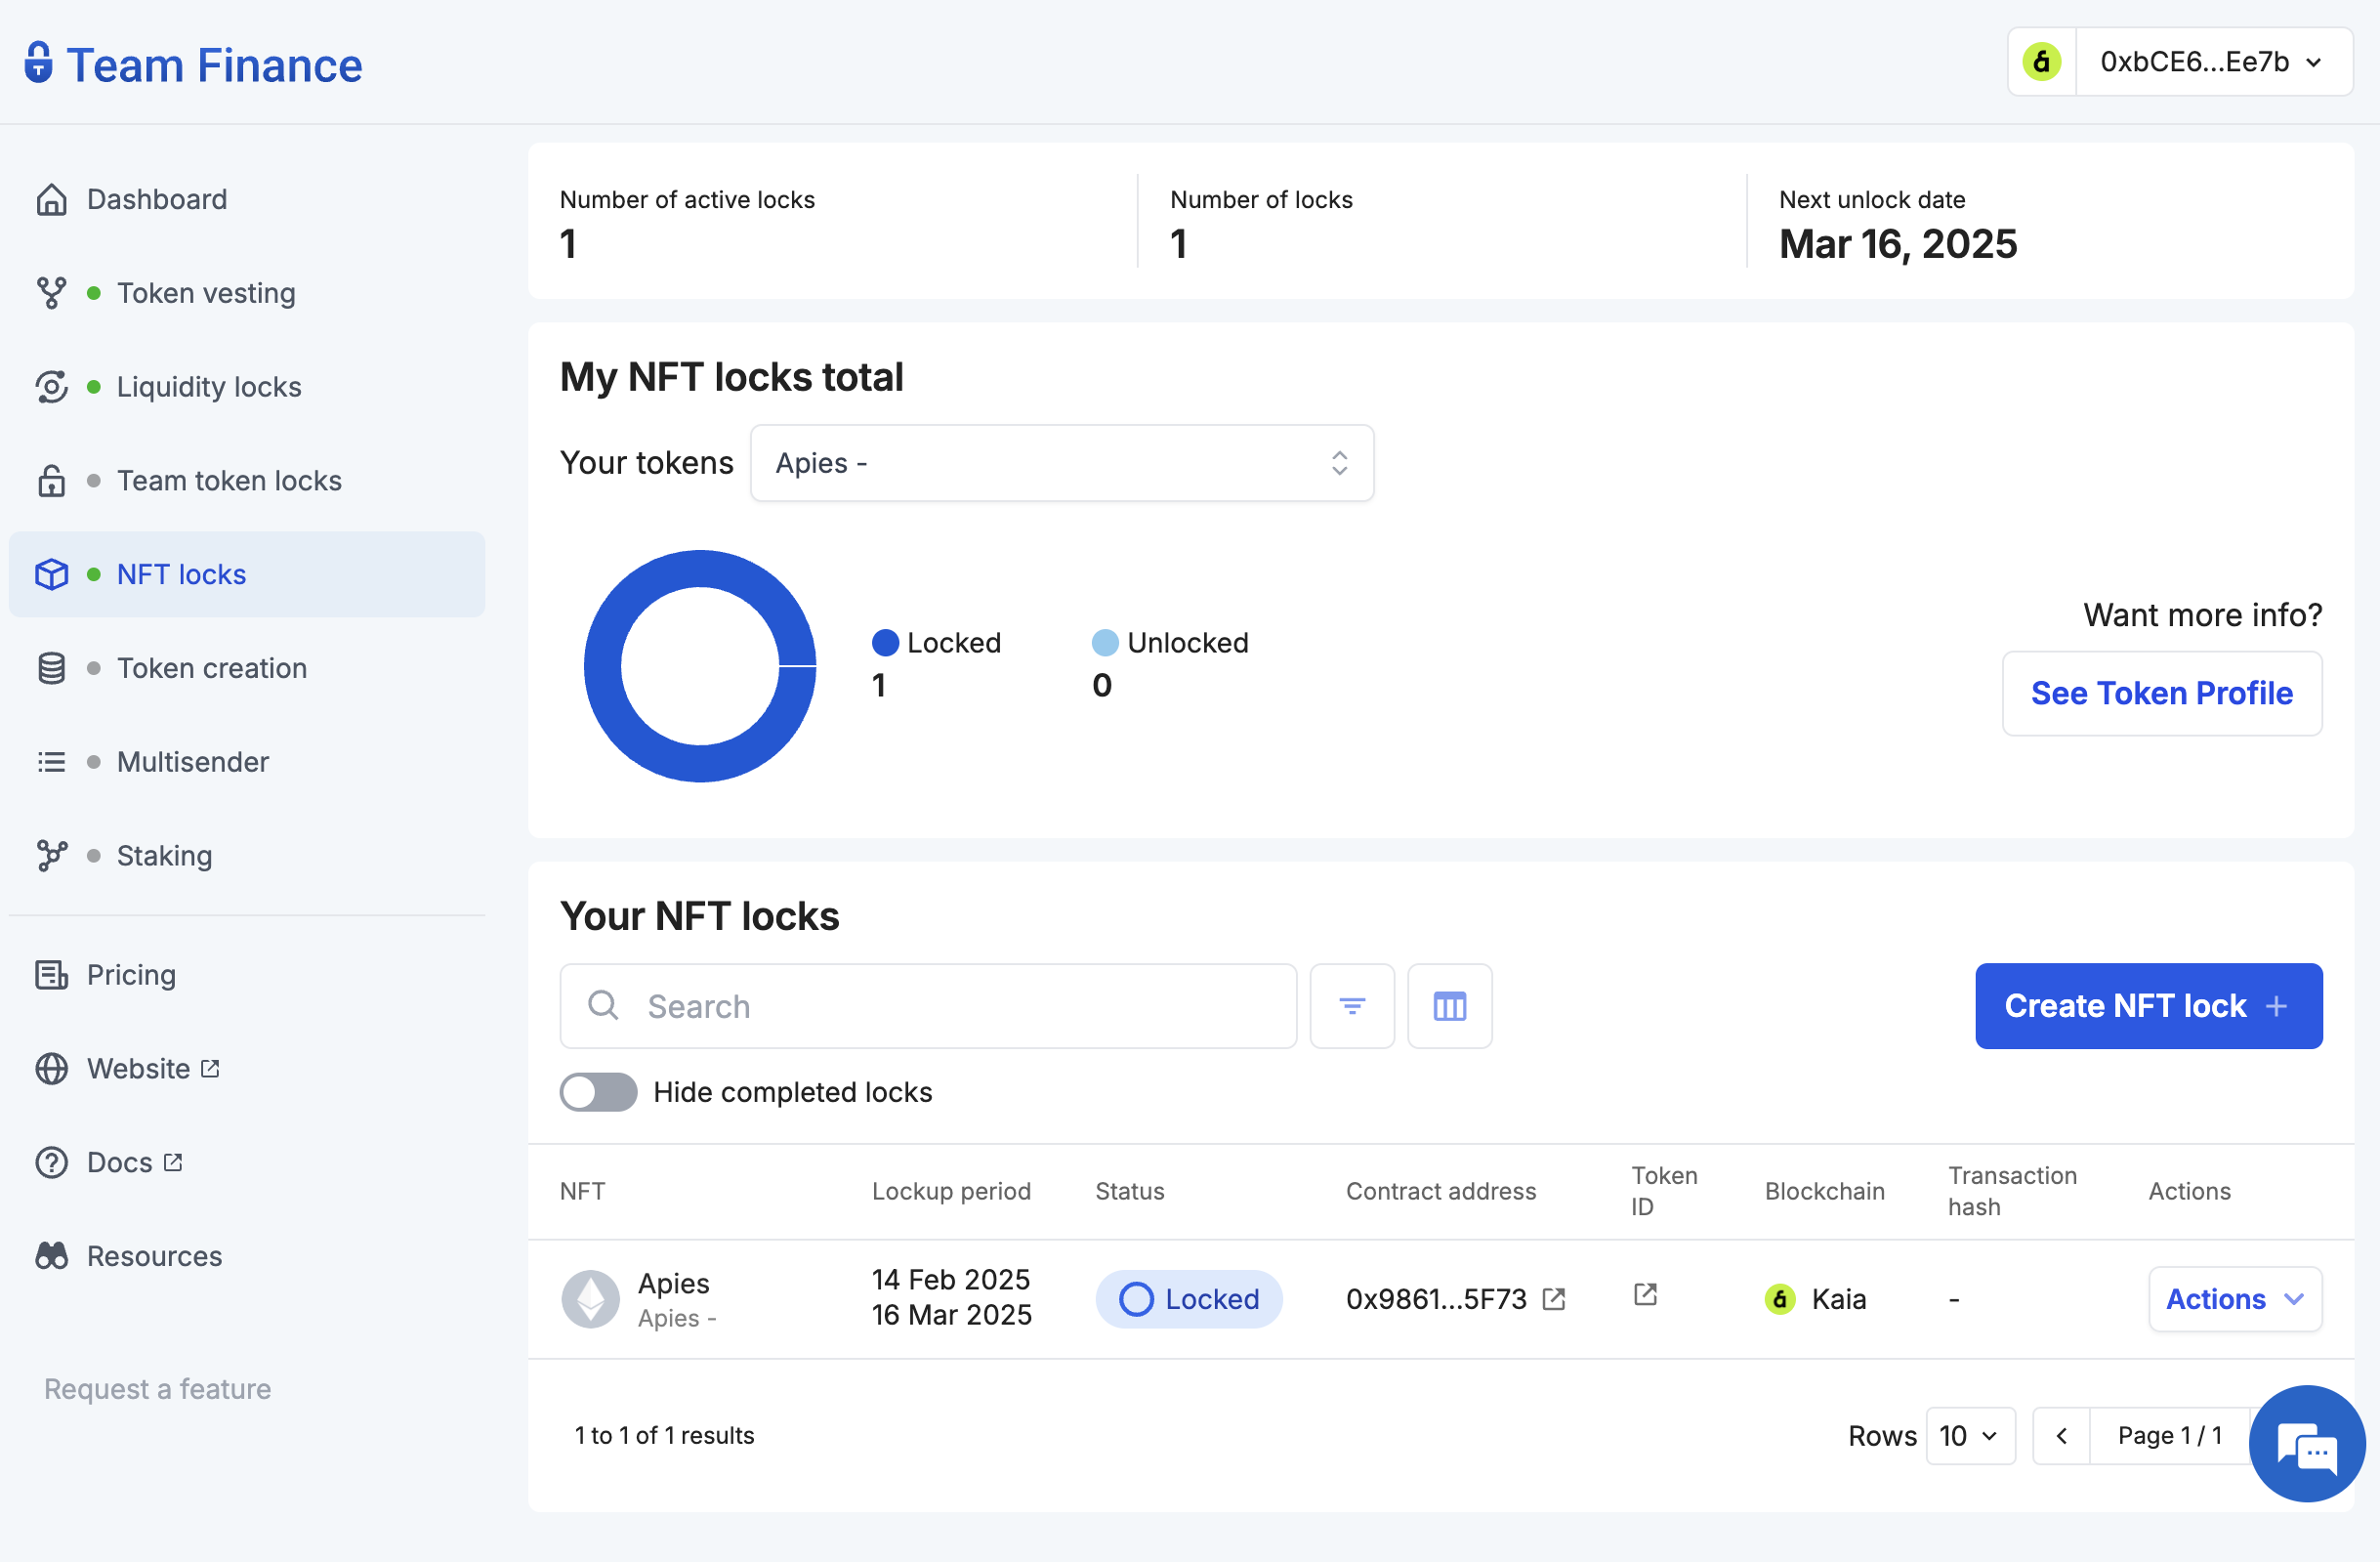
- Chúc mừng! Bạn đã tạo khóa NFT thành công bằng Team Finance. Bạn có thể xem thông tin chi tiết về khóa và theo dõi tiến trình của khóa trên bảng điều khiển.