Cách cấu hình ví của bạn cho Kaia Networks
Giới thiệu
Hướng dẫn này cung cấp các hướng dẫn thực tế, từng bước để cấu hình các ví phần mềm hàng đầu—Kaia Wallet và MetaMask—để kết nối với mạng chính Kaia Mainnet và mạng thử nghiệm Kairos Testnet. Hướng dẫn này được thiết kế dành cho các nhà phát triển đã có kiến thức cơ bản về ví tiền điện tử và mạng lưới, và cần thiết lập môi trường để phát triển hoặc thử nghiệm trên Kaia.
Bạn sẽ học cả cách nhanh nhất và cách thủ công để thêm mạng Kaia, cũng như cách nạp tiền vào ví của bạn bằng KAIA testnet.
Điều kiện tiên quyết
- Kiến thức cơ bản về các khái niệm blockchain (ví, mạng lưới, giao dịch)
- Trình duyệt Chrome hoặc trình duyệt tương thích đã được cài đặt.
- Hiểu rõ về khái niệm testnet và mainnet
Cấu hình Ví Kaia cho Kaia
Kaia Wallet là ví tiền điện tử tích hợp sẵn trong trình duyệt dành cho hệ sinh thái Kaia. Mặc dù có nhiều tính năng tương tự MetaMask, nó được tối ưu hóa cho Kaia bằng cách hỗ trợ các loại giao dịch độc đáo, giao dịch ủy quyền phí và hệ thống tài khoản đặc thù của mạng lưới, đồng thời mang lại trải nghiệm người dùng mượt mà trên mạng lưới.
Cài đặt Ví Kaia
- Phần mở rộng trình duyệt
- Di động
- Thăm https://www.kaiawallet.io
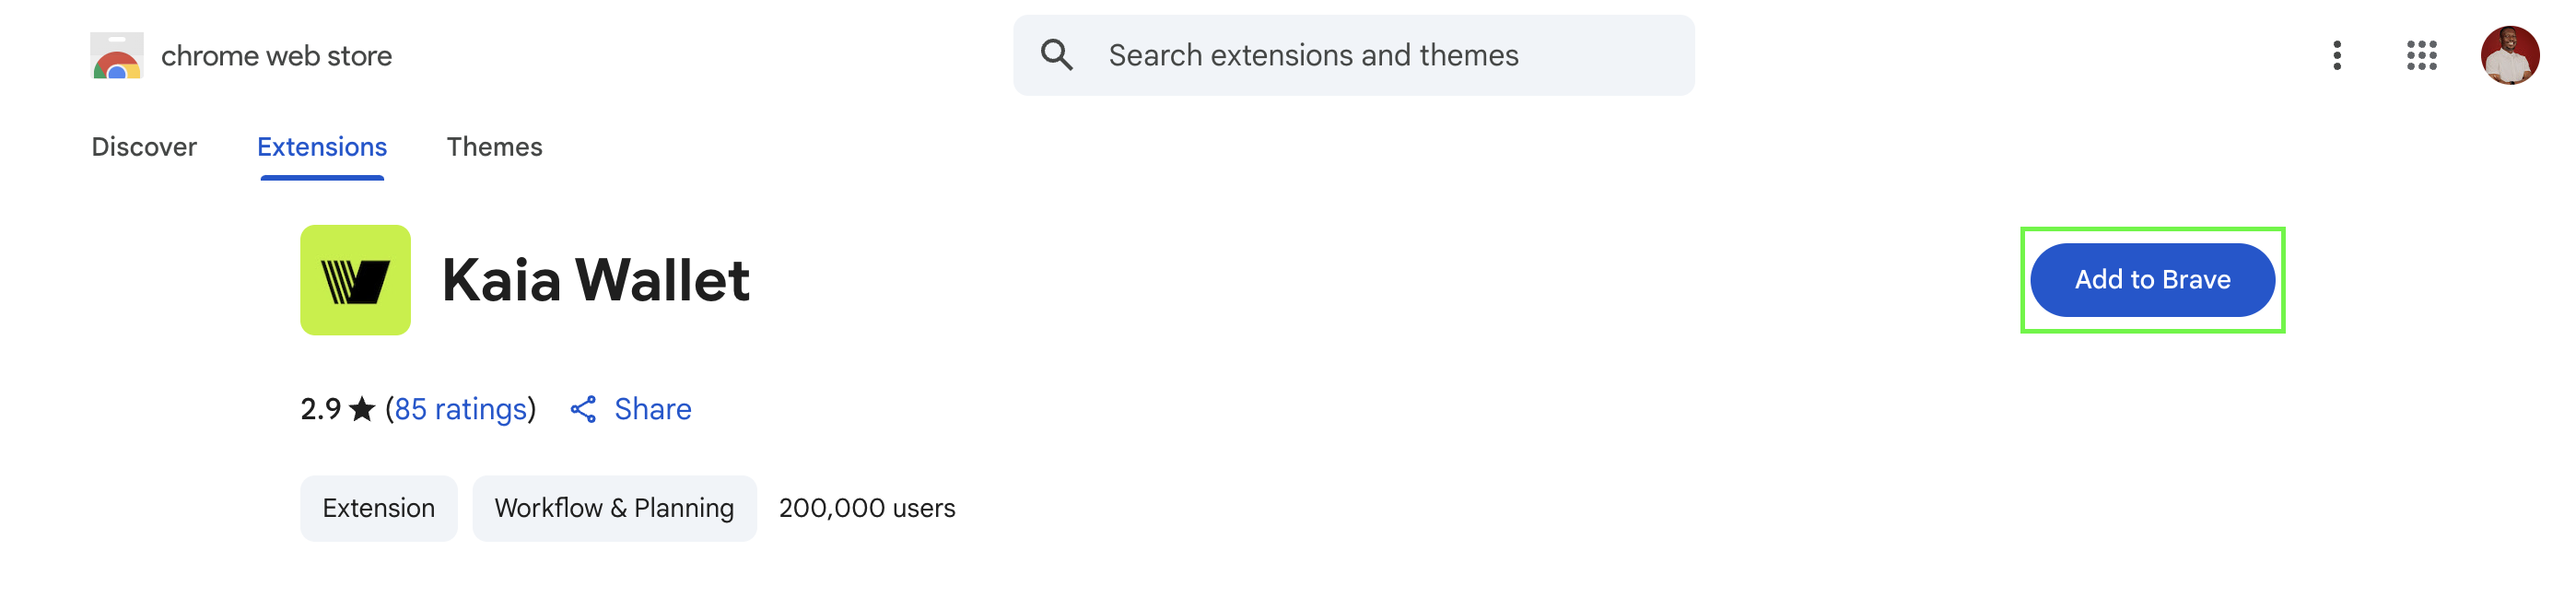
- Nhấp vào nút Phần mở rộng trình duyệt (Chrome/Brave).
- Nhấp vào nút Thêm vào Brave.
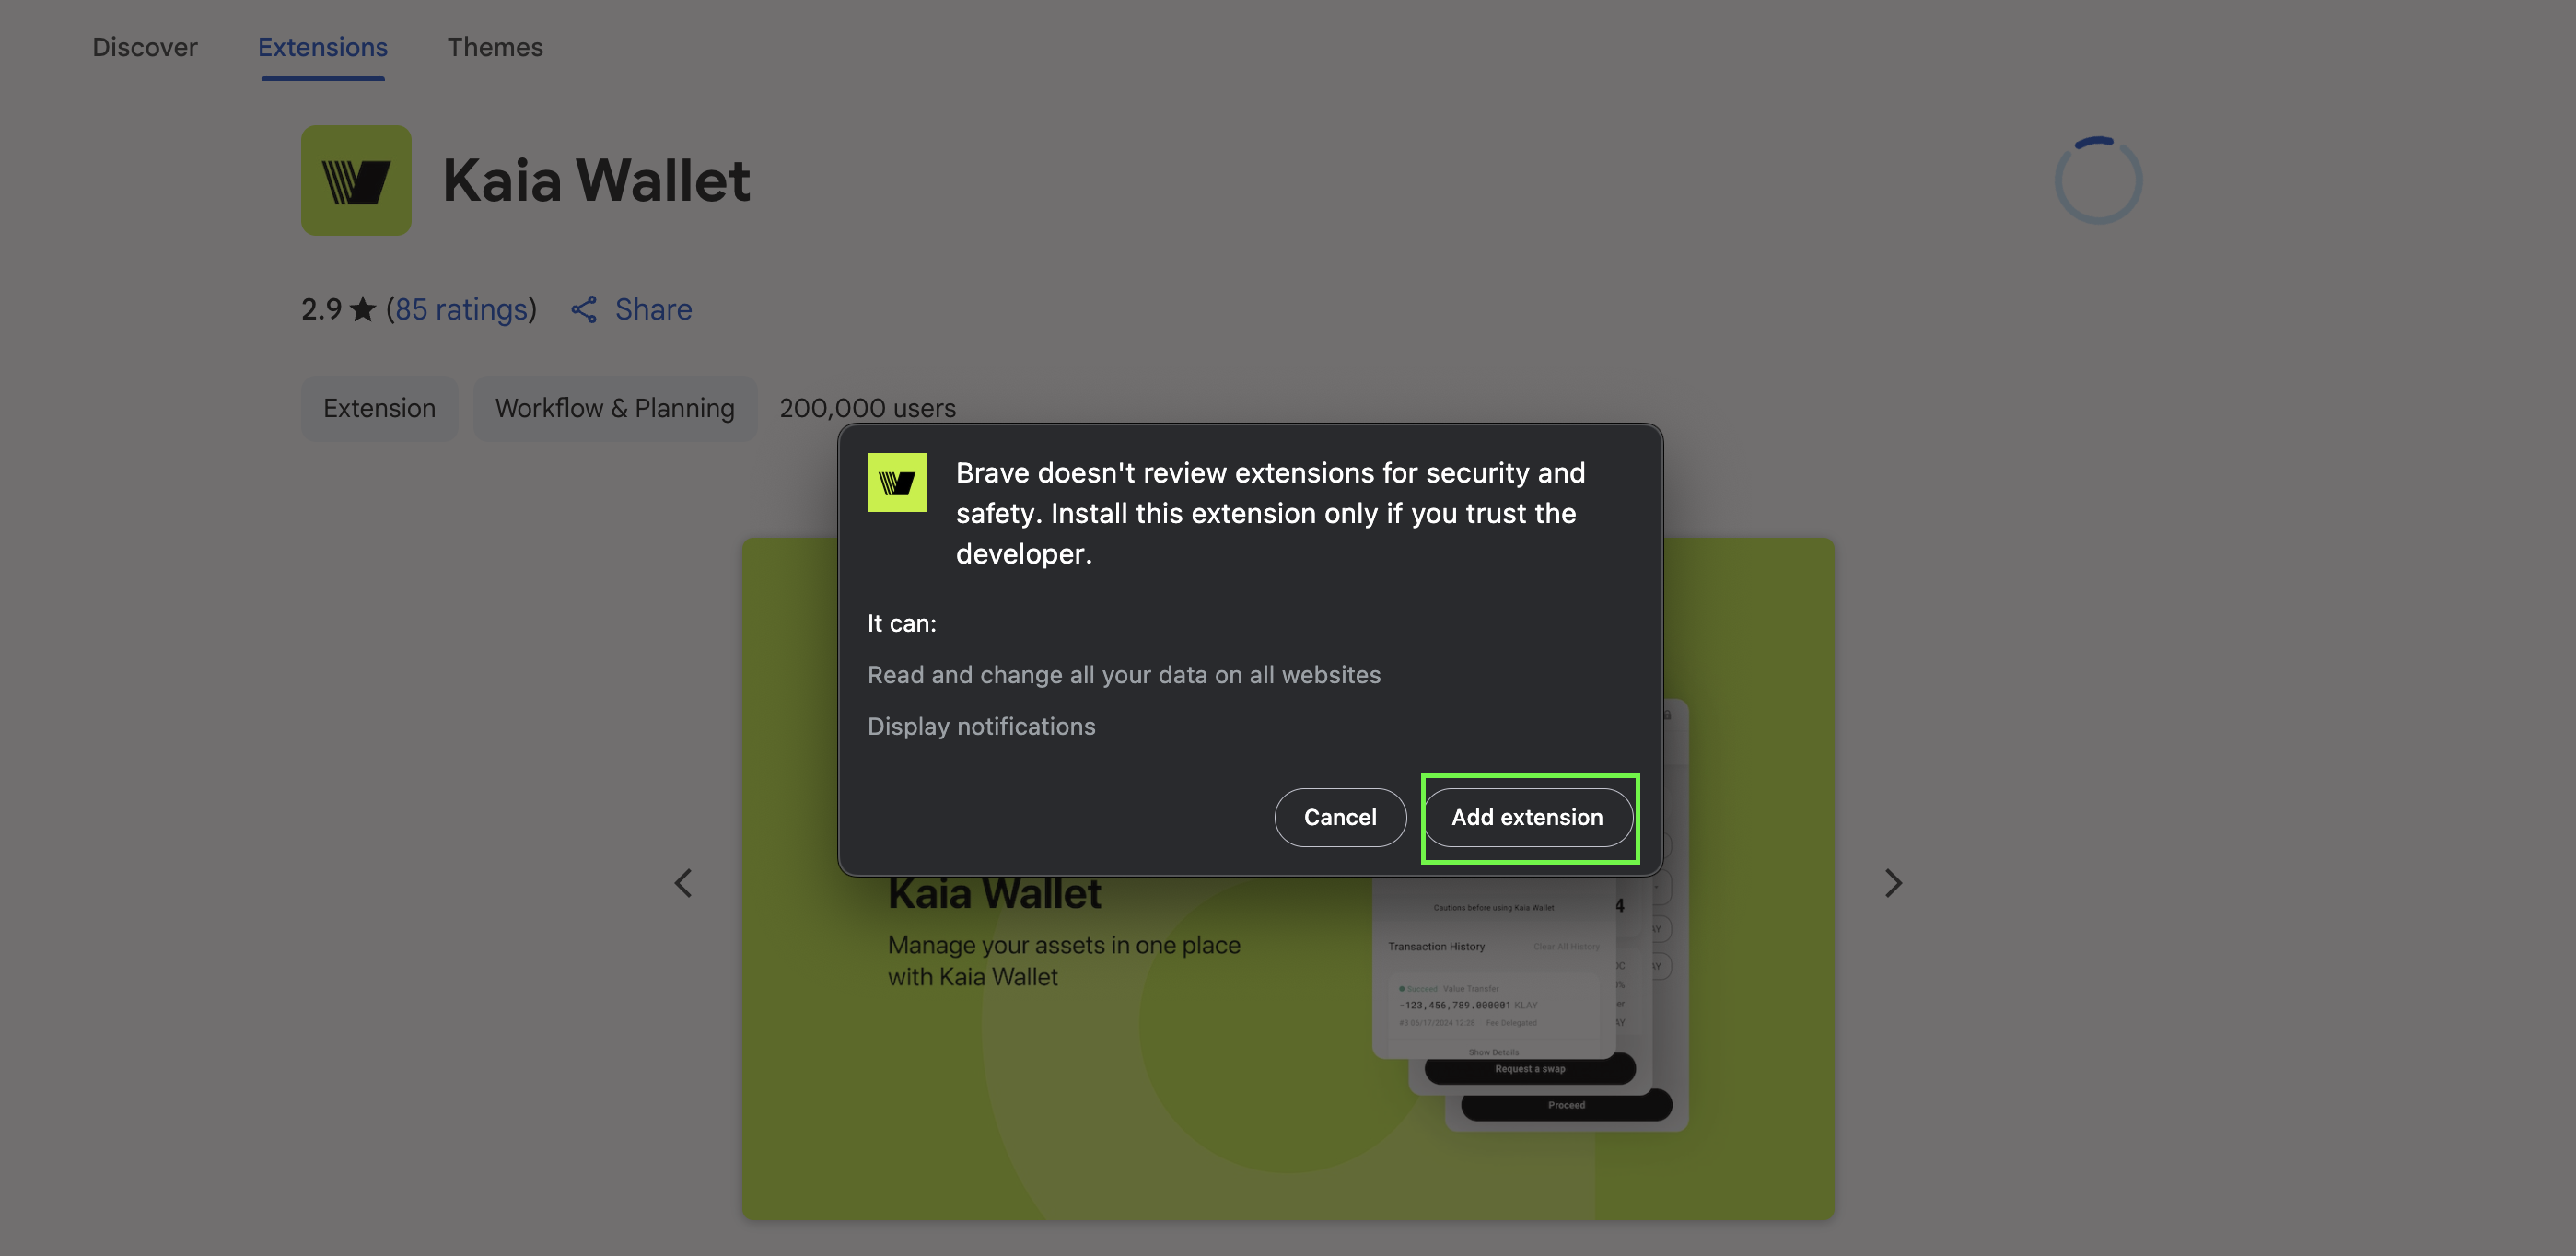
- Trên cửa sổ pop-up, nhấp vào nút Thêm tiện ích mở rộng.
Sau khi cài đặt tiện ích mở rộng Kaia Wallet, tab "Hoàn tất cài đặt" sẽ tự động mở. Bạn cũng có thể đảm bảo rằng nó dễ dàng truy cập trong thanh công cụ bằng cách nhấp vào biểu tượng hình ghép hình ở góc trên bên phải màn hình và ghim trực tiếp vào đó.
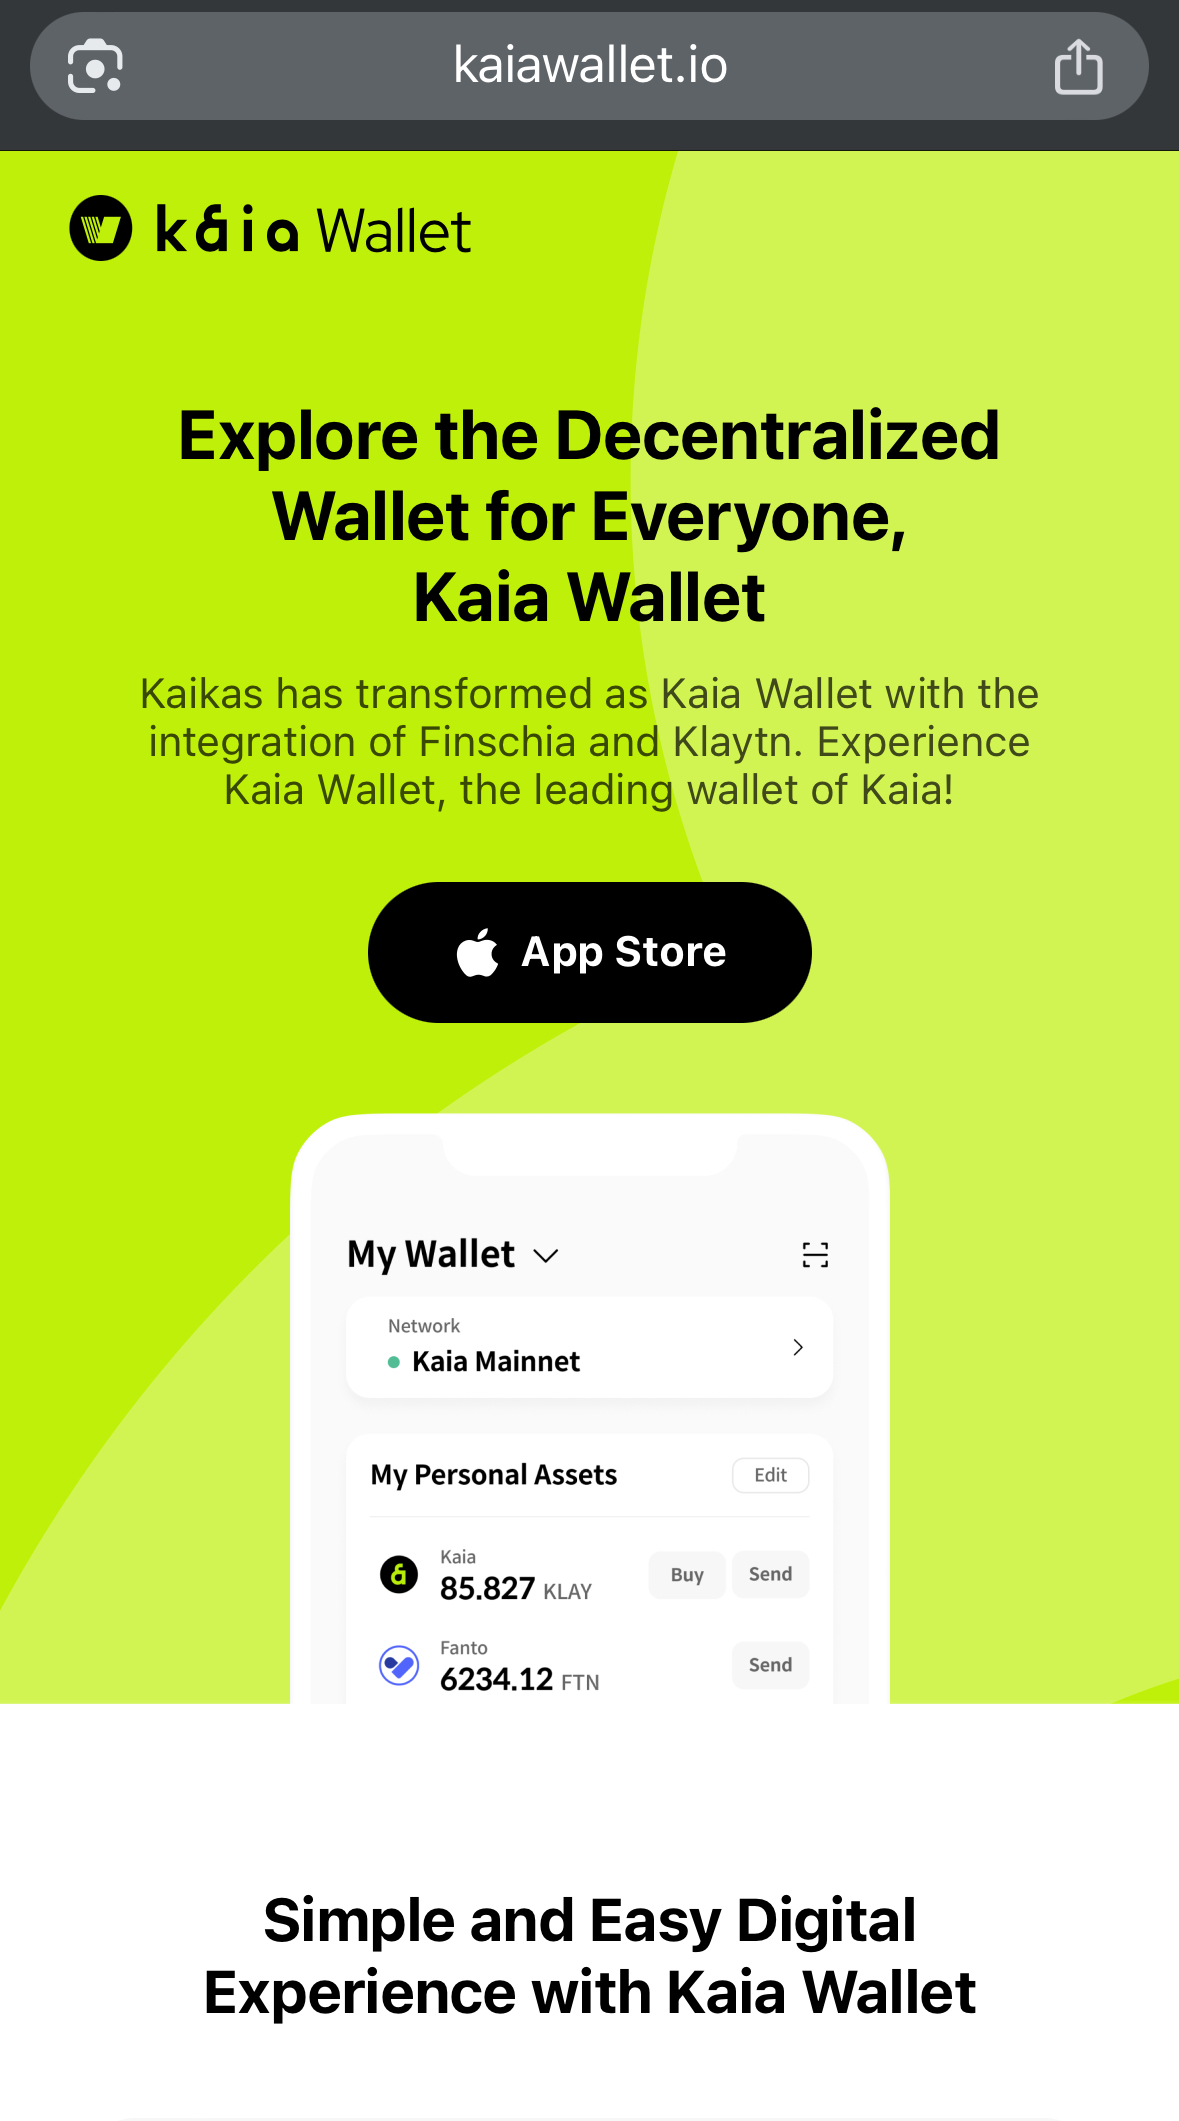
- Thăm trang web https://www.kaiawallet.io
- Nhấp vào nút App Store hoặc Play Store tùy thuộc vào thiết bị di động của bạn
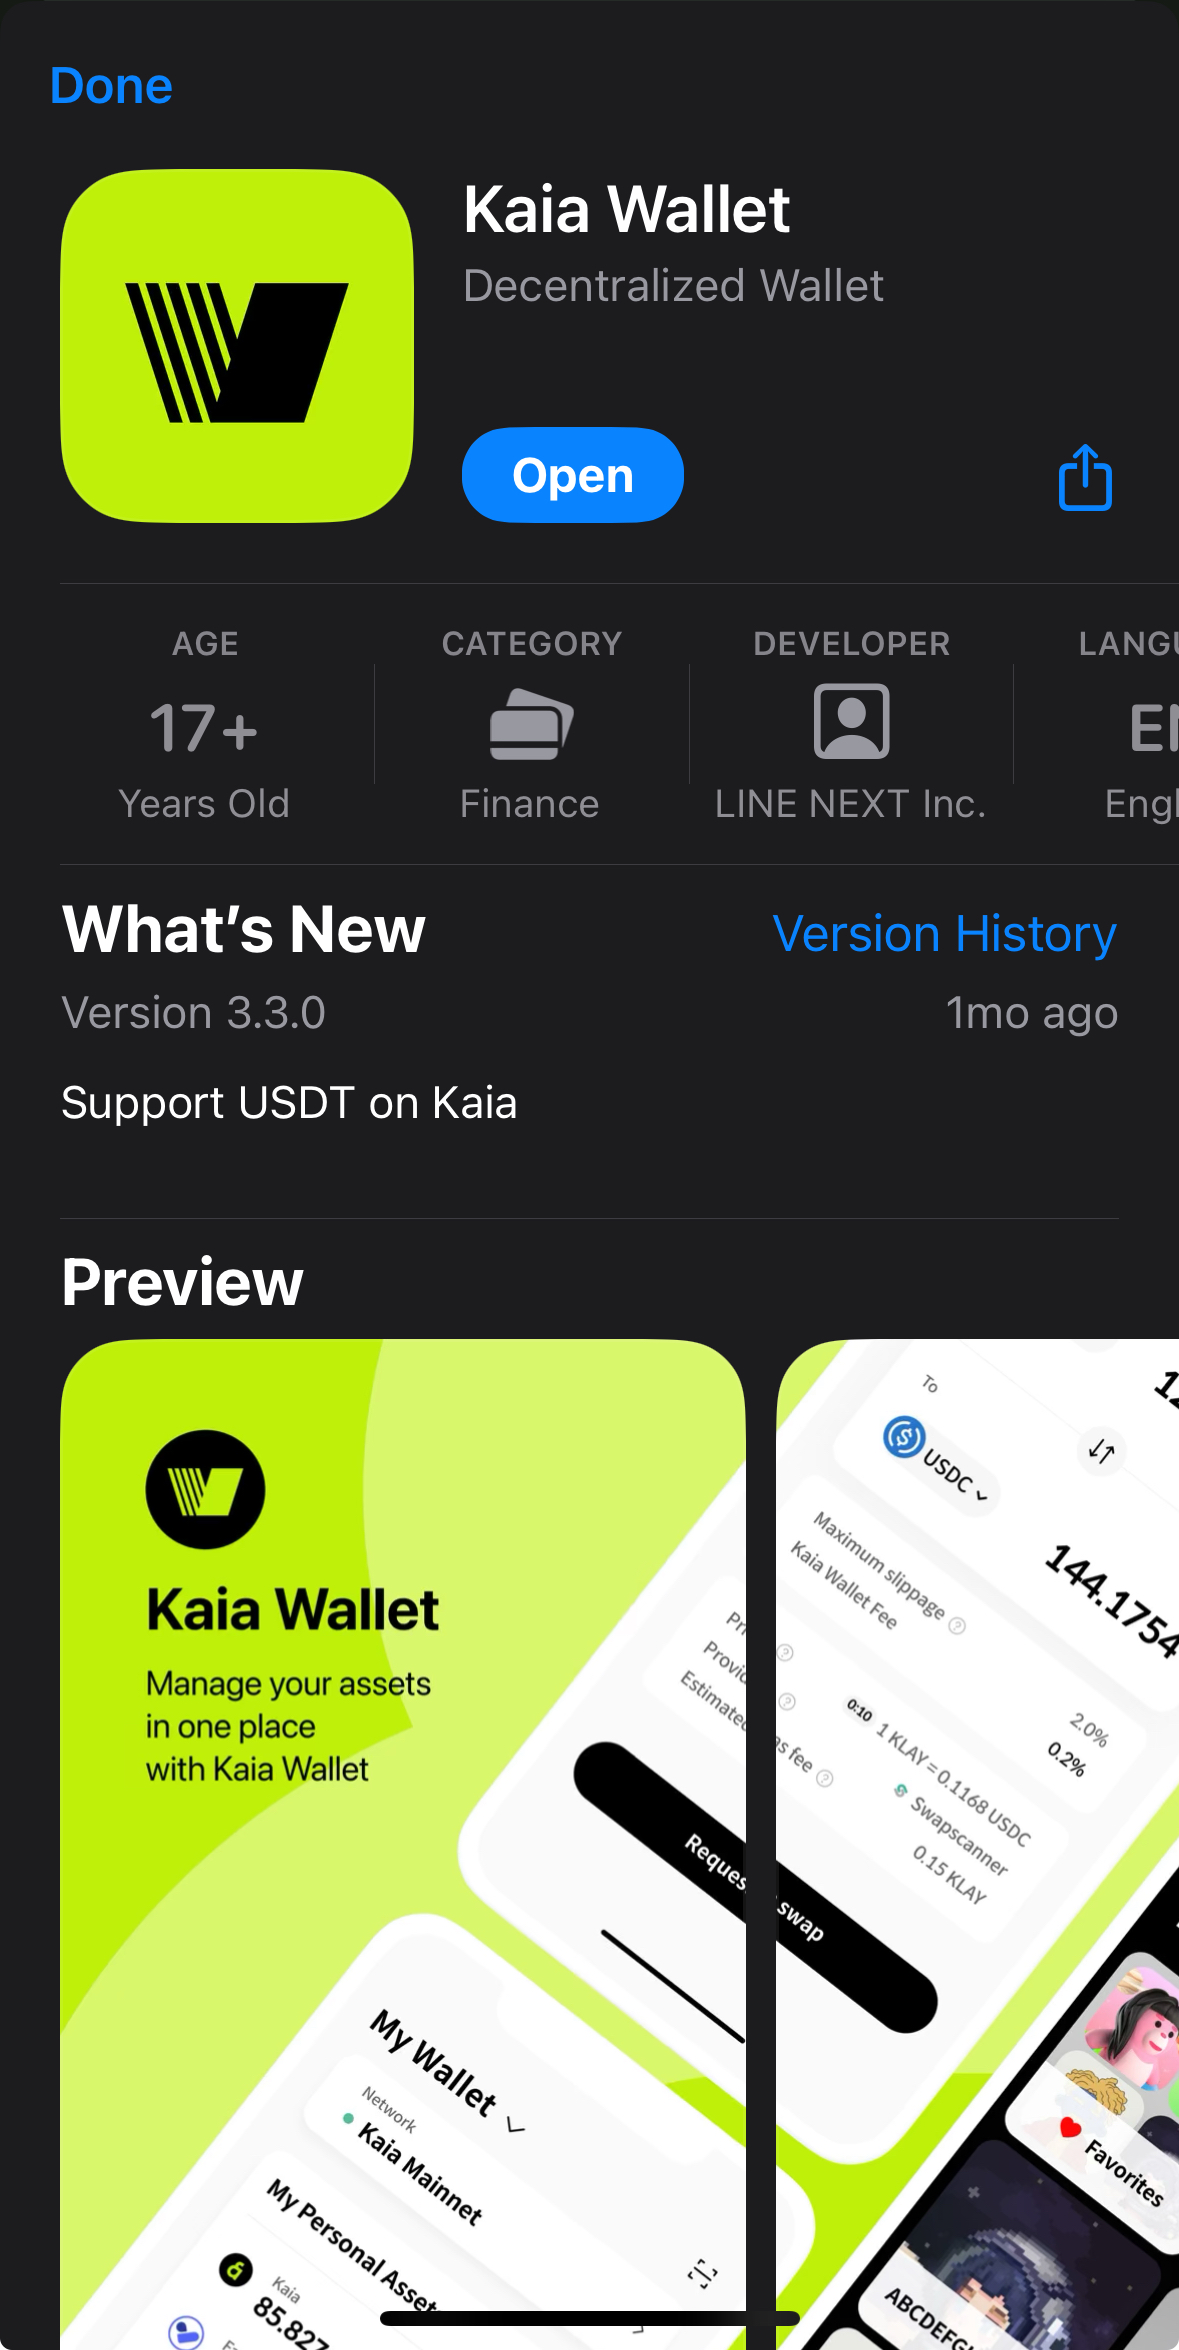
- Nhấp vào nút Get để tải xuống Kaia Wallet. Sau khi tải xuống, hãy nhấp vào nút Mở.
Tạo ví Kaia
- Phần mở rộng trình duyệt
- Di động
Bây giờ bạn đã cài đặt thành công Kaia Wallet, bước tiếp theo là tạo ví và xem chúng hoạt động như thế nào.
- Nhấp vào biểu tượng Kaia Wallet từ thanh tiện ích đã ghim của bạn.
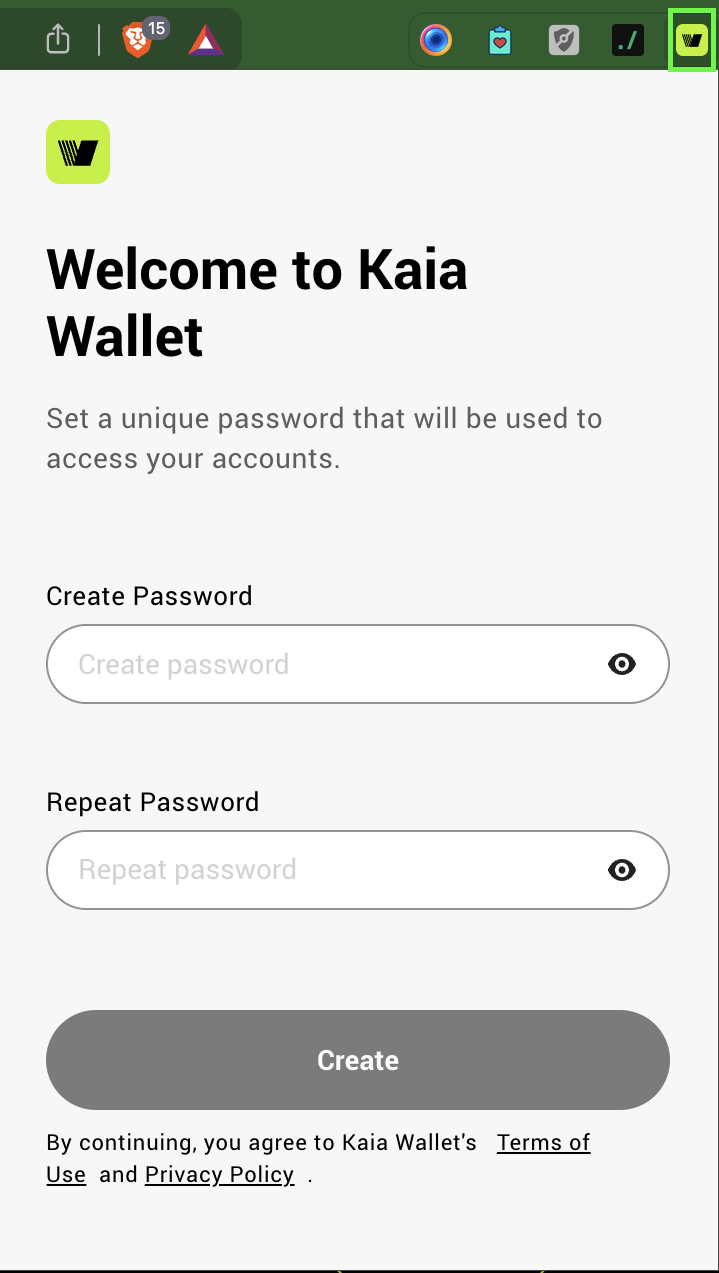
- Đặt mật khẩu duy nhất sẽ được sử dụng để truy cập các tài khoản của bạn như sau:
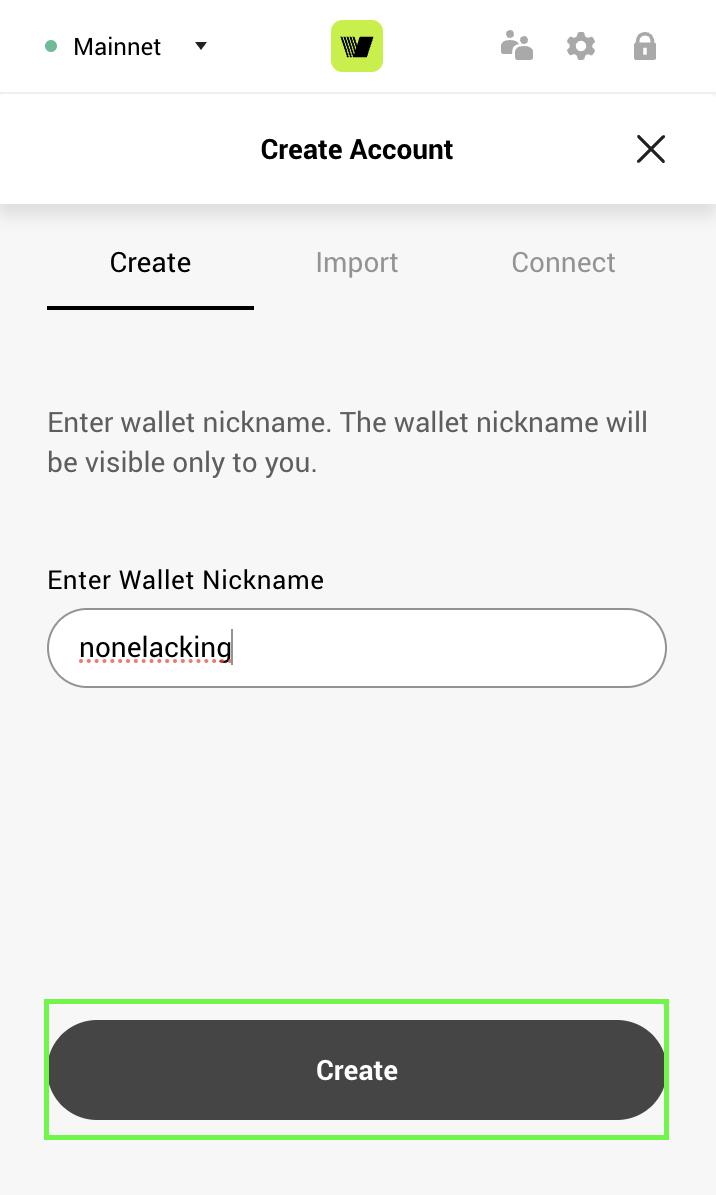
- Nhập biệt danh ví và sau đó nhấp vào nút Tạo
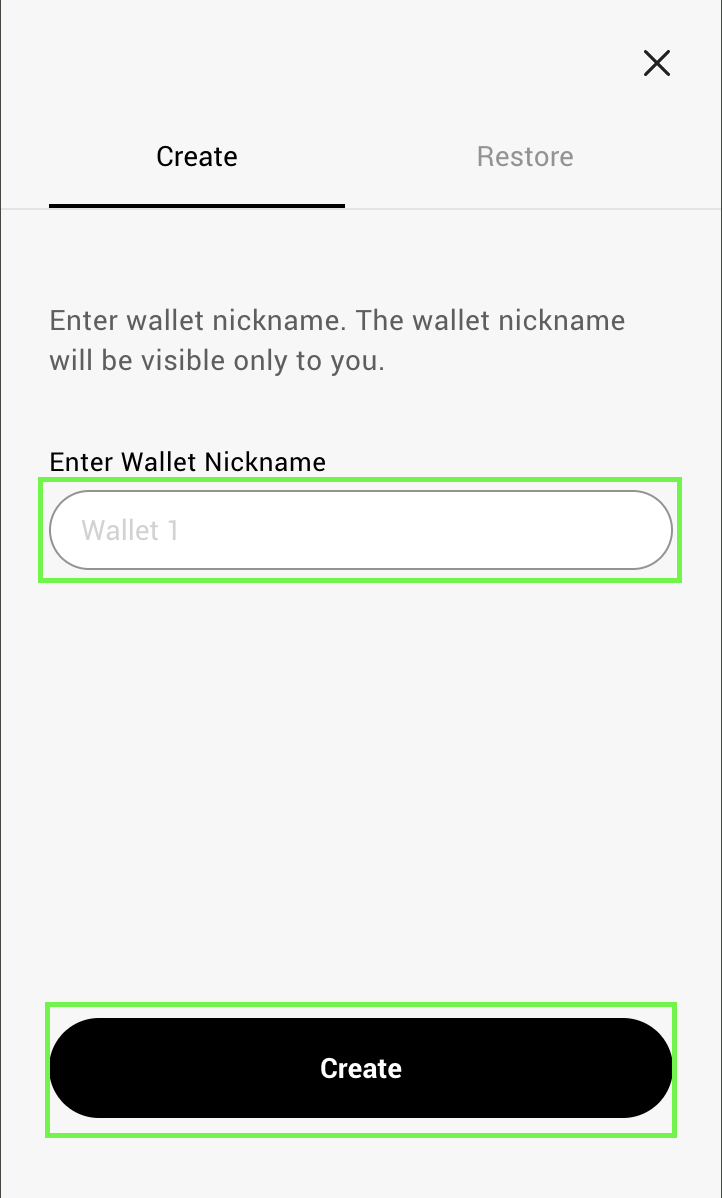
Nếu bạn đang nhập một ví đã tồn tại, hãy nhấp vào tab Khôi phục và làm theo các bước tương ứng.
- Hãy đảm bảo đọc hướng dẫn bảo mật và sau đó nhấp vào nút Tiếp theo.

- Lưu trữ cụm từ khôi phục của bạn một cách an toàn

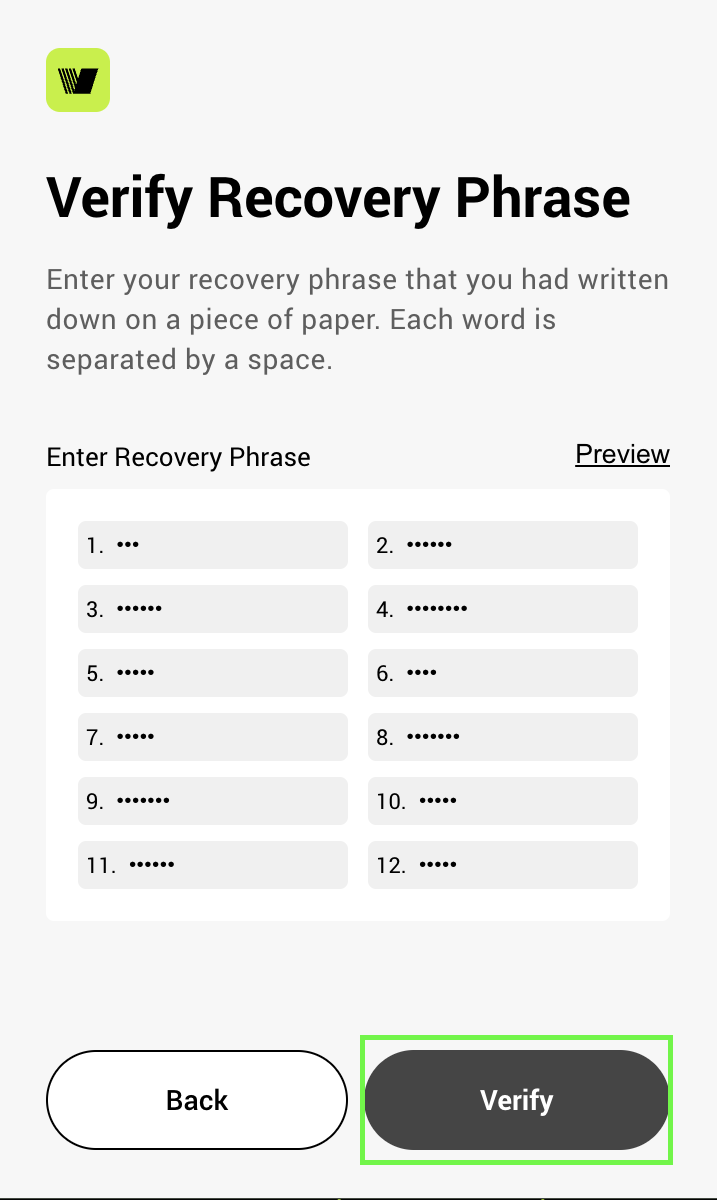
- Nhập cụm từ khôi phục mà bạn đã lưu trữ an toàn và nhấp vào Xác minh
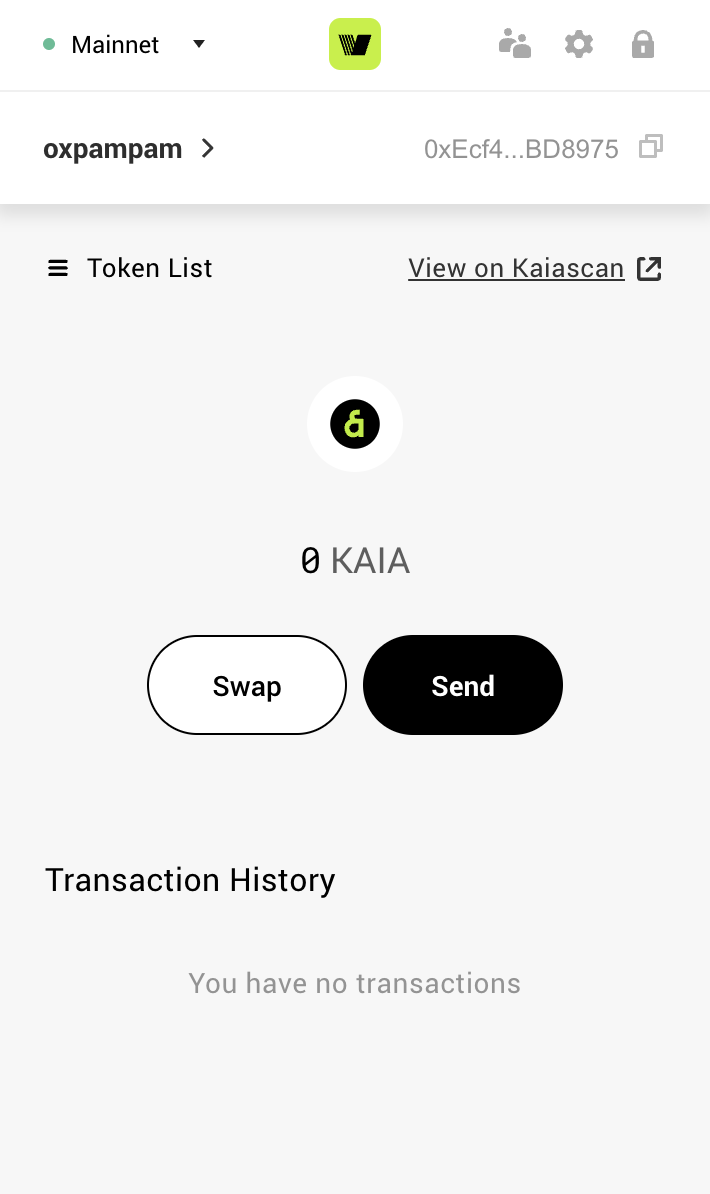
- Nhấp vào nút Bắt đầu ví Kaia để bắt đầu sử dụng ví của bạn

- Đánh dấu vào ô đồng ý với Điều khoản sử dụng Ví Kaia và sau đó nhấp vào nút Tạo Ví.
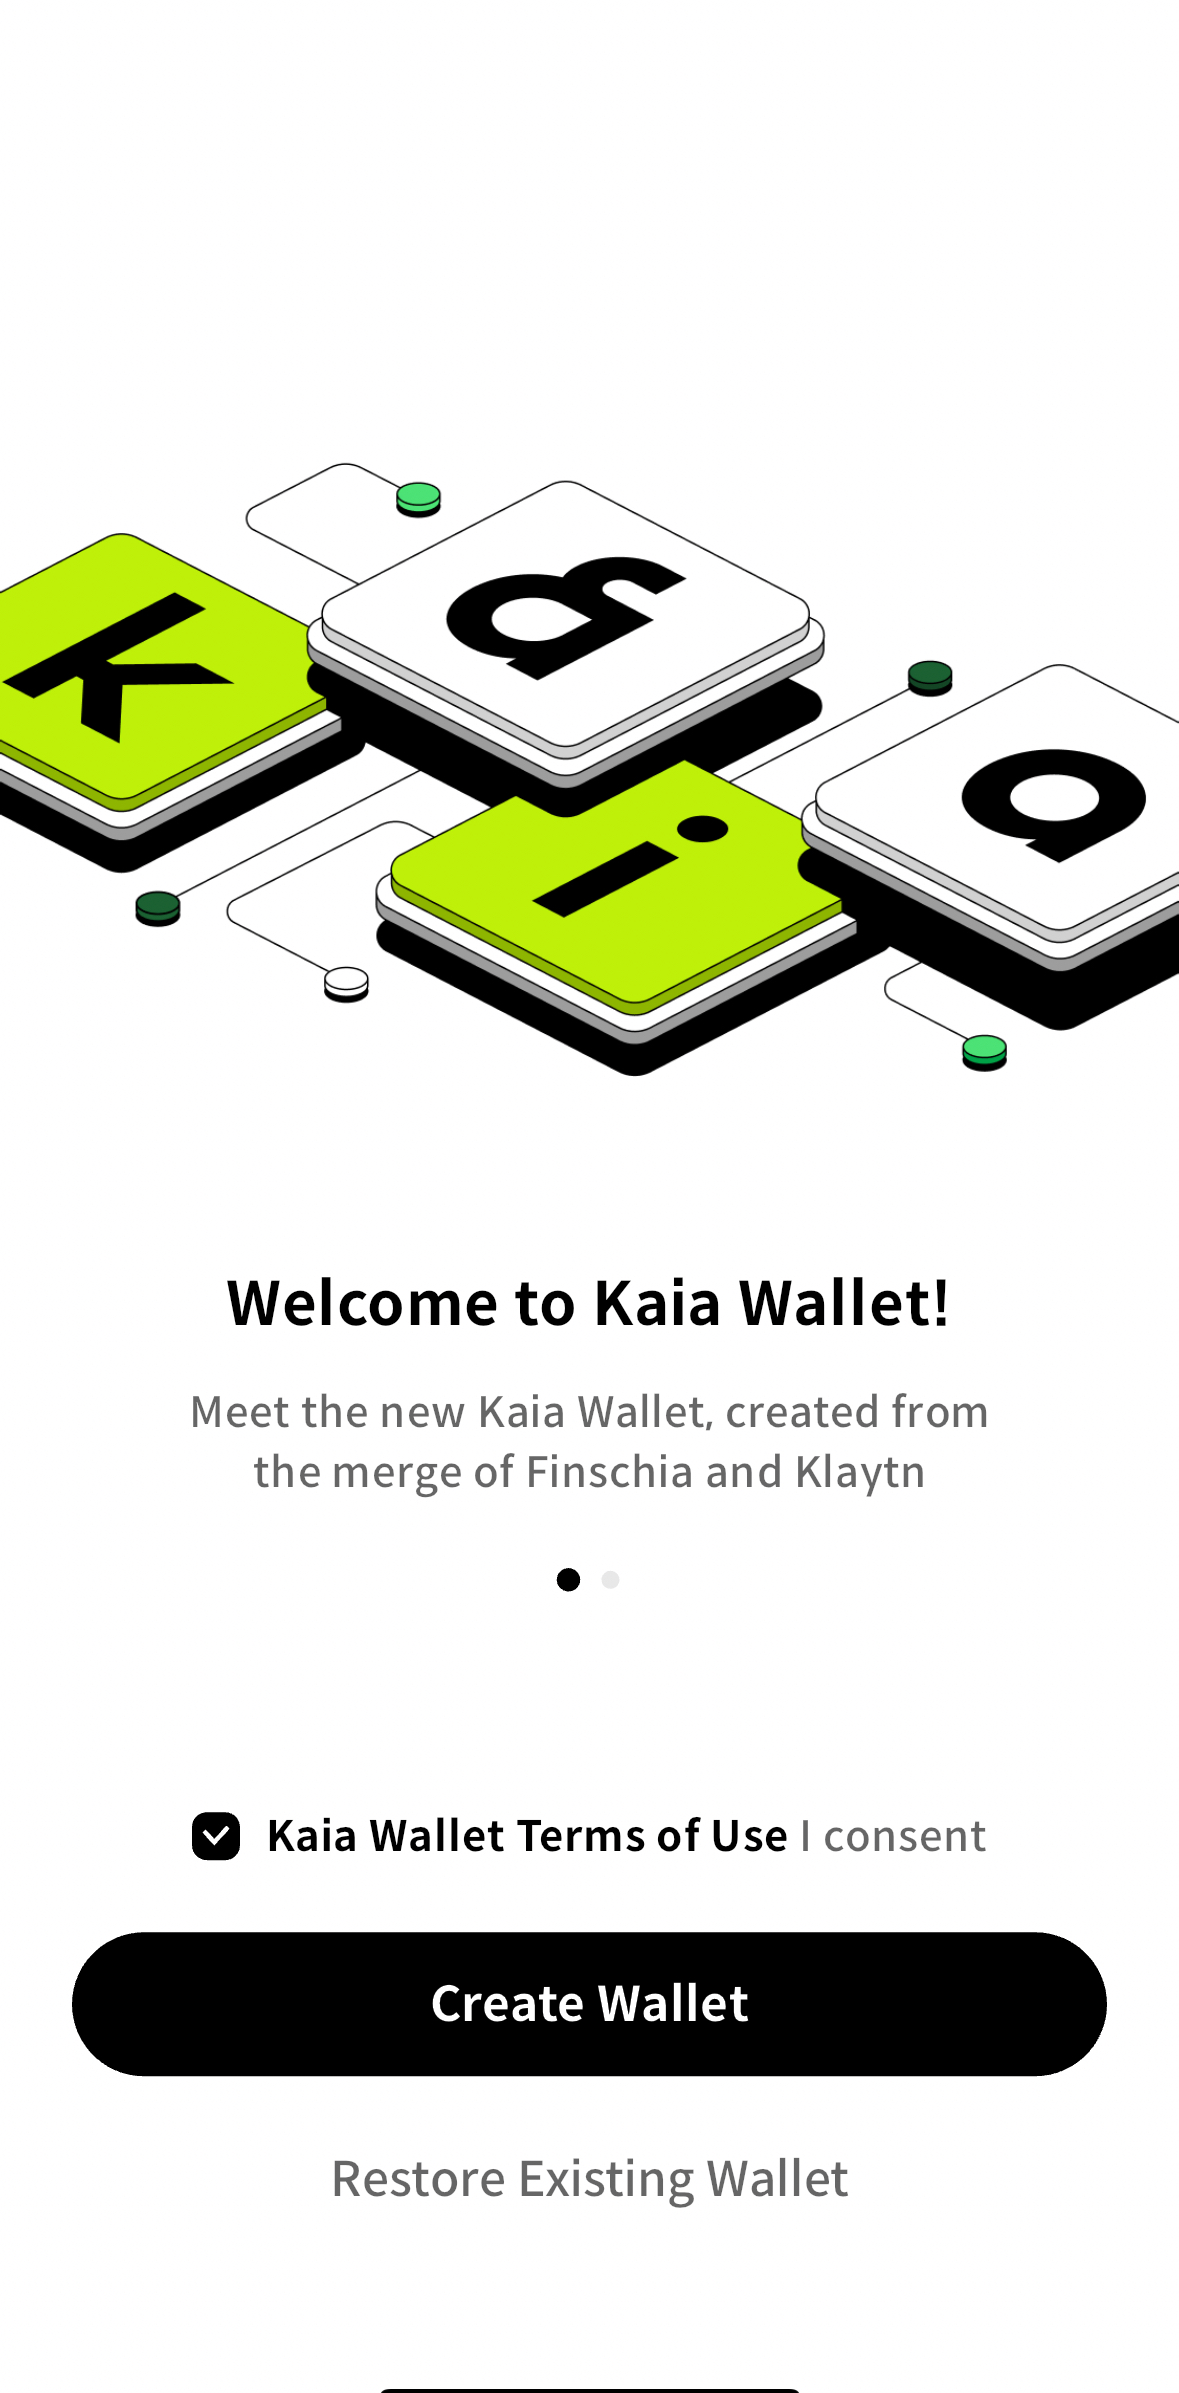
Lưu ý: Nếu bạn muốn khôi phục ví hiện có, bạn có thể nhấp vào nút Khôi phục ví hiện có và làm theo các bước tương ứng.
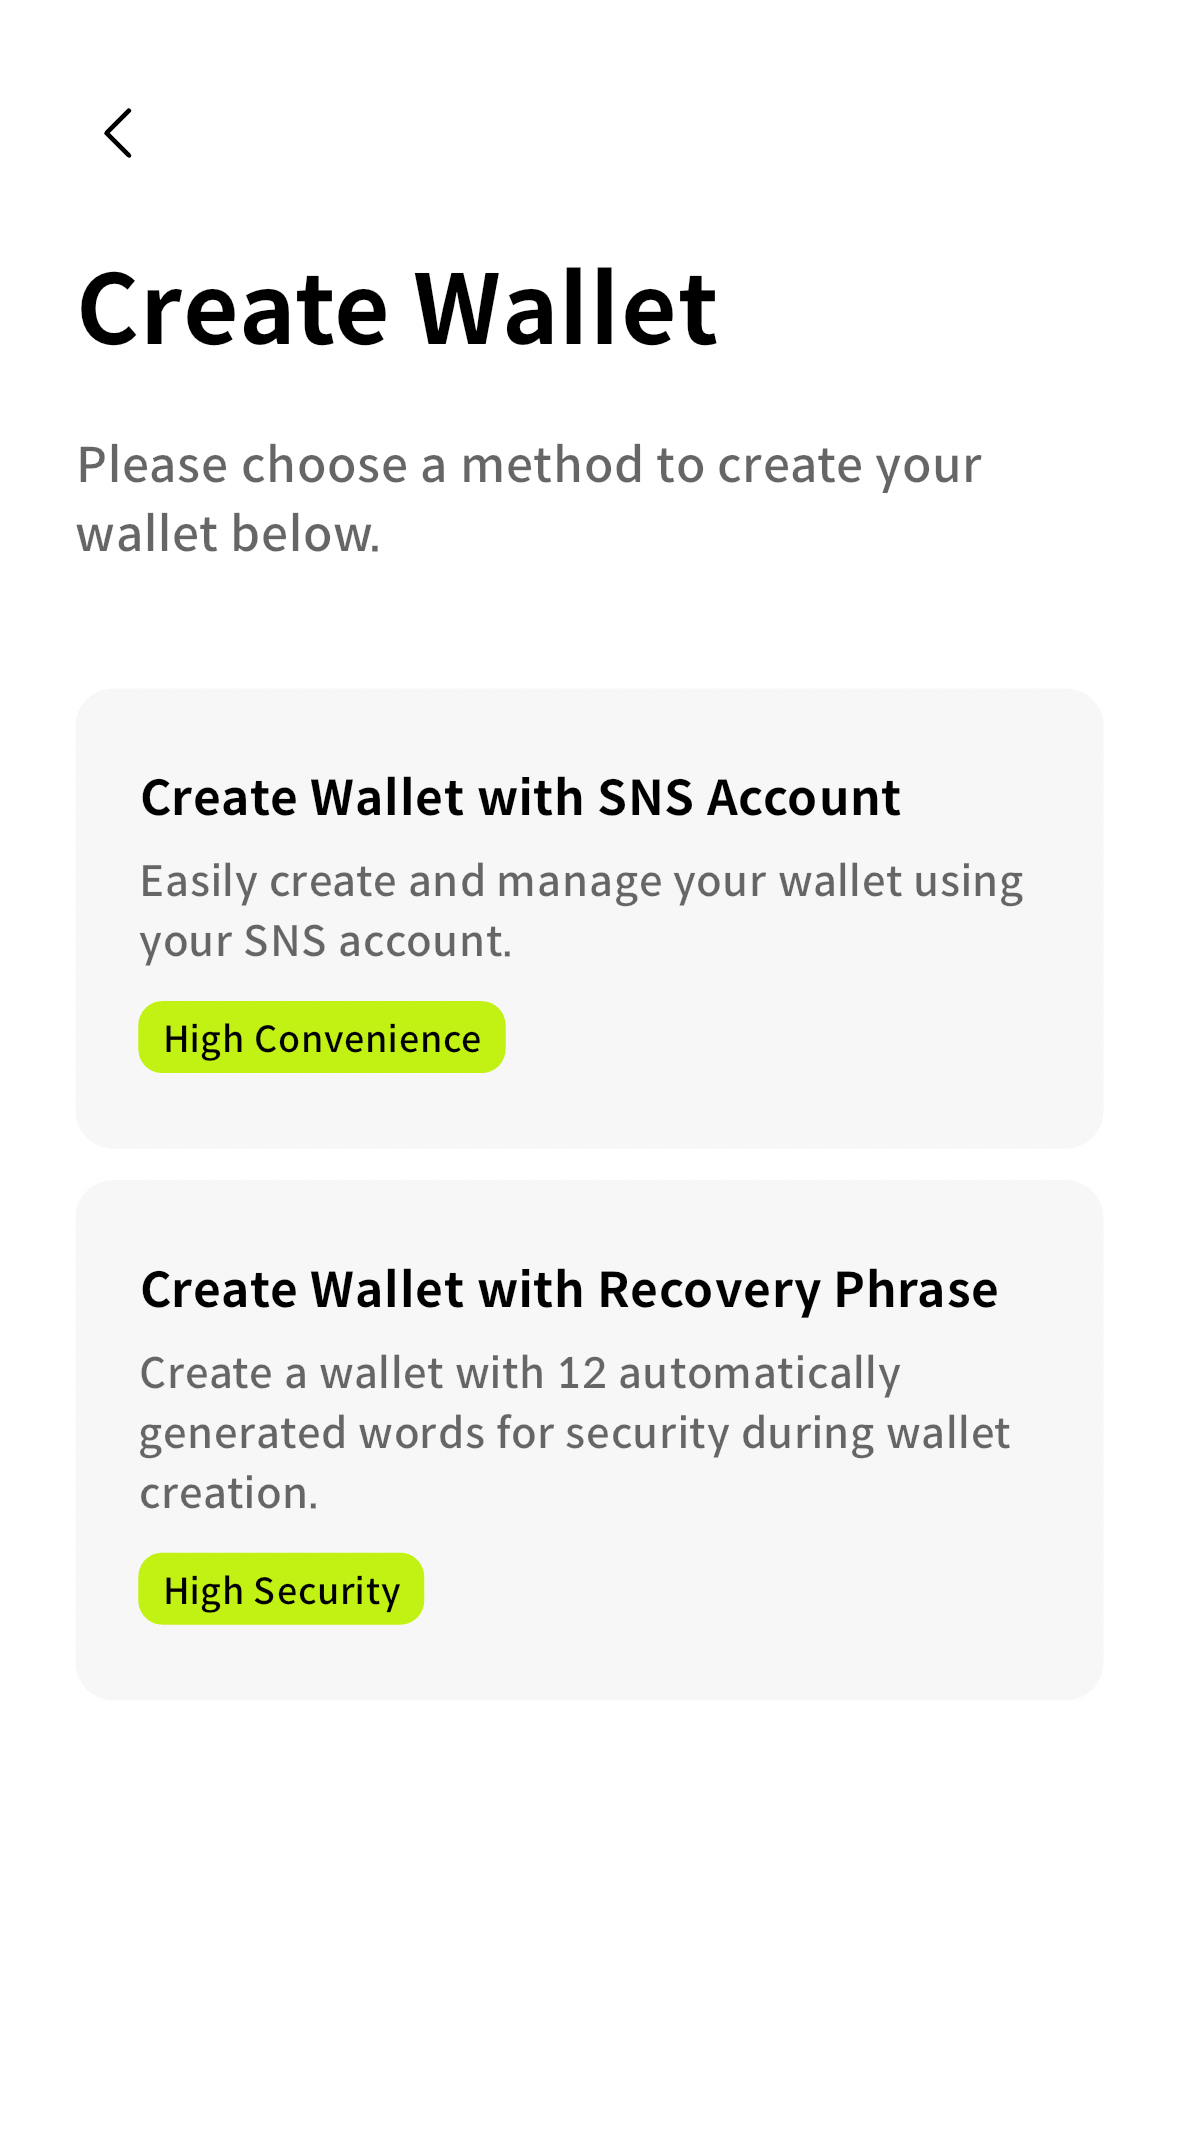
- Chọn phương thức để tạo ví của bạn. Hoặc tạo bằng cách sử dụng Mạng xã hội (SNS) như Google, LINE, Apple, Kakao, Naver, hoặc tạo bằng cách sử dụng Giai đoạn phục hồi. Đối với hướng dẫn này, chúng ta sẽ chọn tùy chọn Tạo ví với giai đoạn khôi phục.
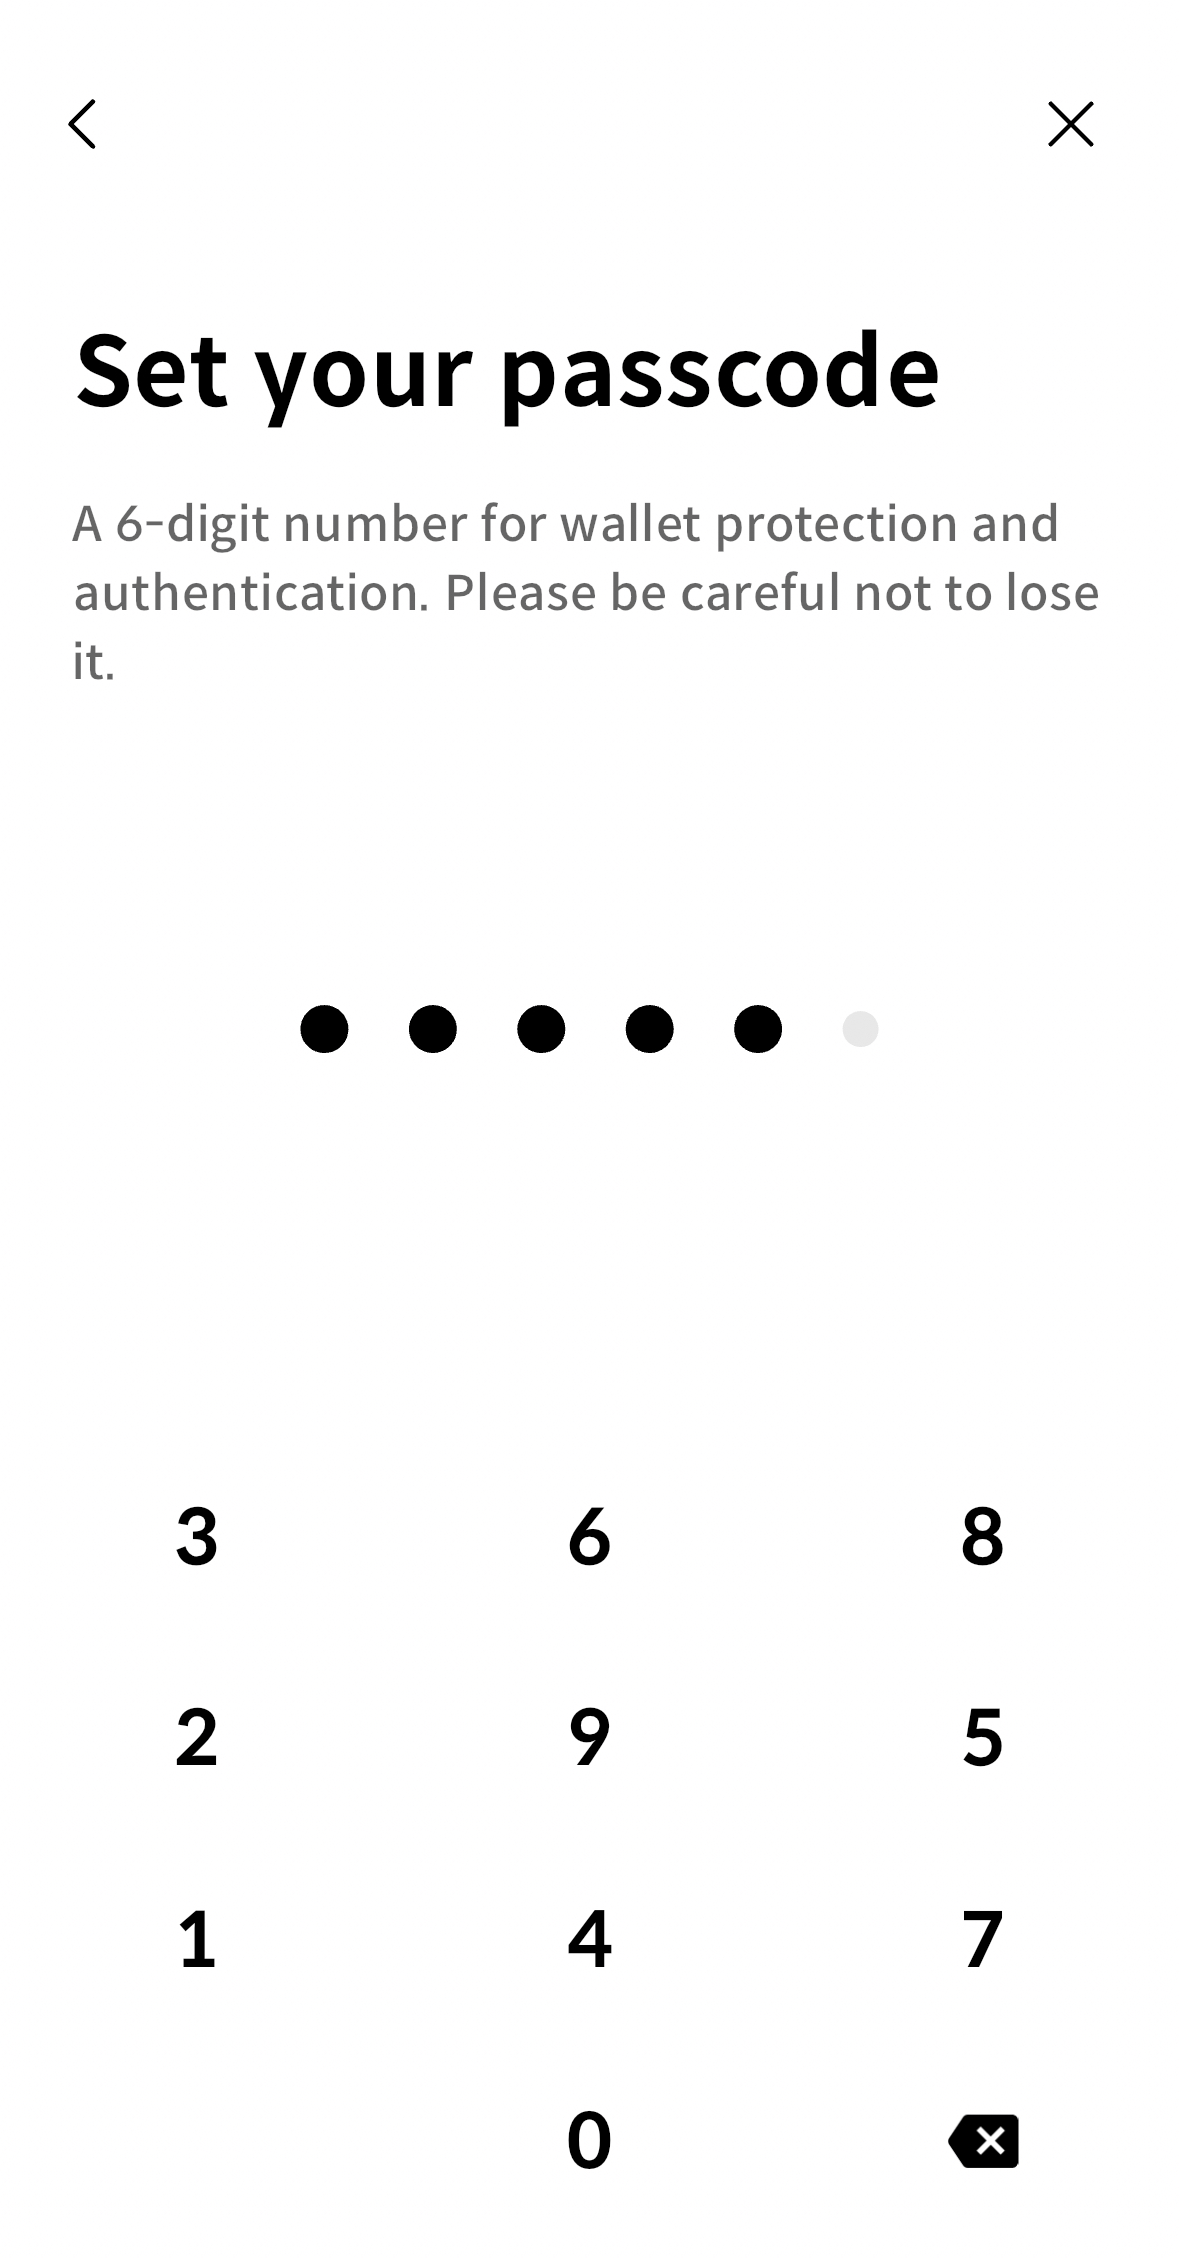
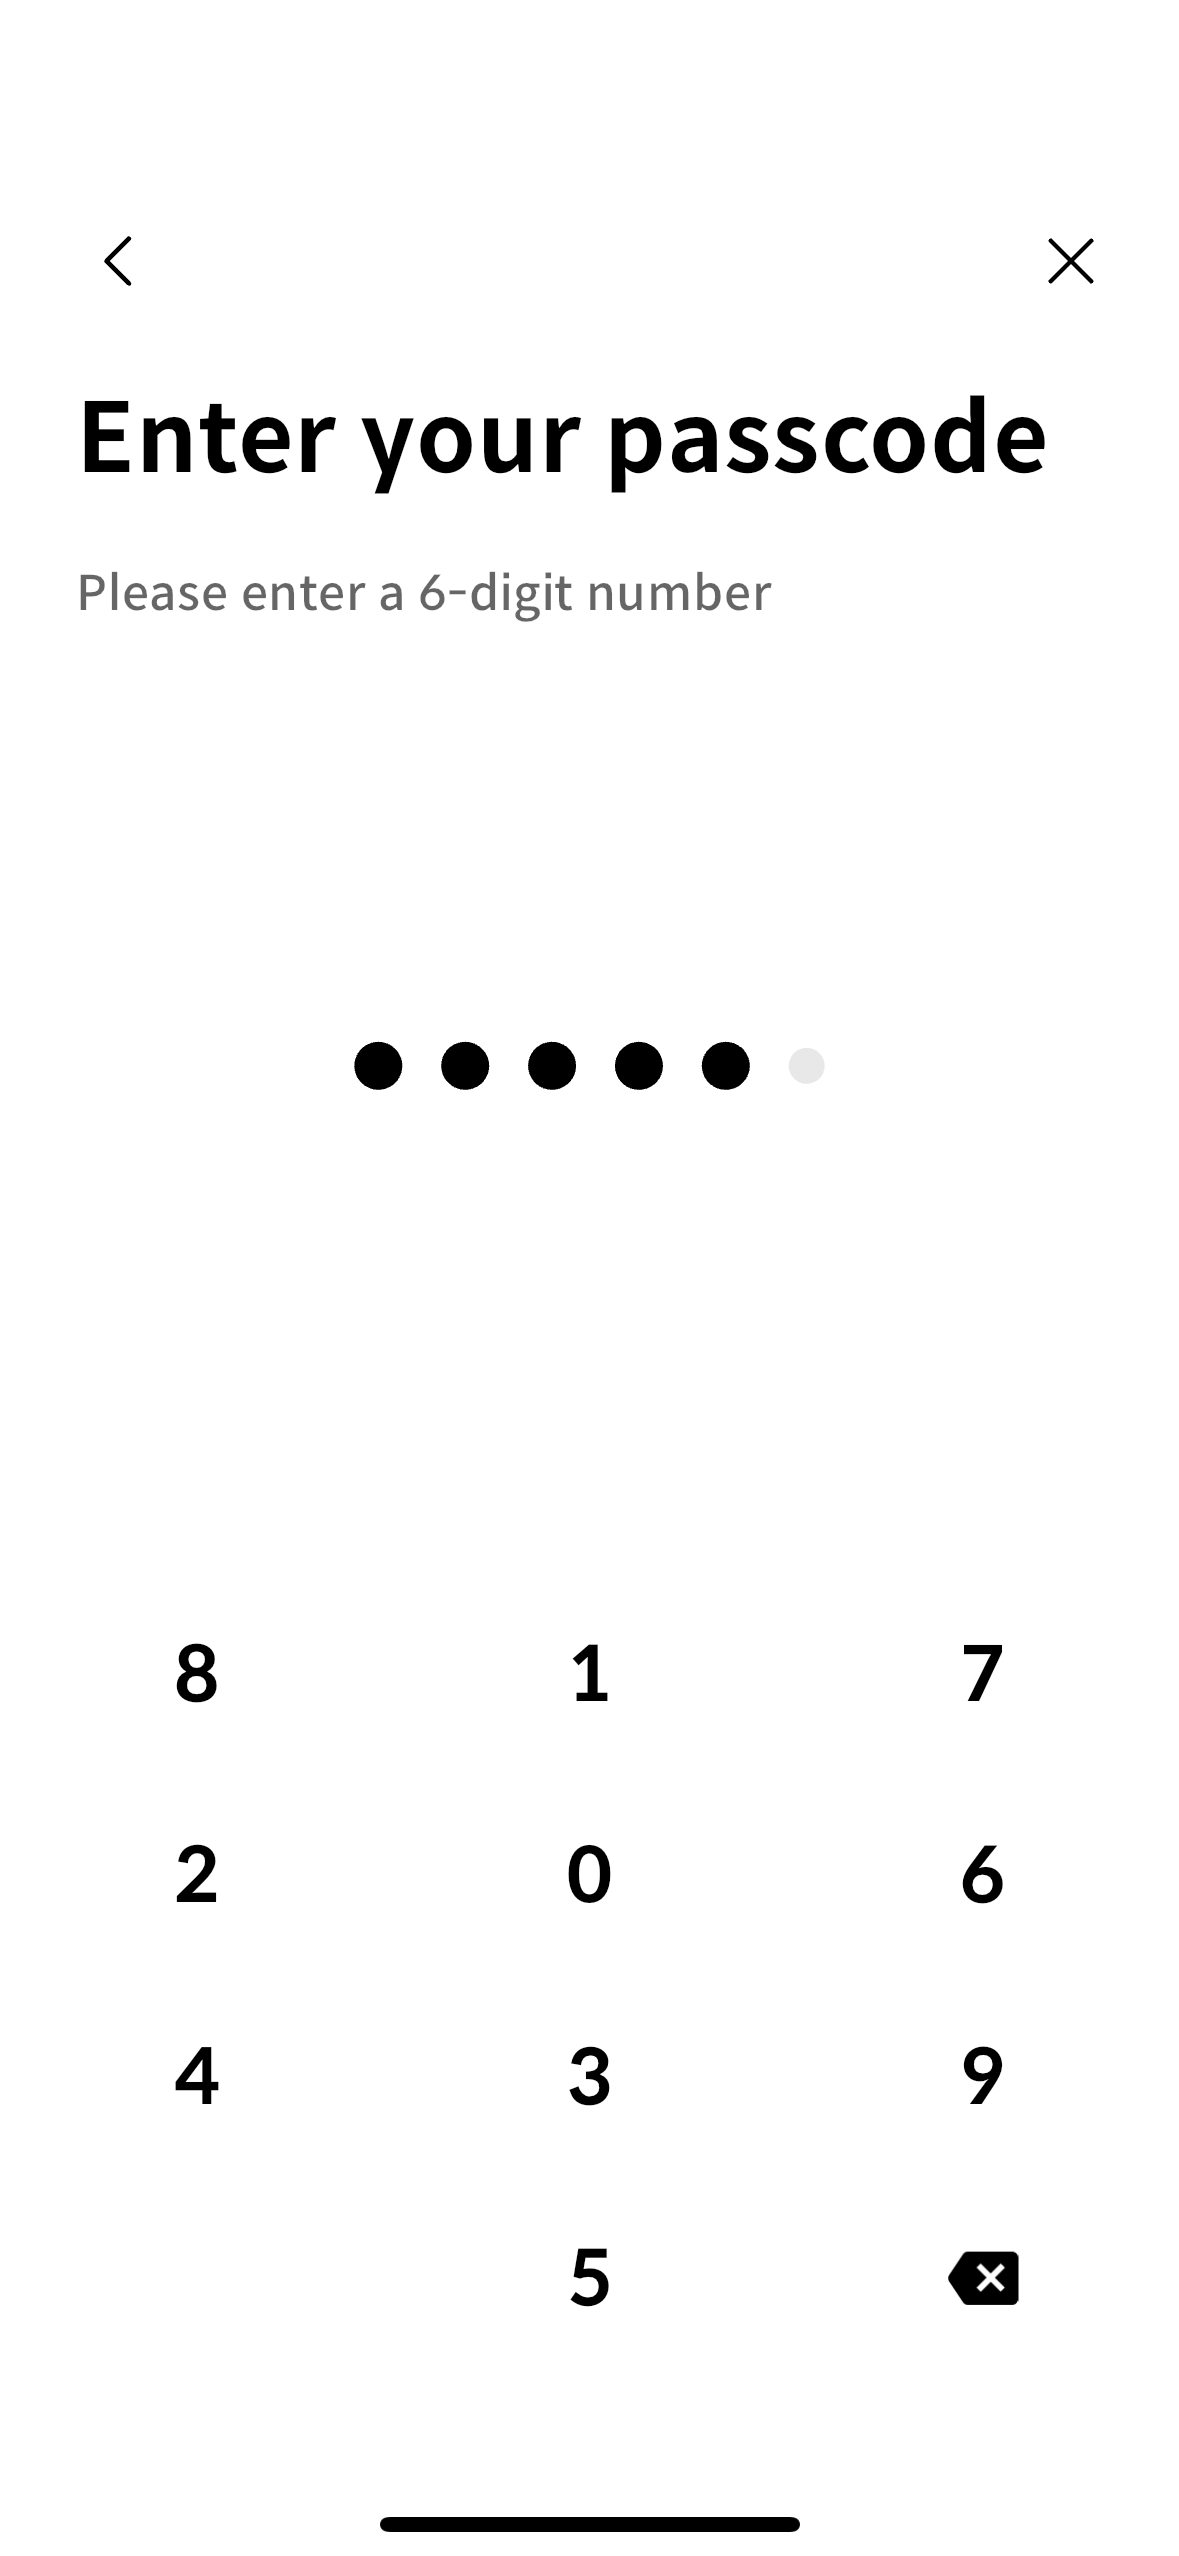
- Đặt mã PIN và xác minh mã PIN để bảo vệ ví và xác thực.
- Lưu trữ cụm từ khôi phục của bạn một cách an toàn và nhấp vào nút Tiếp theo.
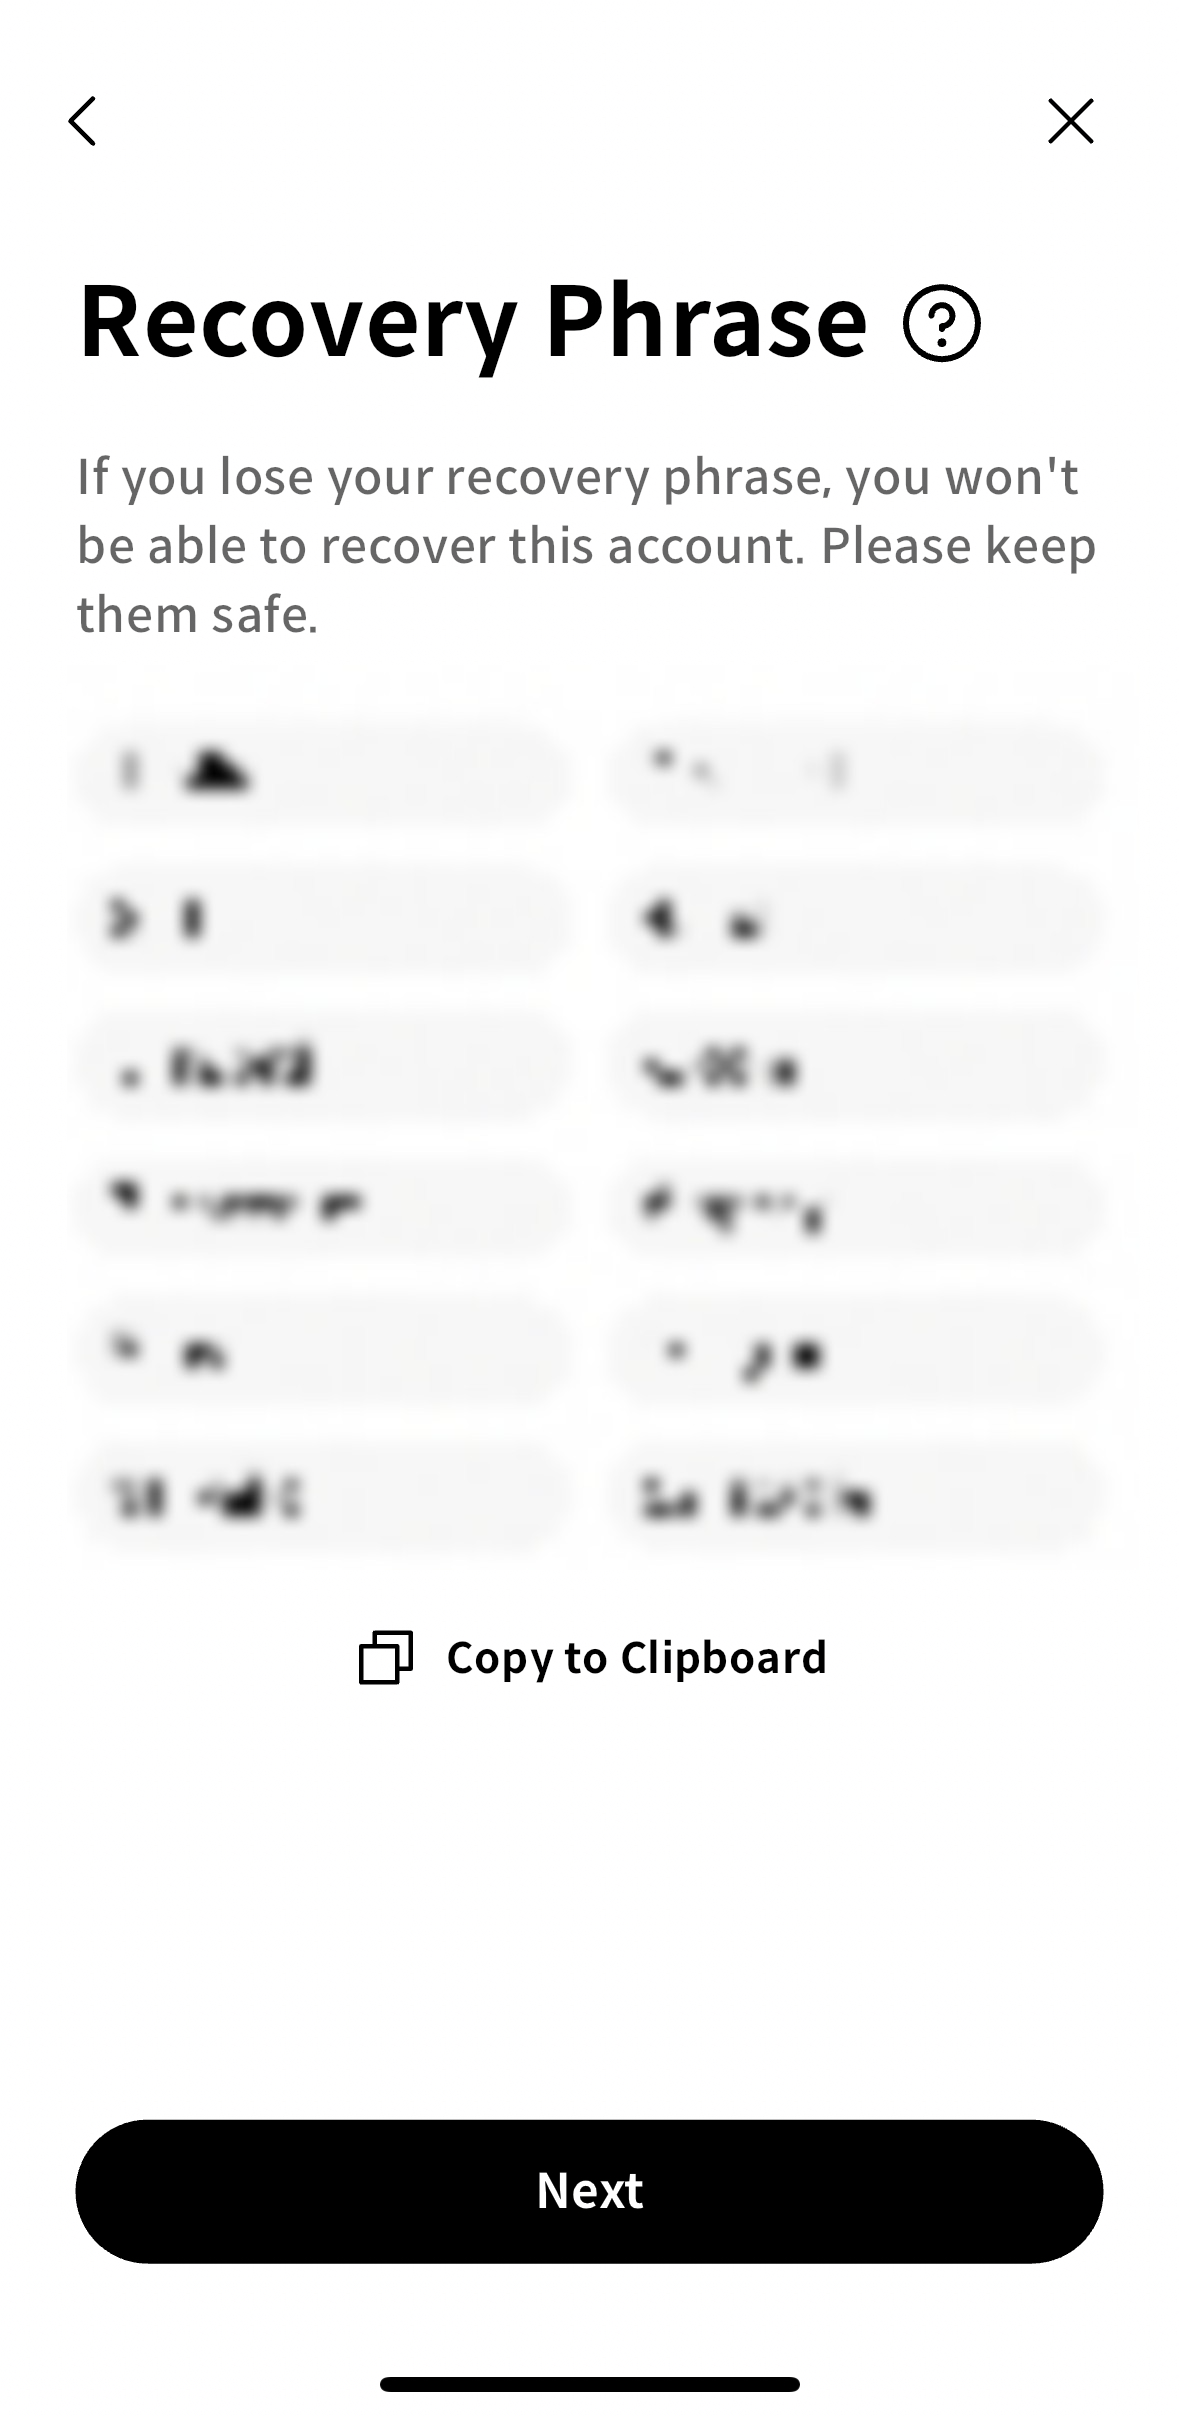
- Bạn sẽ thấy một cửa sổ popup để xác minh rằng bạn đã lưu trữ cụm từ khôi phục của mình một cách chính xác. Nhấp vào Xác minh để tiếp tục sang bước tiếp theo.

- Nhập các cụm từ tương ứng với các số trống và sau đó xác minh.
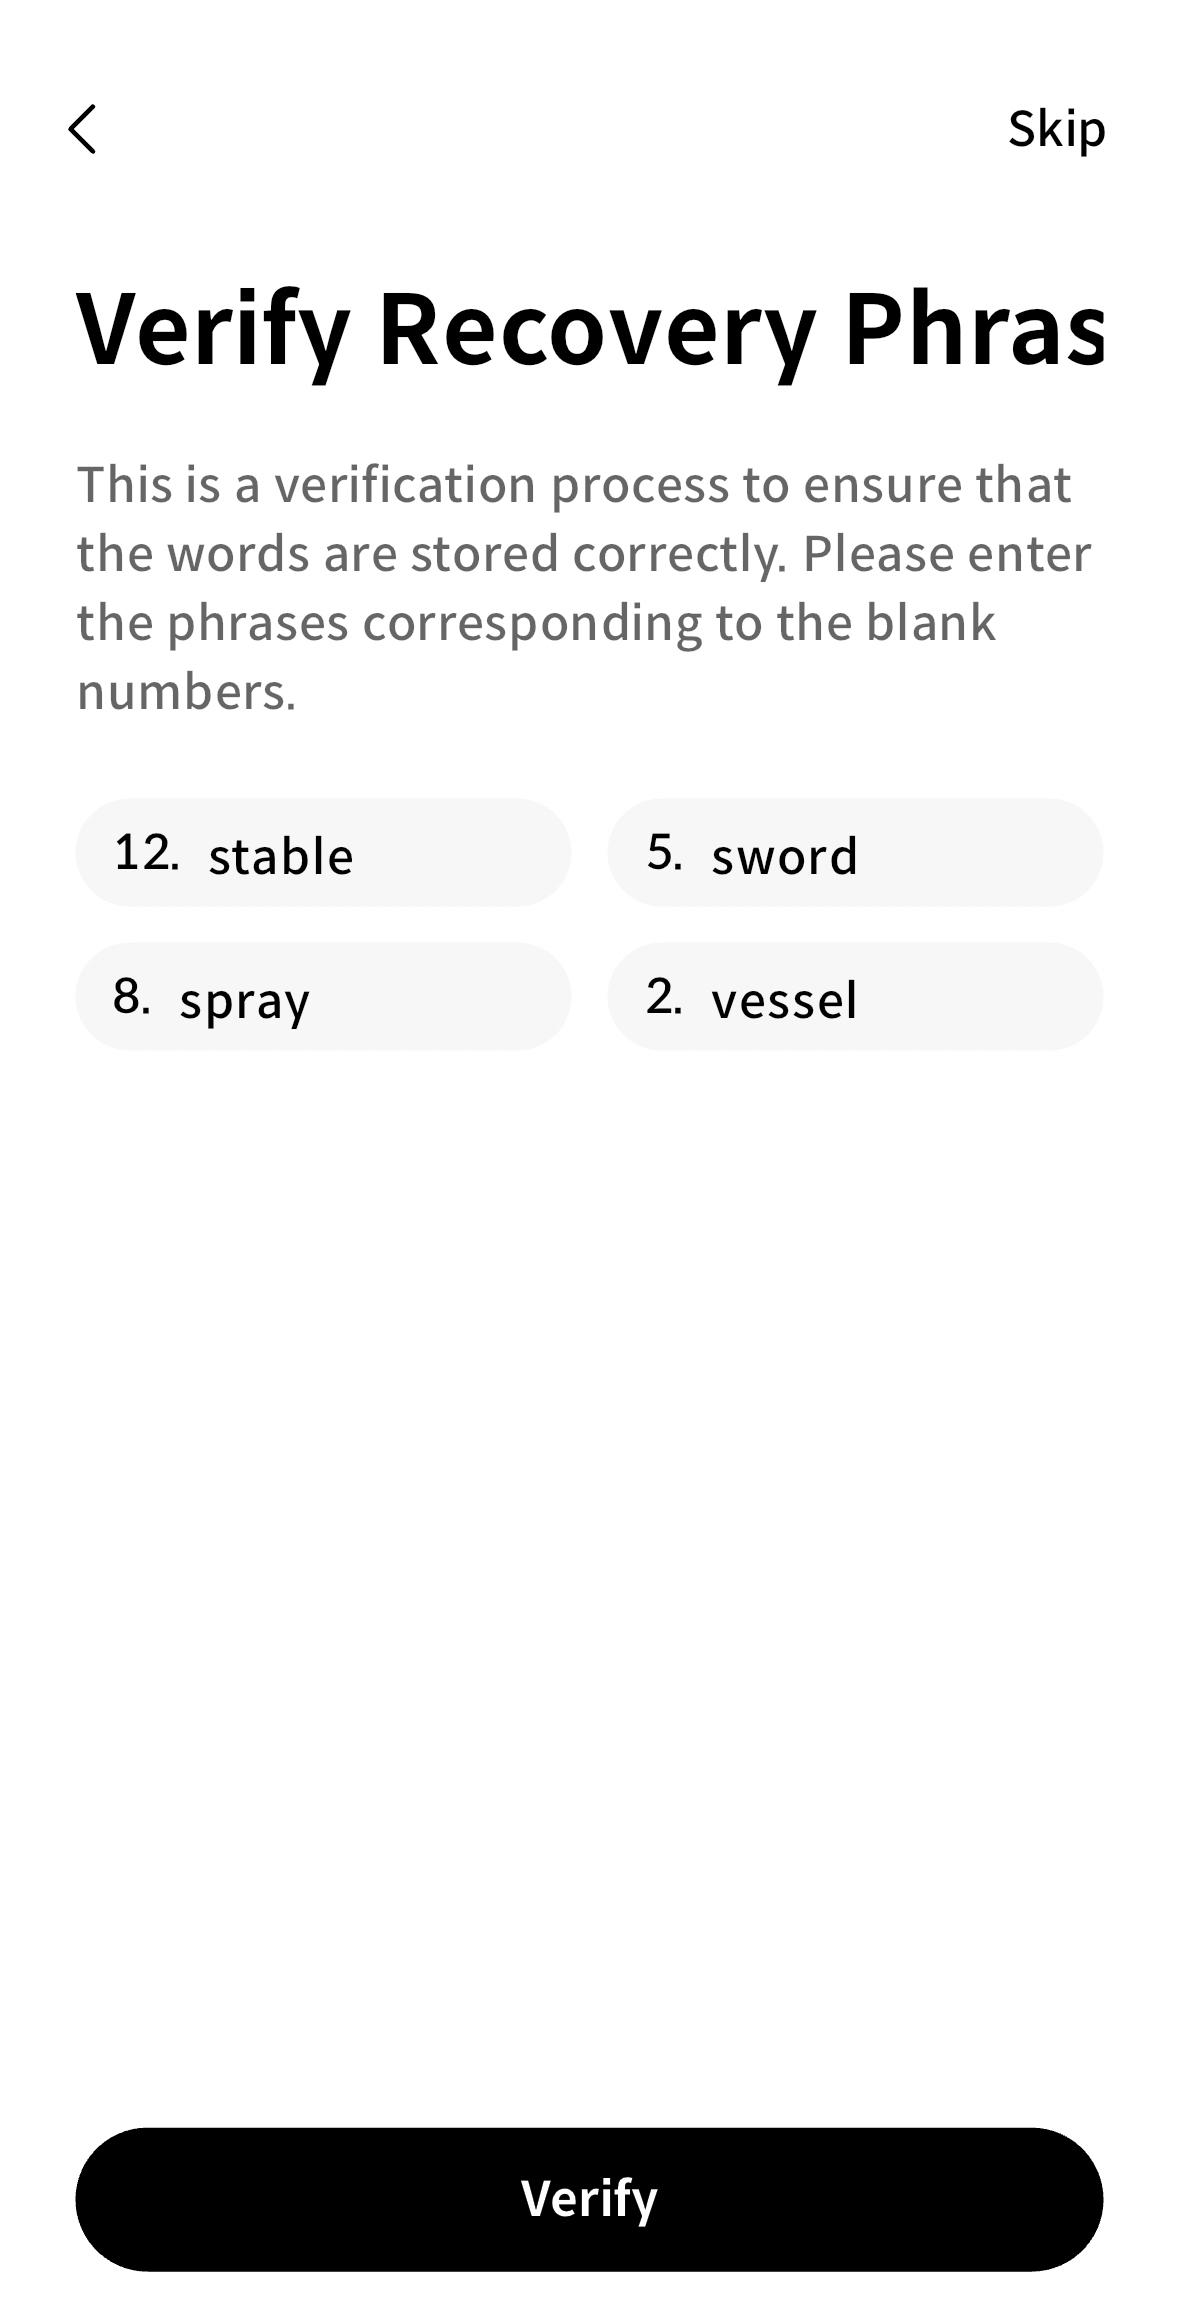
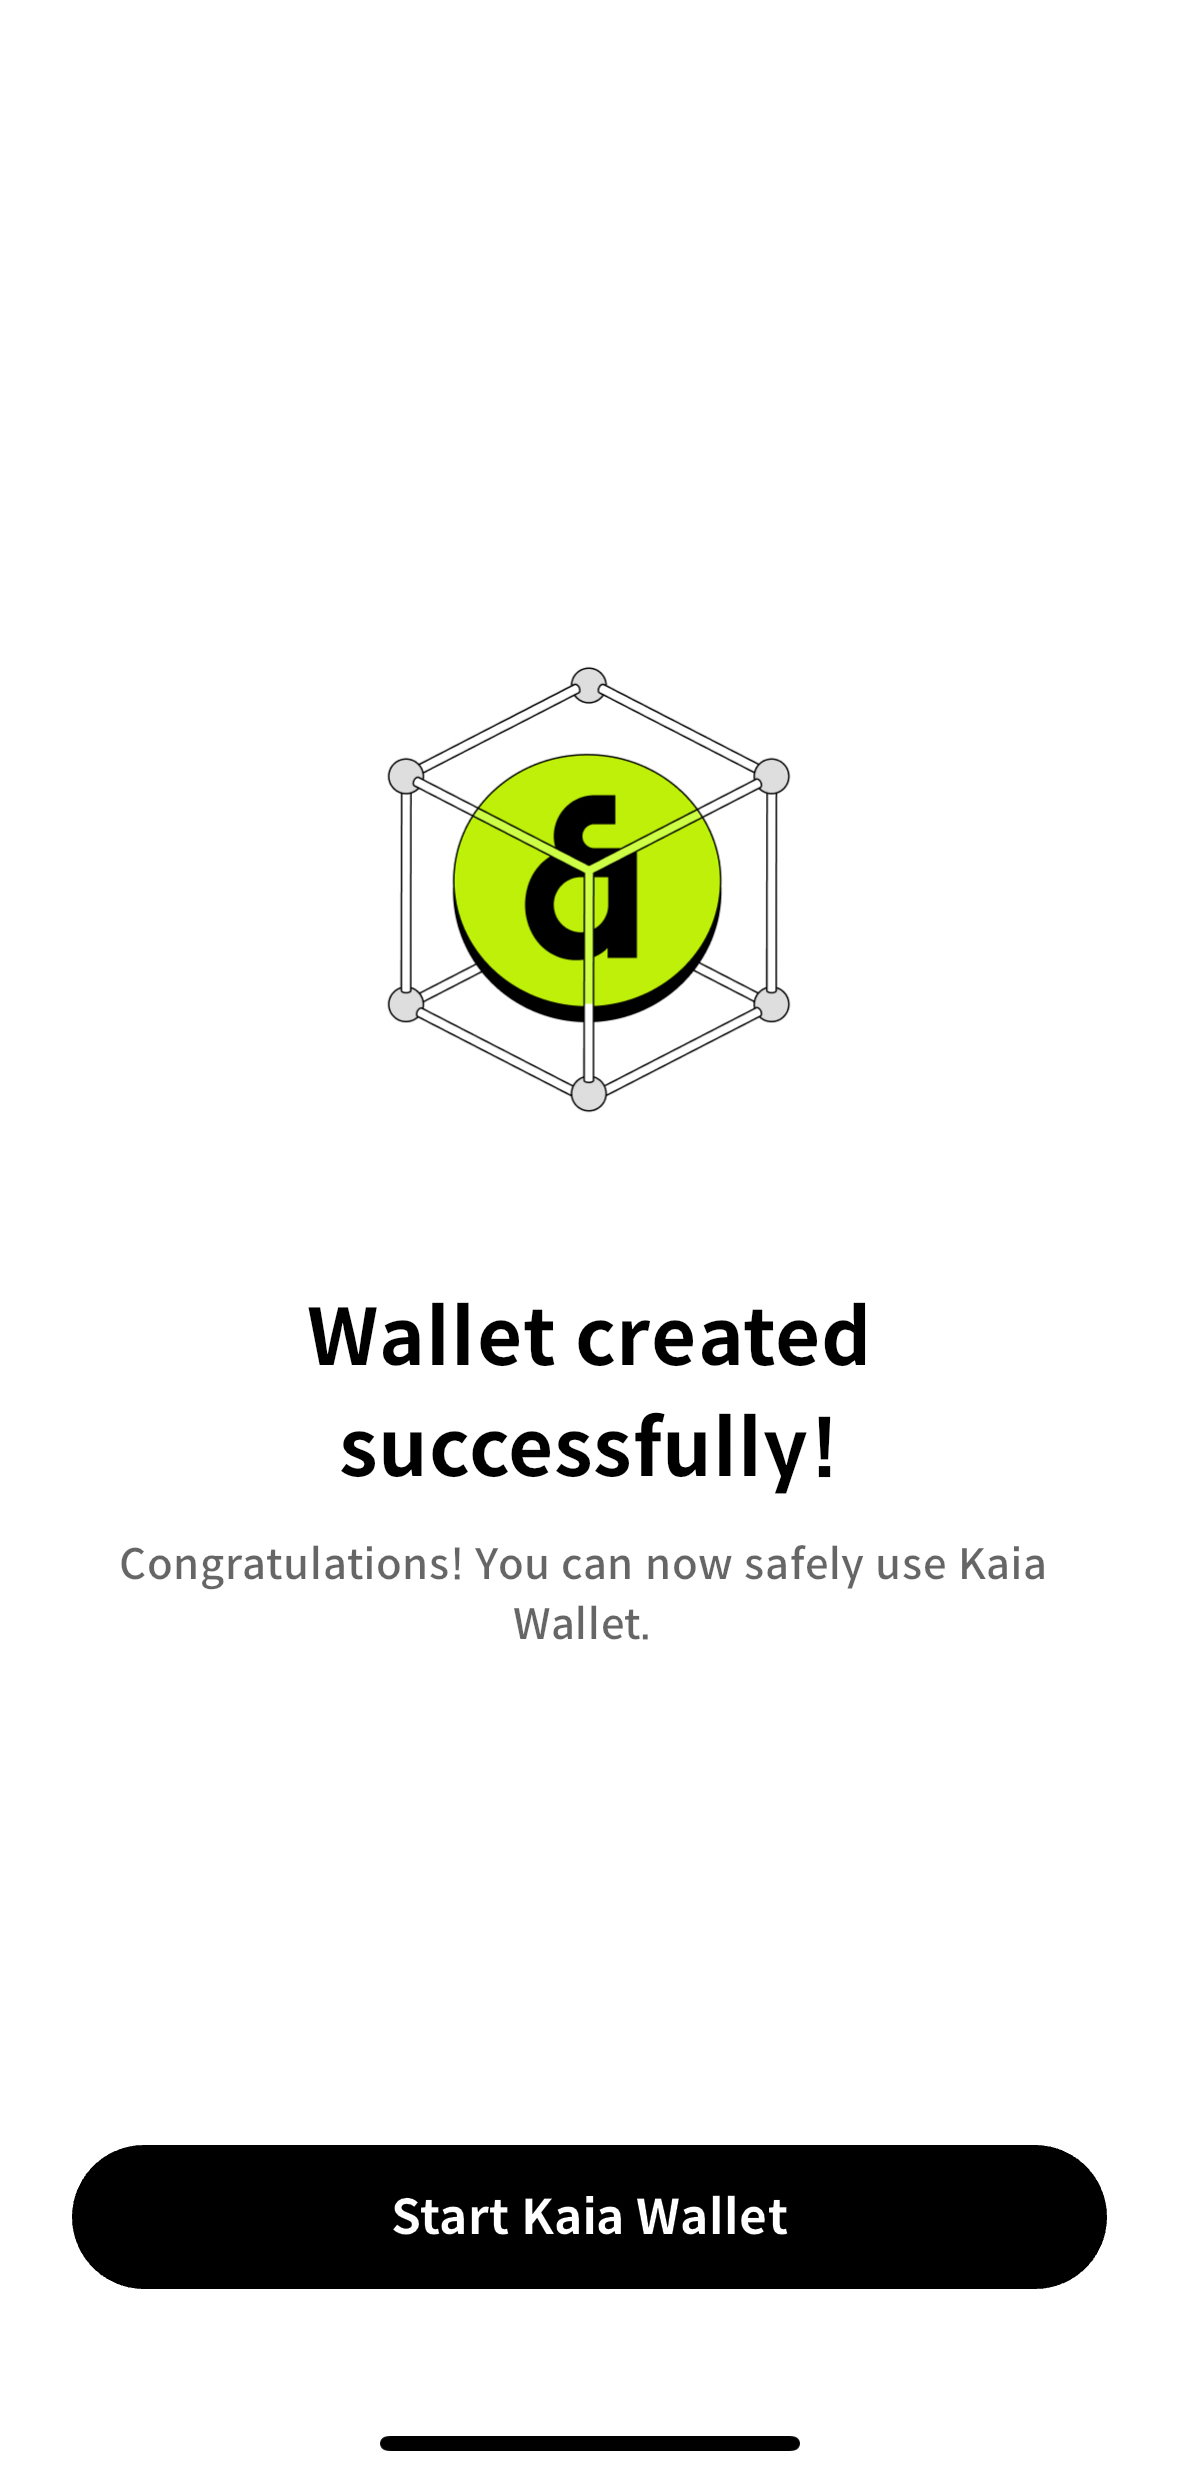
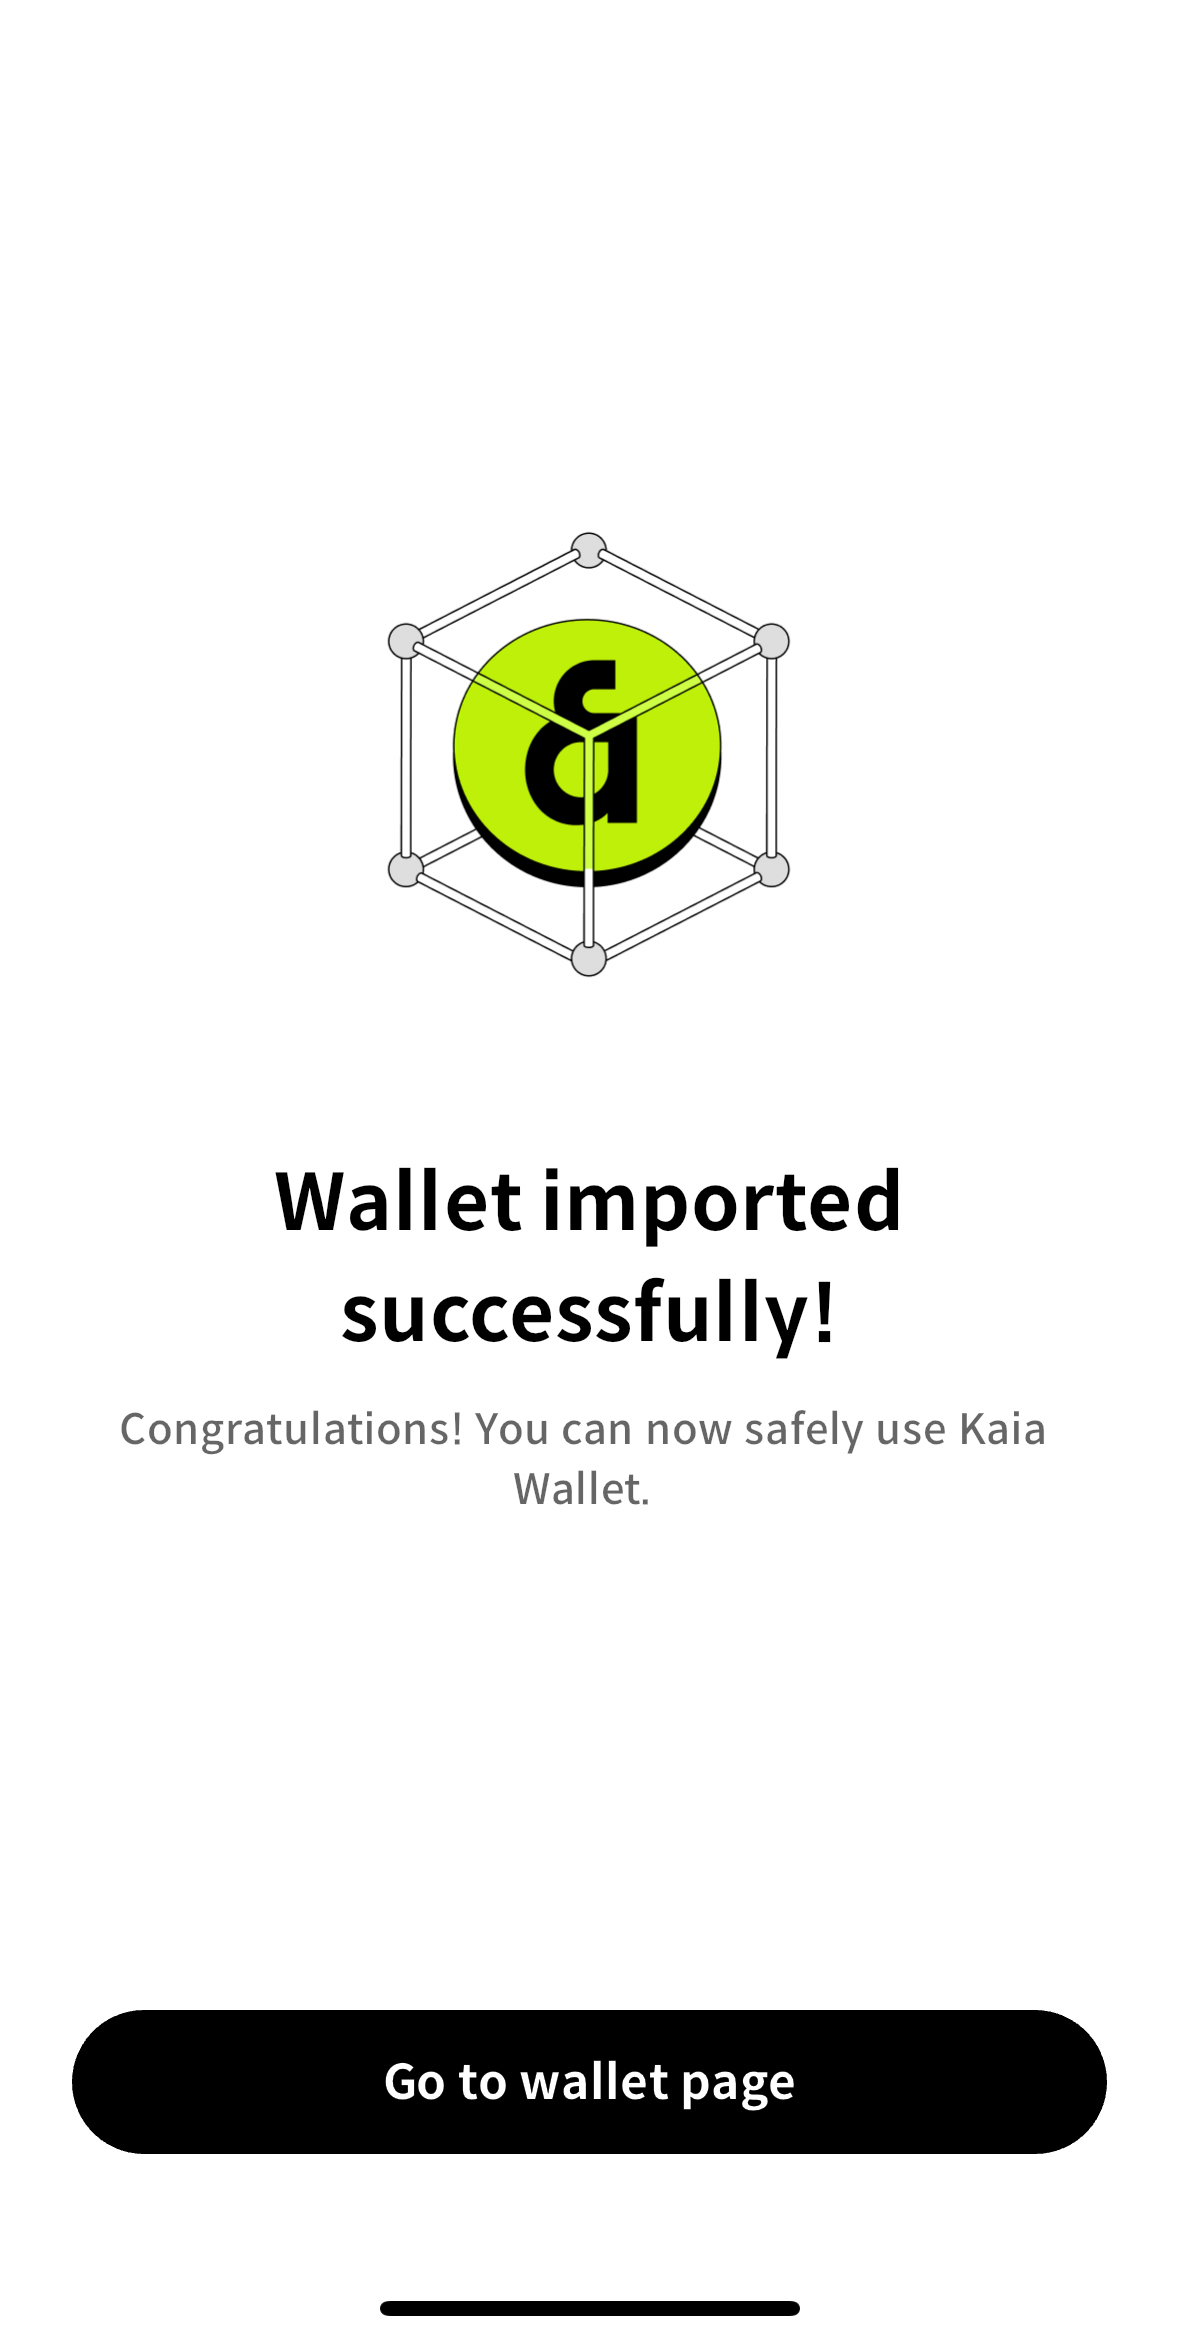
- Nhấp vào nút Bắt đầu Ví Kaia để bắt đầu sử dụng ví của bạn.
Thêm tài khoản vào ví của bạn
Khi bạn tạo ví Kaia, bạn sẽ được cung cấp một Cụm từ Khôi phục Bí mật, và tài khoản sẽ được tạo tự động. Bạn sẽ thấy tài khoản mặc định của mình khi khởi chạy ví, như đã đề cập trong phần Tạo ví.
Trong một số trường hợp, bạn có thể muốn tạo và quản lý nhiều tài khoản. Quy trình này có thể dễ dàng thực hiện bằng cách thêm nhiều tài khoản hơn trong Kaia Wallet.
Lưu ý rằng sau khi thêm tài khoản, bạn không thể xóa vĩnh viễn tài khoản đó. Nó sẽ tồn tại mãi mãi trên blockchain.
- Phần mở rộng trình duyệt
- Di động
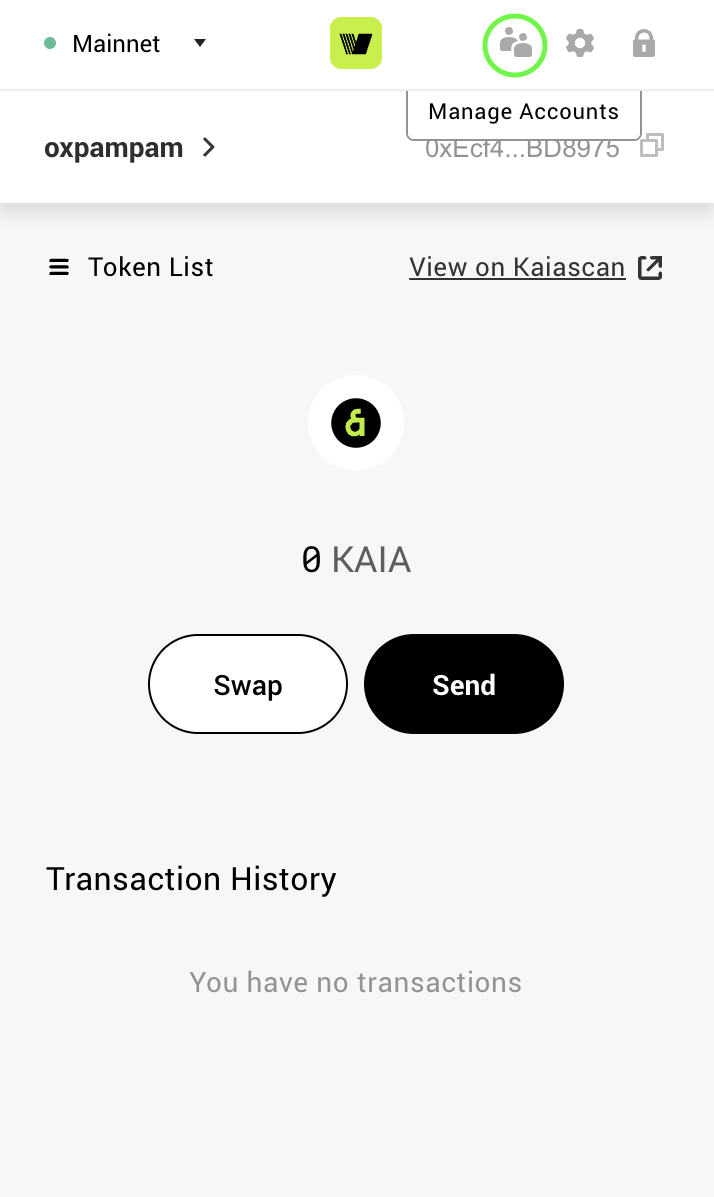
- Nhấp vào biểu tượng Quản lý Tài khoản ở góc trên bên phải ví của bạn.
- Chọn nút Tạo ở cuối danh sách.
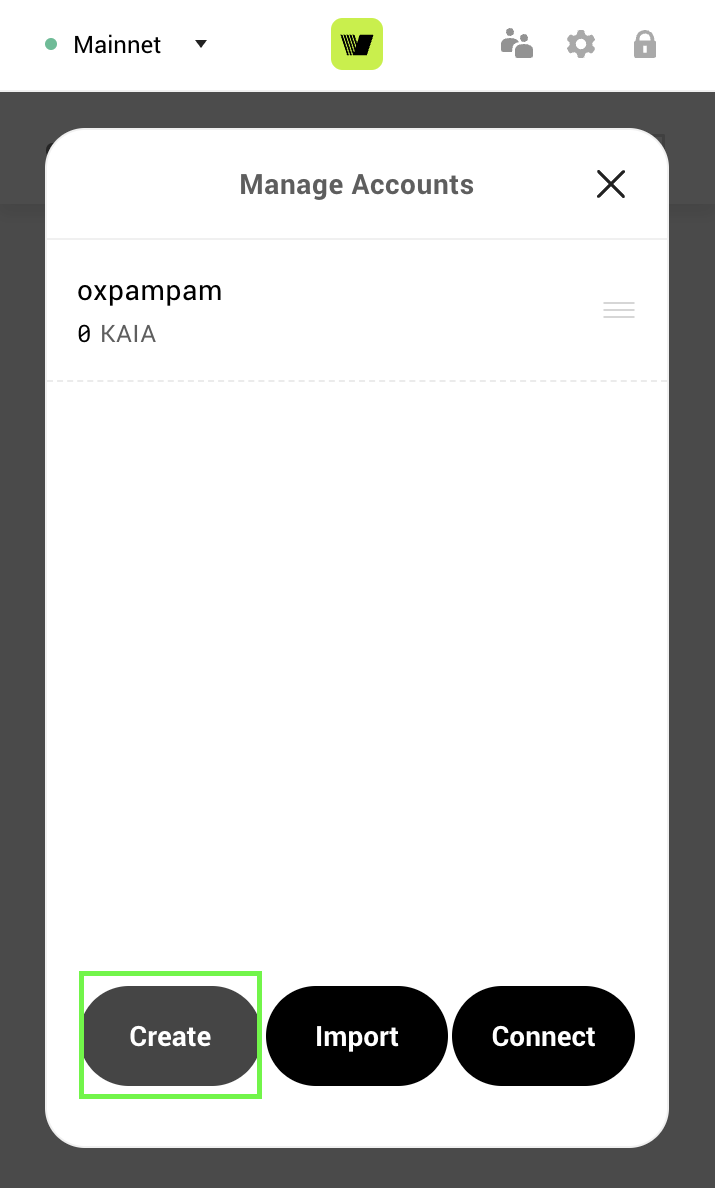
- Nhập tên ví và nhấp vào Tạo
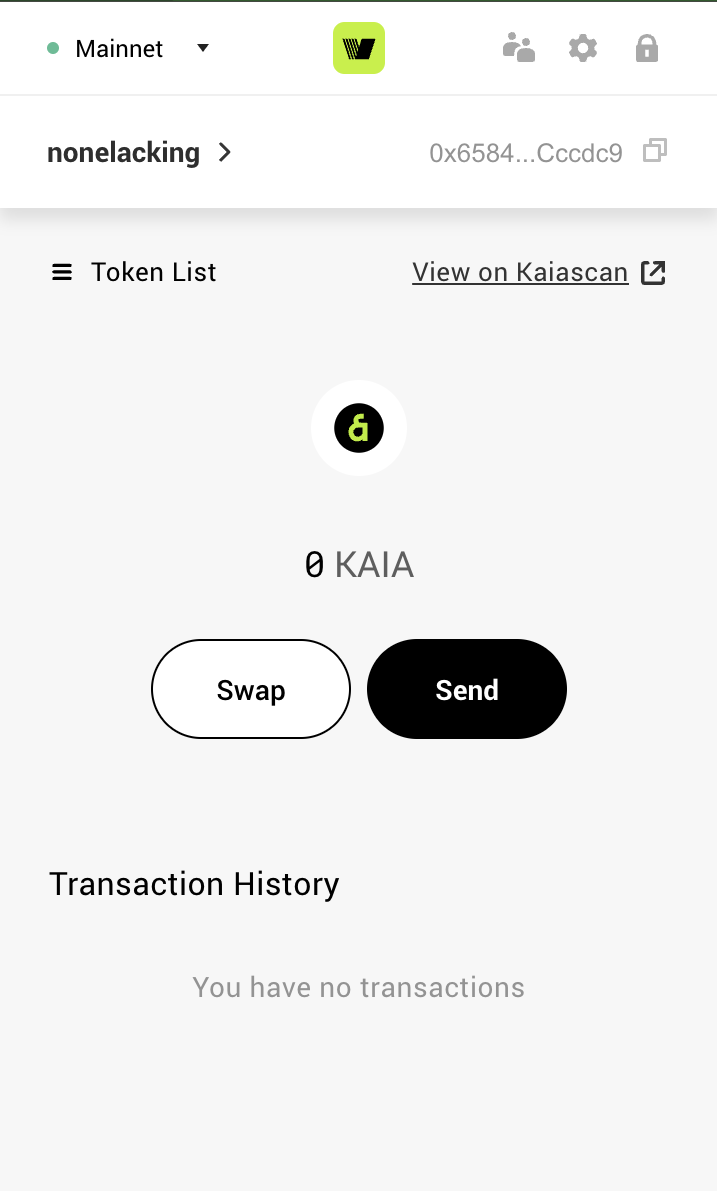
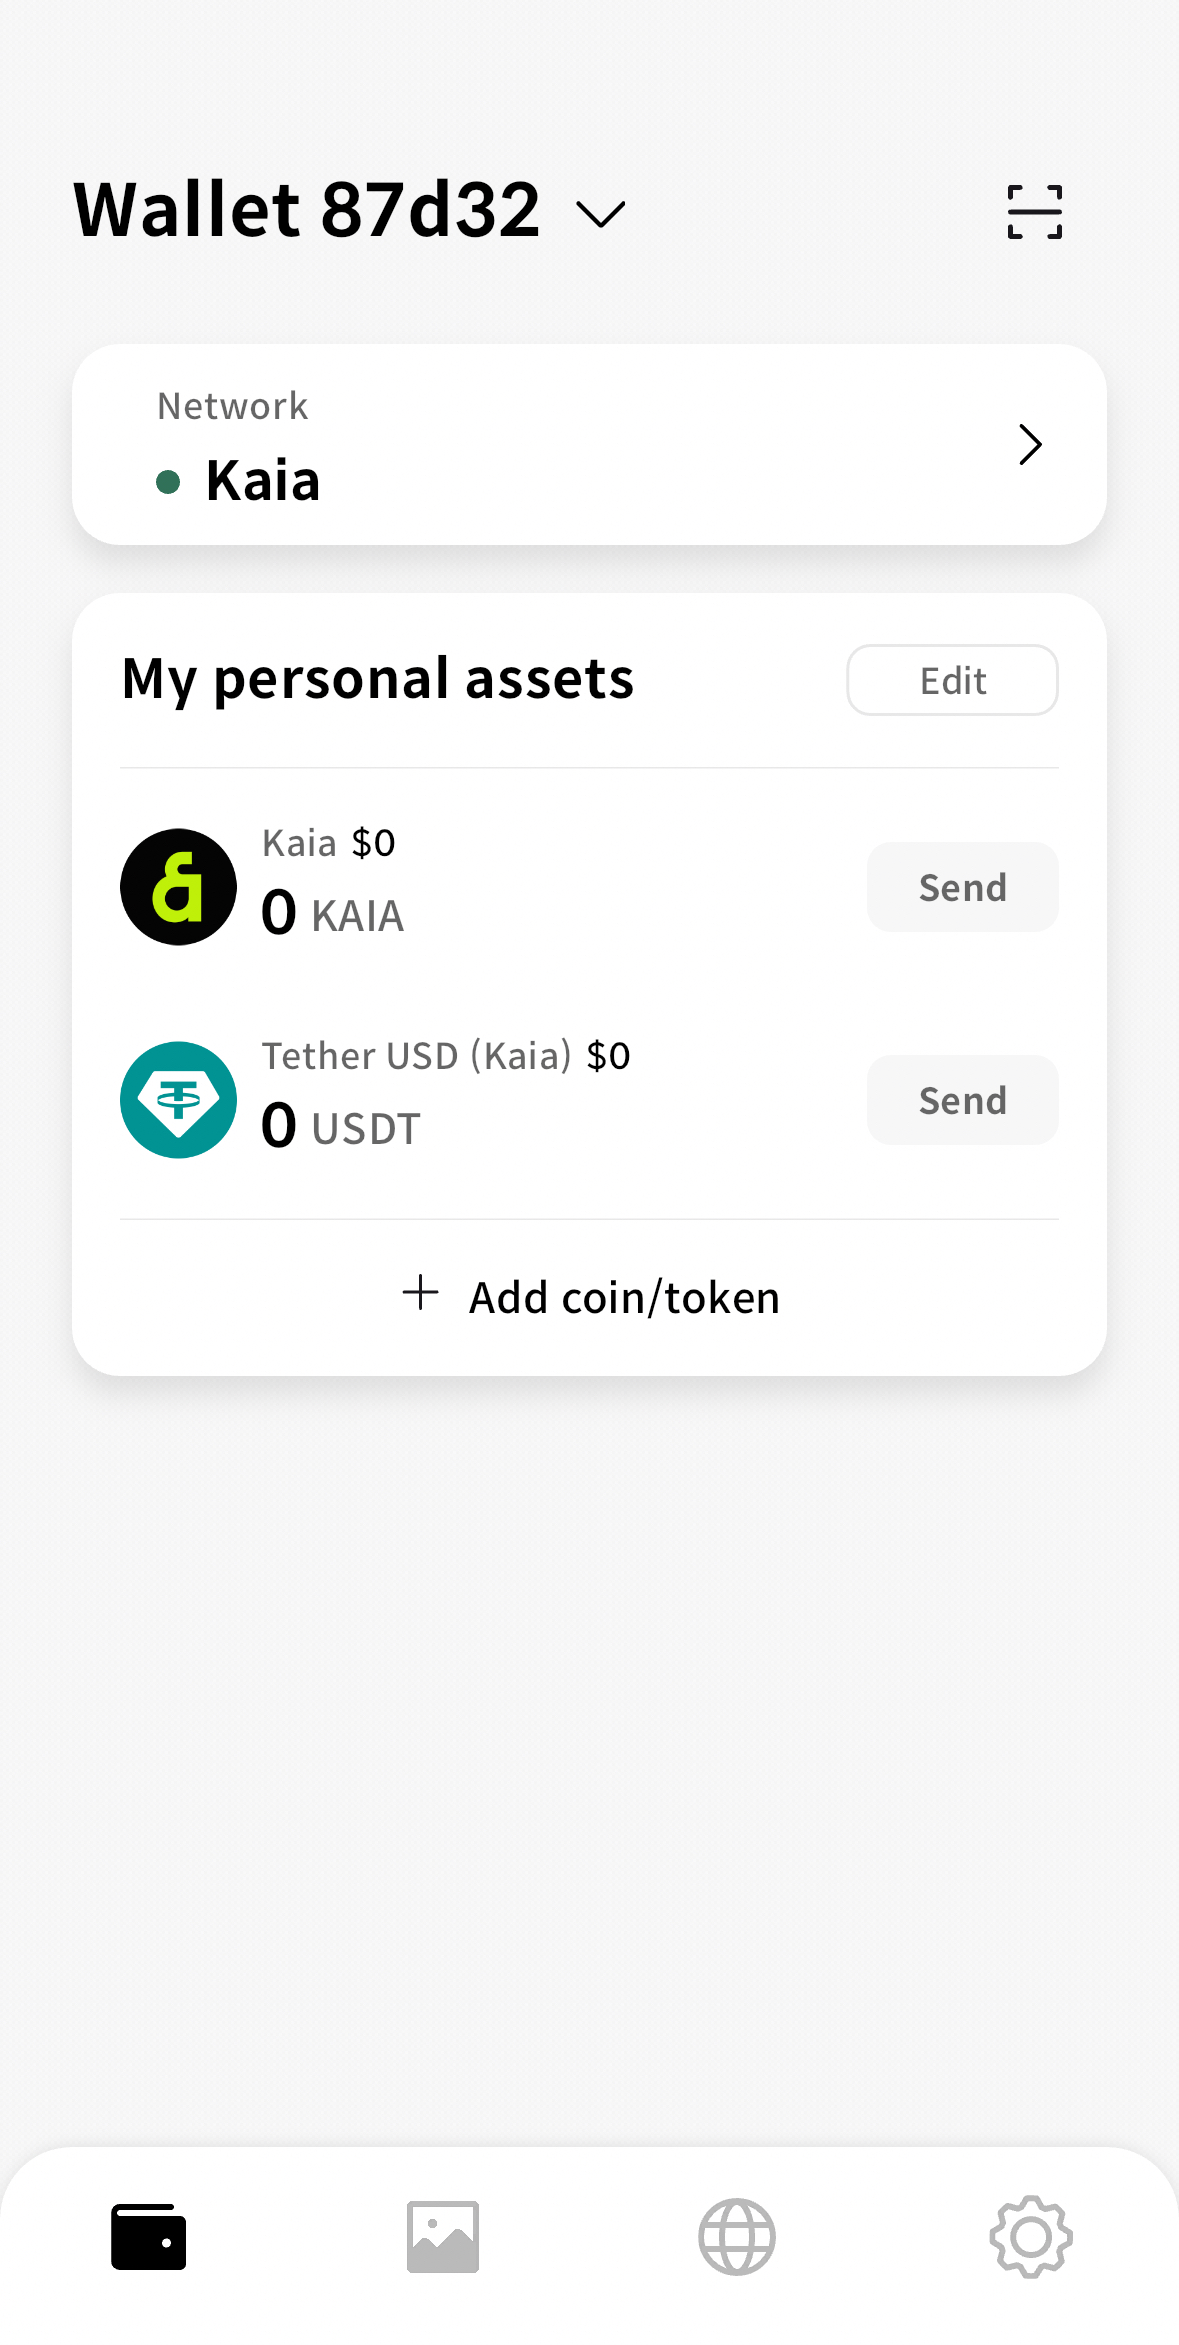
- Bây giờ tài khoản mới của bạn đã được thêm vào Kaia Wallet
- Trong giao diện ví, nhấn vào tên tài khoản hiện đang được chọn.
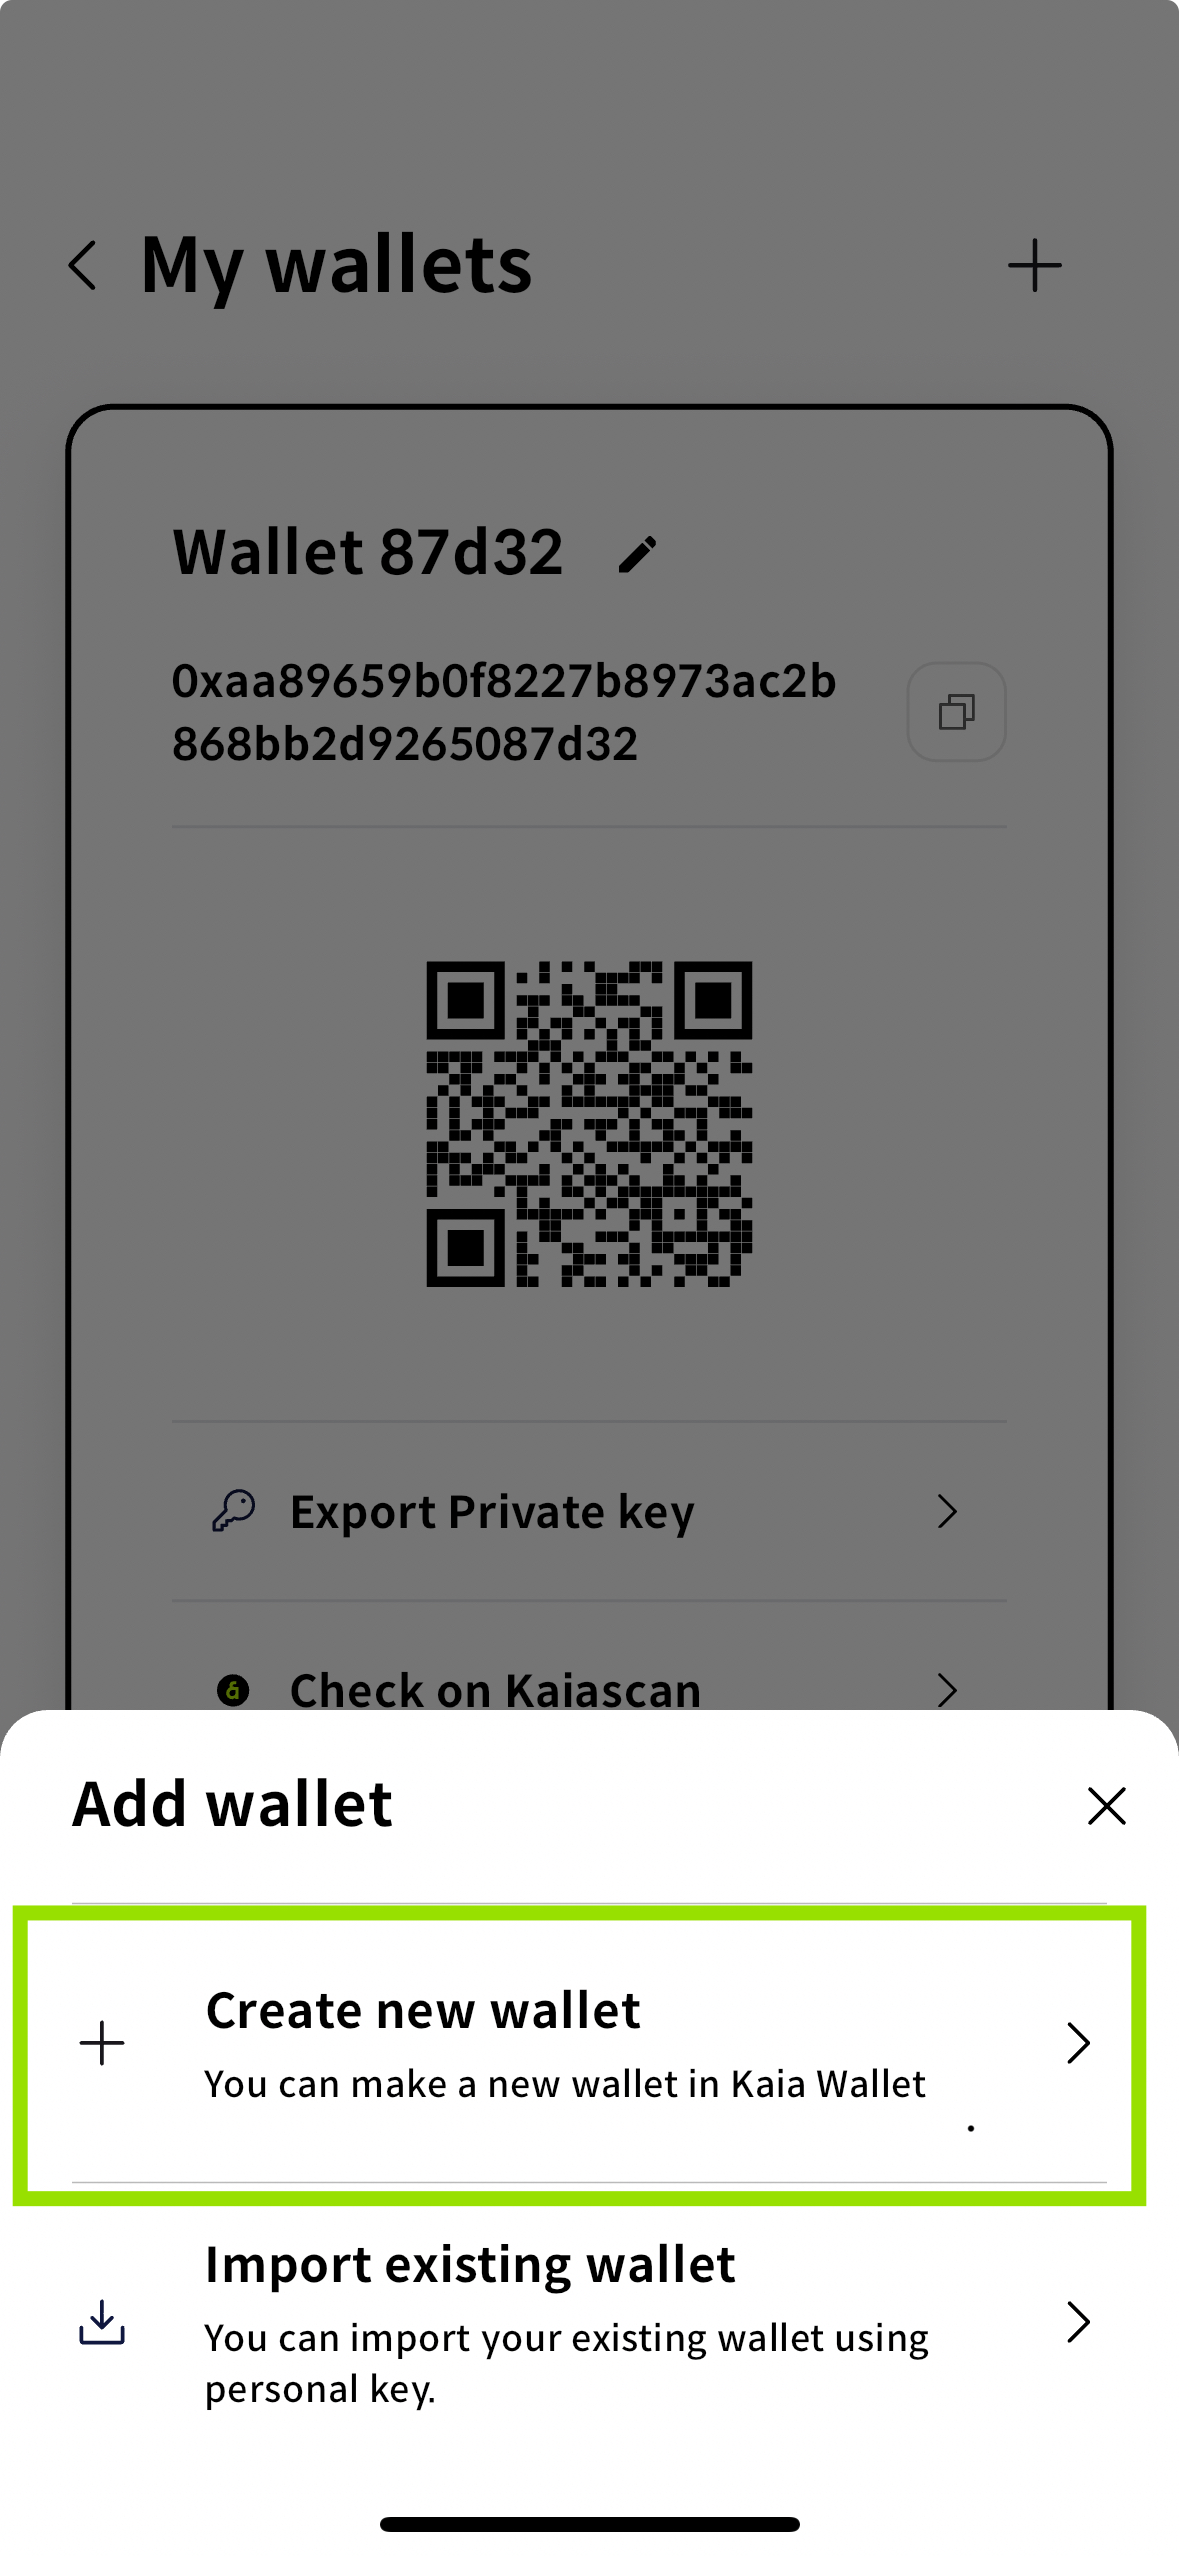
- Trên menu chọn tài khoản xuất hiện, nhấn vào biểu tượng +
- Chọn tùy chọn Tạo ví mới từ hộp thoại Thêm ví.
- Nhập mã PIN của bạn.
- Nh��ấp vào Đi đến trang ví để xem tài khoản mới được thêm của bạn.
Lưu trữ cụm từ khôi phục một cách an toàn
Cụm từ hạt giống của bạn là chìa khóa chính để truy cập ví Web3 của bạn. Nó cho phép bạn tạo và khôi phục ví của mình, bao gồm tất cả các tài khoản được tạo ra trong đó. Mỗi tài khoản liên kết với cụm từ hạt giống đều có khóa riêng tư của riêng mình, nhưng cụm từ hạt giống cho phép truy cập vào tất cả chúng — chẳng hạn như Tài khoản 1, Tài khoản 2 và Tài khoản 3.
Nếu bạn chỉ có khóa riêng tư cho một tài khoản, bạn sẽ không thể truy cập vào các tài khoản khác. Điều này khiến cụm từ khôi phục của bạn trở thành thông tin quan trọng nhất cần được sao lưu một cách an toàn.
Cần làm gì
- Viết ra và lưu trữ an toàn: Viết tay cụm từ hạt giống của bạn sẽ bảo vệ nó khỏi bị đánh cắp trực tuyến. Tránh lưu trữ nó trên bất kỳ thiết bị nào kết nối với internet.
- Kiểm tra lại bài viết của bạn: Đảm bảo rằng mỗi từ đều được viết đúng chính tả và theo đúng thứ tự đã cung cấp.
- Lưu trữ ngoại tuyến: Sao lưu vật lý giúp giảm thiểu rủi ro bị hack hoặc xóa nhầm.
Những điều cần tránh
- Không để nó ở nơi dễ thấy: Tránh những vị trí rõ ràng như một mảnh giấy trên bàn làm việc hoặc dán lên laptop của bạn.
- Không lưu trữ nó ở các vị trí kỹ thuật số: Dịch vụ đám mây, bản nháp email hoặc ứng dụng ghi chú đều dễ bị tấn công mạng.
- Không bao giờ chia sẻ với bất kỳ ai: Không ai, kể cả bộ phận Hỗ trợ Kaia Wallet, nên yêu cầu bạn cung cấp cụm từ khôi phục.
- Không thay đổi thứ tự các từ: Thứ tự là quan trọng. Bất kỳ thay đổi nào cũng sẽ làm cho cụm từ trở nên không hợp lệ.
Nếu vì lý do nào đó bạn đã quên sao lưu cụm từ khôi phục hoặc làm mất bản gốc, và ví Kaia của bạn vẫn chưa bị khóa, bạn vẫn có thể xem Cụm từ khôi phục của mình bằng mật khẩu. Hãy chắc chắn ghi lại ngay lập tức và lưu trữ nó ở nơi an toàn.
- Phần mở rộng trình duyệt
- Di động
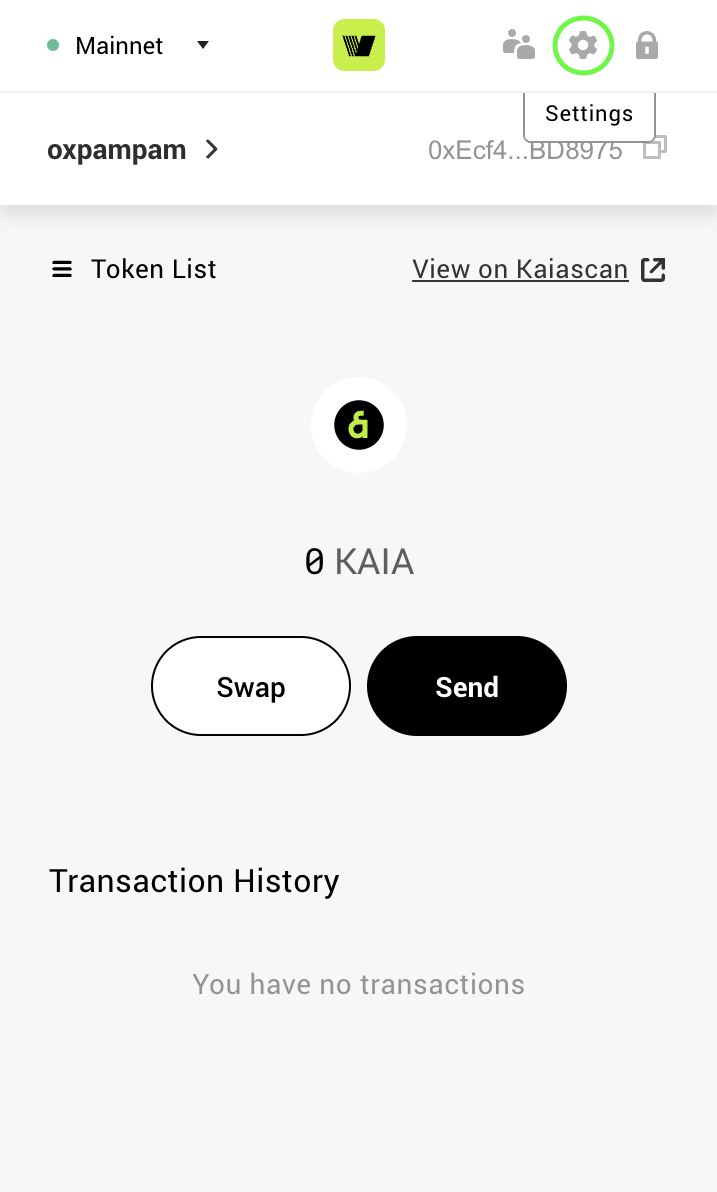
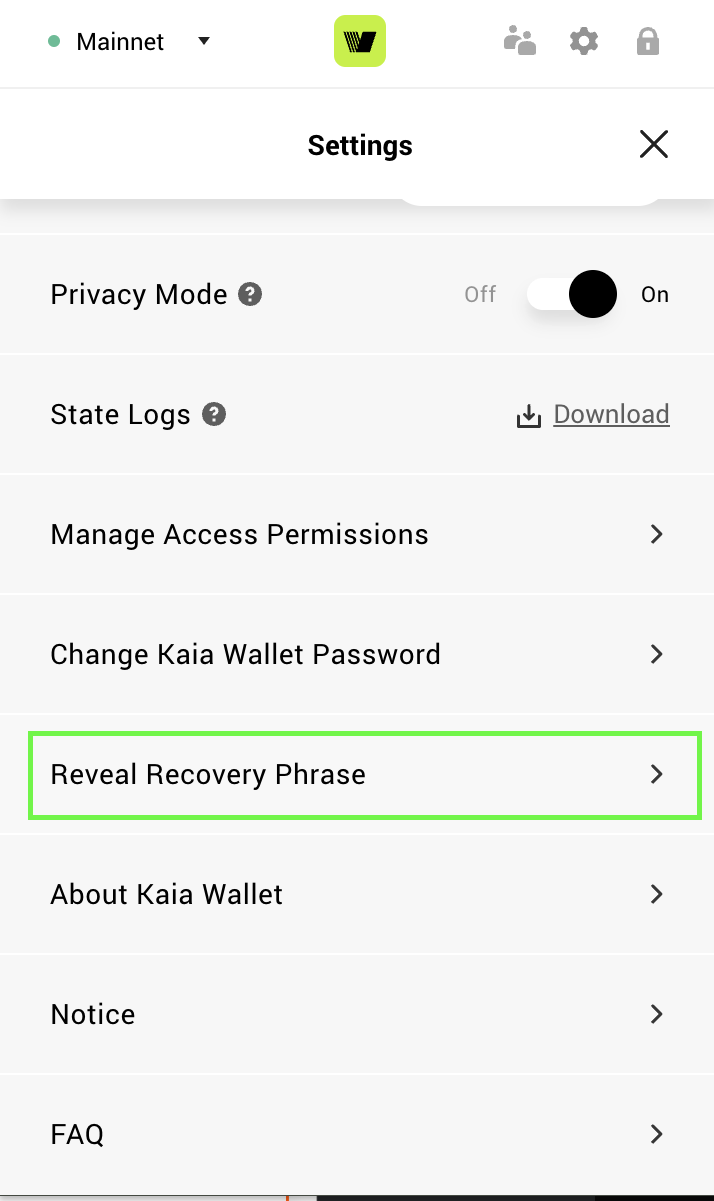
- Nhấp vào biểu tượng cài đặt ở góc trên bên phải ví của bạn.
- Chọn Hiển thị Cụm từ Khôi phục trong các tùy chọn cài đặt.
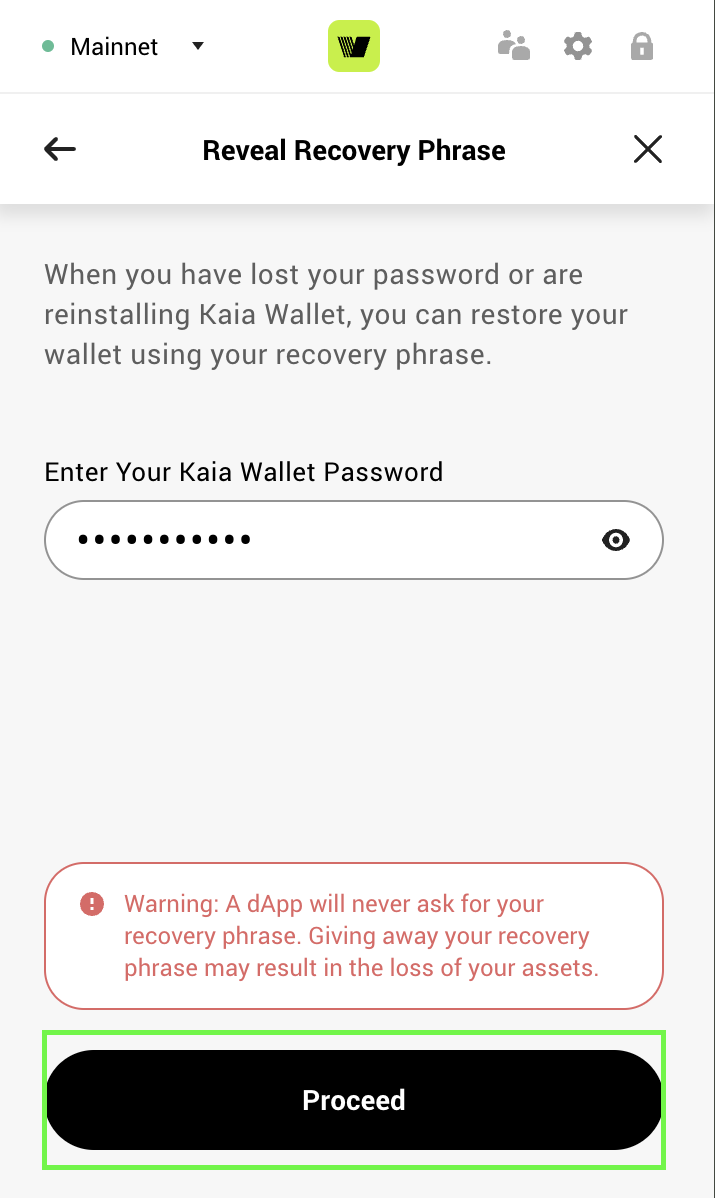
- Nhập mật khẩu của bạn và nhấp vào Tiếp tục
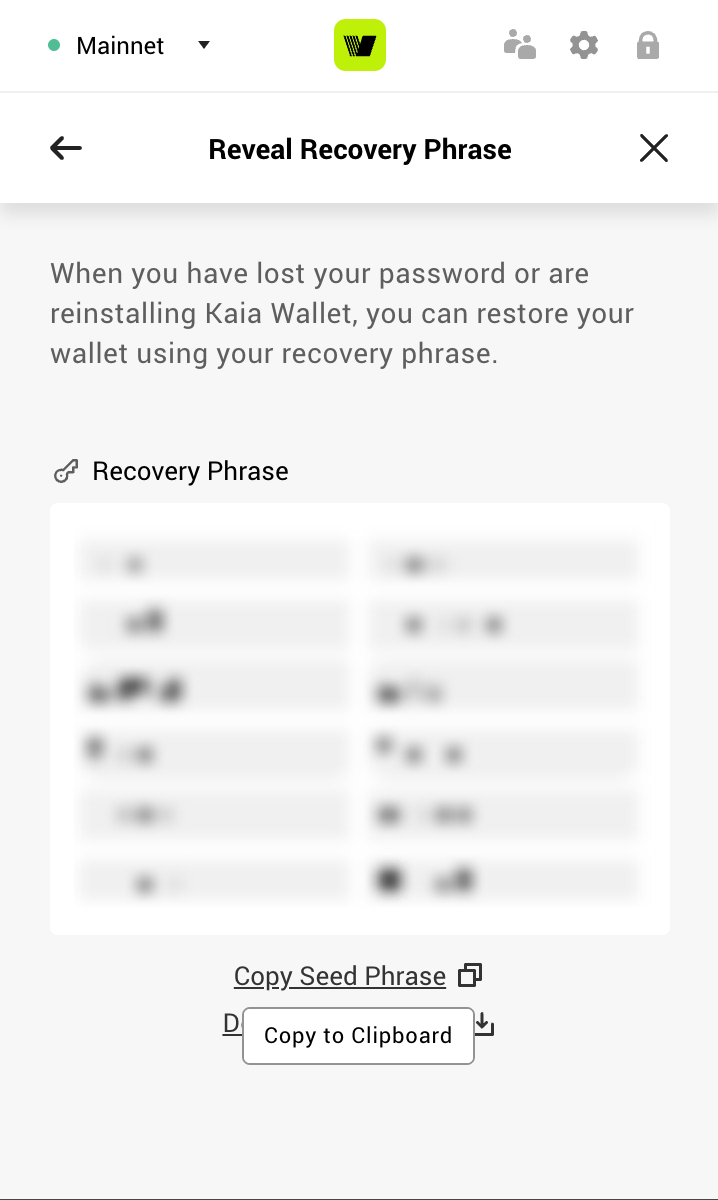
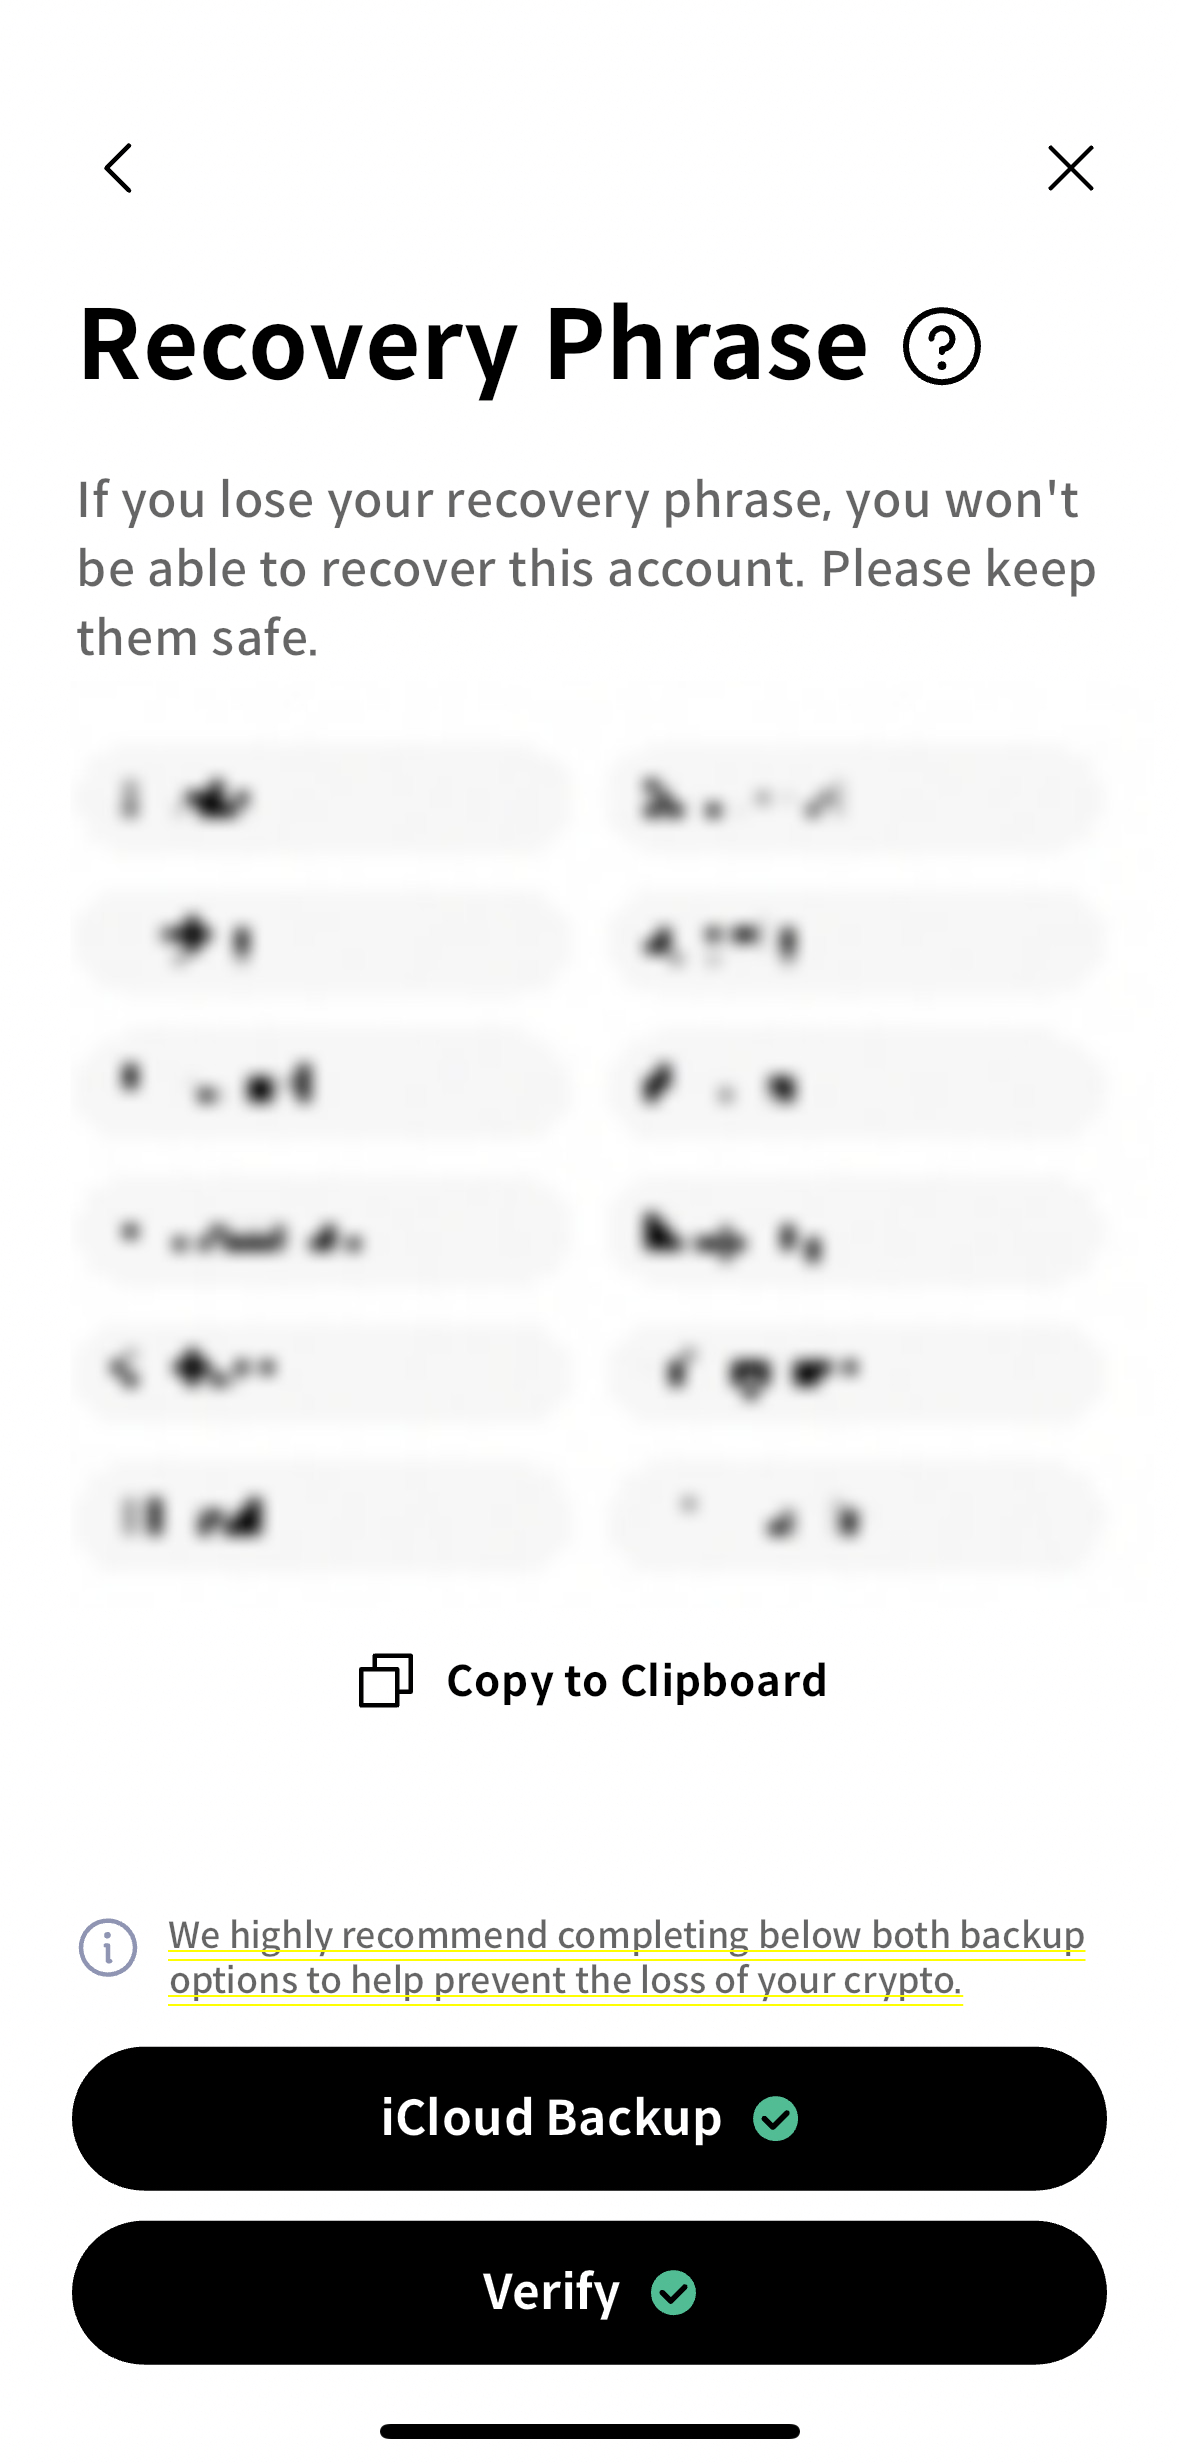
- Lưu trữ cụm từ khôi phục đã tiết lộ của bạn một cách an toàn
- Nhấp vào biểu tượng cài đặt ở góc dưới bên phải ví của bạn.
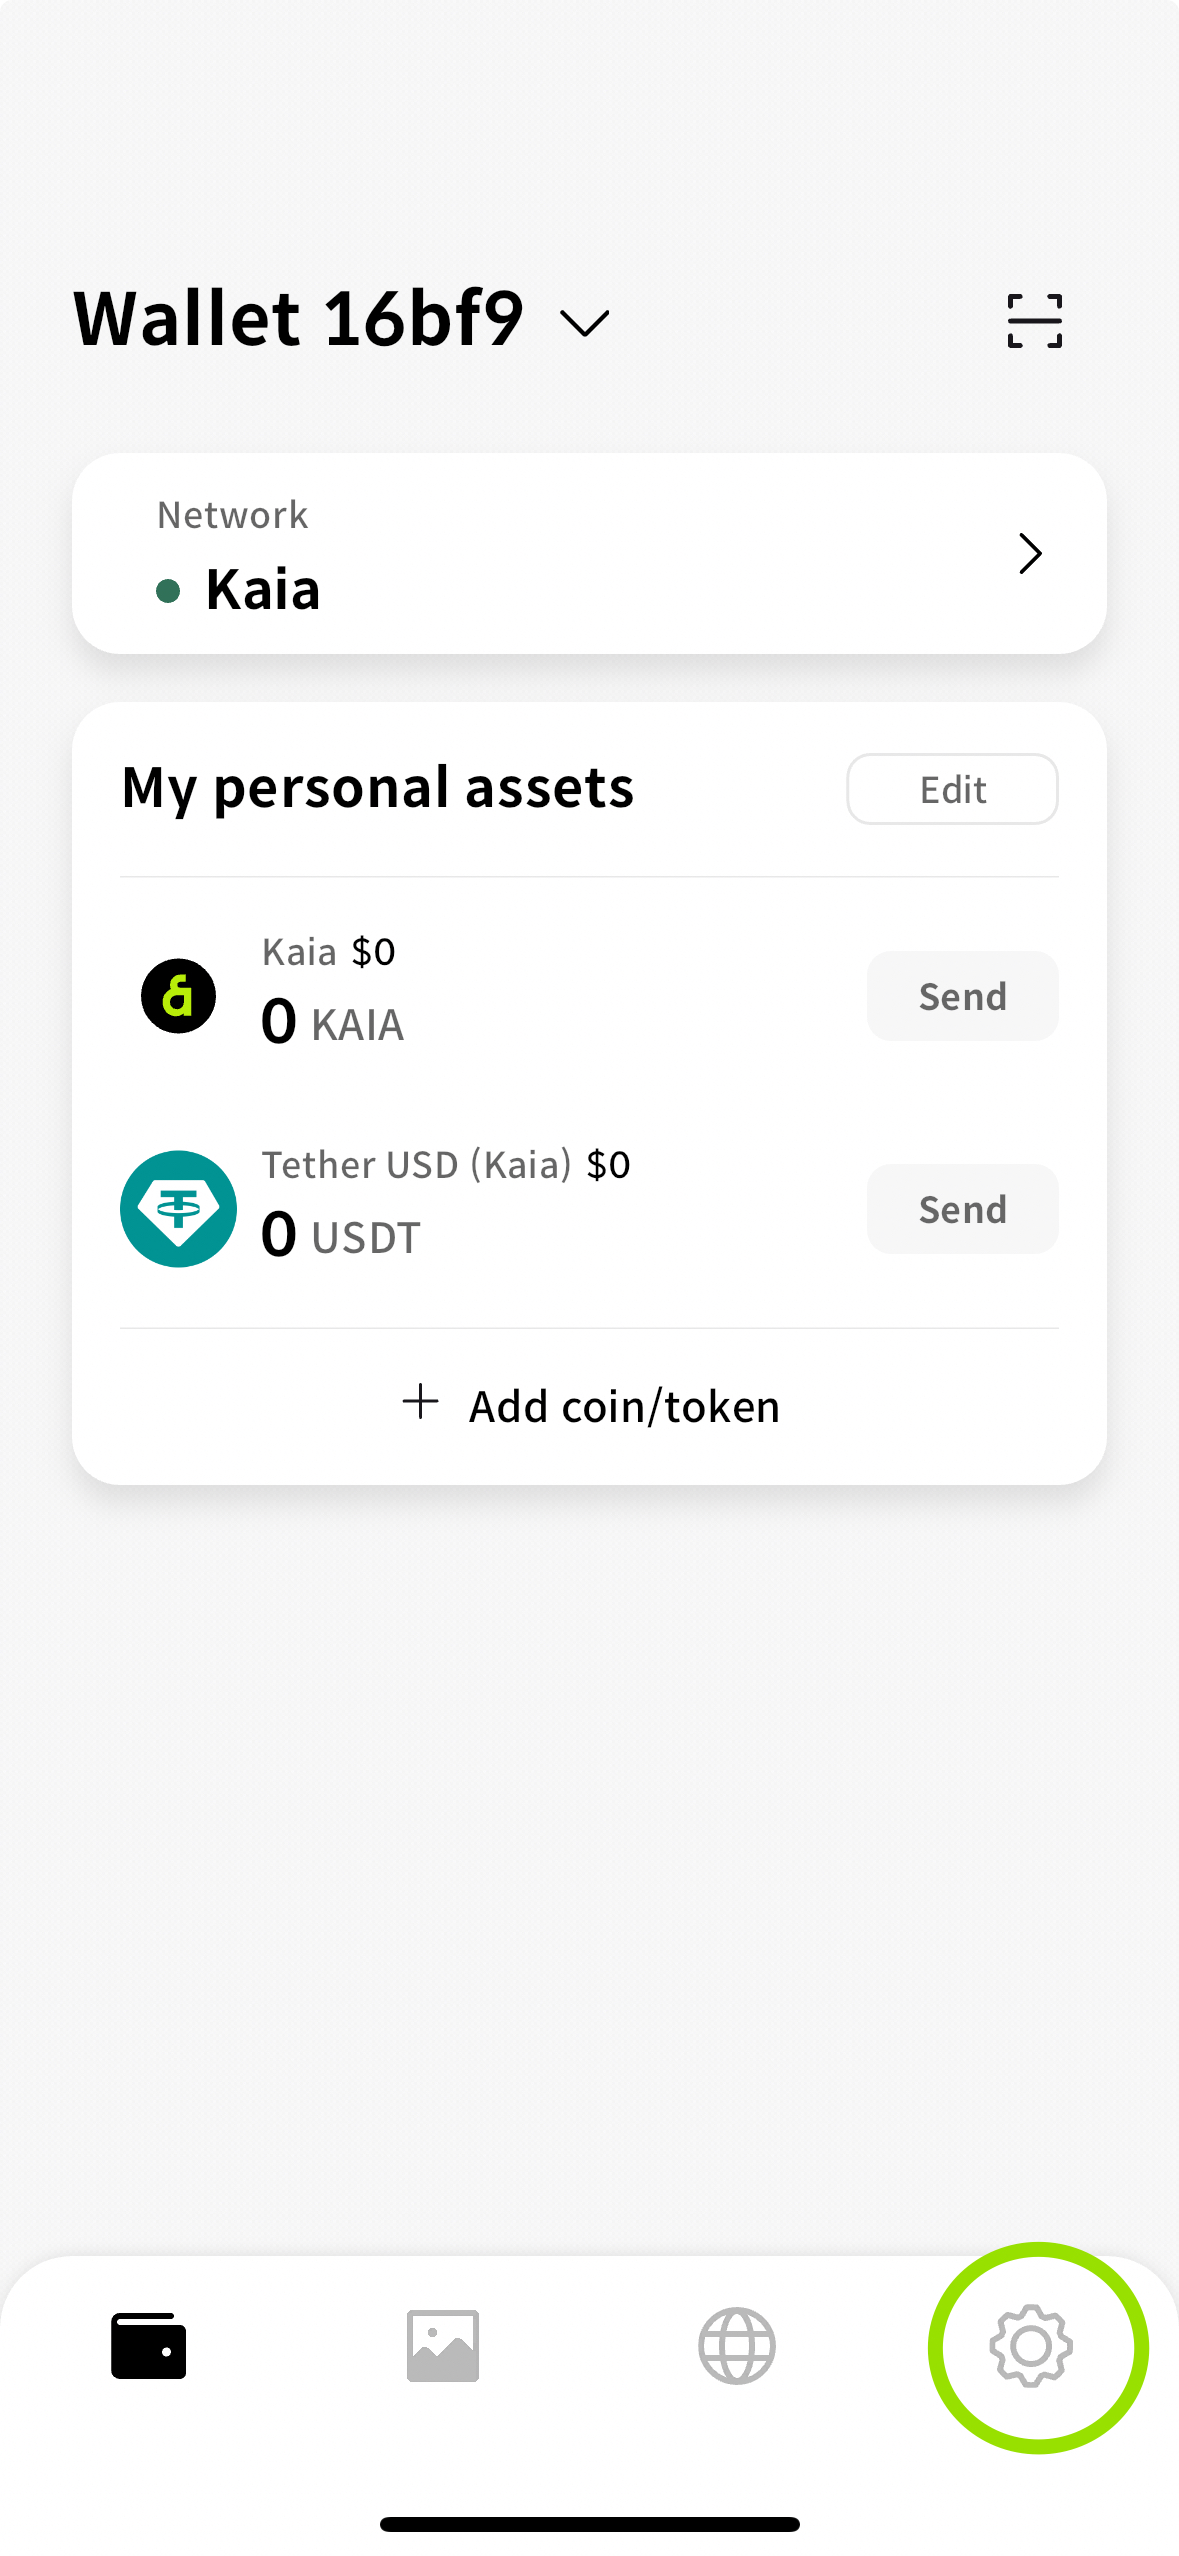
- Chọn Kiểm tra cụm từ khôi phục trong tùy chọn cài đặt.
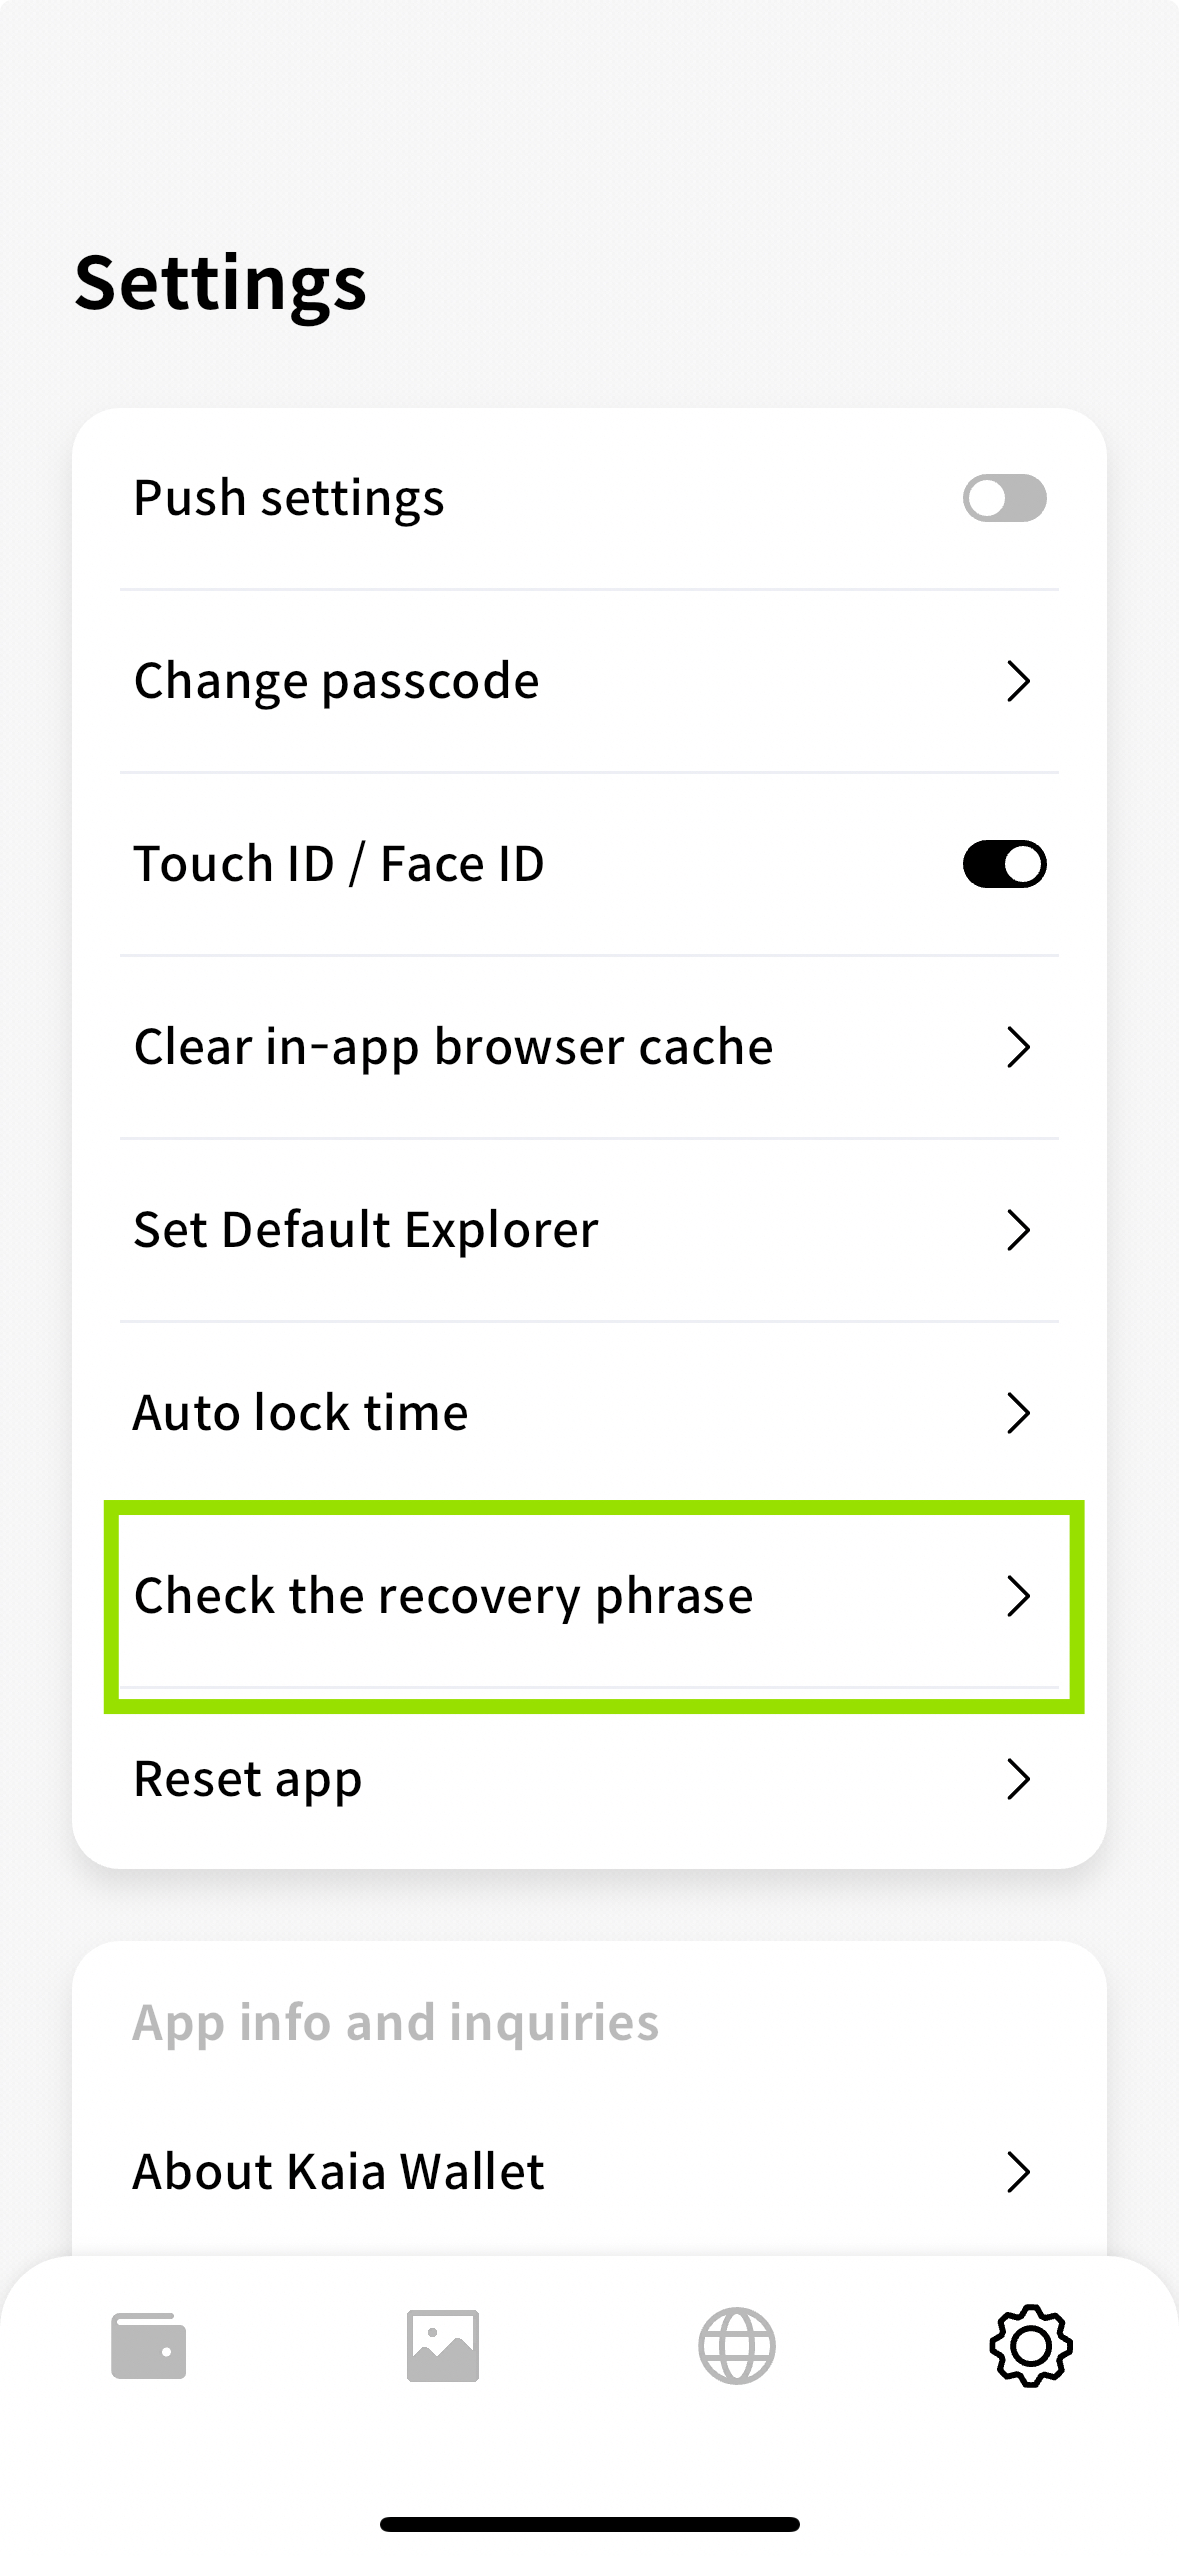
- Nhập mã PIN của bạn
- Lưu trữ cụm từ khôi phục đã tiết lộ của bạn một cách an toàn
Nạp tiền vào tài khoản Kaia Wallet của bạn
- Mạng chính Kaia
- Mạng thử nghiệm Kairos
Để nạp tiền vào tài khoản của bạn bằng token KAIA, bạn có thể mua và chuyển trực tiếp từ một Sàn giao dịch tập trung (CEX). Vui lòng xem danh sách các sàn giao dịch mà bạn có thể mua và gửi KAIA: Coingecko và CoinMarketCap
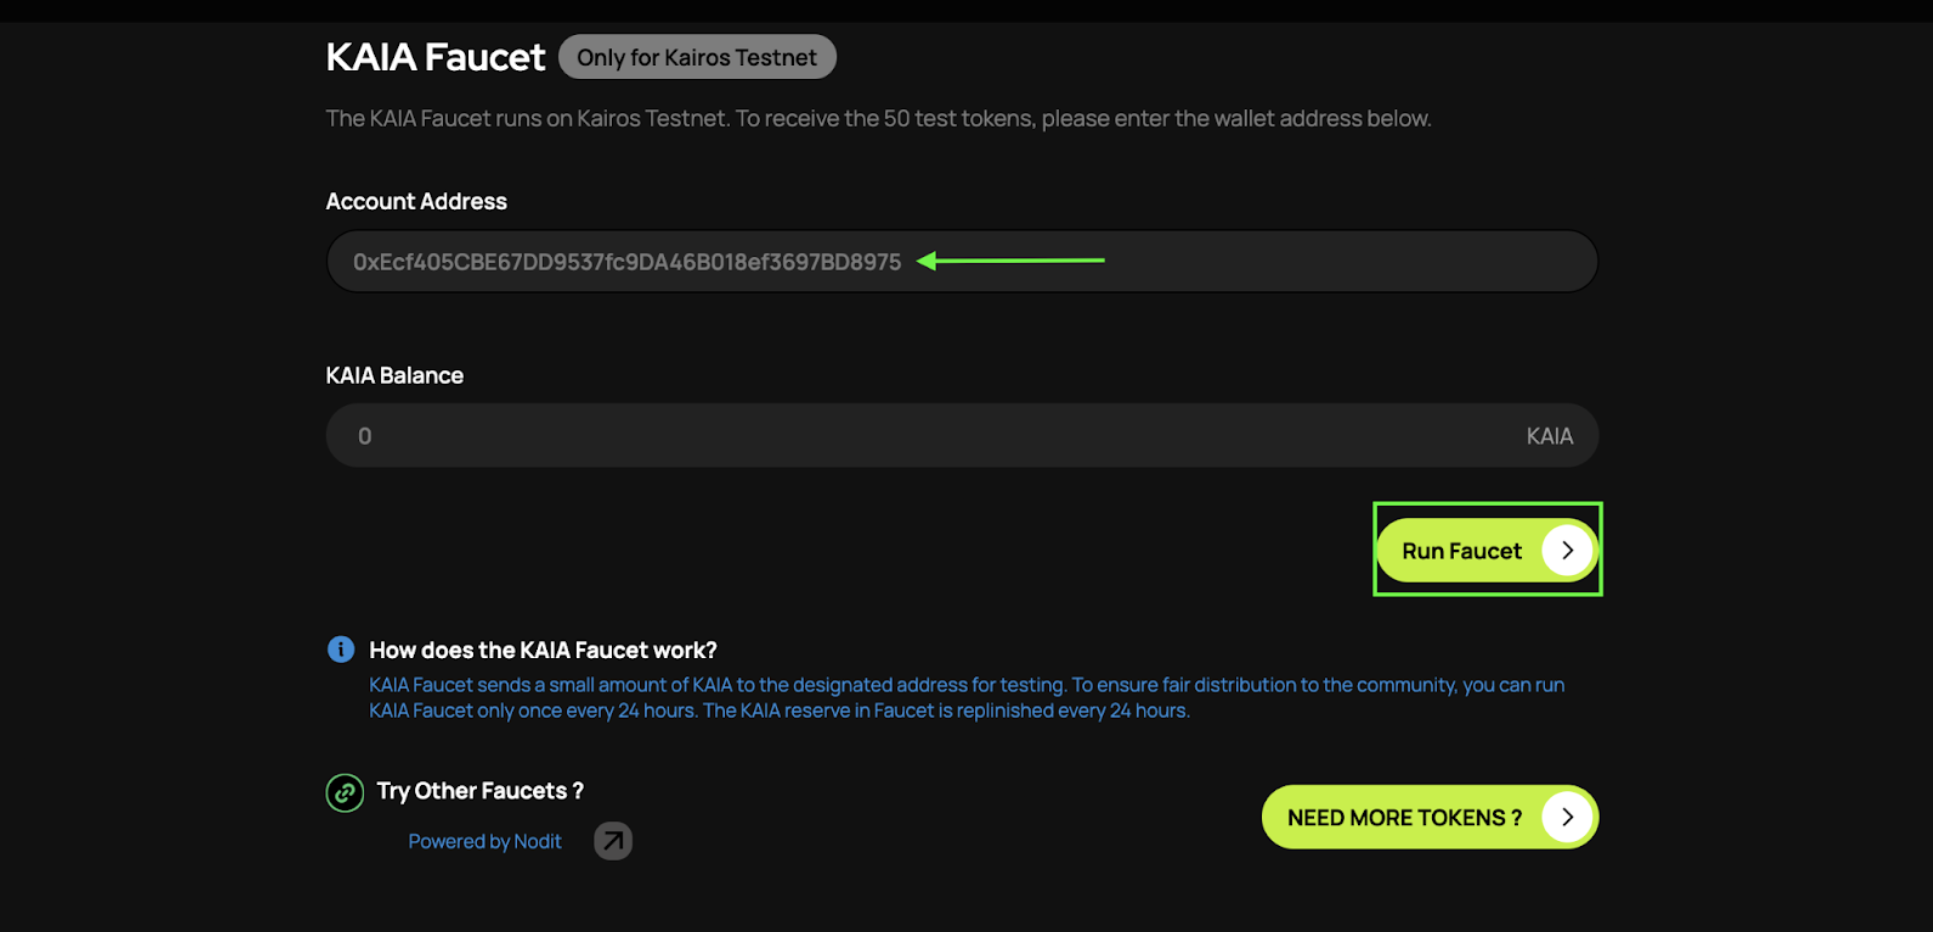
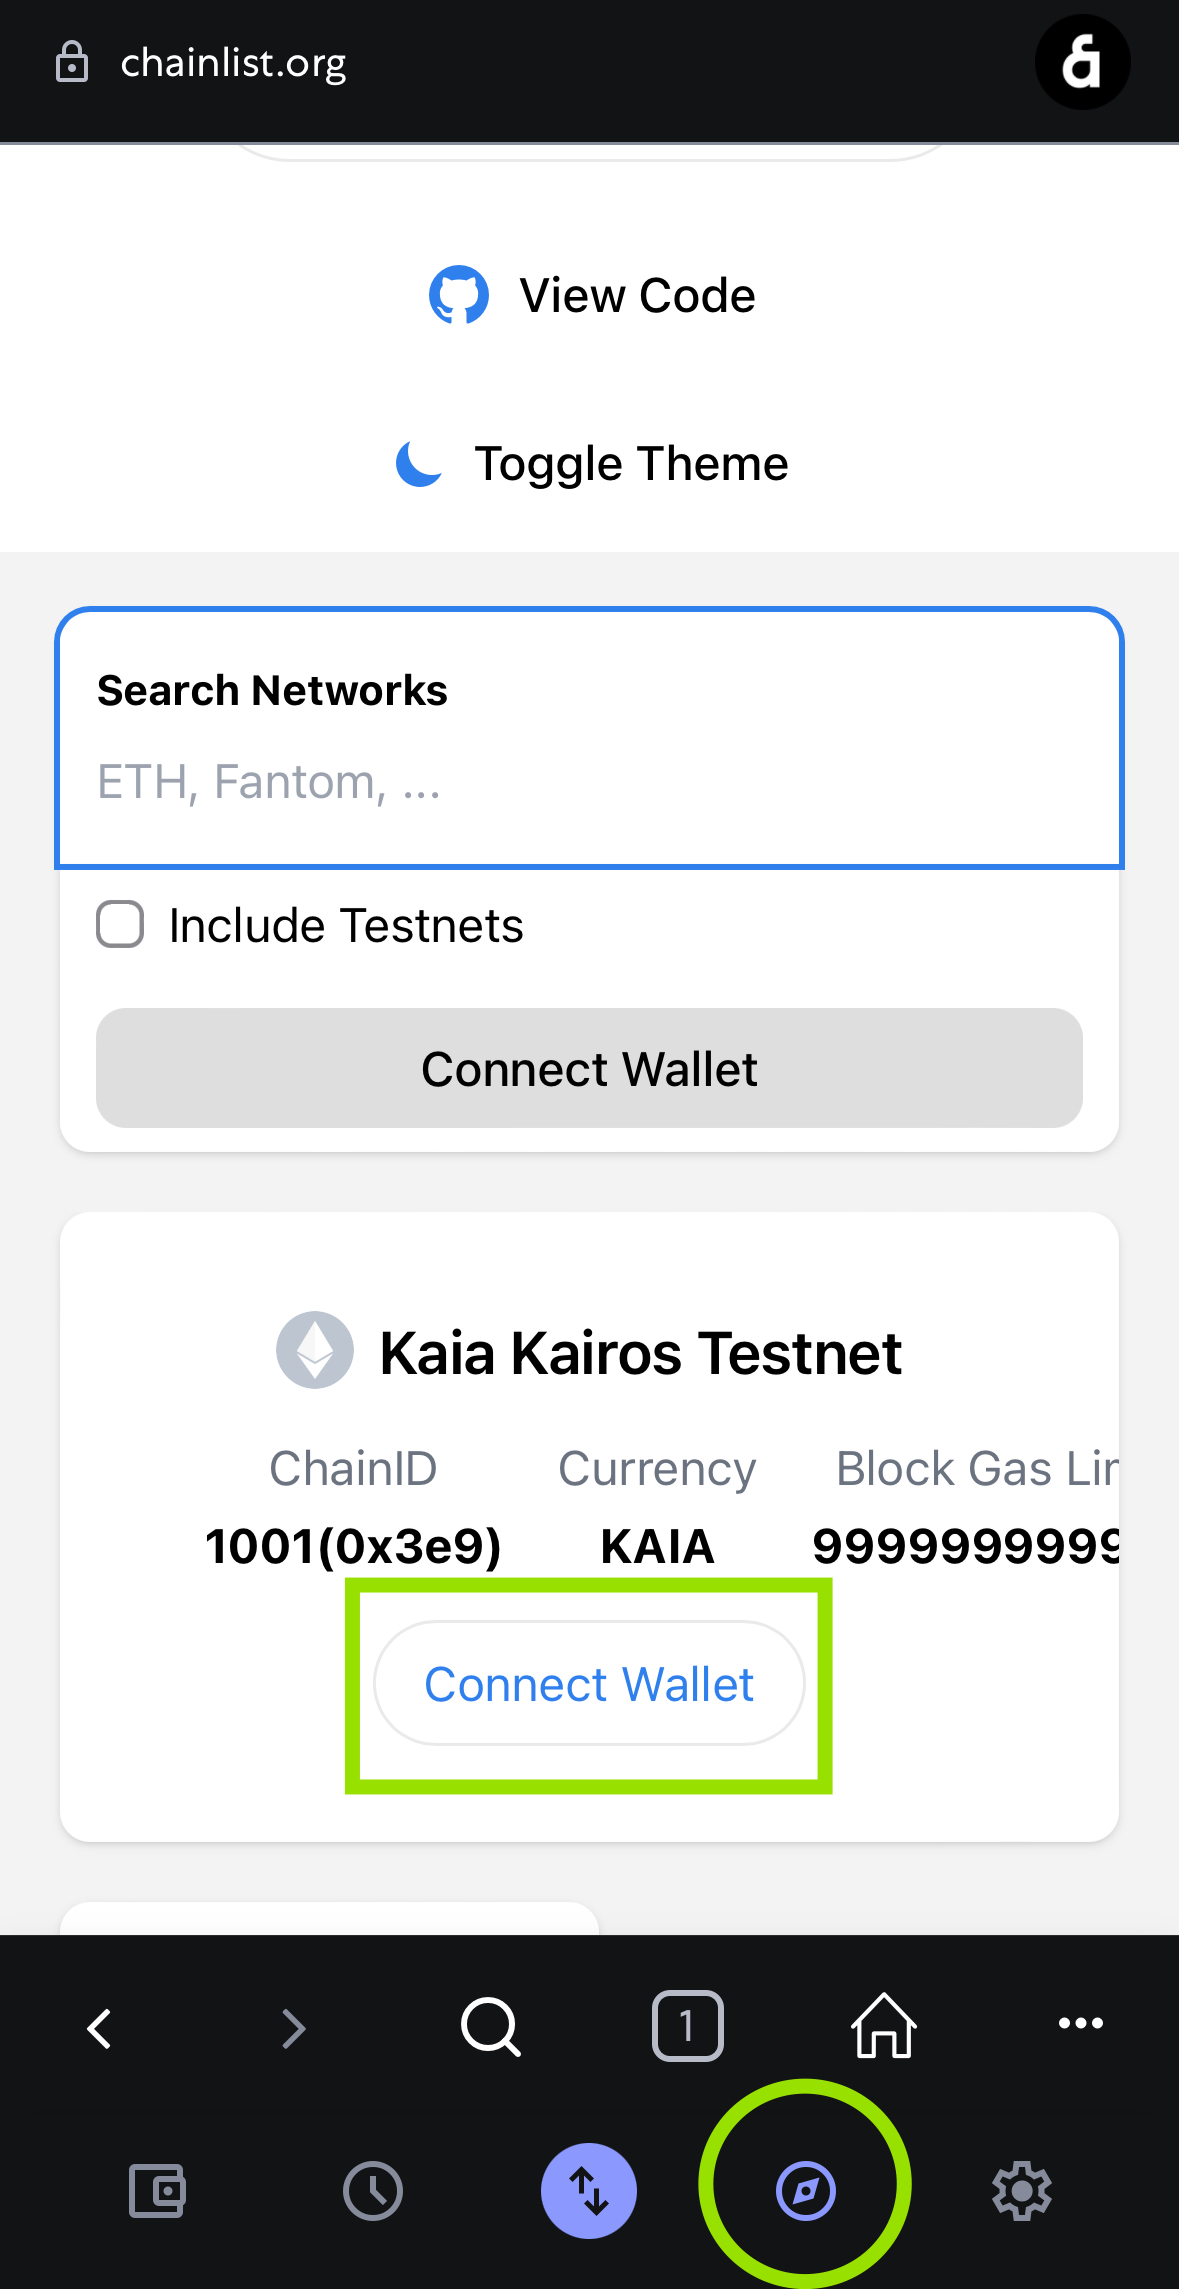
Vòi nước KAIA trên mạng thử nghiệm hoạt động trên mạng Kairos. Vòi nước có thể được truy cập từ vòi nước Kairos Kaia. Để nhận KAIA trên mạng thử nghiệm, bạn cần có tài khoản Kaia hợp lệ.
- Dán địa chỉ ví của bạn vào ô nhập địa chỉ tài khoản.
- Nhấp vào nút Run Faucet và bạn sẽ nhận được 50 KAIA testnet được gửi đến tài khoản của bạn. Lưu ý rằng bạn có thể chạy vòi nước cho mỗi tài khoản một lần mỗi 24 giờ.
Kết nối MetaMask với Kaia
MetaMask là một trong những ví tiền điện tử dựa trên trình duyệt được sử dụng rộng rãi nhất trong hệ sinh thái EVM. Sự tương thích của nó với cấu trúc địa chỉ của Kaia khiến nó trở thành lựa chọn phổ biến cho các nhà phát triển làm việc trên nhiều chuỗi tương thích EVM. Chương này sẽ hướng dẫn bạn cách cấu hình nó cụ thể cho Kaia.
Cài đặt MetaMask
- Phần mở rộng trình duyệt
- Di động
-
Thăm https://metamask.io
-
Nhấp vào Tải xuống trên thanh menu.
-
Trong ví dụ này, chúng ta sẽ sử dụng trình duyệt Chrome. (Cài đ��ặt Chrome)
-
Thêm Phần mở rộng MetaMask
vào Chrome.
-
Bạn có thể khởi chạy MetaMask bằng cách nhấp vào biểu tượng ở góc trên bên phải của trình duyệt Chrome.
- Chúng tôi sẽ tải xuống MetaMask từ cửa hàng ứng dụng chính thức phù hợp với thiết bị/hệ điều hành của bạn . Chúng tôi sẽ sử dụng iOS trong ví dụ này.
- Mở App Store và nhấn vào nút tìm kiếm ở góc dưới bên phải. Nhập MetaMask vào thanh tìm kiếm.
- Bạn có thể nhấp vào Get hoặc nhấn vào tên ứng dụng để xem thêm chi tiết. Sau đó, hoàn tất quy trình xác nhận tải xuống thông thường trên App Store.
Tạo ví MetaMask
Quy trình này áp dụng cho cả phiên bản tiện ích mở rộng trình duyệt và phiên bản di động của ví MetaMask.
- Nhấp vào nút Tạo ví.
- Đặt mật khẩu.
- Bạn sẽ được cung cấp một cụm từ hạt giống gồm 12 từ; hãy sao lưu nó ở một nơi an toàn.
- Hãy sao lưu Cụm từ Khôi phục Bí mật của bạn ở một nơi an toàn và không kết nối internet!
- Làm theo tất cả các hướng dẫn để tạo ví của bạn.
Bạn chỉ có thể khôi phục ví của mình bằng cụm từ hạt giống. Việc chia sẻ cụm từ khôi phục của bạn với người khác có thể dẫn đến việc mất toàn bộ số tiền của bạn. Do đó, khuyến nghị bạn nên ghi chép bằng tay hoặc lưu trữ trên thiết bị ngoại tuyến.
Kết nối với Mạng Kaia
Cấu hình nhanh
Phần mở rộng trình duyệt
- Mạng chính Kaia
- Mạng thử nghiệm Kairos
Di động
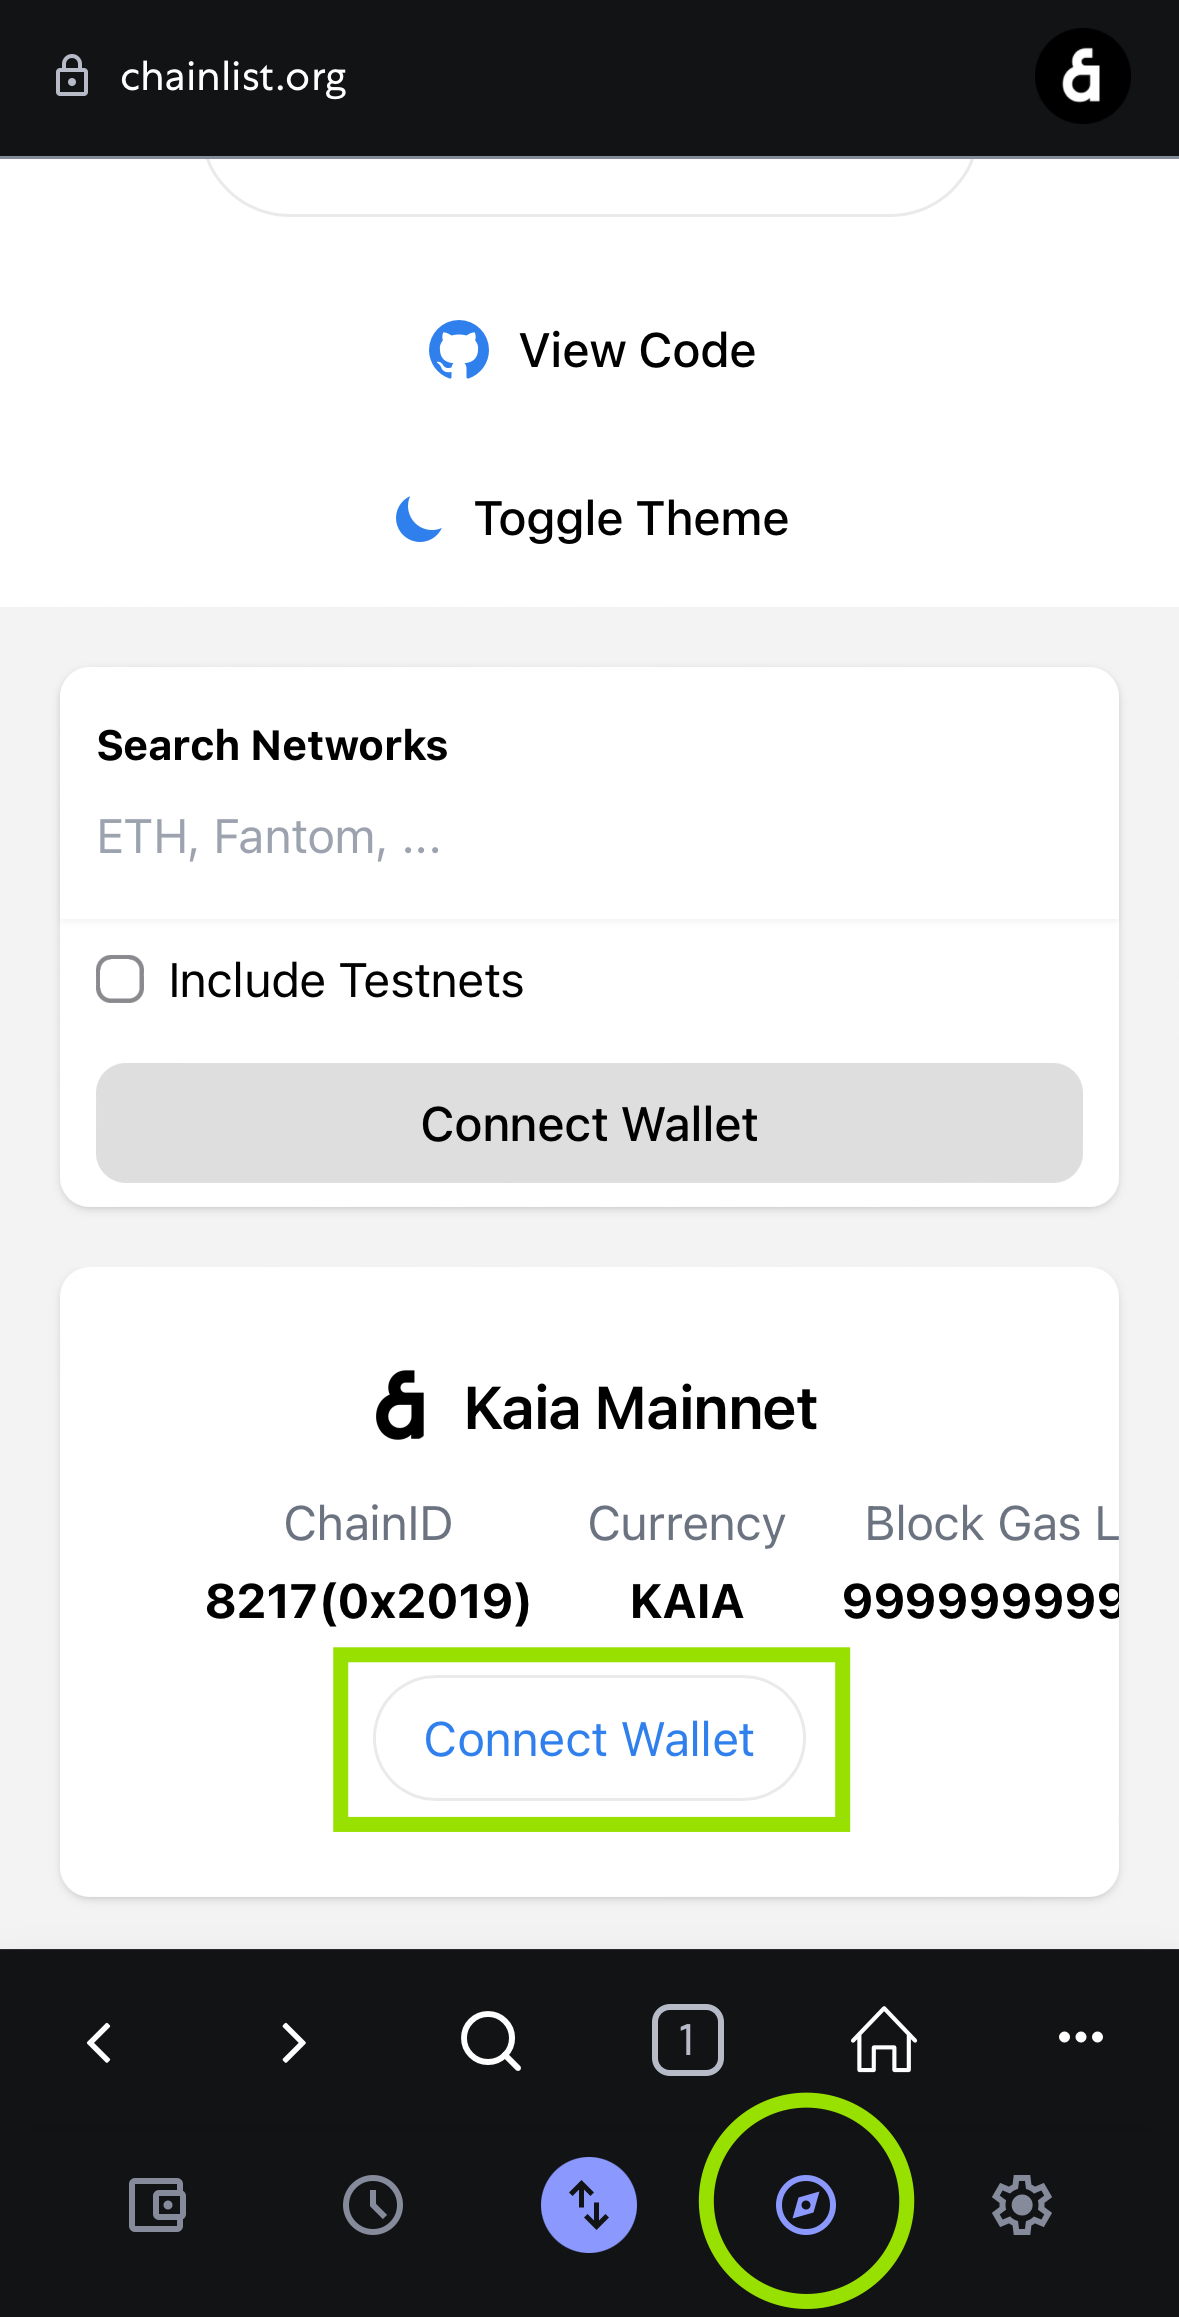
- Mạng chính Kaia
- Mạng thử nghiệm Kairos
Cấu hình thủ công
- Phần mở rộng trình duyệt
- Di động
- Nhấp vào tab Mạng ở phía trên, mặc định là Ethereum Mainnet, sau đó chọn Thêm mạng.
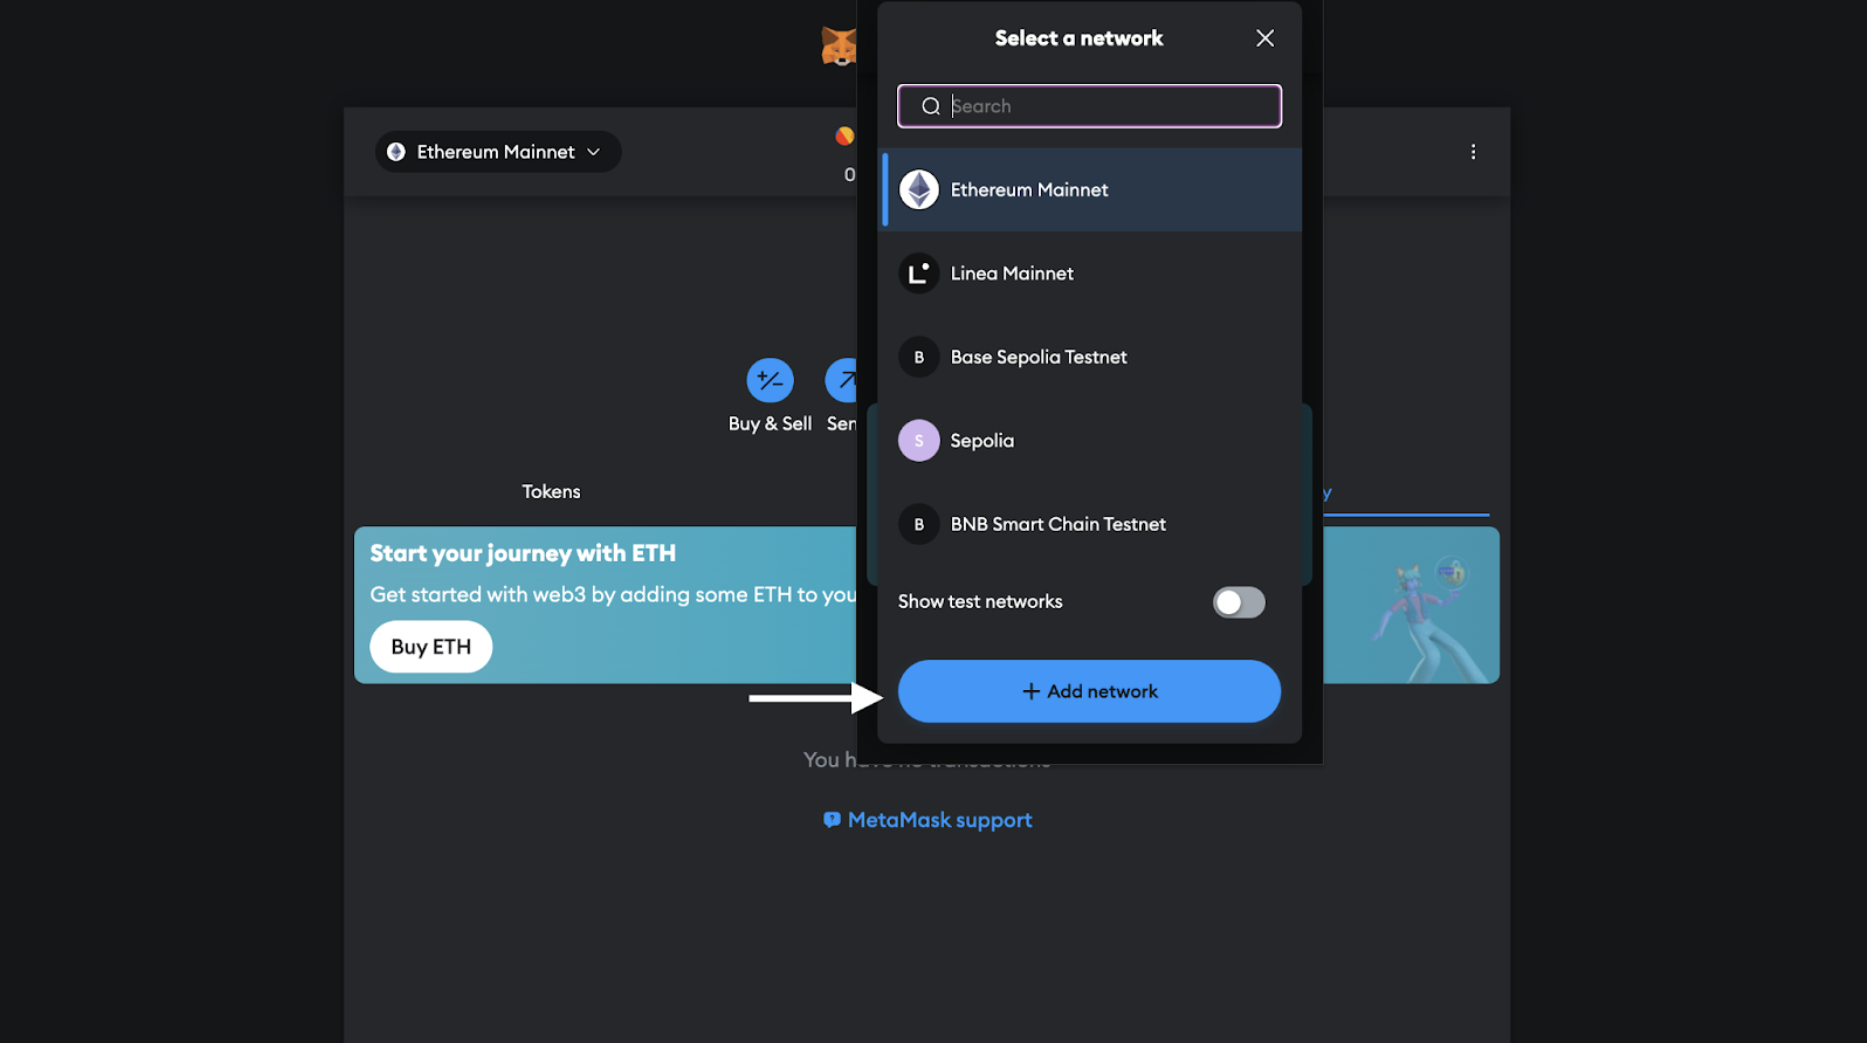
- Nhập các thông tin mạng Kaia sau vào trang Thêm mạng thủ công và nhấp vào Lưu.
- Mạng chính Kaia
- Mạng thử nghiệm Kairos
Name: Kaia MainnetRPC: https://public-en.node.kaia.ioID: 8217Symbol: KAIABlock Explorer: https://kaiascan.io
Name: Kaia Kairos TestnetRPC: https://public-en-kairos.node.kaia.ioID: 1001Symbol: KAIABlock Explorer: https://kairos.kaiascan.io
- Nhấn vào trình chọn mạng ở phía trên màn hình.
- Nhấp vào nút Thêm Mạng.
- Chuyển sang tab Mạng tùy chỉnh.
- Nhập thông tin chi tiết của mạng như đã được hiển thị trong tab "Browser Extension".
Bước tiếp theo: Nâng cao cấu hình của bạn
Chúc mừng! Bạn hiện đã có một ví được cấu hình, kết nối và nạp tiền trên mạng Kaia. Bạn đã sẵn sàng để bắt đầu hành trình phát triển của mình.
Bước tiếp theo của bạn là học cách quản lý khóa một cách an toàn cho quá trình phát triển, kiểm thử và triển khai sản phẩm. Để có các hướng dẫn chi tiết về cách sử dụng các công cụ như Foundry và Hardhat, tích hợp với ví phần cứng và thiết lập bảo mật cấp sản xuất, vui lòng truy cập vào cuốn sách hướng dẫn quản lý ví an toàn toàn diện của chúng tôi.