Connect MetaMask to Kaia

Note: MetaMask is mostly used as a wallet for Ethereum, but it is also compatible with Kaia due to the identical address structures. Kaia cũng có một ví tiền điện tử dưới dạng tiện ích mở rộng trình duyệt có tên Kaia Wallet, vì vậy nó cơ bản cung cấp các tính năng tương tự như MetaMask, ngoại trừ Remix.
Step 1. Install MetaMask
-
We will be using Chrome browser in this example. (Install Chrome)
-
Add MetaMask Extension to Chrome.
Note: You may need additional installations if you are using another browser.
-
You can start MetaMask by clicking on the icon in the upper right-hand corner of your chrome browser.
Step 2. Generate a MetaMask Wallet
-
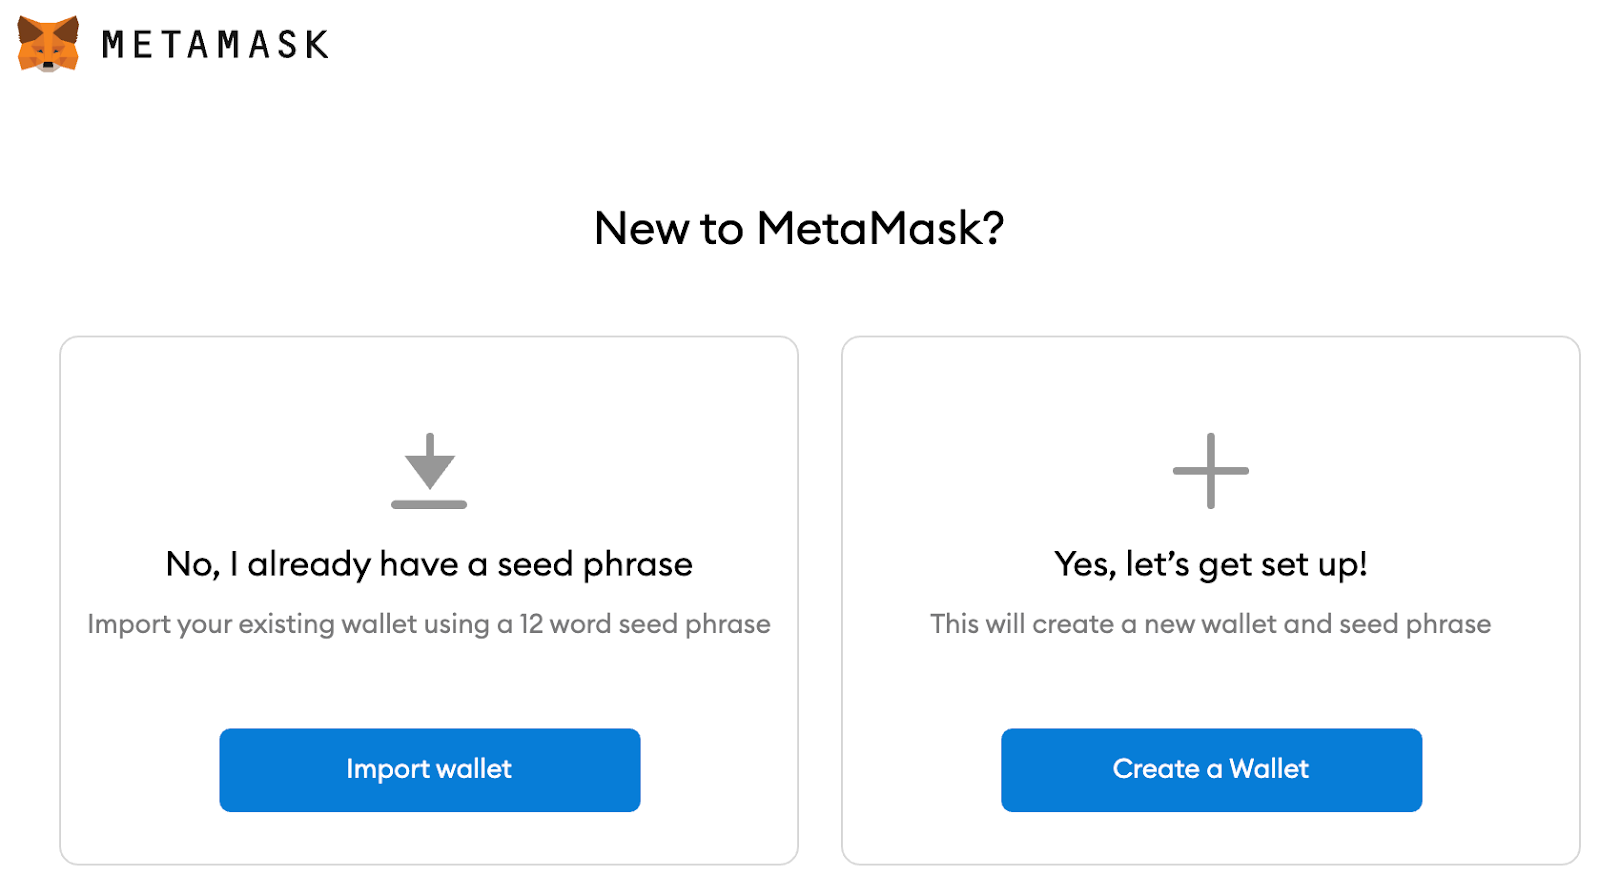
Click on [Create a Wallet].
-
Set a password.
-
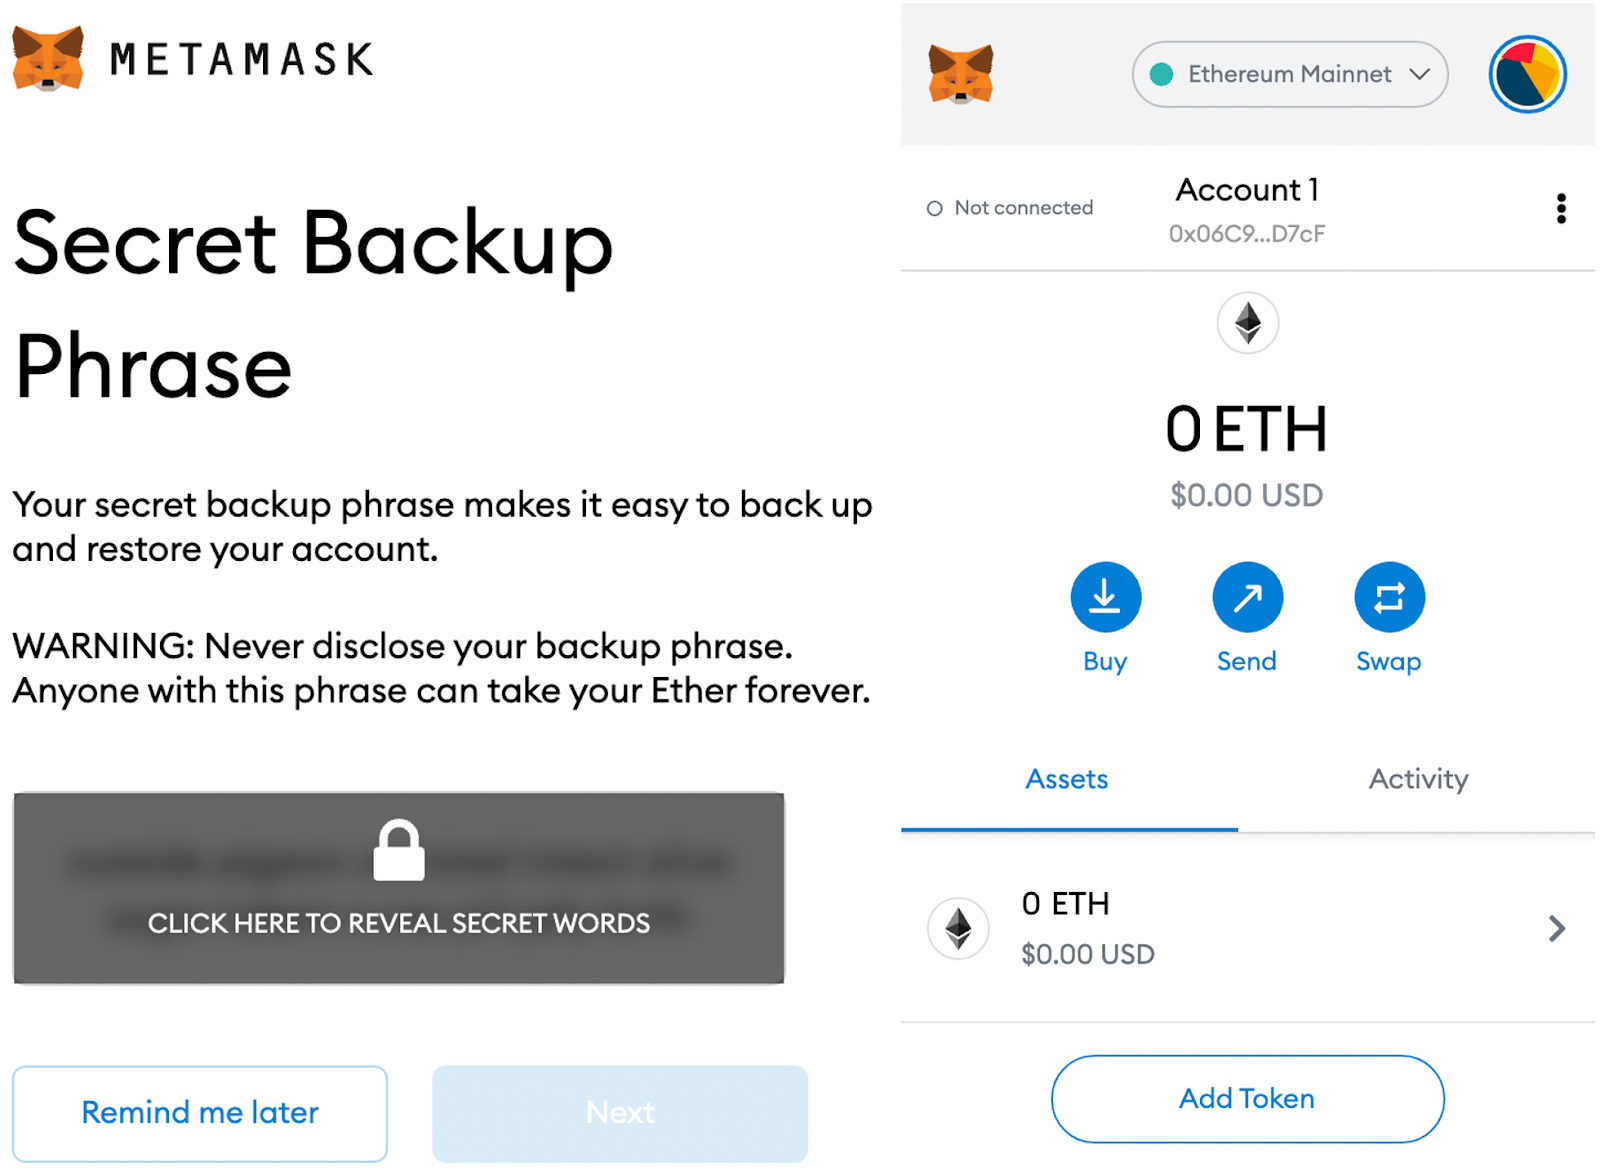
You will be given a 12 word seed phrase; back it up somewhere secure.
Note: You can only restore your wallet with the seed phrase. Sharing your seed phrase with others may result in losing all of your funds. Therefore, it is recommended that you either write it down manually or store it in an offline device.
Step 3. Connect to Kaia Network
A. Quick Configuration
- Kaia Mainnet
- Kaia Kairos Testnet
B. Manual Configuration
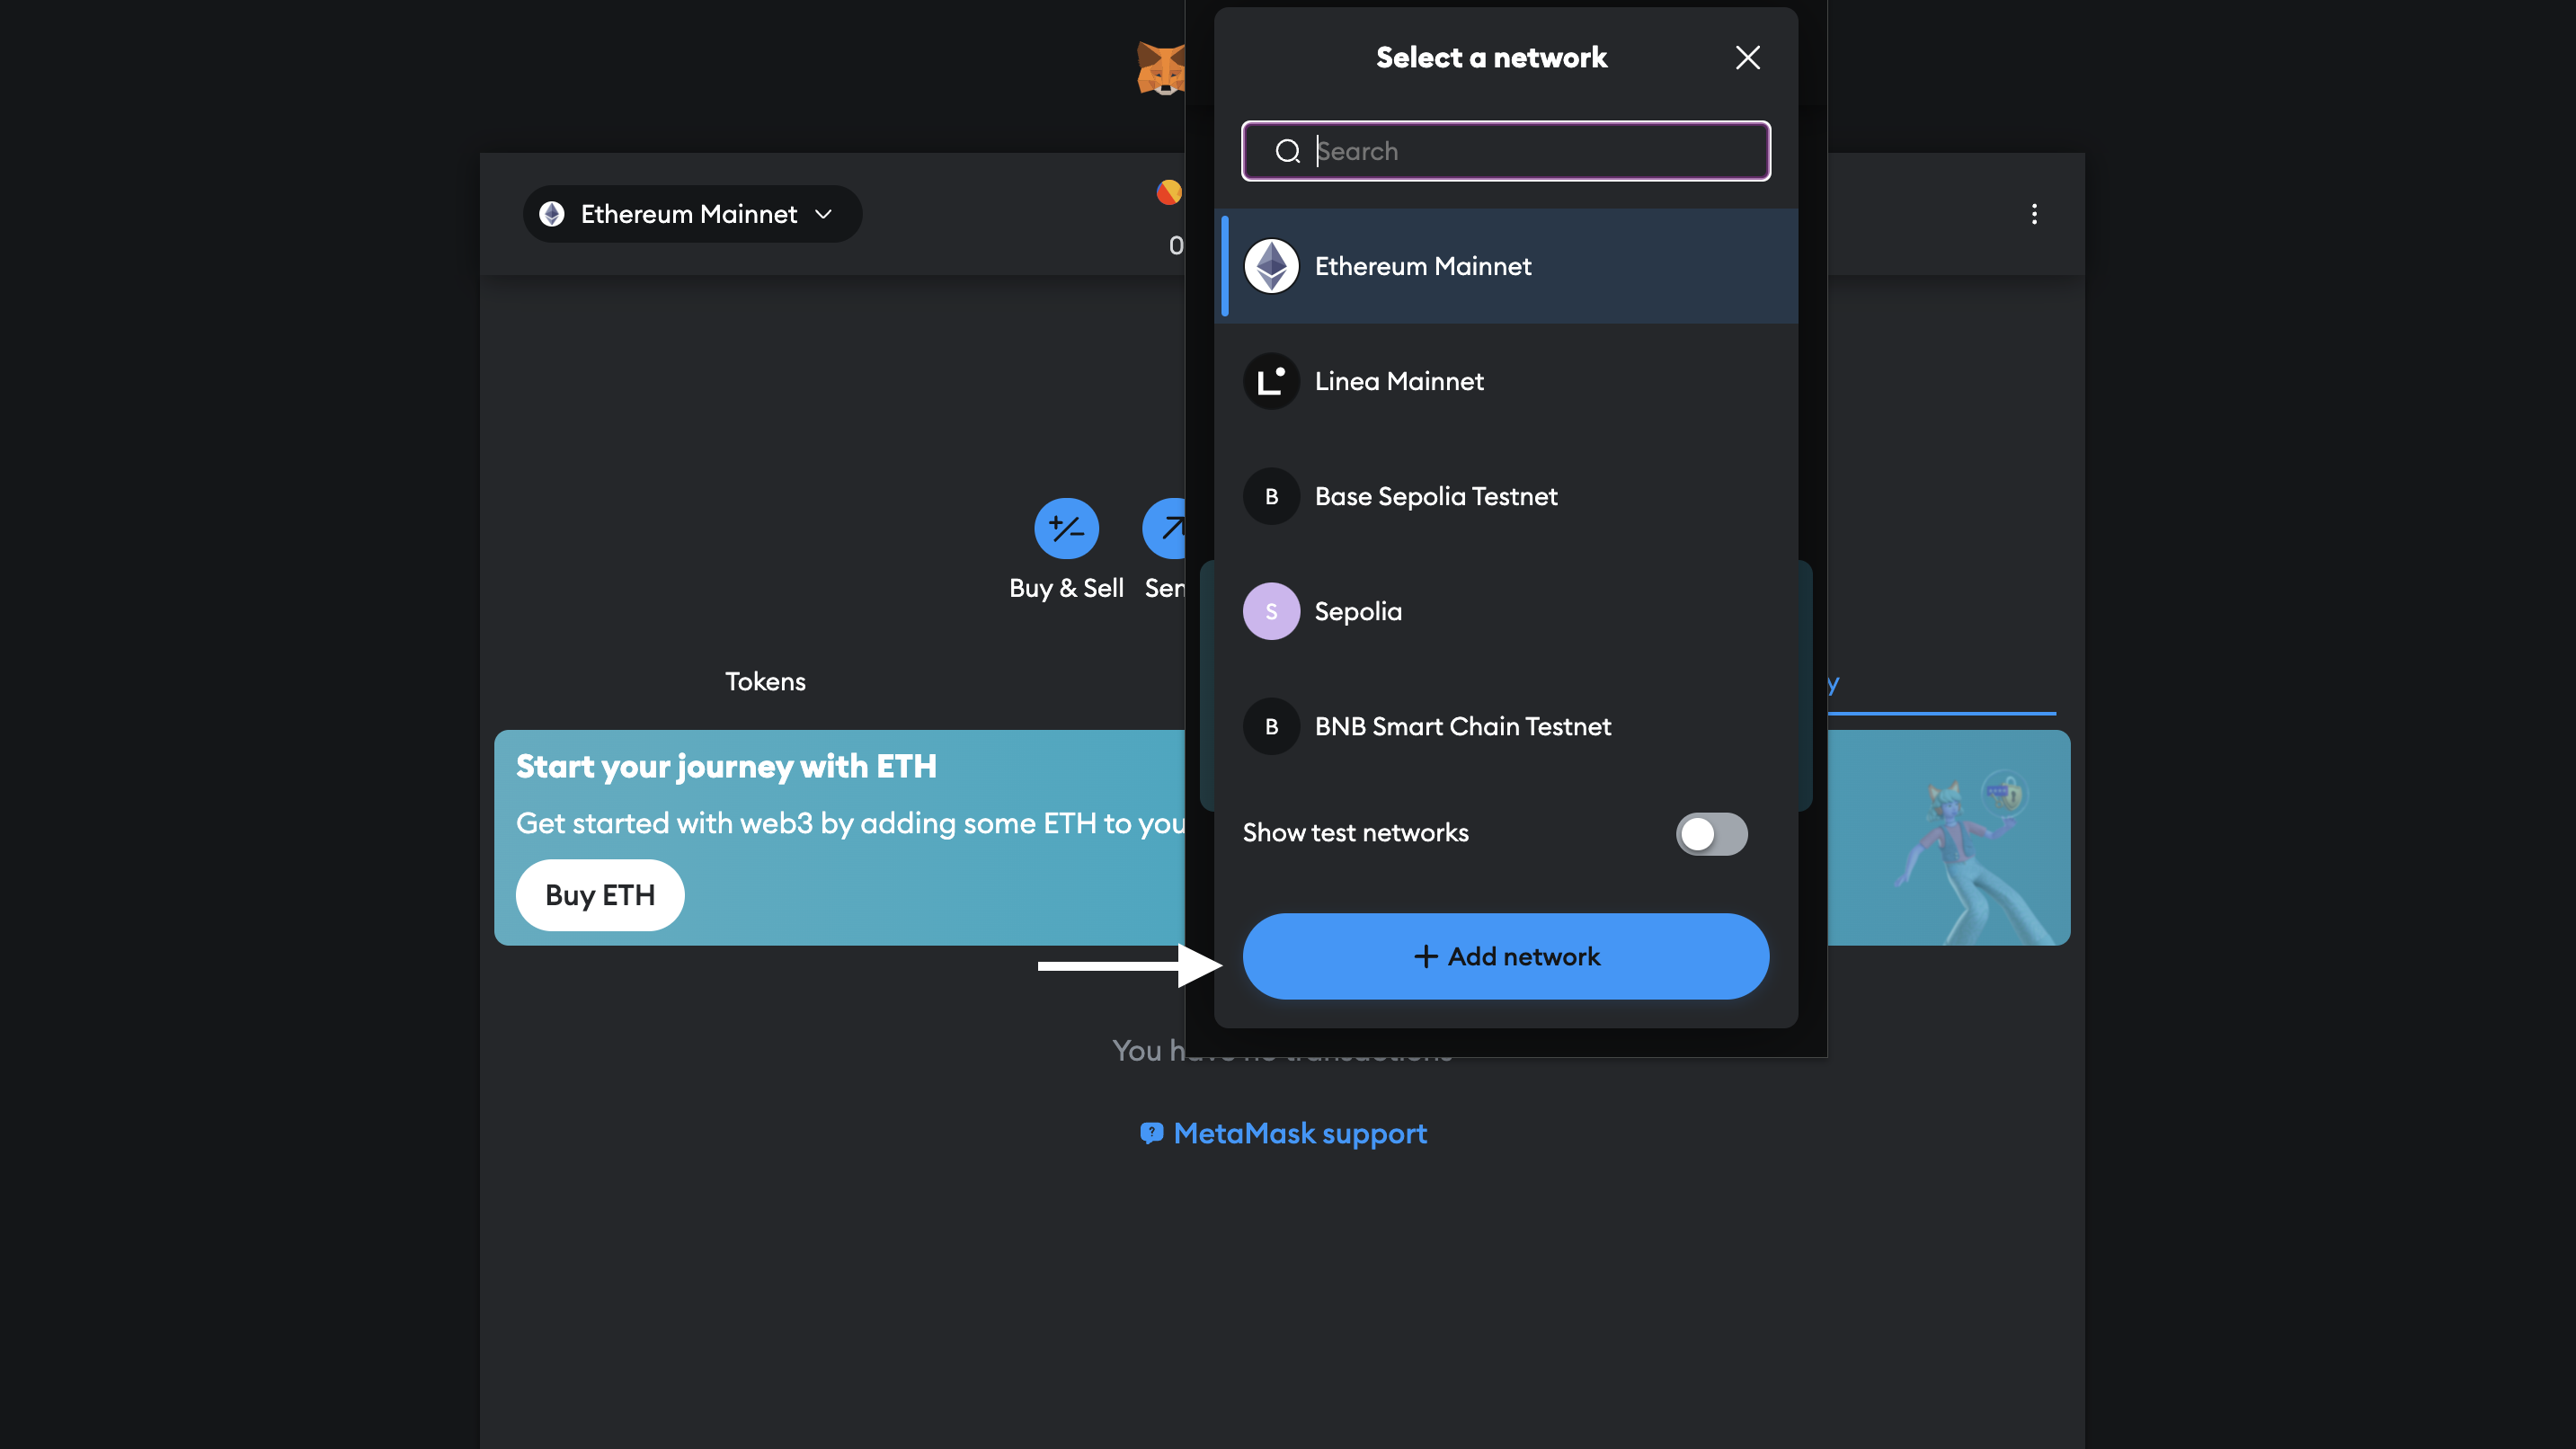
- Click on the upper Networks tab, which is on Ethereum Mainnet as default, and select [Add network].
- Enter the following Kaia network details in the Add a network manually page and click Save
- Kaia Mainnet
- Kaia Kairos Testnet
Step 4. Send KAIA
Note: The following steps require KAIA. For this guide, we will be using Kairos Testnet. You can obtain Test KAIA in Kaia Faucet.
- Click [Send] on the main page and enter the recipient address and the amount of KAIA.
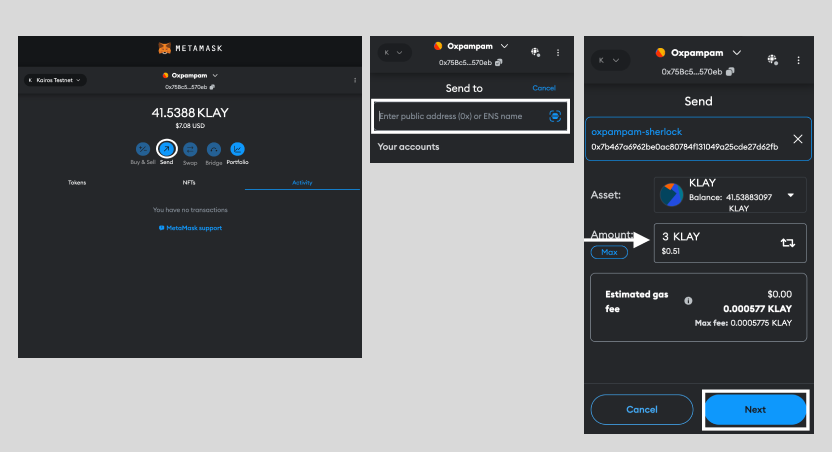
NOTE: Sending KAIA is a payment transaction, for which you need KAIA.
- Since Kaia v1.9.0, a dynamic gas fee mechanism has replaced the existing fixed price policy.
- So you don't have to set the fixed gas fee manually.
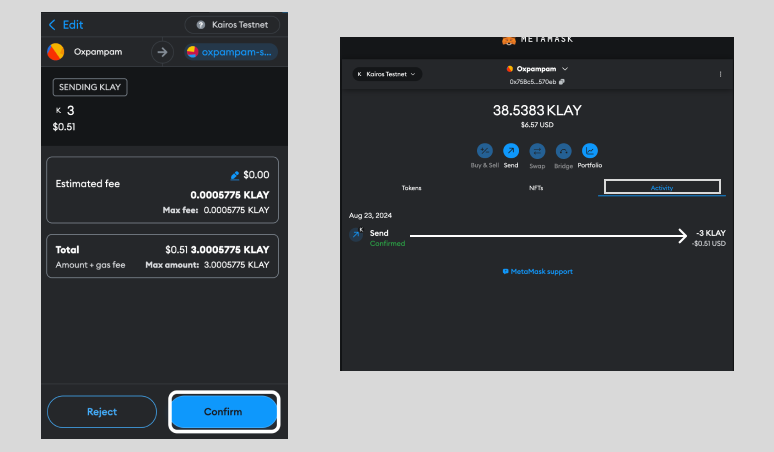
- Check the amount to send and the transaction fee and click [Confirm] to complete the KAIA transfer, after which you will be redirected to the main page.
- Click [Activity] on the main page to confirm the transaction history.
