本页面使用机器翻译自英语,可能包含错误或不清楚的语言。如需最准确的信息,请参阅英文原文。由于更新频繁,部分内容可能与英文原文有�出入。请加入我们在 Crowdin 上的努力,帮助我们改进本页面的翻译。 (Crowdin translation page, Contributing guide)
转换为 LINE LIFF
在本节中,我们将介绍将您的构建作为 LINE LIFF(LINE 前端框架)应用程序进行转换、集成和部署的步骤,使其能够在 LINE 生态系统中无缝访问。
让我们开始吧!
第 1 步:创建您的 LIFF 应用程序
首先,让我们在 LINE 生态系统中设置您的应用程序:
-
线路开发人员控制台设置:
- 访问 LINE 开发人员控制台。
- 创建一个提供商(如果已经有一个,则跳过)。
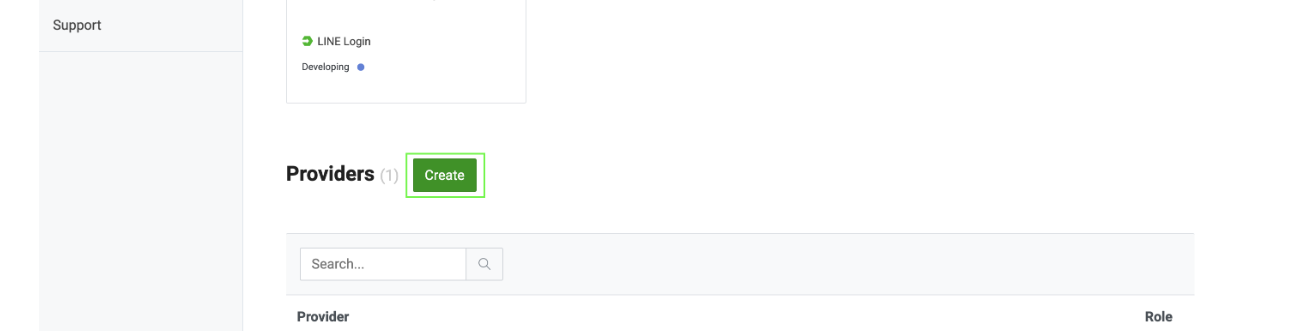
- 创建新的 LINE 登录频道。
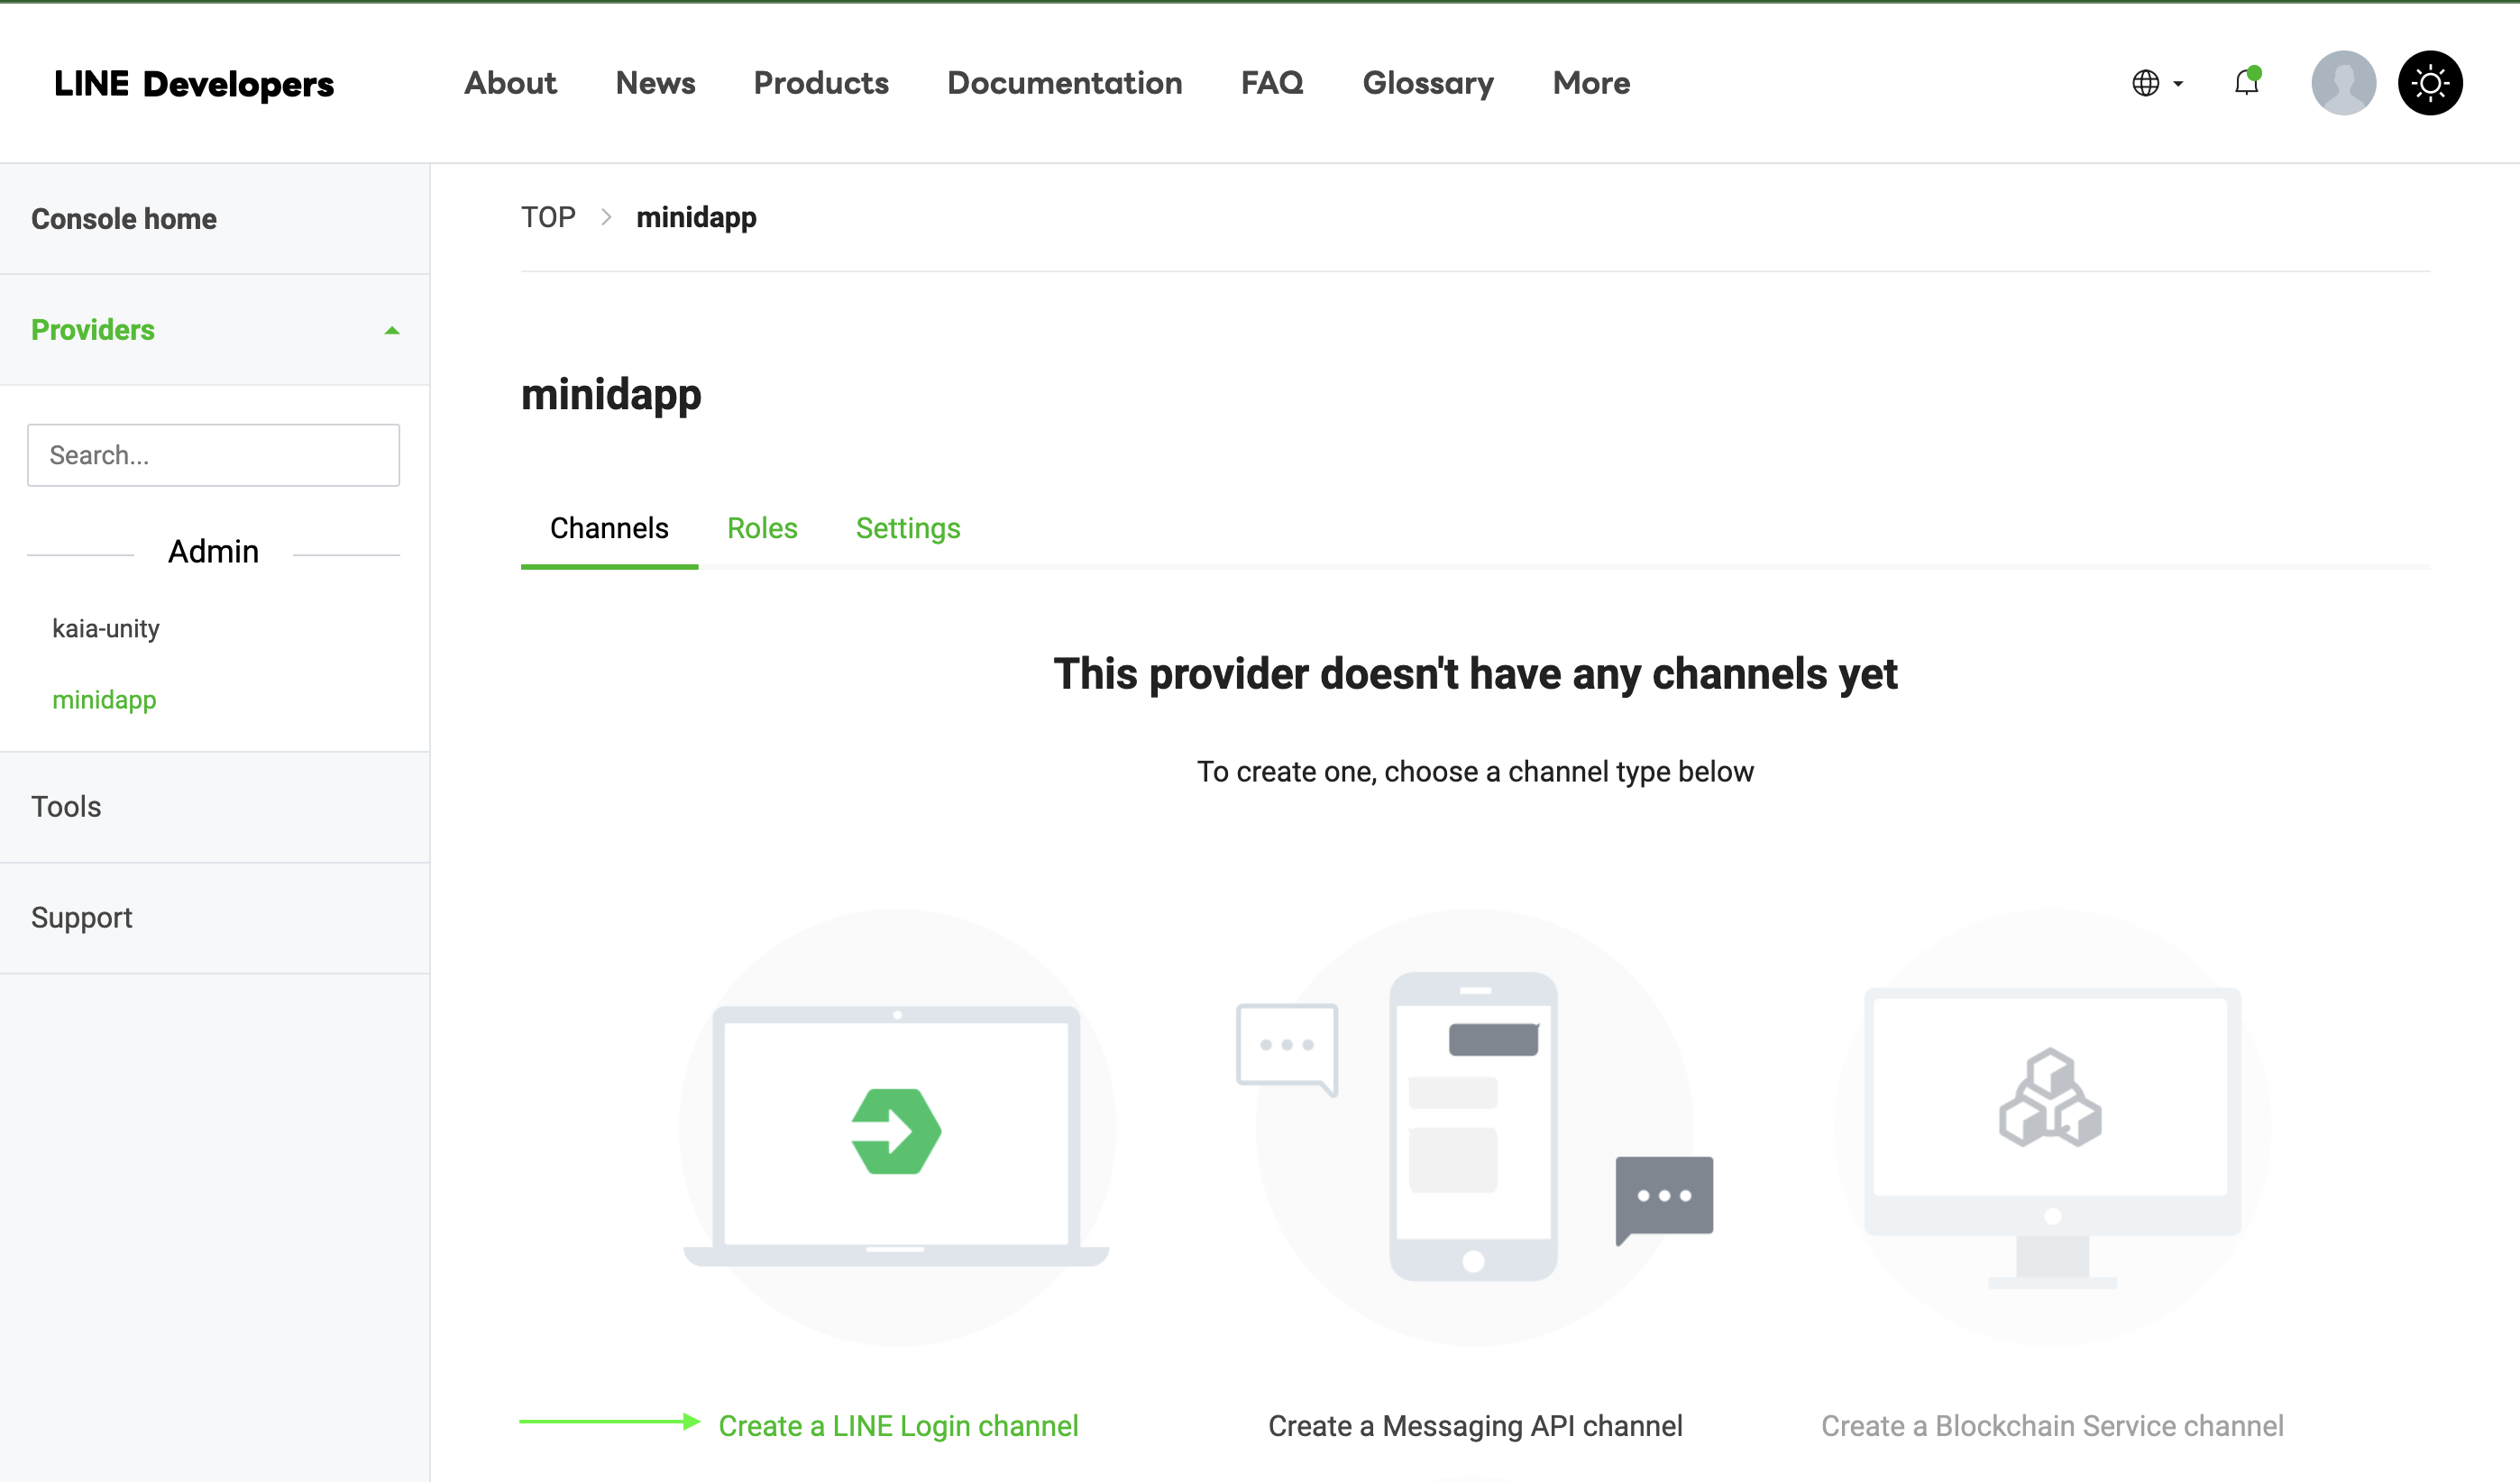
- 导航至 LIFF 选项卡
- 点击 "添加 LIFF 应用程序
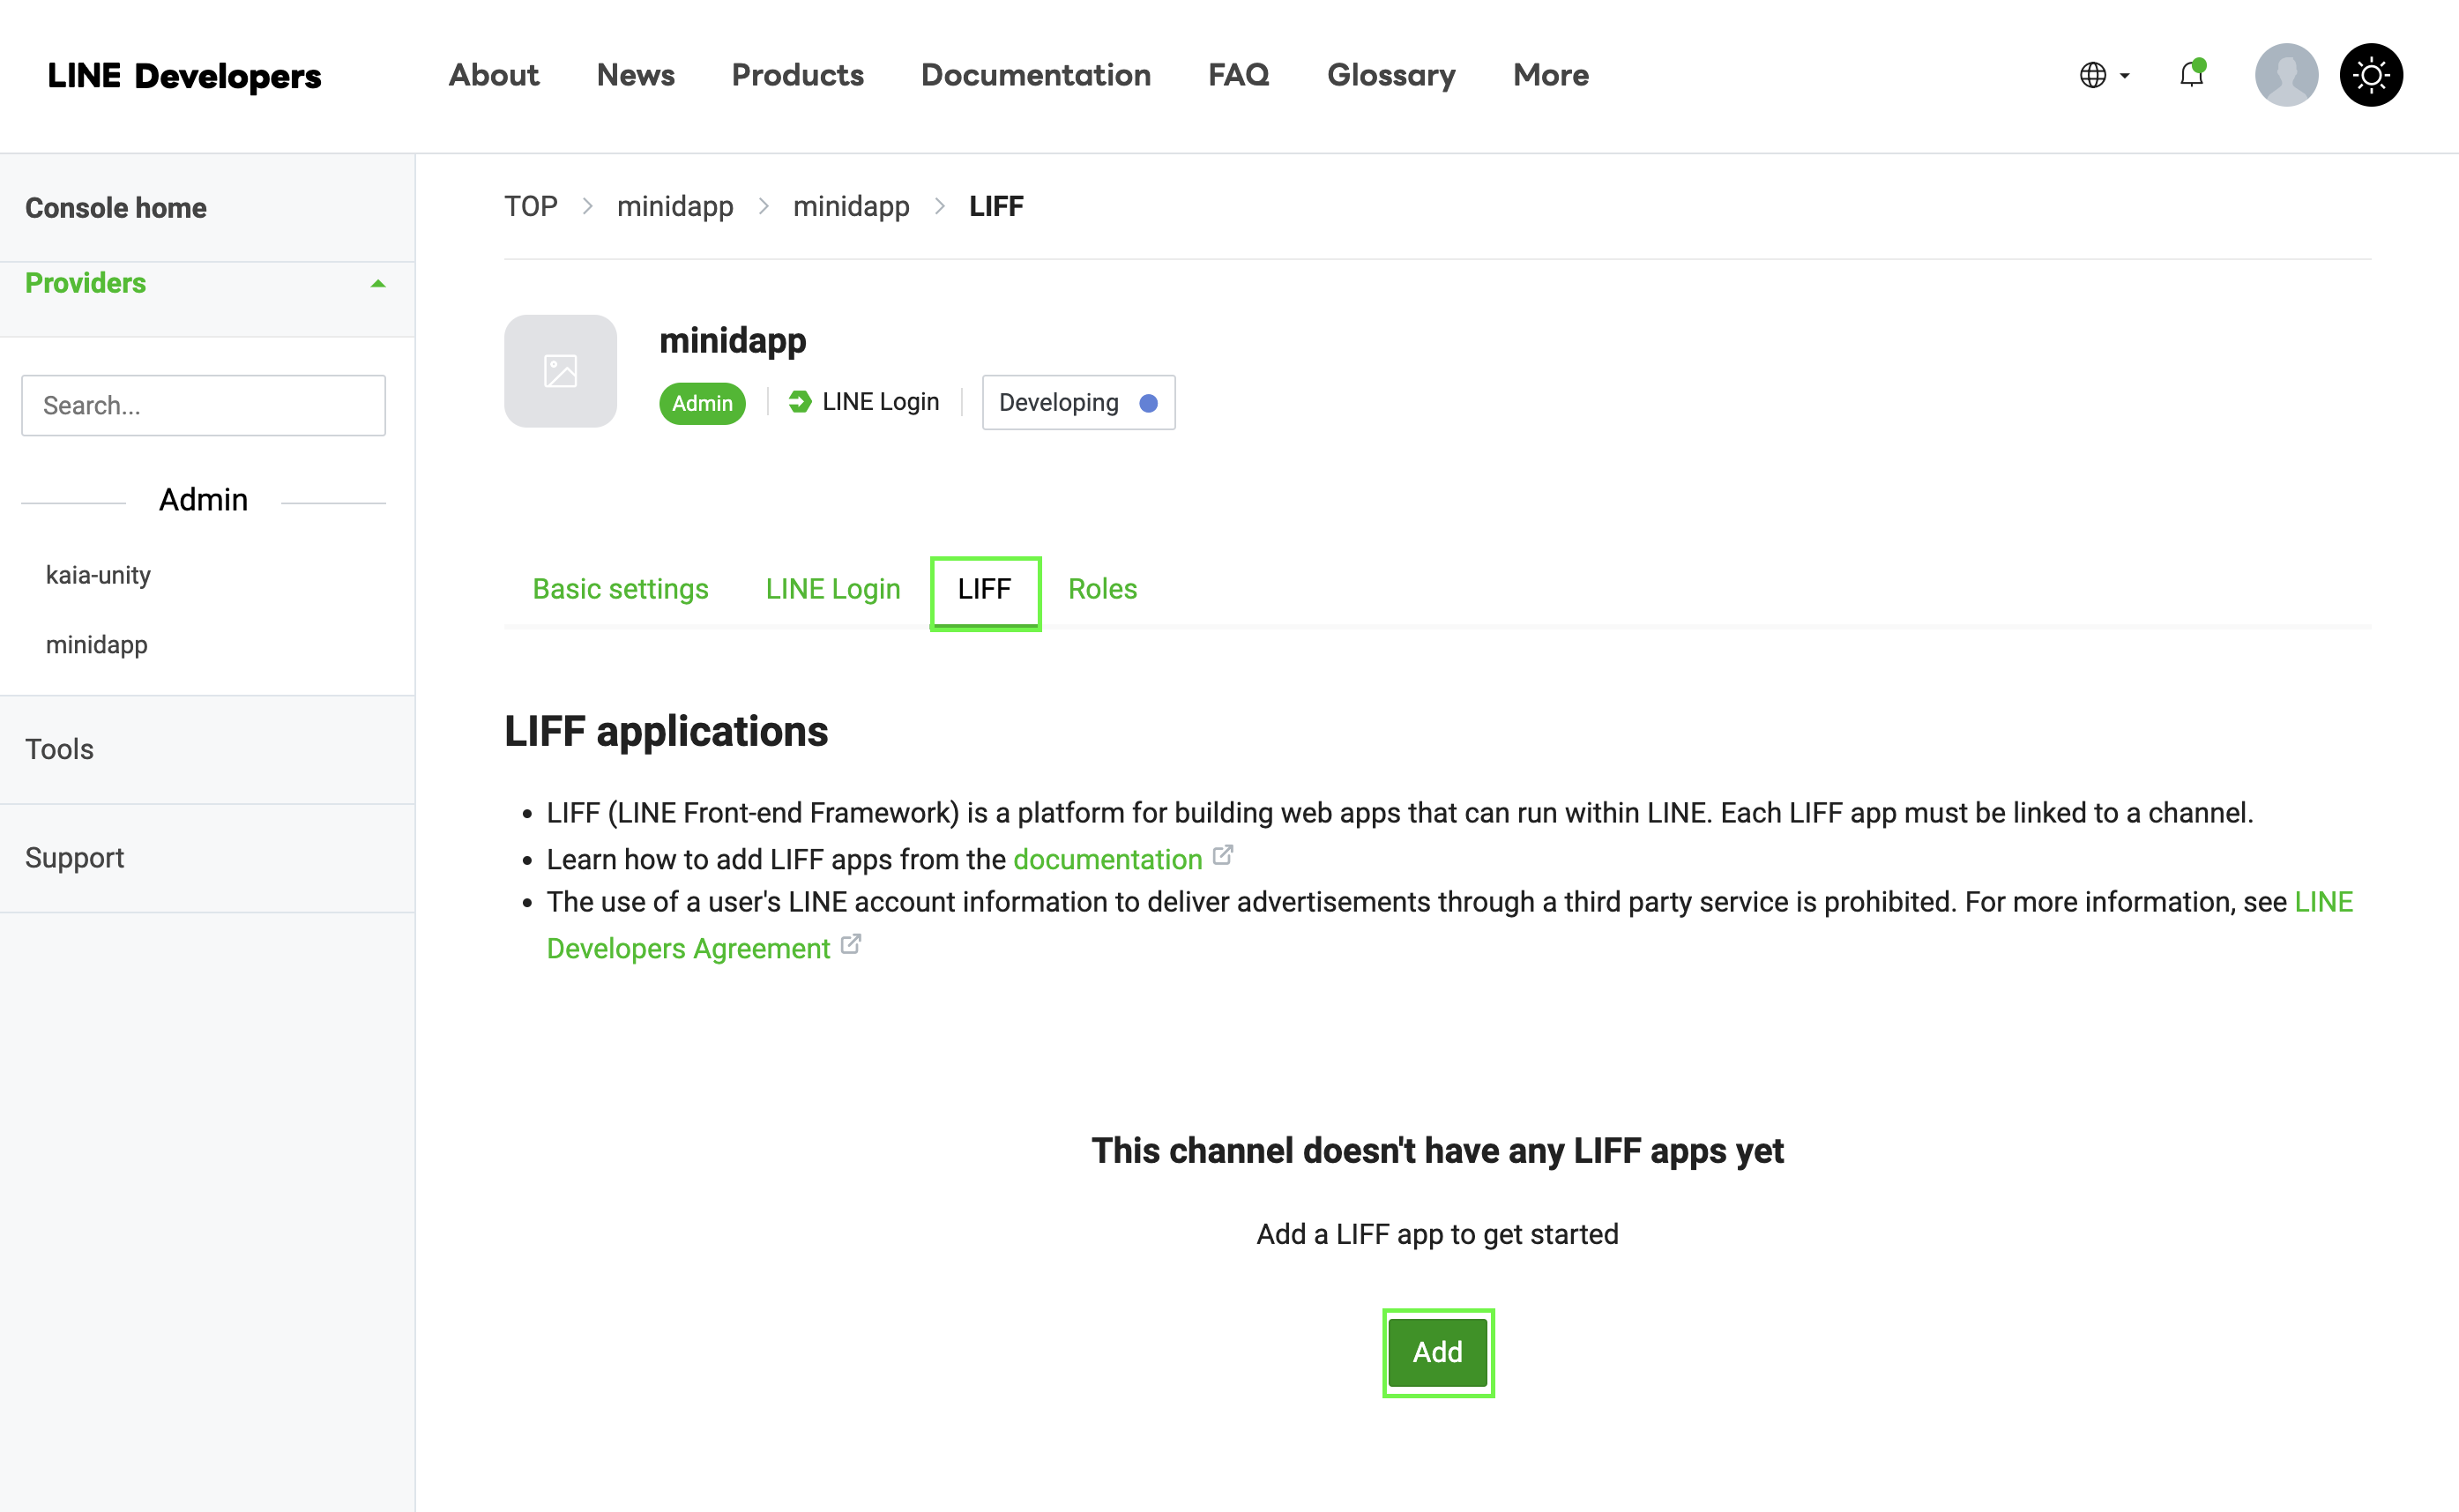
-
配置 LIFF 设置:
Size: Choose one of:├── Full (entire screen)├── Tall (75% of screen)└── Compact (50% of screen)Endpoint URL: https://example.com (temporary)Permissions: Enable as needed
备注
保存您的 LIFF ID - 下一步您将需要它!
第 2 步:修改构建模板
在 build-templates/web-desktop/index.html 的模板中添加 LIFF SDK:
<!DOCTYPE html><html> <head> <meta charset="utf-8" /> <title>Cocos Creator | dapp-portal-example</title> <!-- LIFF SDK --> <script src="https://static.line-scdn.net/liff/edge/2/sdk.js"></script> <!-- DappPortal SDK --> <script src="https://static.kaiawallet.io/js/dapp-portal-sdk.js"></script> <meta name="viewport" content="width=device-width,user-scalable=no,initial-scale=1,minimum-scale=1,maximum-scale=1,minimal-ui=true" /> <meta name="apple-mobile-web-app-capable" content="yes" /> <meta name="full-screen" content="yes" /> <meta name="screen-orientation" content="portrait" /> <meta name="x5-fullscreen" content="true" /> <meta name="360-fullscreen" content="true" /> <meta name="renderer" content="webkit" /> <meta name="force-rendering" content="webkit" /> <meta http-equiv="X-UA-Compatible" content="IE=edge,chrome=1" /> <link rel="stylesheet" type="text/css" href="./style.css" /> <link rel="icon" href="favicon.ico" /> </head> <body> <h1 class="header">dapp-portal-example</h1> <div id="GameDiv" cc_exact_fit_screen="false" style="width: 1280px; height: 960px;" > <div id="Cocos3dGameContainer"> <canvas id="GameCanvas" width="1280" height="960" tabindex="99" ></canvas> </div> </div> <p class="footer"> Created with <a href="https://www.cocos.com/products" title="Cocos Creator" >Cocos Creator</a > </p> <!-- Polyfills bundle. --> <script src="src/polyfills.bundle.js" charset="utf-8"></script> <!-- SystemJS support. --> <script src="src/system.bundle.js" charset="utf-8"></script> <!-- Import map --> <script src="src/import-map.json" type="systemjs-importmap" charset="utf-8" ></script> <script> System.import('./index.js').catch(function (err) { console.error(err) }) </script> </body></html>
确保在上面的代码片段中更改您的 LIFF-ID。
步骤 3:在 Web3Manager 中实施 LIFF
// Web3Manager.ts@ccclass('Web3Manager')export class Web3Manager extends Component { private static instance: Web3Manager = null private sdk: any = null private connectedAddress: string = '' // Configuration private readonly CONTRACT_ADDRESS = 'YOUR_CONTRACT_ADDRESS' private readonly CHAIN_ID = '1001' private readonly CLIENT_ID = 'YOUR_CLIENT_ID' private readonly LIFF_ID = 'YOUR_LIFF_ID' // Add this onLoad() { if (Web3Manager.instance === null) { Web3Manager.instance = this director.addPersistRootNode(this.node) this.initializeLIFF() // Initialize LIFF first } else { this.node.destroy() } } private async initializeLIFF(): Promise<void> { try { await liff.init({ liffId: this.LIFF_ID, }) console.log('LIFF initialized') // Check if user is logged in if (!liff.isLoggedIn()) { console.log('User not logged in, redirecting to login') liff.login() return } // Get LIFF profile const profile = await liff.getProfile() console.log('LIFF Profile:', profile) // Initialize DappPortal SDK after LIFF await this.initializeSDK() } catch (error) { console.error('LIFF initialization error:', error) } } // Rest of your existing Web3Manager code...}
步骤:4:构建和测试流程
- 在 Cocos Creator 中重建项目。
- 检查生成的 build/web-desktop/index.html。
- 确认已正确包含 LIFF SDK 脚本。
第 5 步:部署 Web 桌面构建
- 为 WebGL 构建 Cocos 创建者项目
- 将所有构建文件上传到网络服务器,例如 Netlify
部署文件夹结构应如下所示:
build/ web-desktop/ index.html assets/ cocos-js/ src/ ...other files
步骤 6:最终配置和测试
- 更新您的 LIFF 端点:
- 返回 LINE 开发人员控制台
- 查找您的 LIFF 应用程序
- 点击 "编辑"。
- 更新已部署网站的 URL。
现在,您的迷你 dApp 应该可以随时使用了。
结论
祝贺你 您已使用 Cocos Creator 成功构建并部署了第一个 LINE Mini dApp! 通过本指南,您已经集成了 Web3 功能,包括钱包连接、余额检索和代币铸造,将区块链驱动的互动带入了 LINE 生态系统。
有关开发 LINE mini dApp 的更多详细信息,请浏览这些综合资源: