Chuyển đổi sang LINE LIFF
Trong phần này, chúng tôi sẽ hướng dẫn bạn các bước để chuyển đổi, tích hợp và triển khai bản dựng của bạn dưới dạng ứng dụng LINE LIFF (LINE Front-end Framework), giúp ứng dụng này có thể truy cập liền mạch trong hệ sinh thái LINE.
Chúng ta hãy bắt đầu nhé!
Bước 1: Tạo ứng dụng LIFF của bạn
Đầu tiên, hãy thiết lập ứng dụng của bạn trong hệ sinh thái LINE:
-
Thiết lập bảng điều khiển LINE Developers:
- Truy cập Bảng điều khiển dành cho nhà phát triển LINE.
- Tạo Nhà cung cấp (bỏ qua nếu bạn đã có).

- Tạo kênh Đăng nhập LINE mới.
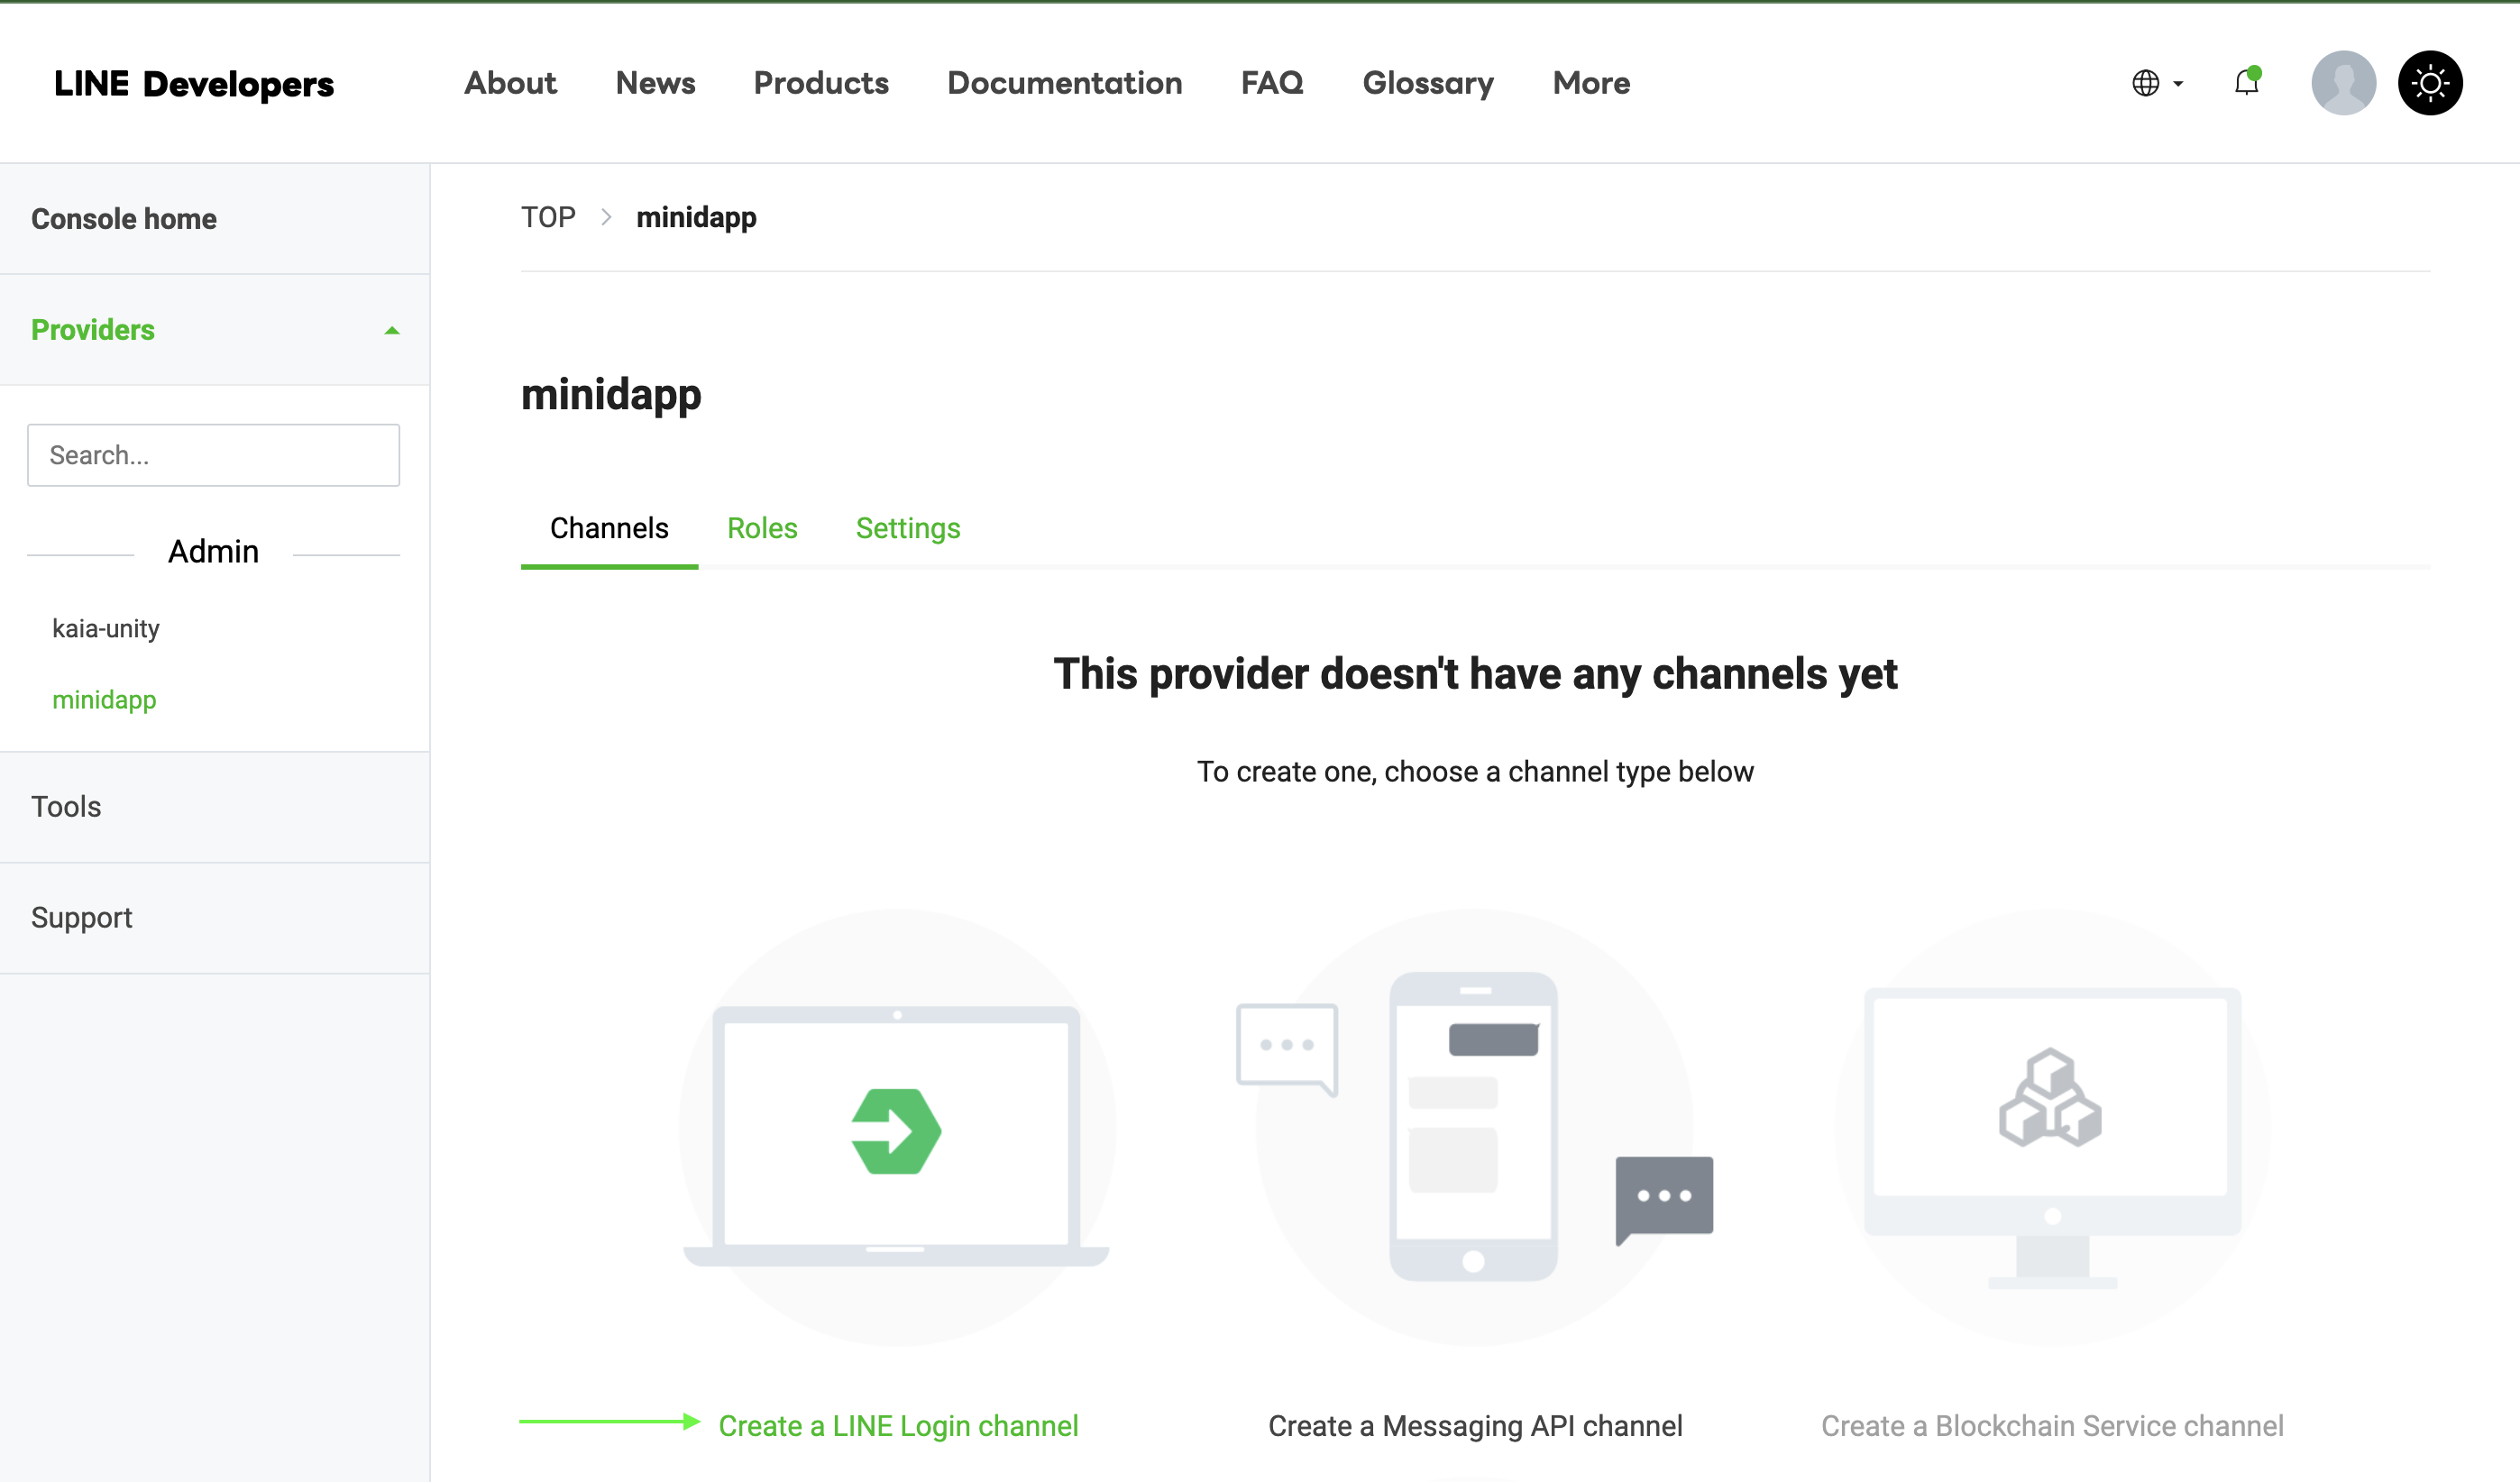
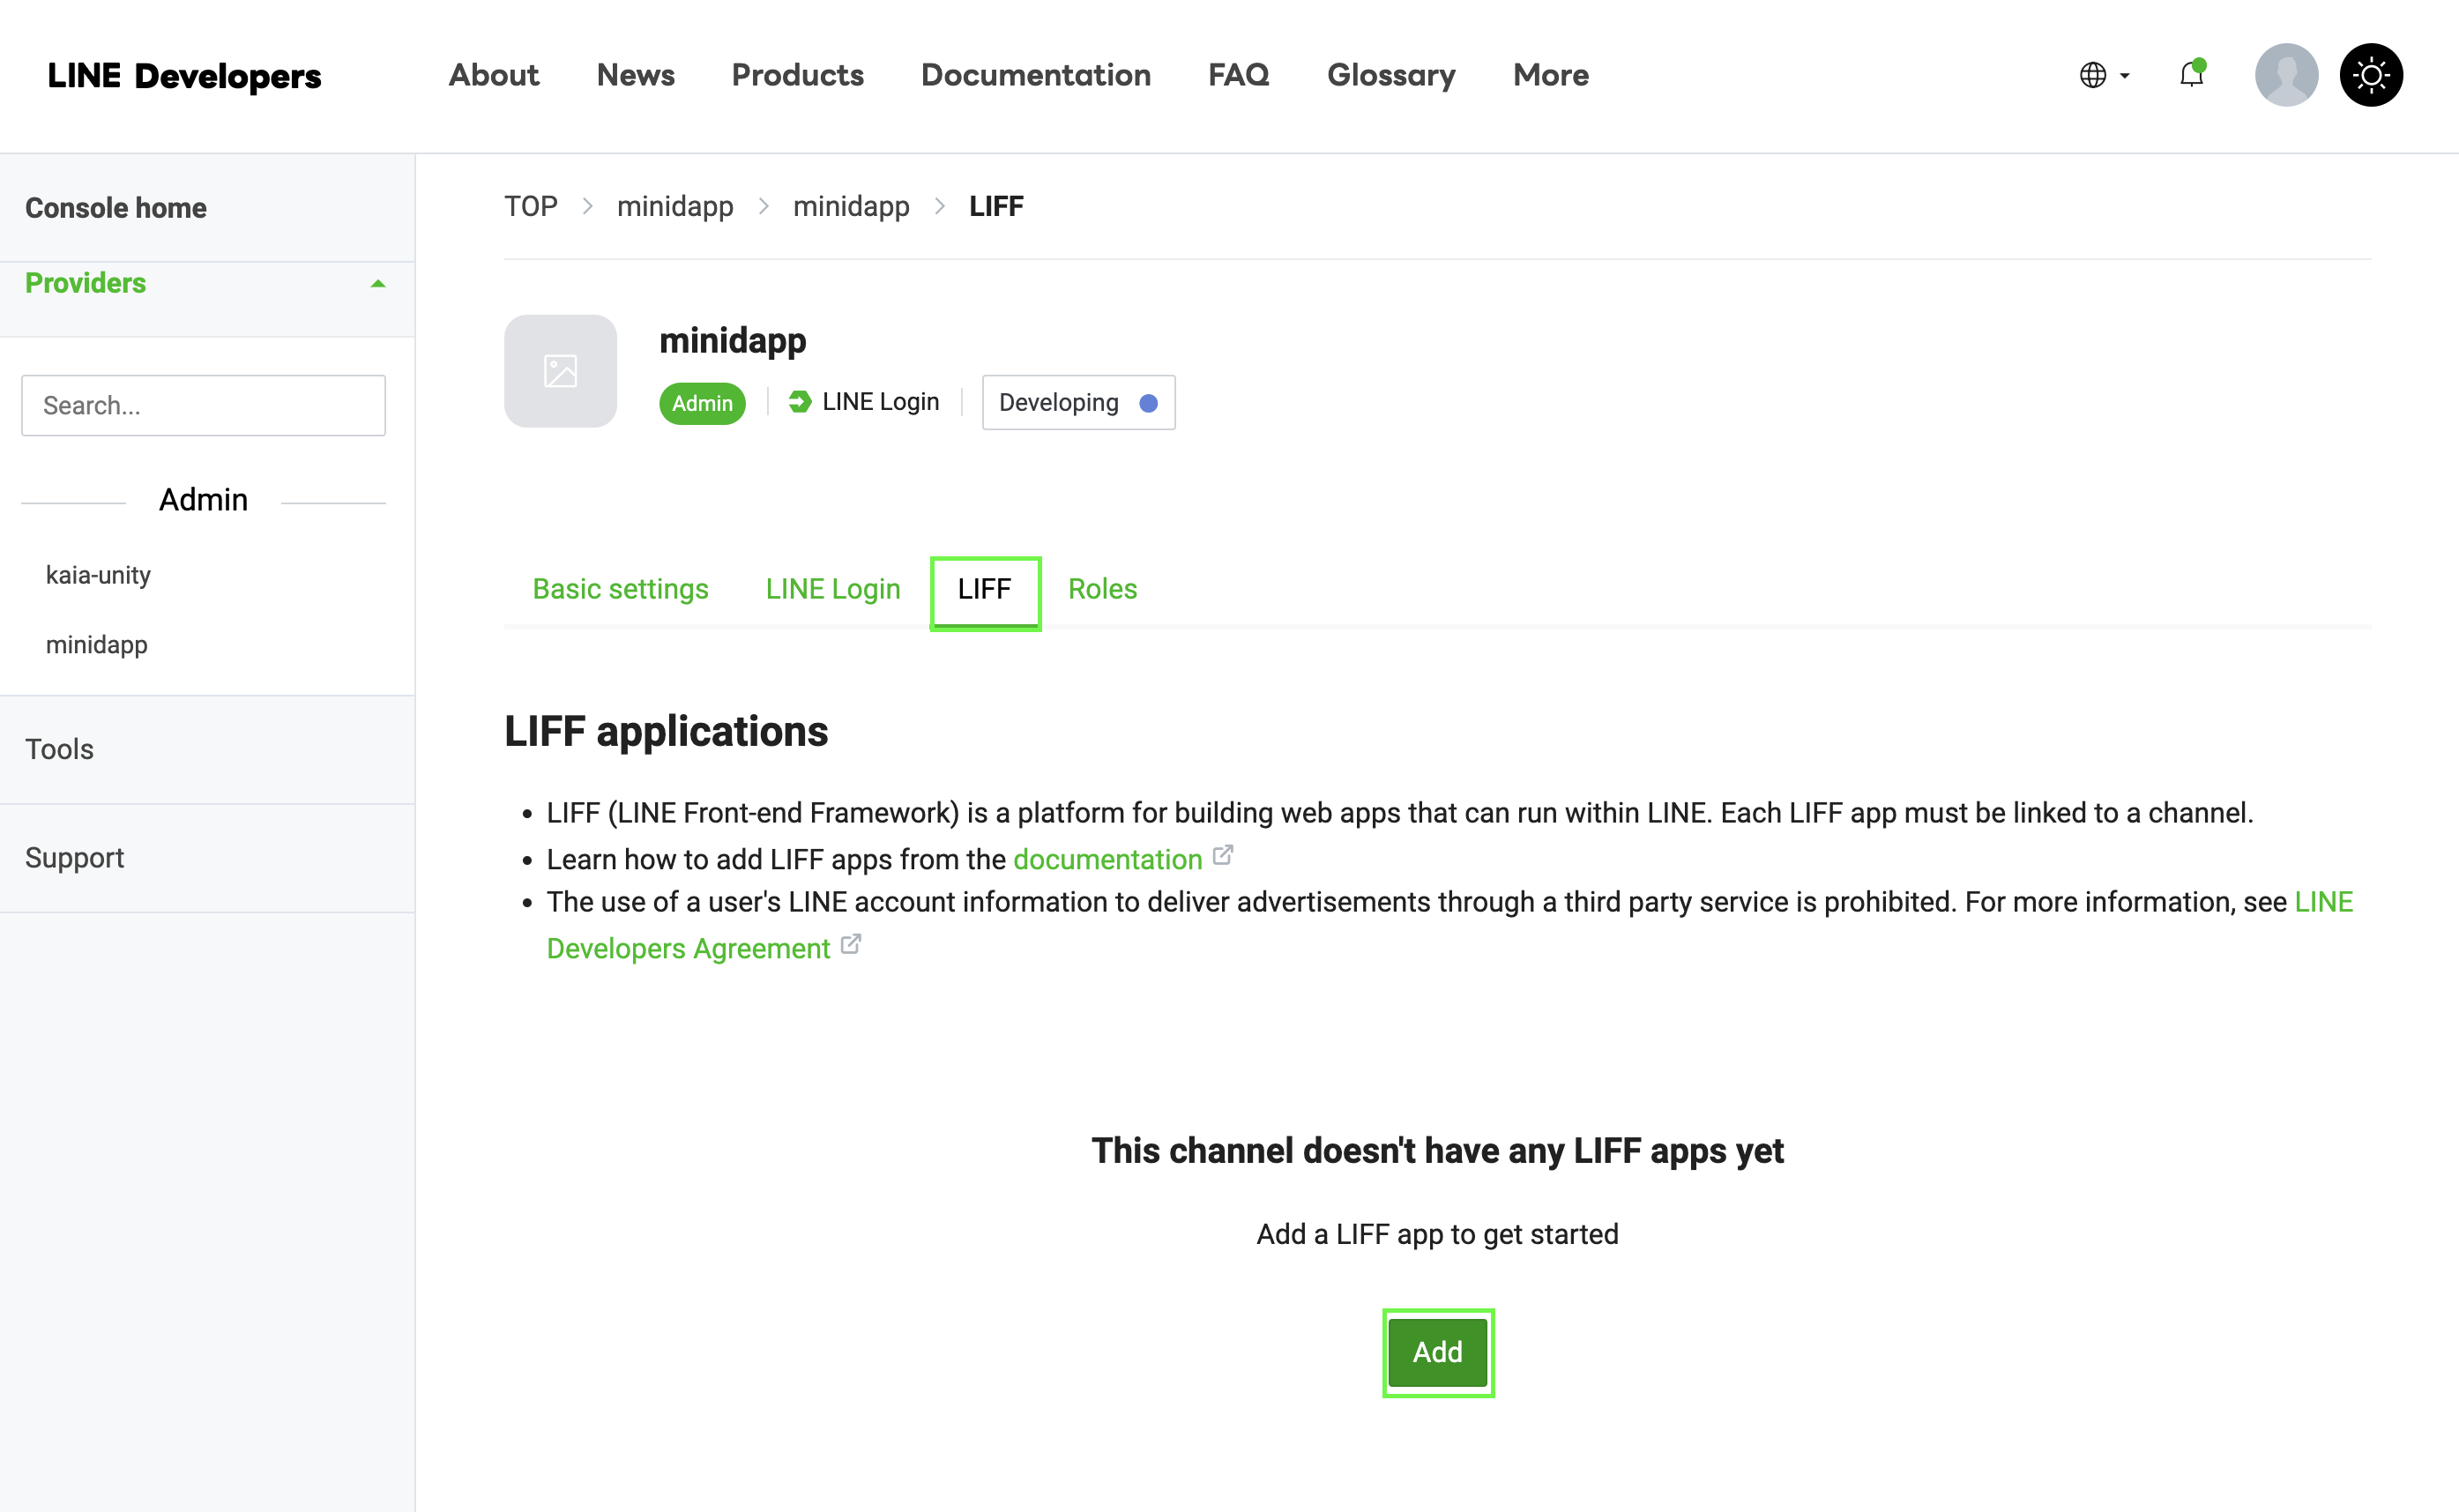
- Điều hướng đến tab LIFF
- Nhấp vào "Thêm ứng dụng LIFF"
-
Cấu hình cài đặt LIFF:
Size: Choose one of:├── Full (entire screen)├── Tall (75% of screen)└── Compact (50% of screen)Endpoint URL: https://example.com (temporary)Permissions: Enable as needed
Lưu LIFF ID của bạn - bạn sẽ cần nó ở bước tiếp theo!
Bước 2: Sửa đổi mẫu bản dựng
Thêm LIFF SDK vào mẫu của bạn tại build-templates/web-desktop/index.html:
<!DOCTYPE html><html> <head> <meta charset="utf-8" /> <title>Cocos Creator | dapp-portal-example</title> <!-- LIFF SDK --> <script src="https://static.line-scdn.net/liff/edge/2/sdk.js"></script> <!-- DappPortal SDK --> <script src="https://static.kaiawallet.io/js/dapp-portal-sdk.js"></script> <meta name="viewport" content="width=device-width,user-scalable=no,initial-scale=1,minimum-scale=1,maximum-scale=1,minimal-ui=true" /> <meta name="apple-mobile-web-app-capable" content="yes" /> <meta name="full-screen" content="yes" /> <meta name="screen-orientation" content="portrait" /> <meta name="x5-fullscreen" content="true" /> <meta name="360-fullscreen" content="true" /> <meta name="renderer" content="webkit" /> <meta name="force-rendering" content="webkit" /> <meta http-equiv="X-UA-Compatible" content="IE=edge,chrome=1" /> <link rel="stylesheet" type="text/css" href="./style.css" /> <link rel="icon" href="favicon.ico" /> </head> <body> <h1 class="header">dapp-portal-example</h1> <div id="GameDiv" cc_exact_fit_screen="false" style="width: 1280px; height: 960px;" > <div id="Cocos3dGameContainer"> <canvas id="GameCanvas" width="1280" height="960" tabindex="99" ></canvas> </div> </div> <p class="footer"> Created with <a href="https://www.cocos.com/products" title="Cocos Creator" >Cocos Creator</a > </p> <!-- Polyfills bundle. --> <script src="src/polyfills.bundle.js" charset="utf-8"></script> <!-- SystemJS support. --> <script src="src/system.bundle.js" charset="utf-8"></script> <!-- Import map --> <script src="src/import-map.json" type="systemjs-importmap" charset="utf-8" ></script> <script> System.import('./index.js').catch(function (err) { console.error(err) }) </script> </body></html>
Hãy nhớ thay đổi LIFF-ID của bạn trong đoạn mã ở trên.
Bước 3: Triển khai LIFF trong Web3Manager
// Web3Manager.ts@ccclass('Web3Manager')export class Web3Manager extends Component { private static instance: Web3Manager = null private sdk: any = null private connectedAddress: string = '' // Configuration private readonly CONTRACT_ADDRESS = 'YOUR_CONTRACT_ADDRESS' private readonly CHAIN_ID = '1001' private readonly CLIENT_ID = 'YOUR_CLIENT_ID' private readonly LIFF_ID = 'YOUR_LIFF_ID' // Add this onLoad() { if (Web3Manager.instance === null) { Web3Manager.instance = this director.addPersistRootNode(this.node) this.initializeLIFF() // Initialize LIFF first } else { this.node.destroy() } } private async initializeLIFF(): Promise<void> { try { await liff.init({ liffId: this.LIFF_ID, }) console.log('LIFF initialized') // Check if user is logged in if (!liff.isLoggedIn()) { console.log('User not logged in, redirecting to login') liff.login() return } // Get LIFF profile const profile = await liff.getProfile() console.log('LIFF Profile:', profile) // Initialize DappPortal SDK after LIFF await this.initializeSDK() } catch (error) { console.error('LIFF initialization error:', error) } } // Rest of your existing Web3Manager code...}
Bước 4: Xây dựng và kiểm tra quy trình
- Xây dựng lại dự án của bạn trong Cocos Creator.
- Kiểm tra file build/web-desktop/index.html đã tạo.
- Xác nhận rằng tập lệnh LIFF SDK đã được đưa vào đúng cách.
Bước 5: Triển khai bản dựng Web-Desktop của bạn
- Xây dựng dự án sáng tạo Cocos của bạn cho WebGL
- Tải tất cả các tệp xây dựng lên máy chủ web; ví dụ: Netlify
Cấu trúc thư mục triển khai của bạn sẽ trông như thế này:
build/ web-desktop/ index.html assets/ cocos-js/ src/ ...other files
Bước 6: Cấu hình và thử nghiệm cuối cùng
- Cập nhật điểm cuối LIFF của bạn:
- Quay lại Bảng điều khiển dành cho nhà phát triển LINE
- Xác định vị trí ứng dụng LIFF của bạn
- Nhấp vào "Chỉnh sửa"
- Cập nhật URL tới trang web đã triển khai của bạn.
Bây giờ dApp mini của bạn đã có thể sử dụng được.
Kết luận
Chúc mừng! Bạn đã xây dựng và triển khai thành công dApp LINE Mini đầu tiên của mình bằng Cocos Creator! Bằng cách làm theo hướng dẫn này, bạn đã tích hợp các chức năng Web3, bao gồm kết nối ví, truy xuất số dư và đúc mã thông báo – đưa các tương tác dựa trên blockchain vào hệ sinh thái LINE.
Để biết thông tin chi tiết hơn về việc phát triển LINE mini dApps, hãy khám phá các tài nguyên toàn diện sau: