Kaiabridge
Finschia users can swap their FNSA tokens on Finshia network to KAIA tokens on Kaia network at a fixed swap rate. The swap is mediated by a set of smart contract and programs, collectively called Kaiabridge.
You can access and use Kaiabridge in our online toolkit.
You can find the contract source codes in GitHub kaiachain/kaia repository and deployed addresses in the contract addresses page.
User Guide for Kaiabridge
Prerequisite
1. Move your account to MetaMask or Kaia Wallet
With raw private key
If your account can be exported as raw private key, copy the raw private key and import it in the MetaMask or Kaia wallet.
With recovery phrase
If your account can only be exported as a recovery phrase, calculate your raw private key from the recovery phrase. You can use any tool that supports BIP-39 derivation path. Such tools include ethers.js, viem, Foundry, and the BIP39 Tool. Finschia wallets often use the "m/44'/438'/0'/0/0" path (according to SLIP-044) as their default derivation path. You might need to use other derivation paths if your Finschia wallet has multiple accounts or uses a different configuration.
Once you have calculated the private key, follow the instructions in the above section With raw private key.
You can calculate the private key on this page: BIP39 - Mnemonic Code.
As a precaution, it is highly recommended to follow the "Offline Usage" instructions on the page and block the Internet connection during the process.
- Paste your recovery phrase in the "BIP39 Mnemonic" field.
- Set "Coin" field to "ETH - Ethereum".
- Set "Derivation Path" to "BIP32".
- Set "Client" to "Custom derivation path".
- Set "BIP32 Derivation Path" to "m/44'/438'/0'/0".
- In the "Derived Addresses", look for the first row where the "Path" shows "m/44'/438'/0'/0/0", your raw private key is shown in the "Private Key" field.
- Install Foundry.
- Type the following command with your recovery phrase in
--mnemonic. The raw private key will be printed.cast wallet private-key --mnemonic "test test test test test test test test test test test junk" --mnemonic-derivation-path "m/44'/438'/0'/0/0"
2. Check your network
If you are using MetaMask, manually add Kaia Mainnet to your networks if you haven't done it already.
3. Gas up your account
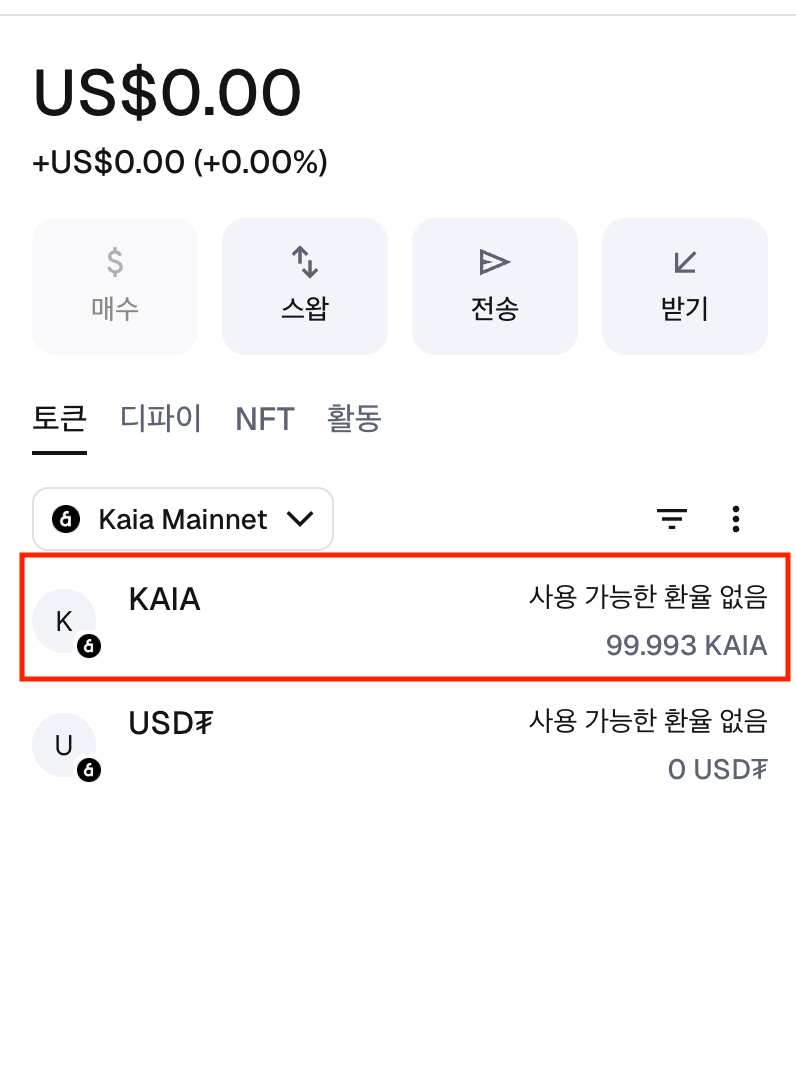
You need gas to send transactions for the swap. Refer to Get KAIA for detailed instruction.
We recommend you to have at least 0.1 KAIA for the gas fee.
Swap Finschia to Kaia
The provision and claim request can be processed only once and cannot be reverted. Read carefully before you follow these instructions.
1. Connect your wallet
1.1 Connect MetaMask
Click "Connect MetaMask" button.
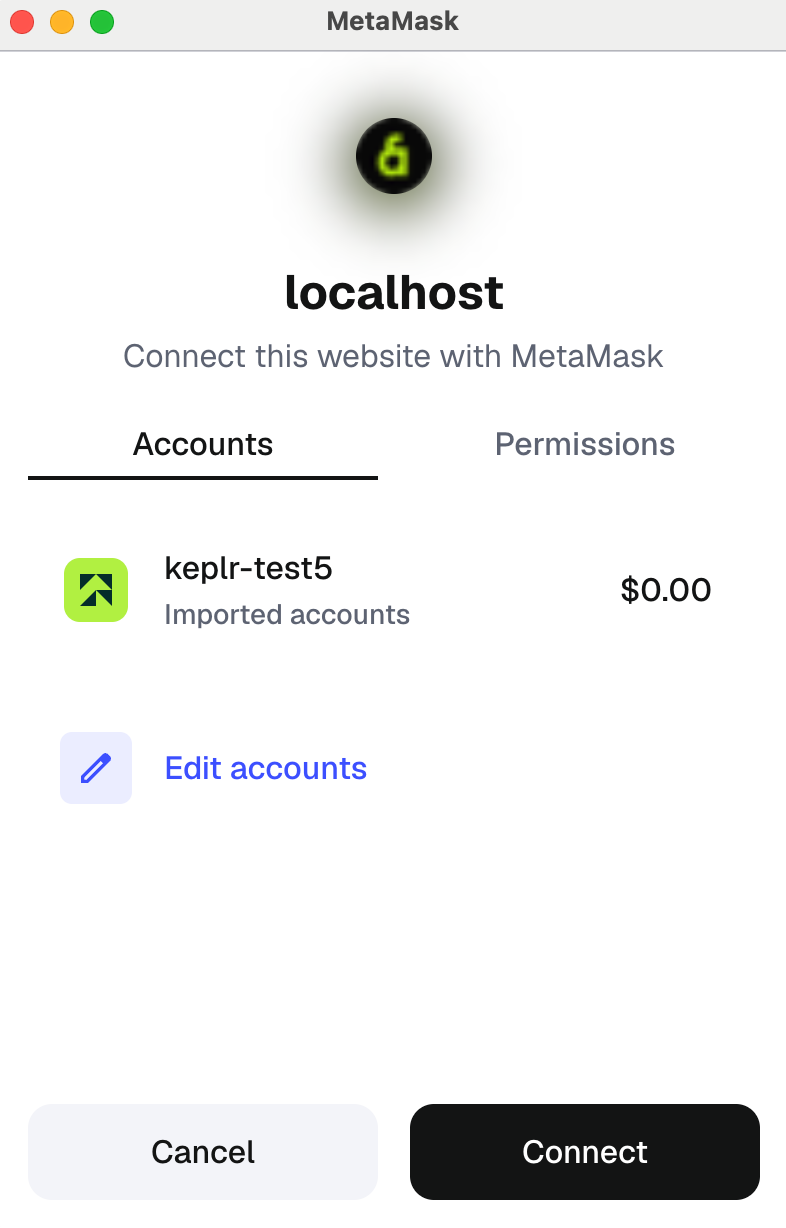
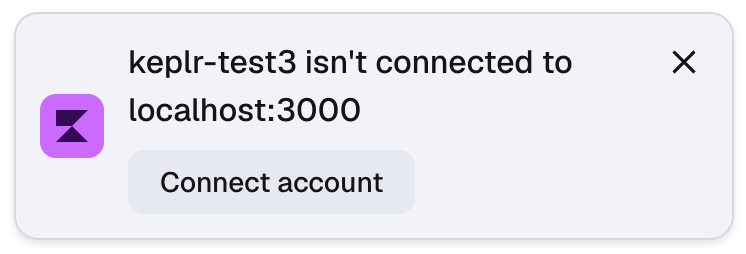
Check if the "accounts" shows your address. If it doesn't, open MetaMask extension and see if it says you're not connected to the page. If so, hit "connect account" button.
1.2 Connect Kaia Wallet
If you are using Kaia Wallet, the site may ask you to connect Kaia Wallet to dApp (in this case, Kaia Online Toolkit).
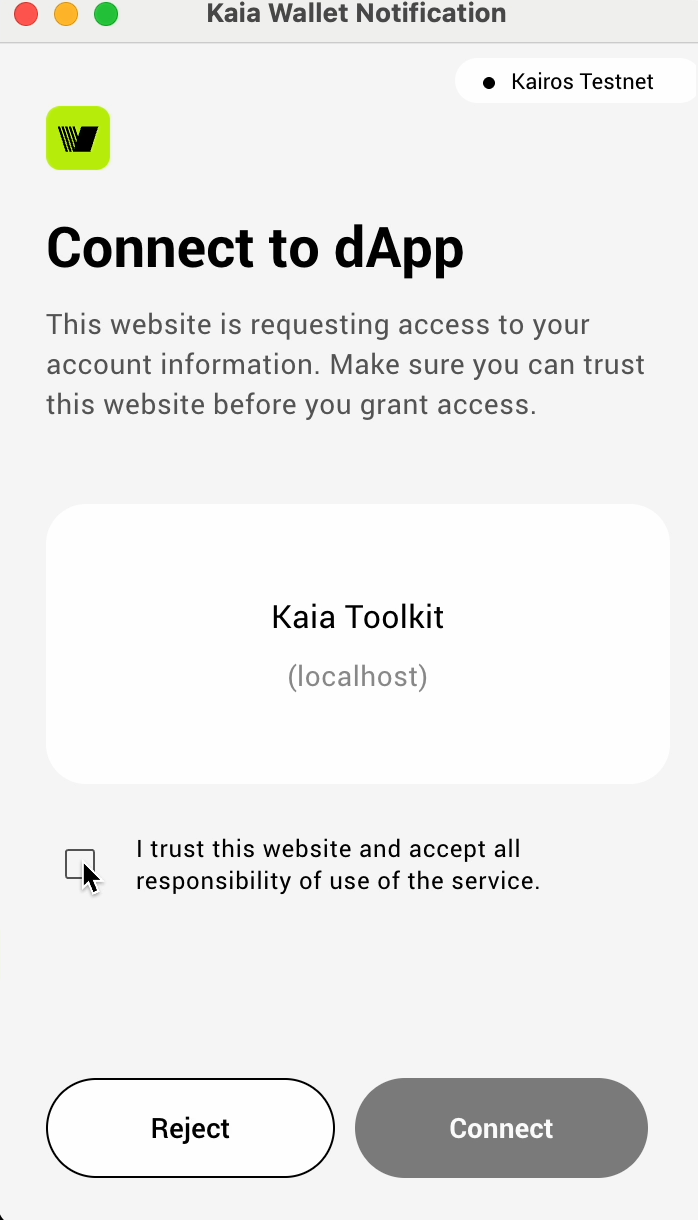
Click "Connect" to connect your Kaia Wallet.
2. Switch to Kaia Mainnet
Check if you have correctly set your network to "Kaia Mainnet" or "Mainnet". If not, switch to Kaia Mainnet. If you are using MetaMask and you haven’t add Kaia Mainnet network in the MetaMask, refer to Check your network.
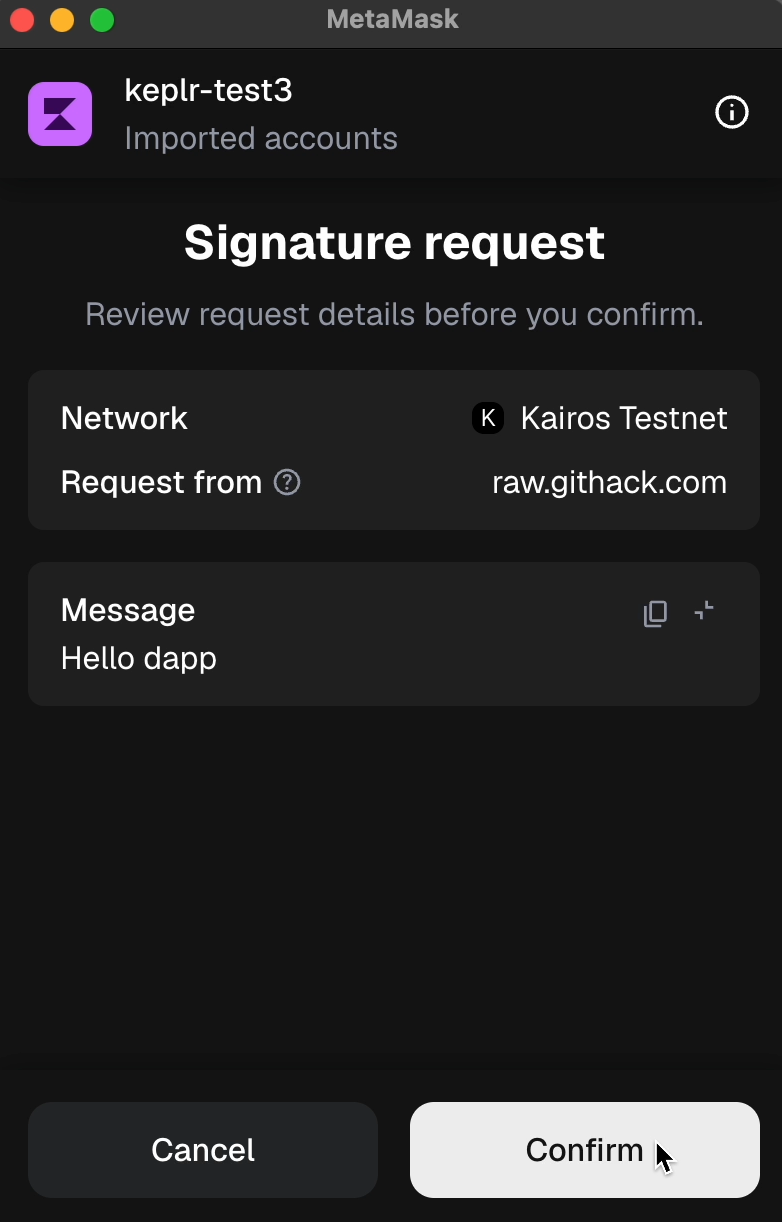
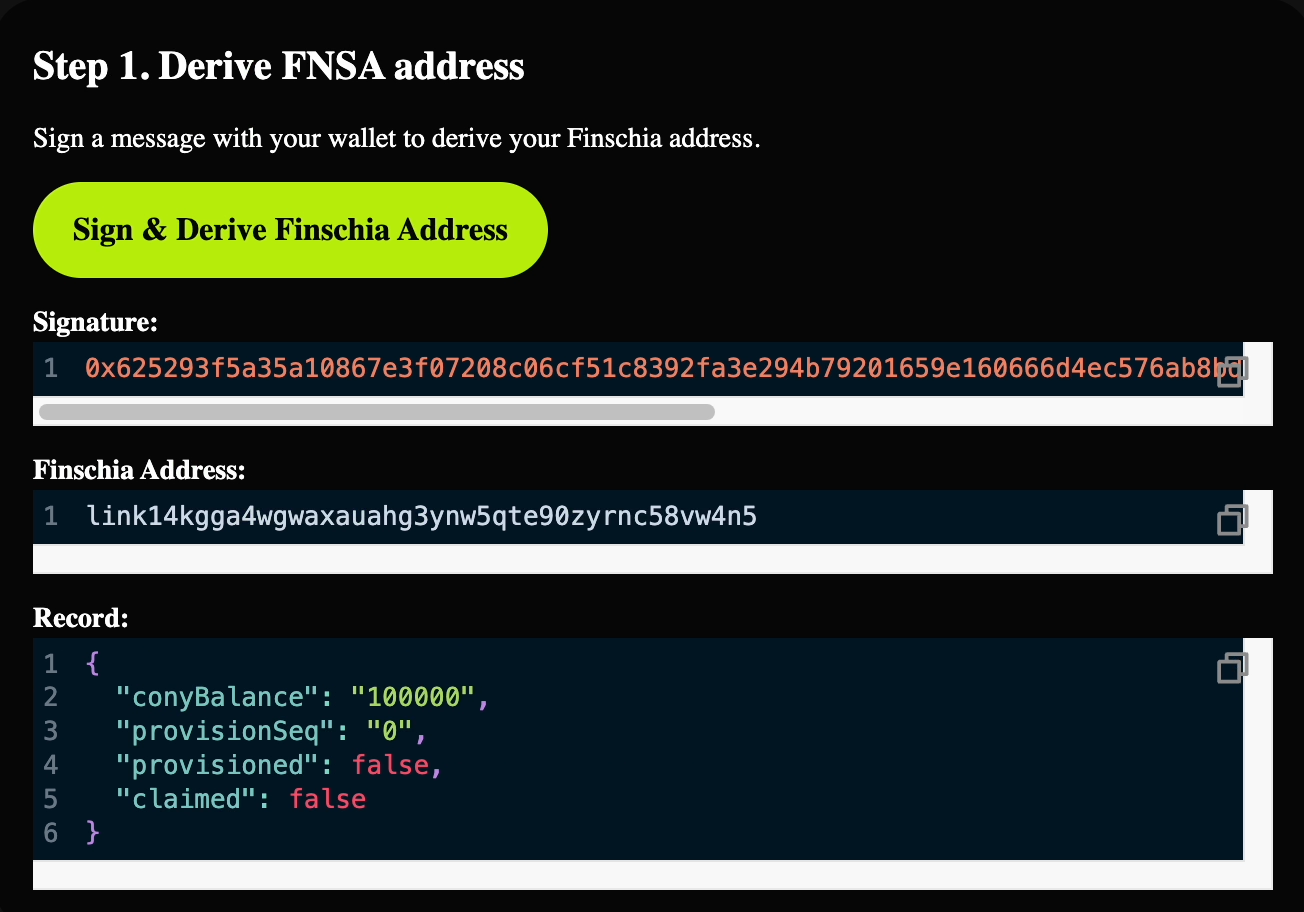
3. Derive Finschia address
Click "Derive Finschia address". When prompted for signing a message, click "Confirm" or "Sign".
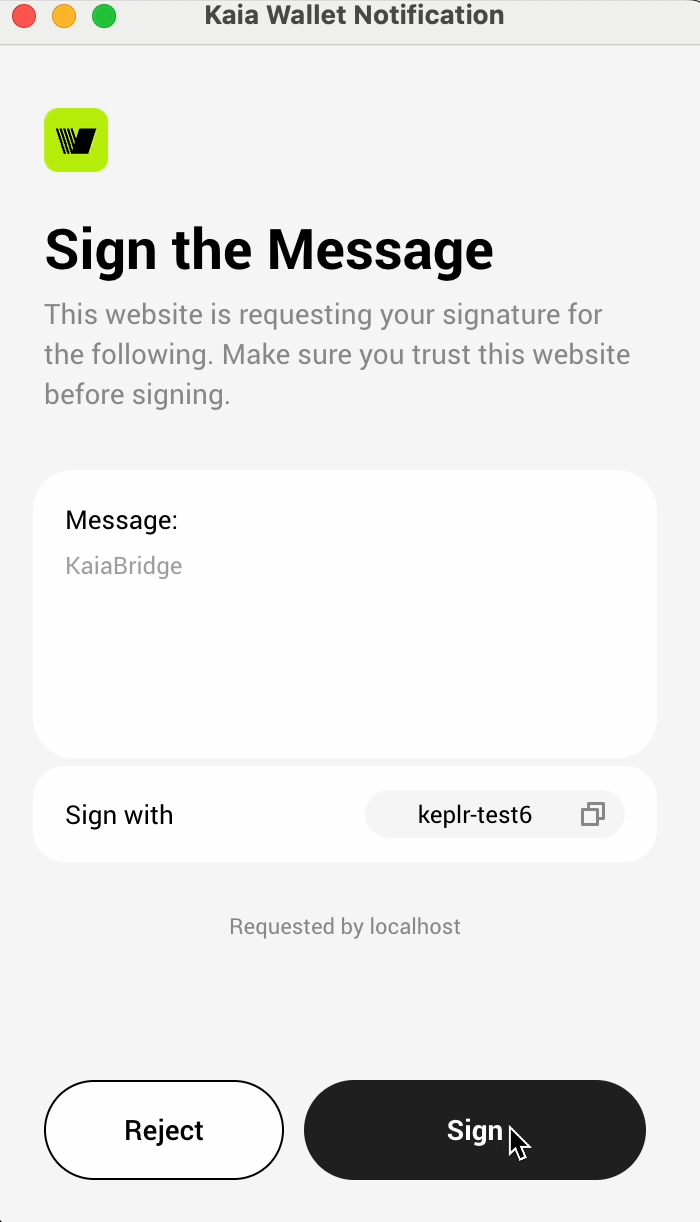
Check if the "derived finschia address" matches your original Finschia address and "cony balance" matches your balance in the Finschia network (in CONY).
Also, make sure your account has some KAIA to pay the gas fee (you can check in your wallet).
If you don’t have any KAIA in your account, refer to Gas up your account.
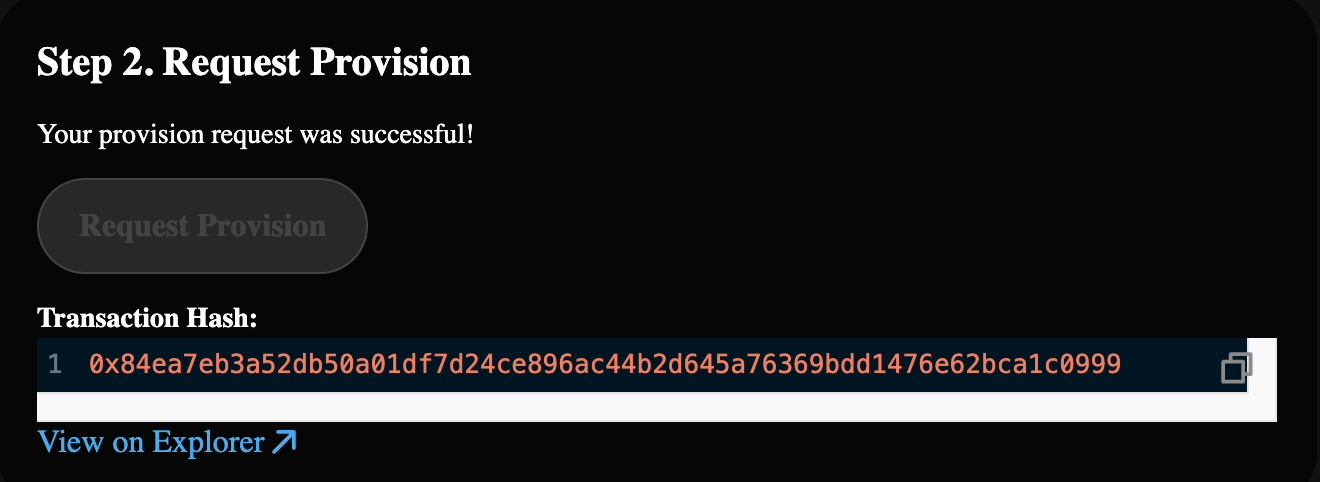
4. Request provision
Click "Request provision". When prompted for signing a message and sending a transaction, click "confirm".

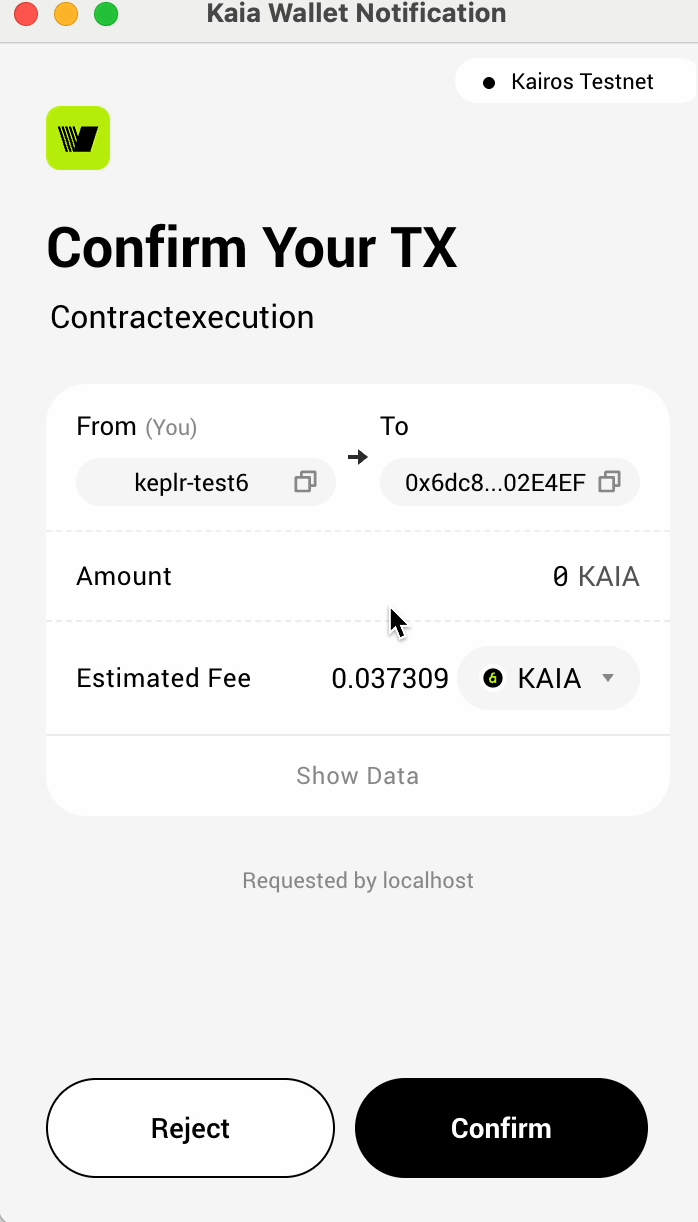
The process should take a few seconds. Wait until the transaction is completed. You can check the result in the page.
If it doesn't, refresh and start from the beginning.
5. Request claim
Click "Request claim". When prompted for sending a transaction, click "confirm".
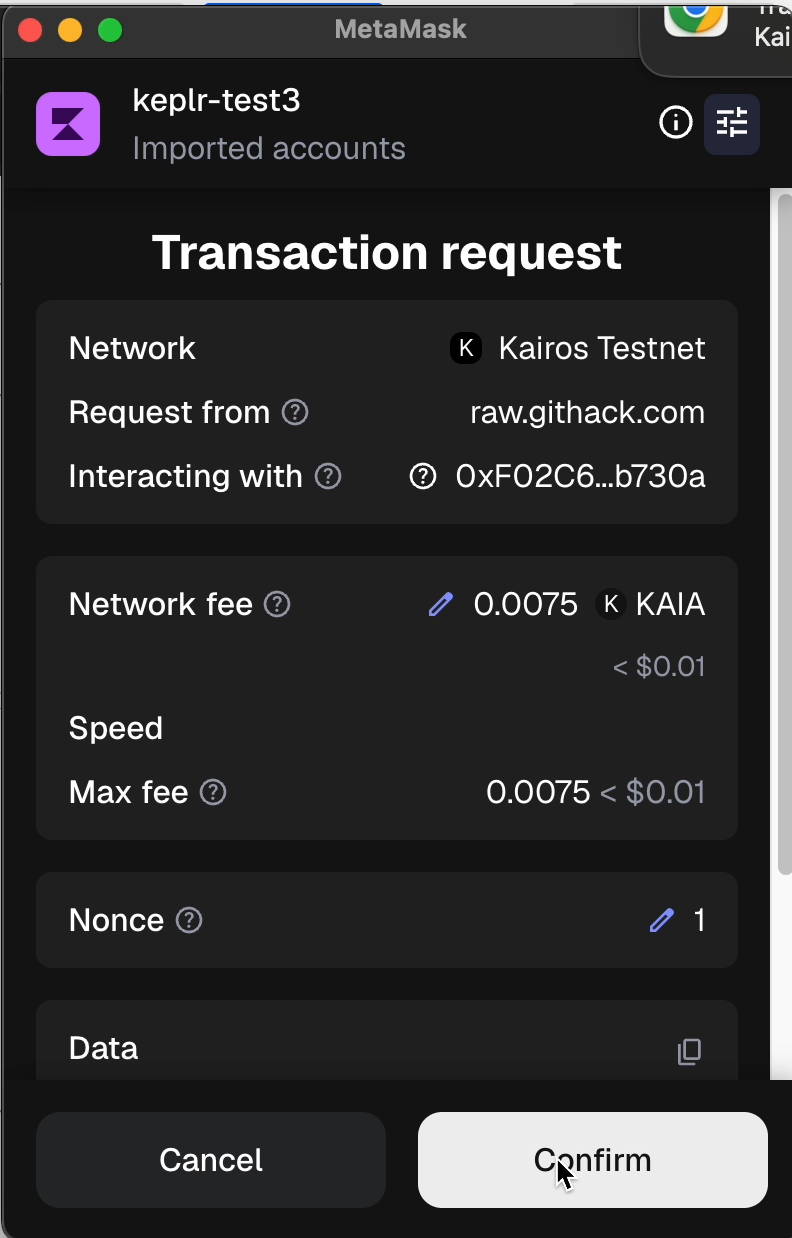
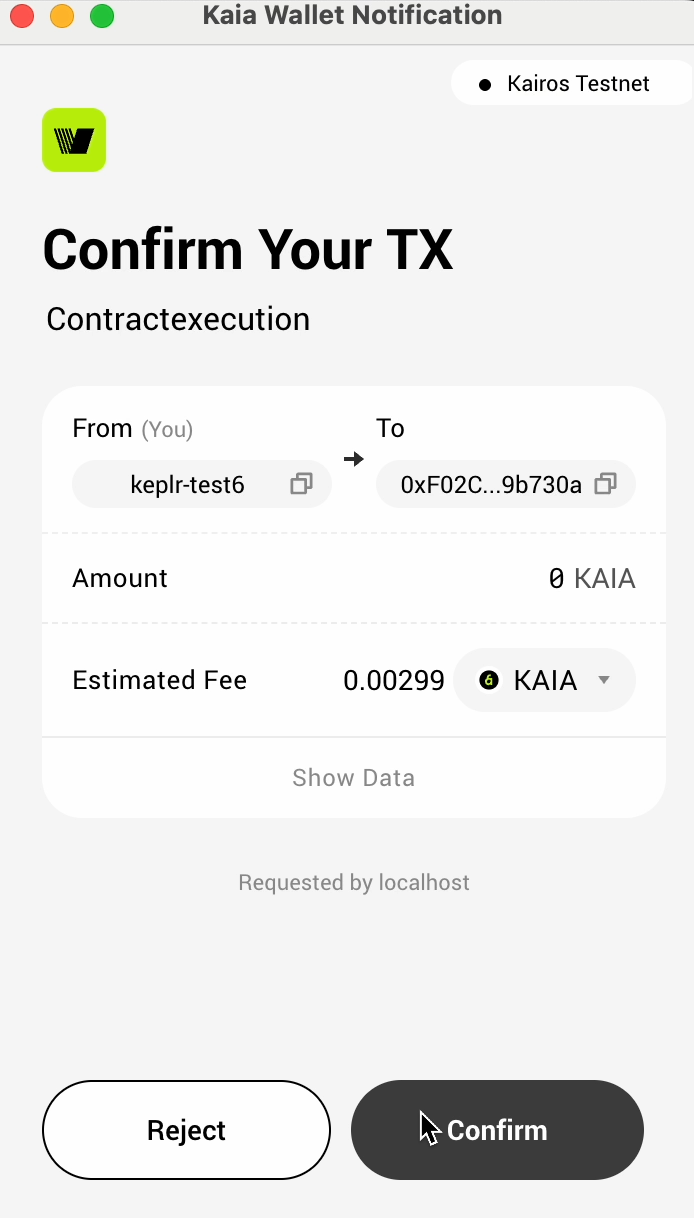
The process should take a few seconds. Wait until the transaction is completed. You can check the result in the page.
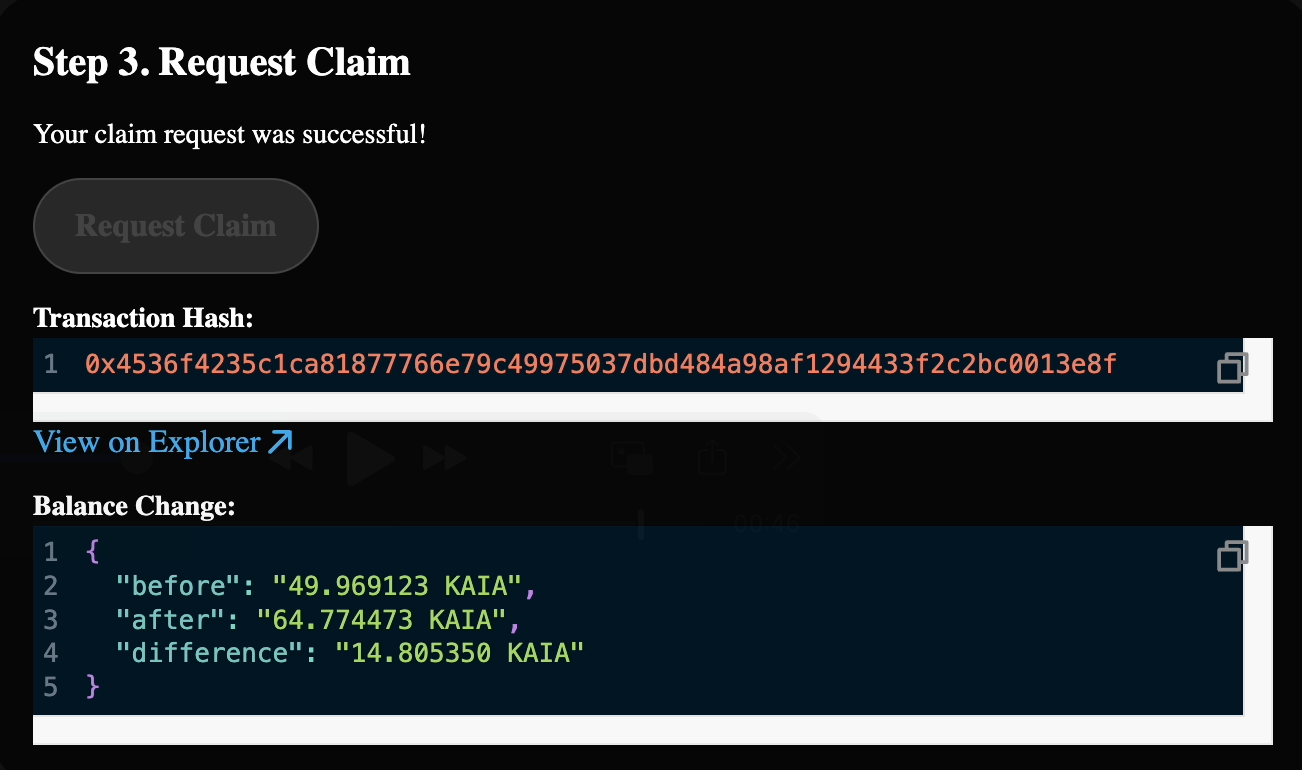
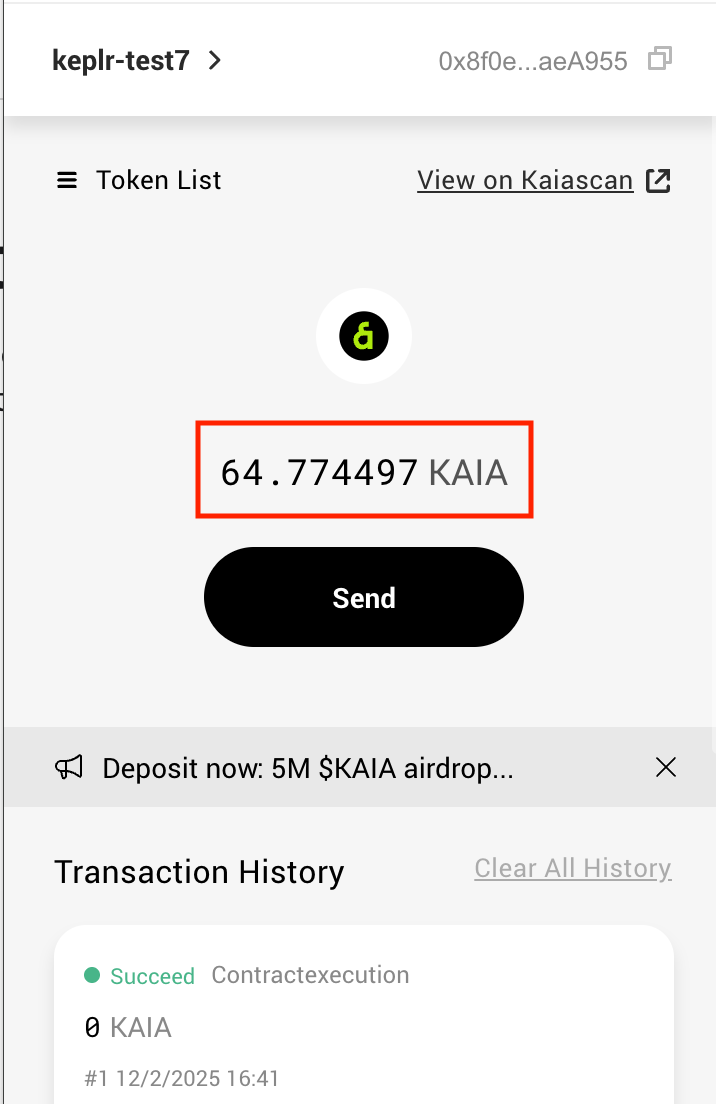
Check your updated balance. The claimed amount should be (your cony balance) * (conversion rate, approx. 148) in kei.