Convert to LINE LIFF
In this section, we’ll walk through the steps to convert, integrate, and deploy your build as a LINE LIFF (LINE Front-end Framework) app, making it seamlessly accessible within the LINE ecosystem.
Let’s get started!
Step 1: Create Your LIFF App
First, let's set up your app in the LINE ecosystem:
-
LINE Developers Console Setup:
- Visit LINE Developers Console.
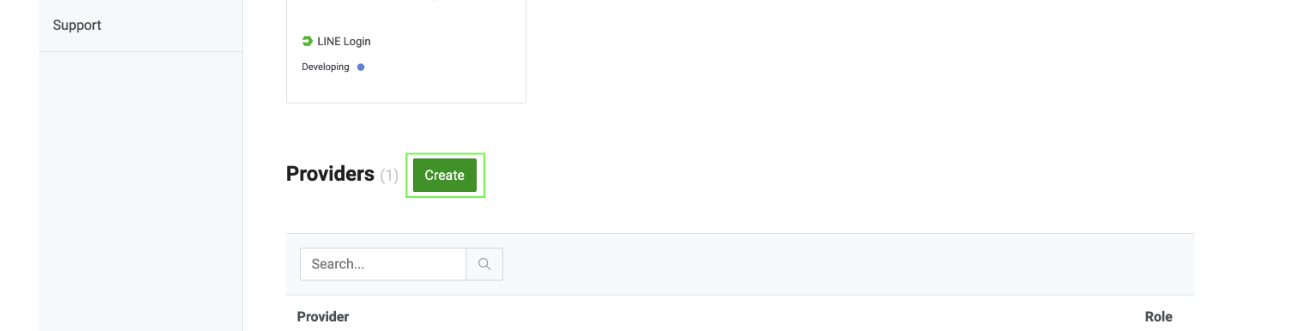
- Create a Provider (skip if you already have one).
- Create a new LINE Login channel.

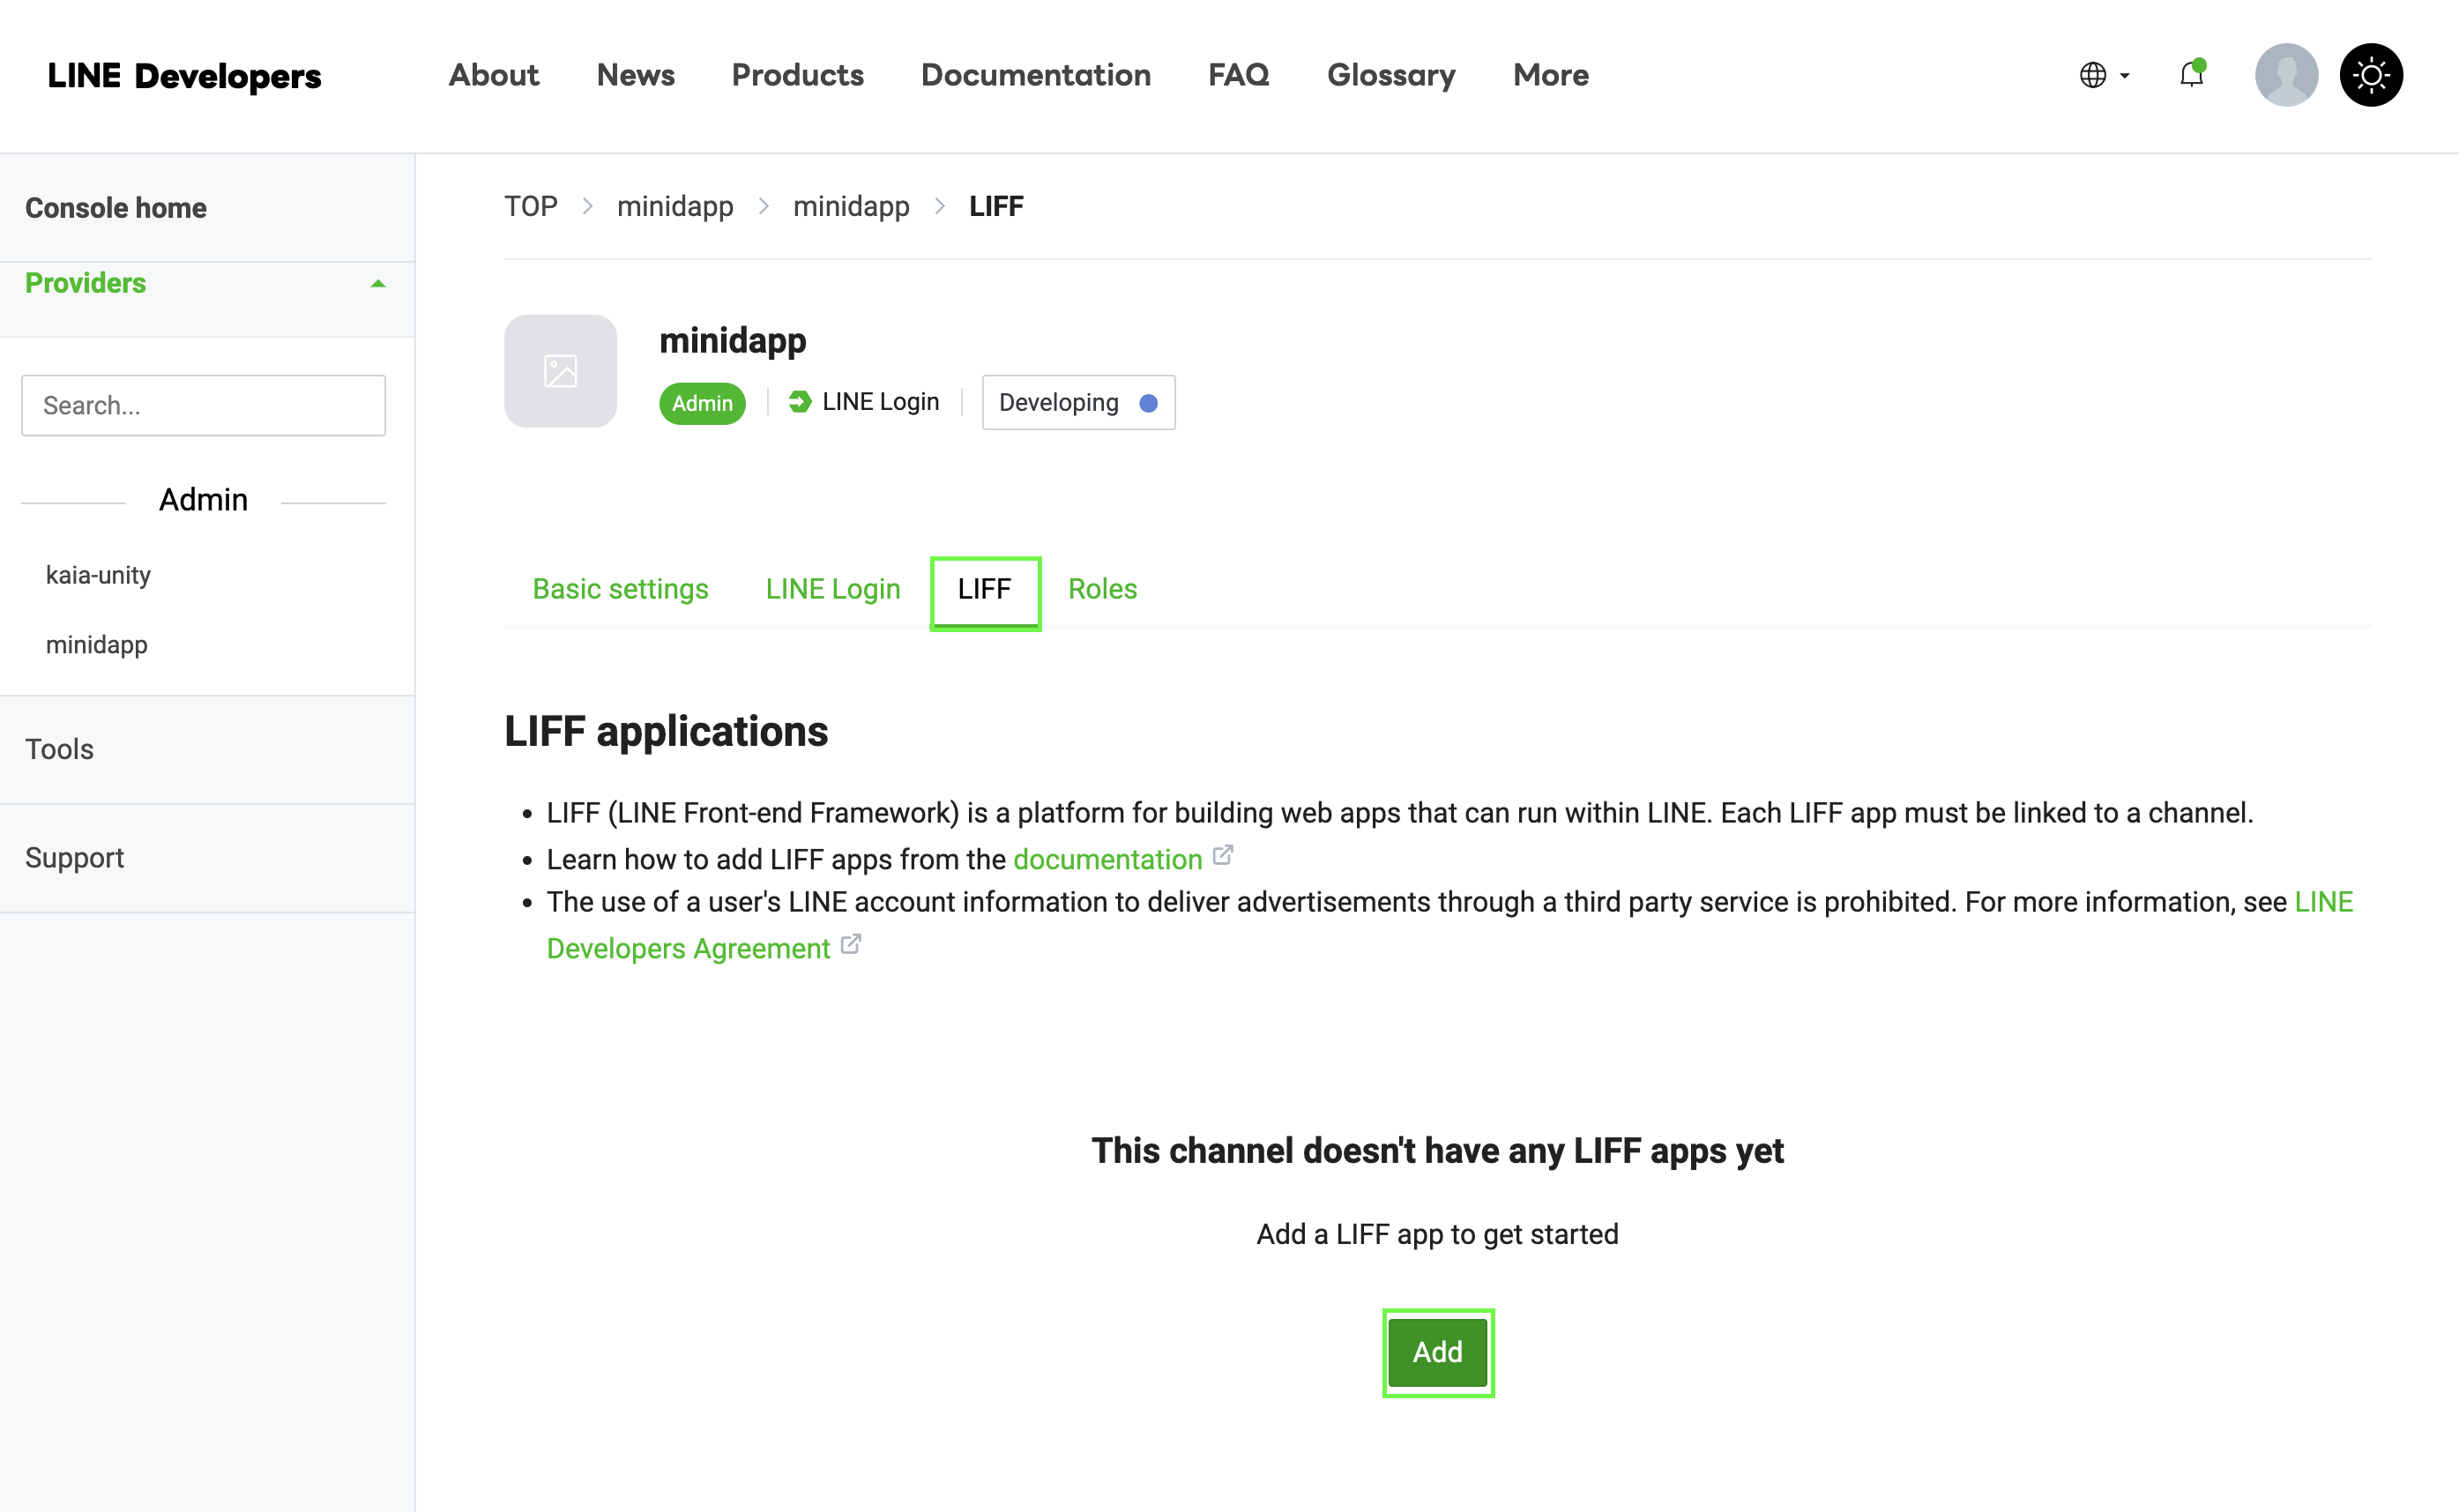
- Navigate to the LIFF tab
- Click "Add LIFF app"
-
Configure LIFF Settings:
Size: Choose one of:├── Full (entire screen)├── Tall (75% of screen)└── Compact (50% of screen)Endpoint URL: https://example.com (temporary)Permissions: Enable as needed
Save your LIFF ID - you'll need it in the next step!
Step 2: Modify Build Template
Add the LIFF SDK to your template at build-templates/web-desktop/index.html:
<!DOCTYPE html><html> <head> <meta charset="utf-8" /> <title>Cocos Creator | dapp-portal-example</title> <!-- LIFF SDK --> <script src="https://static.line-scdn.net/liff/edge/2/sdk.js"></script> <!-- DappPortal SDK --> <script src="https://static.kaiawallet.io/js/dapp-portal-sdk.js"></script> <meta name="viewport" content="width=device-width,user-scalable=no,initial-scale=1,minimum-scale=1,maximum-scale=1,minimal-ui=true" /> <meta name="apple-mobile-web-app-capable" content="yes" /> <meta name="full-screen" content="yes" /> <meta name="screen-orientation" content="portrait" /> <meta name="x5-fullscreen" content="true" /> <meta name="360-fullscreen" content="true" /> <meta name="renderer" content="webkit" /> <meta name="force-rendering" content="webkit" /> <meta http-equiv="X-UA-Compatible" content="IE=edge,chrome=1" /> <link rel="stylesheet" type="text/css" href="./style.css" /> <link rel="icon" href="favicon.ico" /> </head> <body> <h1 class="header">dapp-portal-example</h1> <div id="GameDiv" cc_exact_fit_screen="false" style="width: 1280px; height: 960px;" > <div id="Cocos3dGameContainer"> <canvas id="GameCanvas" width="1280" height="960" tabindex="99" ></canvas> </div> </div> <p class="footer"> Created with <a href="https://www.cocos.com/products" title="Cocos Creator" >Cocos Creator</a > </p> <!-- Polyfills bundle. --> <script src="src/polyfills.bundle.js" charset="utf-8"></script> <!-- SystemJS support. --> <script src="src/system.bundle.js" charset="utf-8"></script> <!-- Import map --> <script src="src/import-map.json" type="systemjs-importmap" charset="utf-8" ></script> <script> System.import('./index.js').catch(function (err) { console.error(err) }) </script> </body></html>
Make sure to change your LIFF-ID in the code snippet above.
Step 3: Implementing LIFF in Web3Manager
// Web3Manager.ts@ccclass('Web3Manager')export class Web3Manager extends Component { private static instance: Web3Manager = null private sdk: any = null private connectedAddress: string = '' // Configuration private readonly CONTRACT_ADDRESS = 'YOUR_CONTRACT_ADDRESS' private readonly CHAIN_ID = '1001' private readonly CLIENT_ID = 'YOUR_CLIENT_ID' private readonly LIFF_ID = 'YOUR_LIFF_ID' // Add this onLoad() { if (Web3Manager.instance === null) { Web3Manager.instance = this director.addPersistRootNode(this.node) this.initializeLIFF() // Initialize LIFF first } else { this.node.destroy() } } private async initializeLIFF(): Promise<void> { try { await liff.init({ liffId: this.LIFF_ID, }) console.log('LIFF initialized') // Check if user is logged in if (!liff.isLoggedIn()) { console.log('User not logged in, redirecting to login') liff.login() return } // Get LIFF profile const profile = await liff.getProfile() console.log('LIFF Profile:', profile) // Initialize DappPortal SDK after LIFF await this.initializeSDK() } catch (error) { console.error('LIFF initialization error:', error) } } // Rest of your existing Web3Manager code...}
Step: 4: Build and Test Process
- Rebuild your project in Cocos Creator.
- Check the generated build/web-desktop/index.html.
- Confirm that the LIFF SDK script is correctly included.
Step 5: Deploy Your Web-Desktop Build
- Build your Cocos creator project for WebGL
- Upload all build files to a web server; e.g Netlify
Your deployment folder structure should look like this:
build/ web-desktop/ index.html assets/ cocos-js/ src/ ...other files
Step 6: Final Configuration & Testing
- Update your LIFF endpoint:
- Return to LINE Developers Console
- Locate your LIFF app
- Click "Edit"
- Update URL to your deployed site.
Now your mini dApp should be readily available.
Conclusion
Congratulations! You’ve successfully built and deployed your first LINE Mini dApp using Cocos Creator! By following this guide, you’ve integrated Web3 functionalities, including wallet connection, balance retrieval, and token minting – bringing blockchain-powered interactions into the LINE ecosystem.
For more detailed information on developing LINE mini dApps, explore these comprehensive resources: