Mini Dapp SDK Integration
In this section, we will ensure the Mini Dapp SDK is loaded in our game. To do that, Cocos Creator’s build-templates directory allows customization of how the game is built for the web platform, making it essential for preloading the SDK before the game starts.
By creating a custom template in build-templates/web-desktop, we can automatically include the SDK in every build, streamlining development and deployment.
Step 1: Create the build-templates Directory
Open your project in VS Code and run the following command in the terminal:
mkdir -p build-templates/web-desktop
Step 2: Perform an Initial Build in Cocos Creator
- Go to Menu → Project → Build.
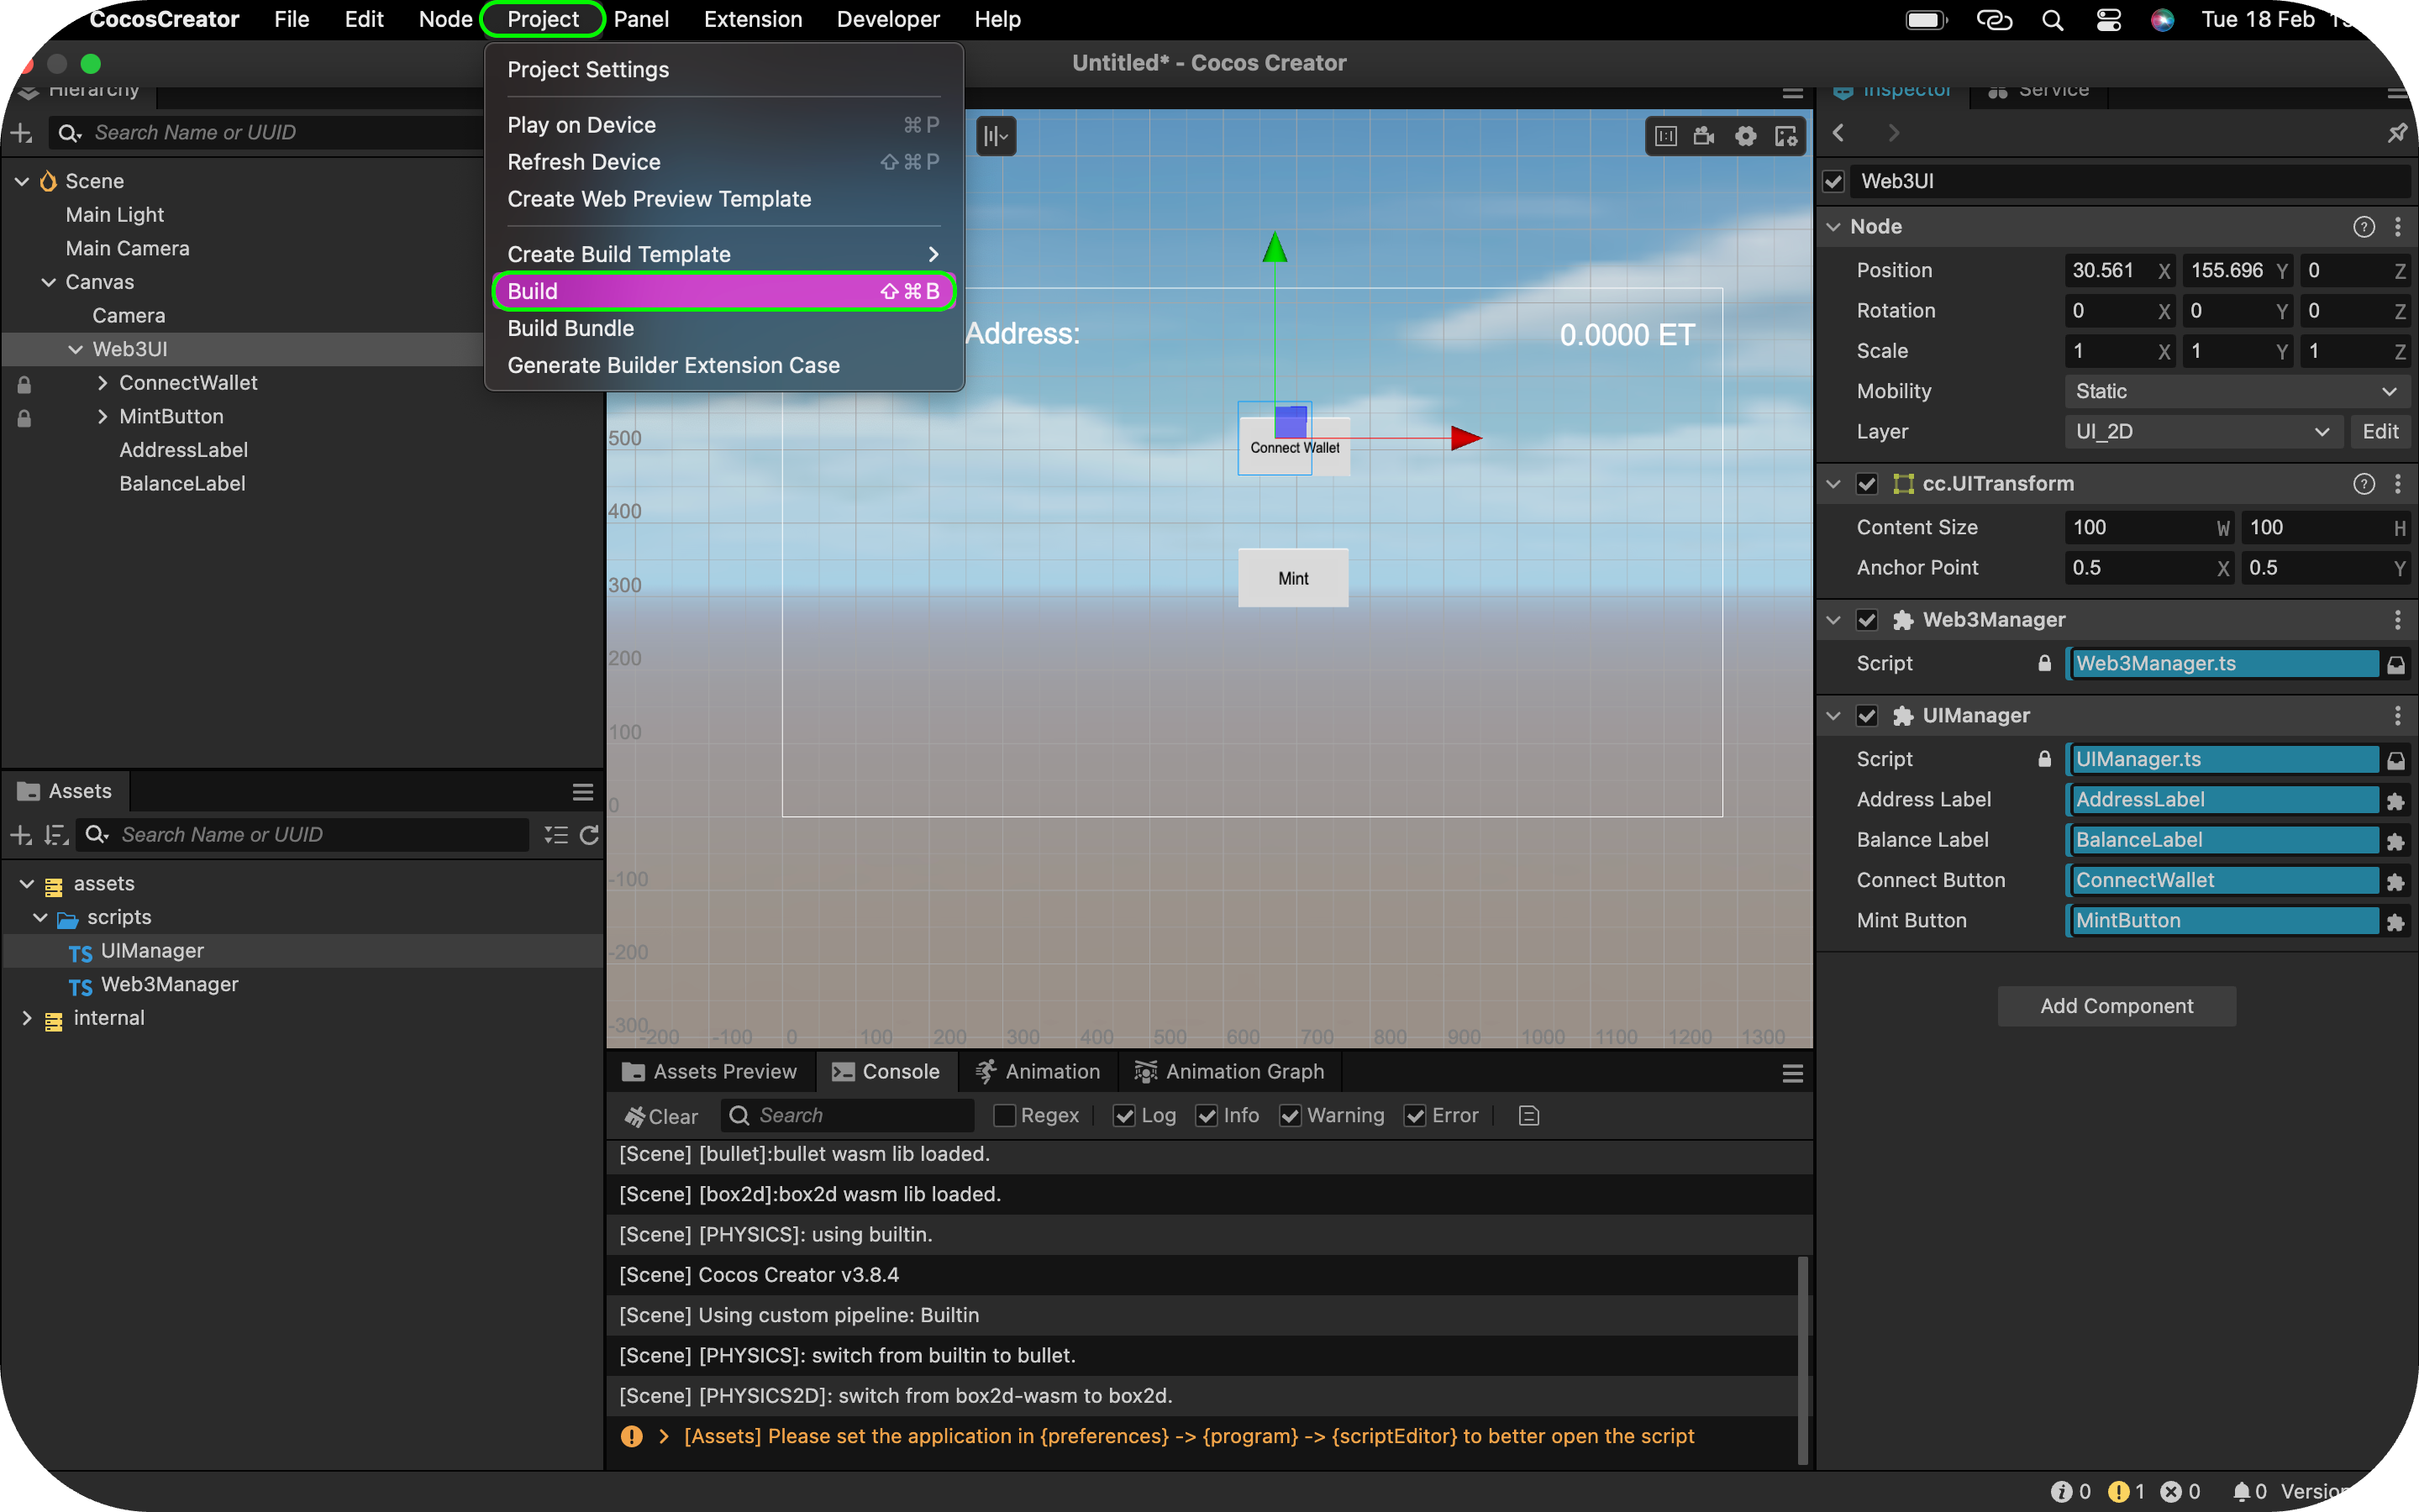
-
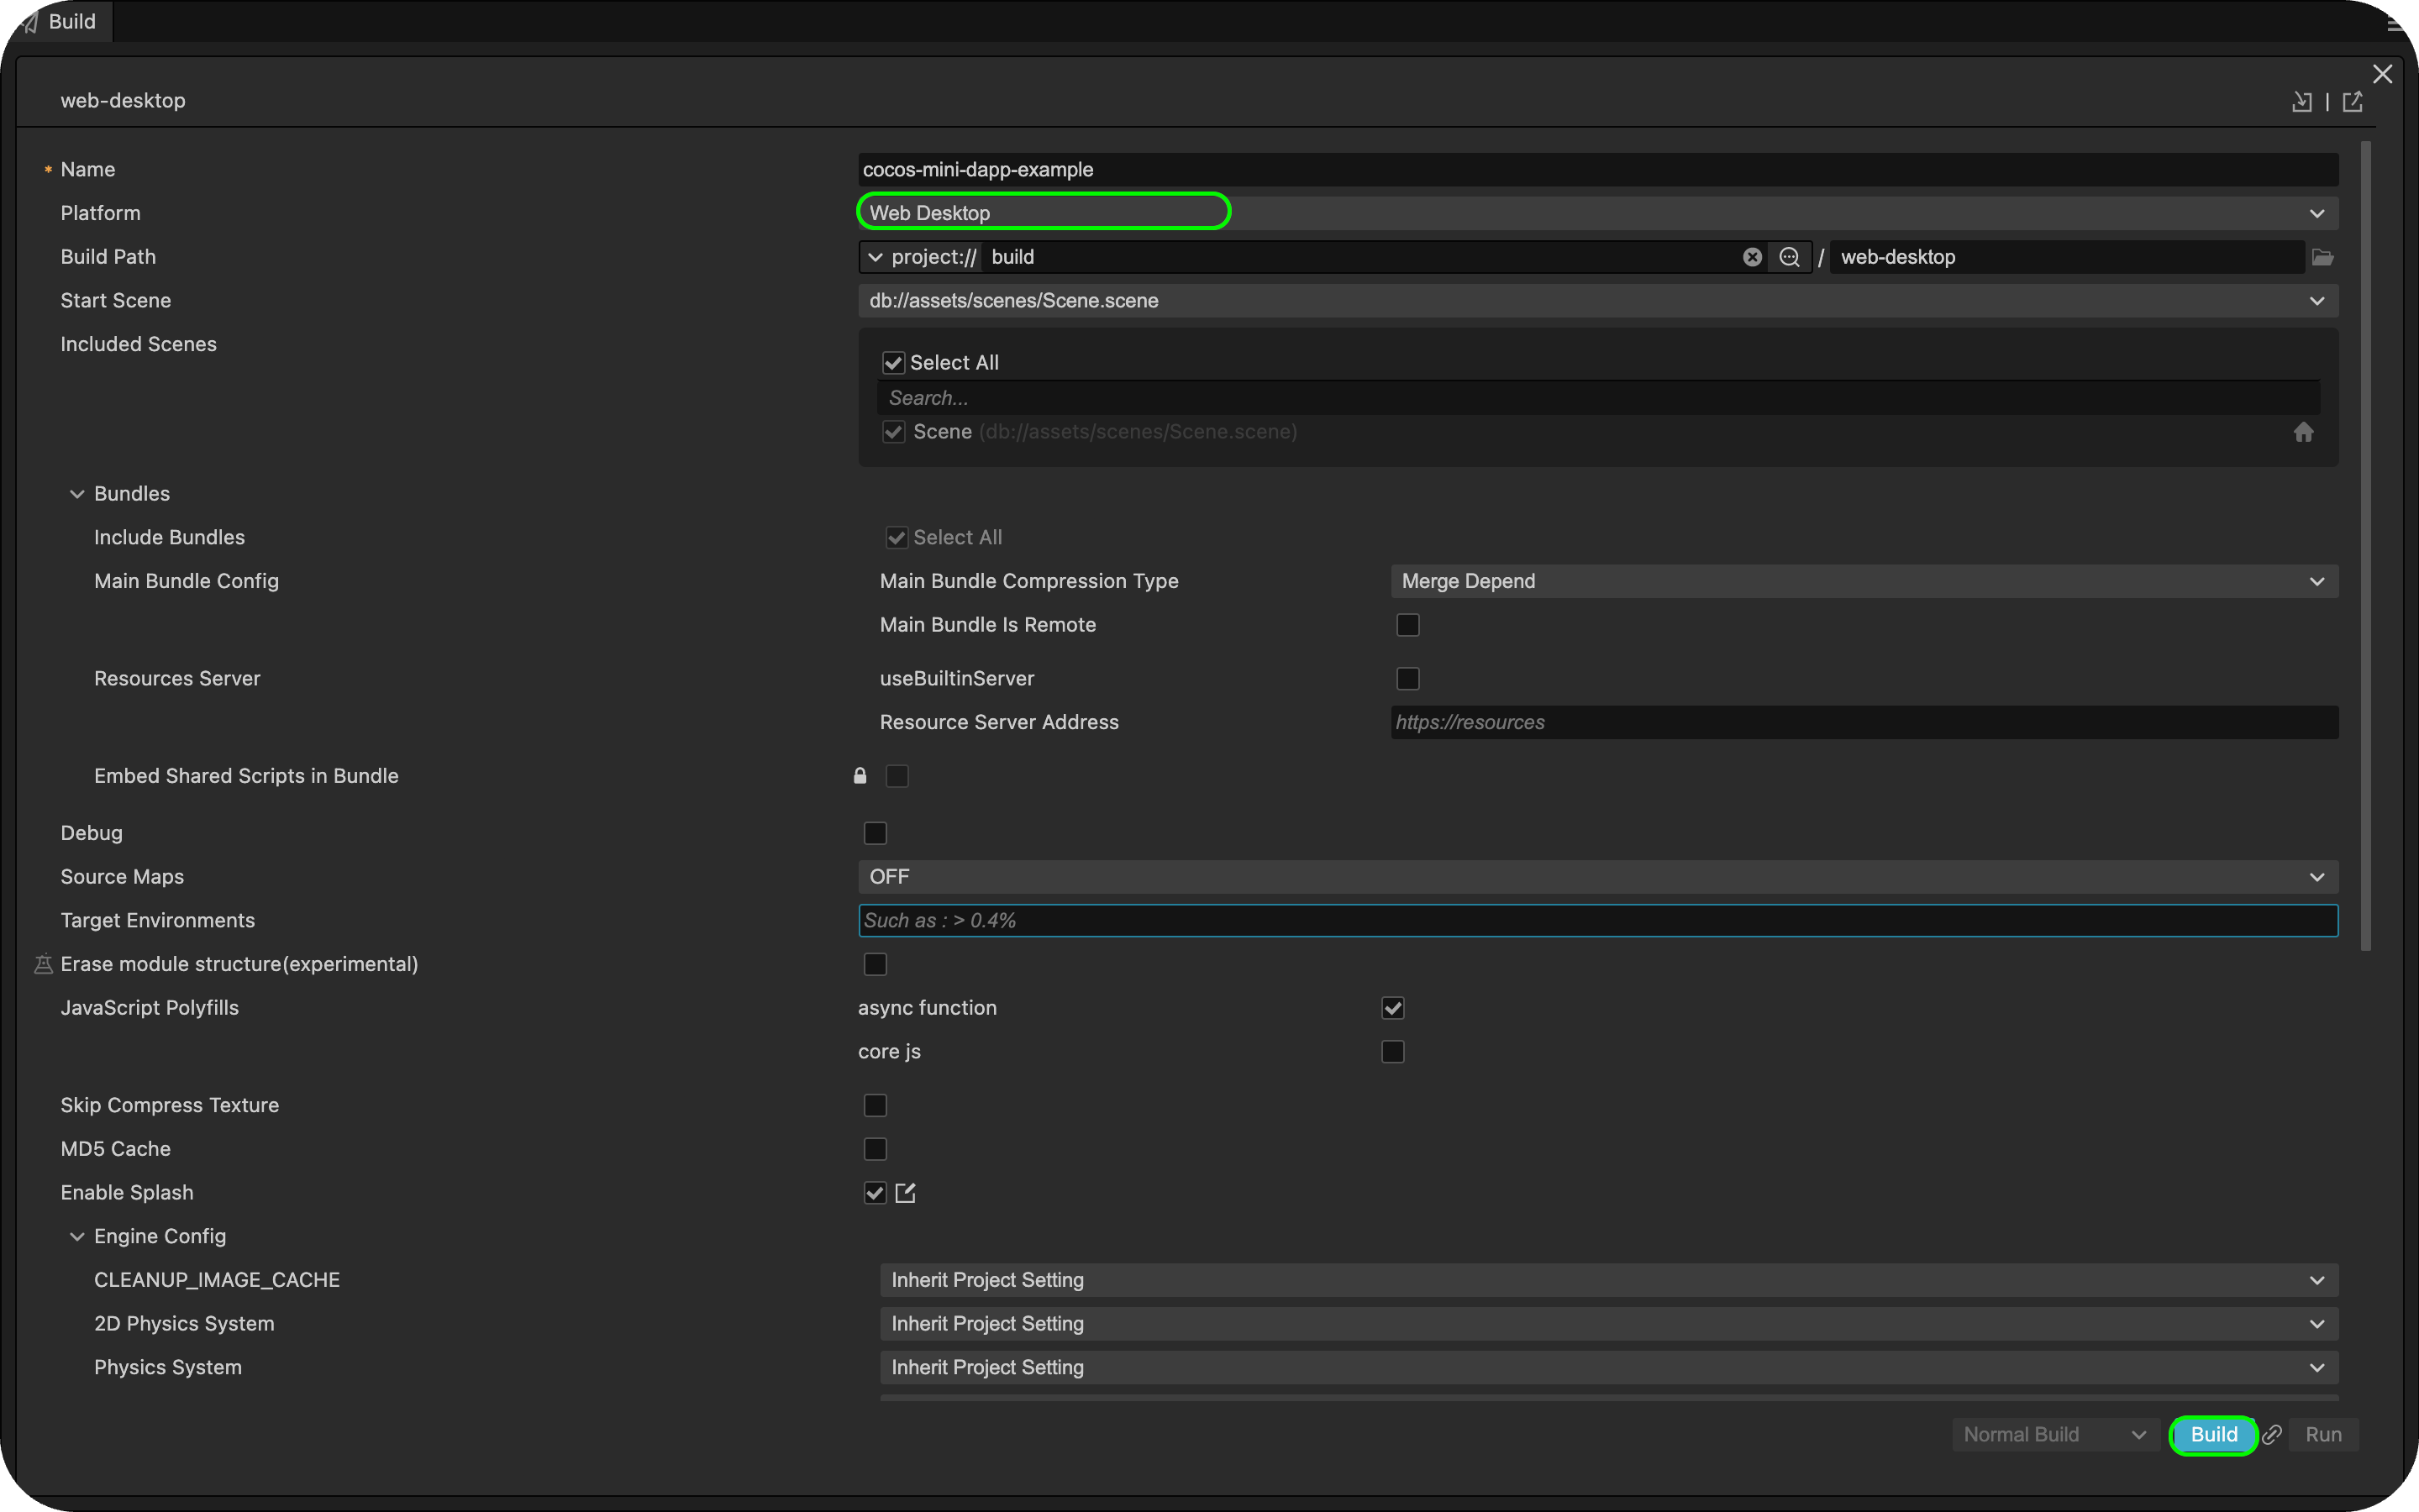
Set Platform to Web Desktop.
-
Click Build.
Step 3: Copy the index.html file from the Build Directory
Once the build is complete, copy the index.html file into the build-templates directory:
cp build/web-desktop/index.html build-templates/web-desktop/
Step 4: Modify index.html to Include the Mini Dapp SDK
Edit build-templates/web-desktop/index.html and add the following Mini Dapp SDK script tag inside the <head> </head> section:
<script src="https://static.kaiawallet.io/js/dapp-portal-sdk.js"></script>
Step 5: Verify the Build Setup
- Rebuild your project in Cocos Creator.
- Check the generated
build/web-desktop/index.html. - Confirm that the Mini Dapp SDK script is correctly included.
Step 6: Build & Preview the Project
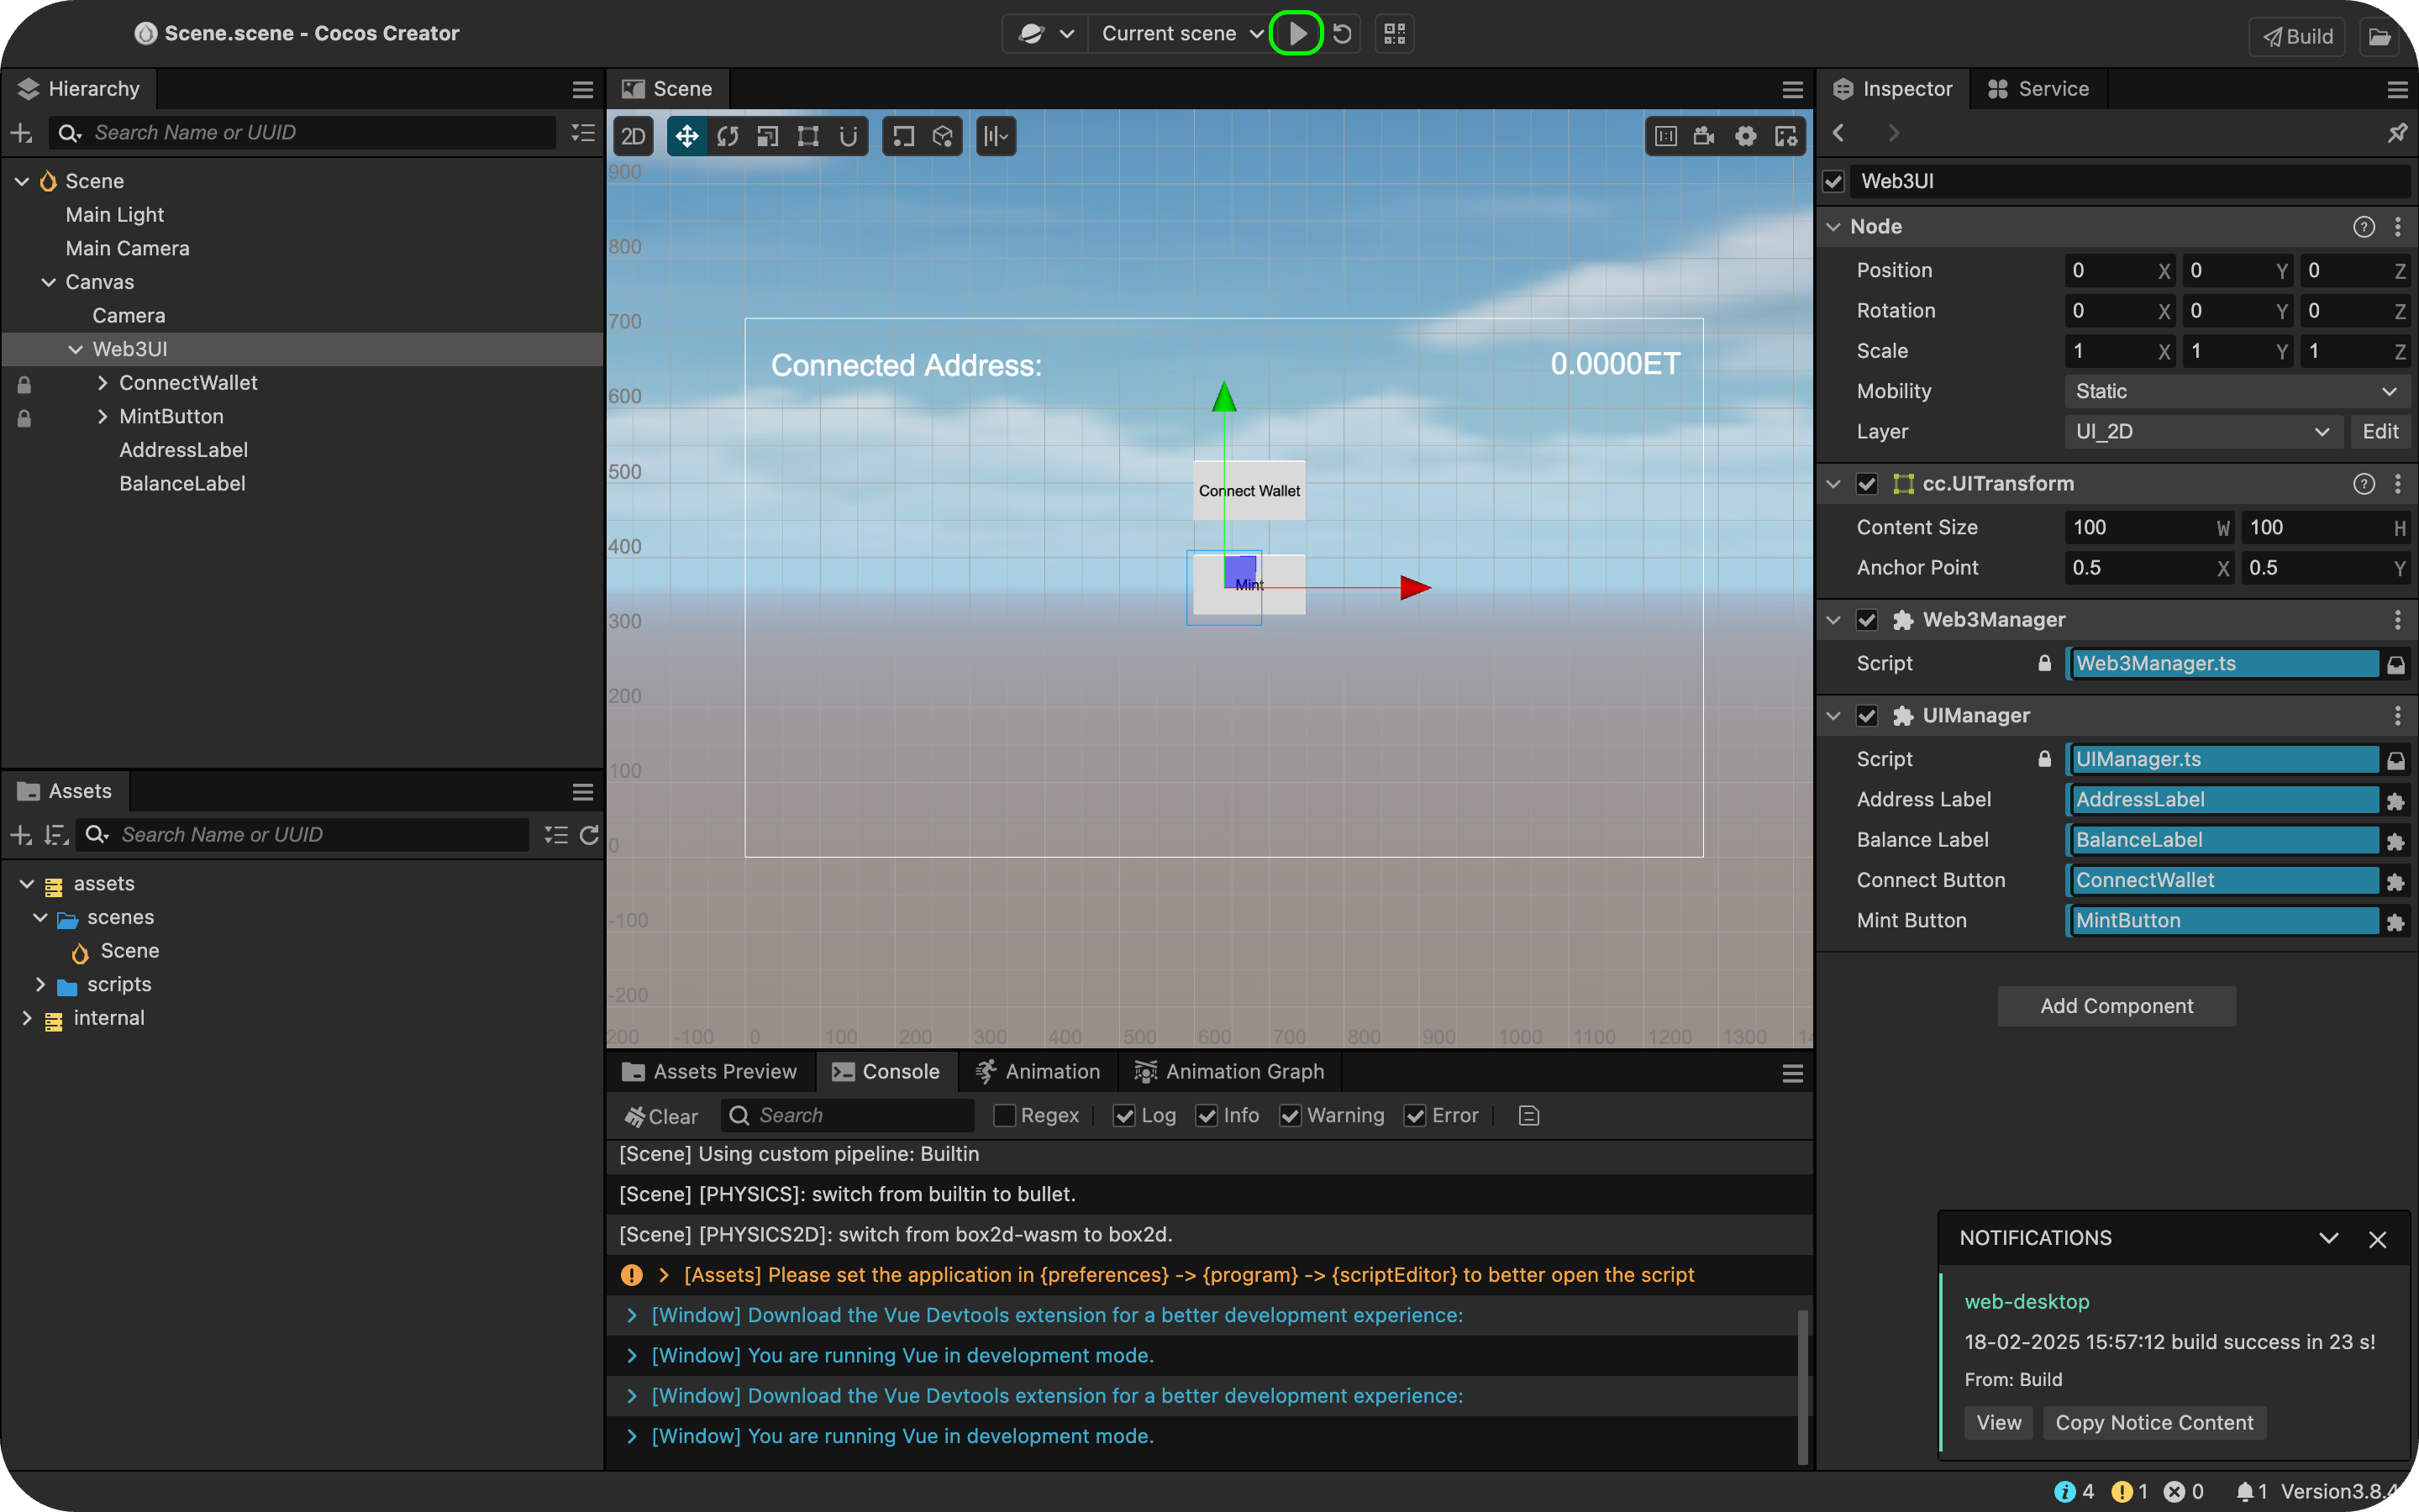
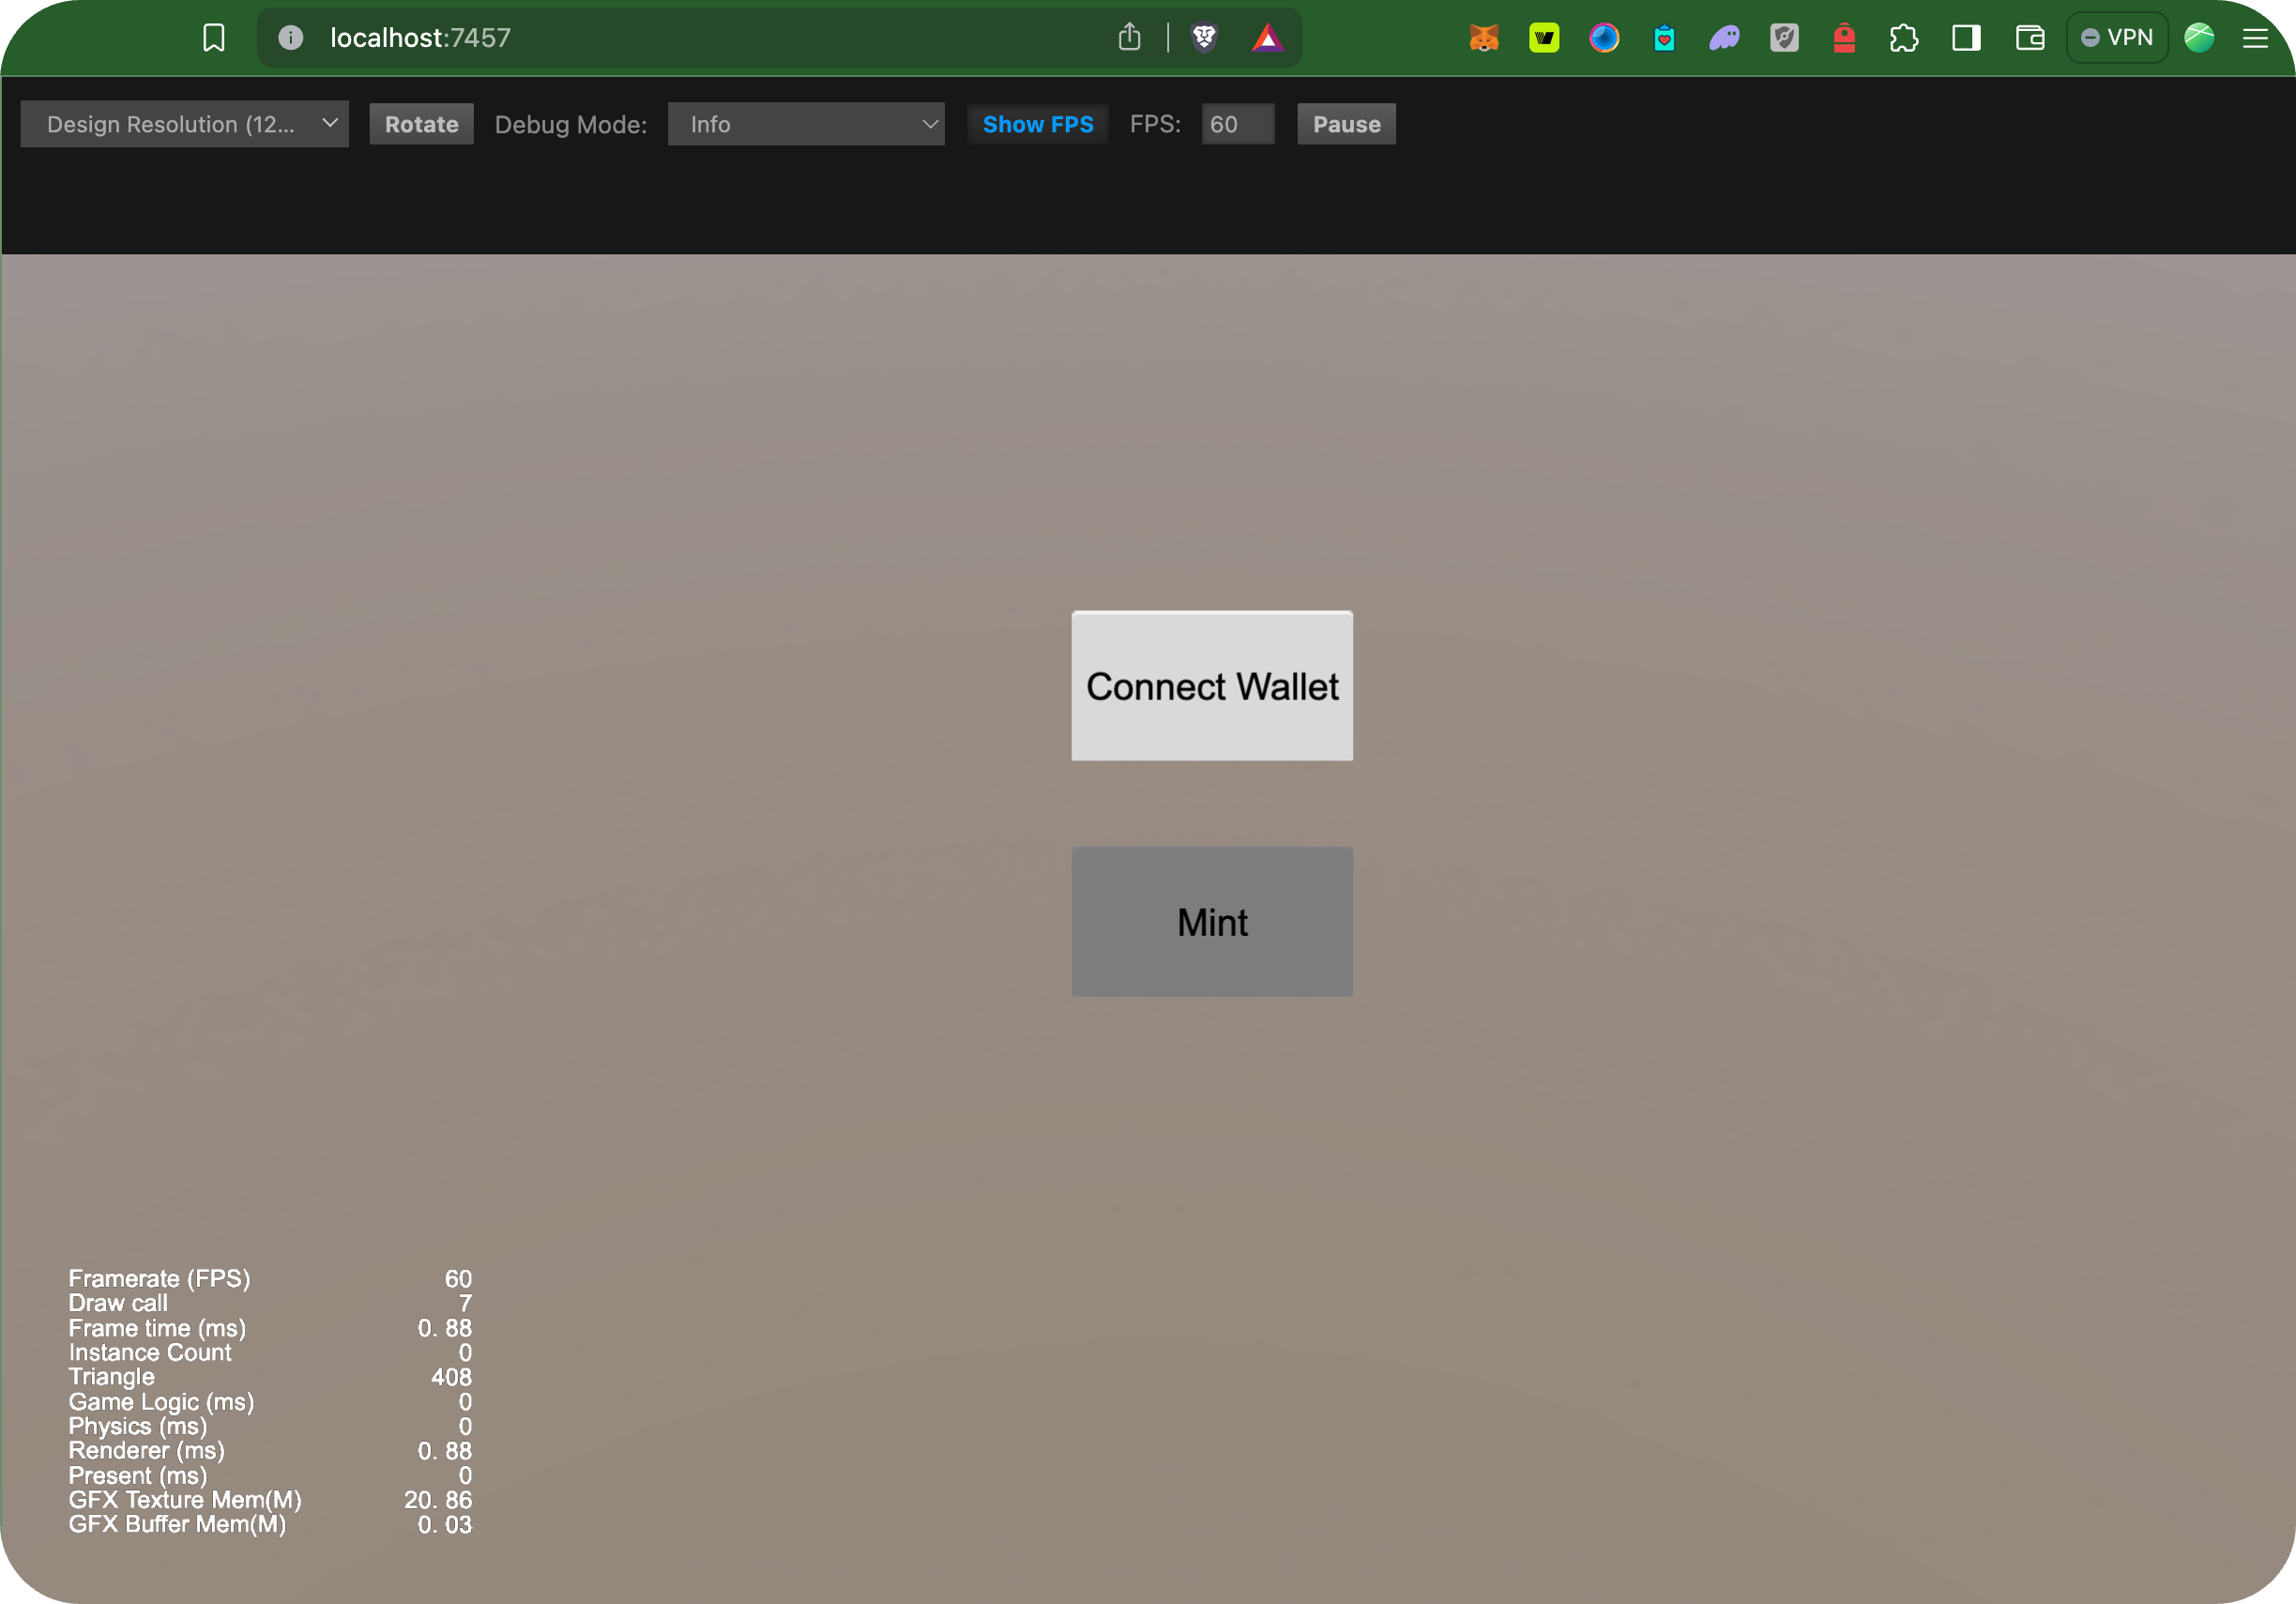
After completing the setup, click Play on Device at the top of the Cocos Creator Editor. Your game should open in a new browser tab.
Route Web build to Localhost:3000
For security and development purposes, the Mini Dapp SDK currently works on localhost:3000. At the moment, the default Unity WebGL builds use random ports (like 7457) and for our app to work efficiently we need to configure our Unity WebGL build to open on localhost:3000.
To do so, follow the steps below:
- Copy and paste the code below in your project terminal
# Install http-server globallynpm install -g http-server
- Navigate to build folder
cd build/web-desktop
- Start server on port 3000
http-server -p 3000
Testing and running application
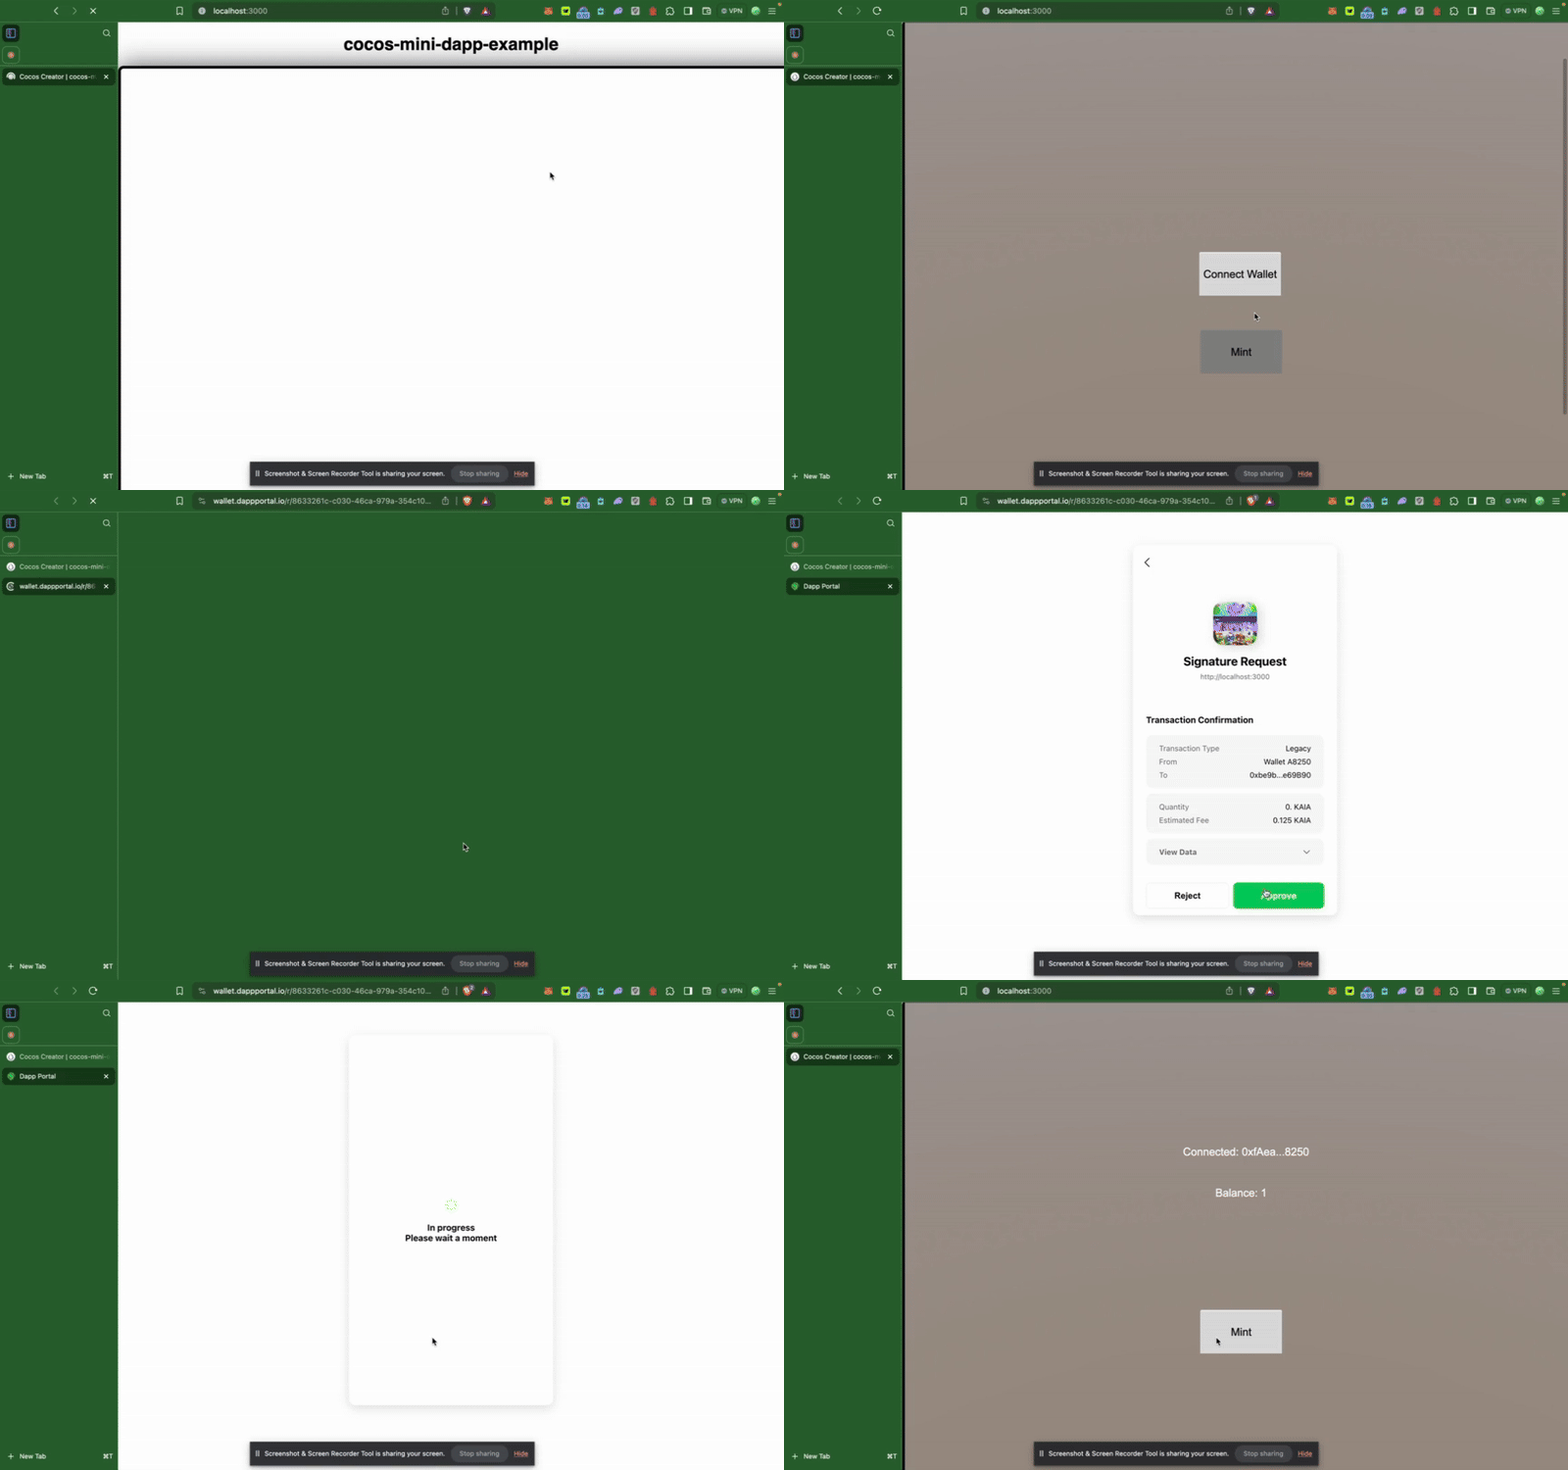
Now that we have our project running, let’s test and interact with it.
- Click on the Connect Wallet button to connect to Dapp Portal Wallet.
- Once connected, mint a fixed amount to the connected address.
