이 페이지는 영문에서 기계 번역되었으��므로 오역이나 어색한 표현이 있을 수 있습니다. 따라서 정확한 정보는 영어 원문을 참조하시기 바랍니다. 또한 잦은 업데이트로 인해 일부 콘텐츠는 영문이 그대로 남아있을 수 있습니다. Crowdin에서 이 페이지의 번역을 개선하는 데 동참하여 도움을 주세요. (Crowdin translation page, Contributing guide)
LINE LIFF로 전환
이 섹션에서는 LINE 생태계 내에서 원활하게 액세스할 수 있도록 빌드를 LINE LIFF(LINE 프론트엔드 프레임워크) 앱으로 변환, 통합 및 배포하는 단계를 안내합니다.
시작해보자!
1단계: LIFF 앱 만들기
먼저 LINE 에코시스템에서 앱을 설정해 보겠습니다:
-
LINE 개발자 콘솔 설정:
- LINE 개발자 콘솔을 방문하세요.
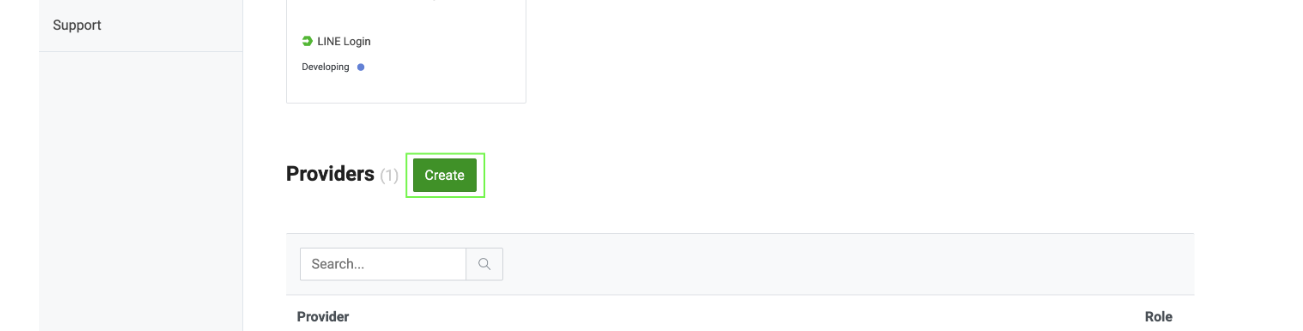
- 공급자를 만듭니다(이미 있는 경우 건너뛰기).
- LINE 로그인 채널을 새로 만듭니다.
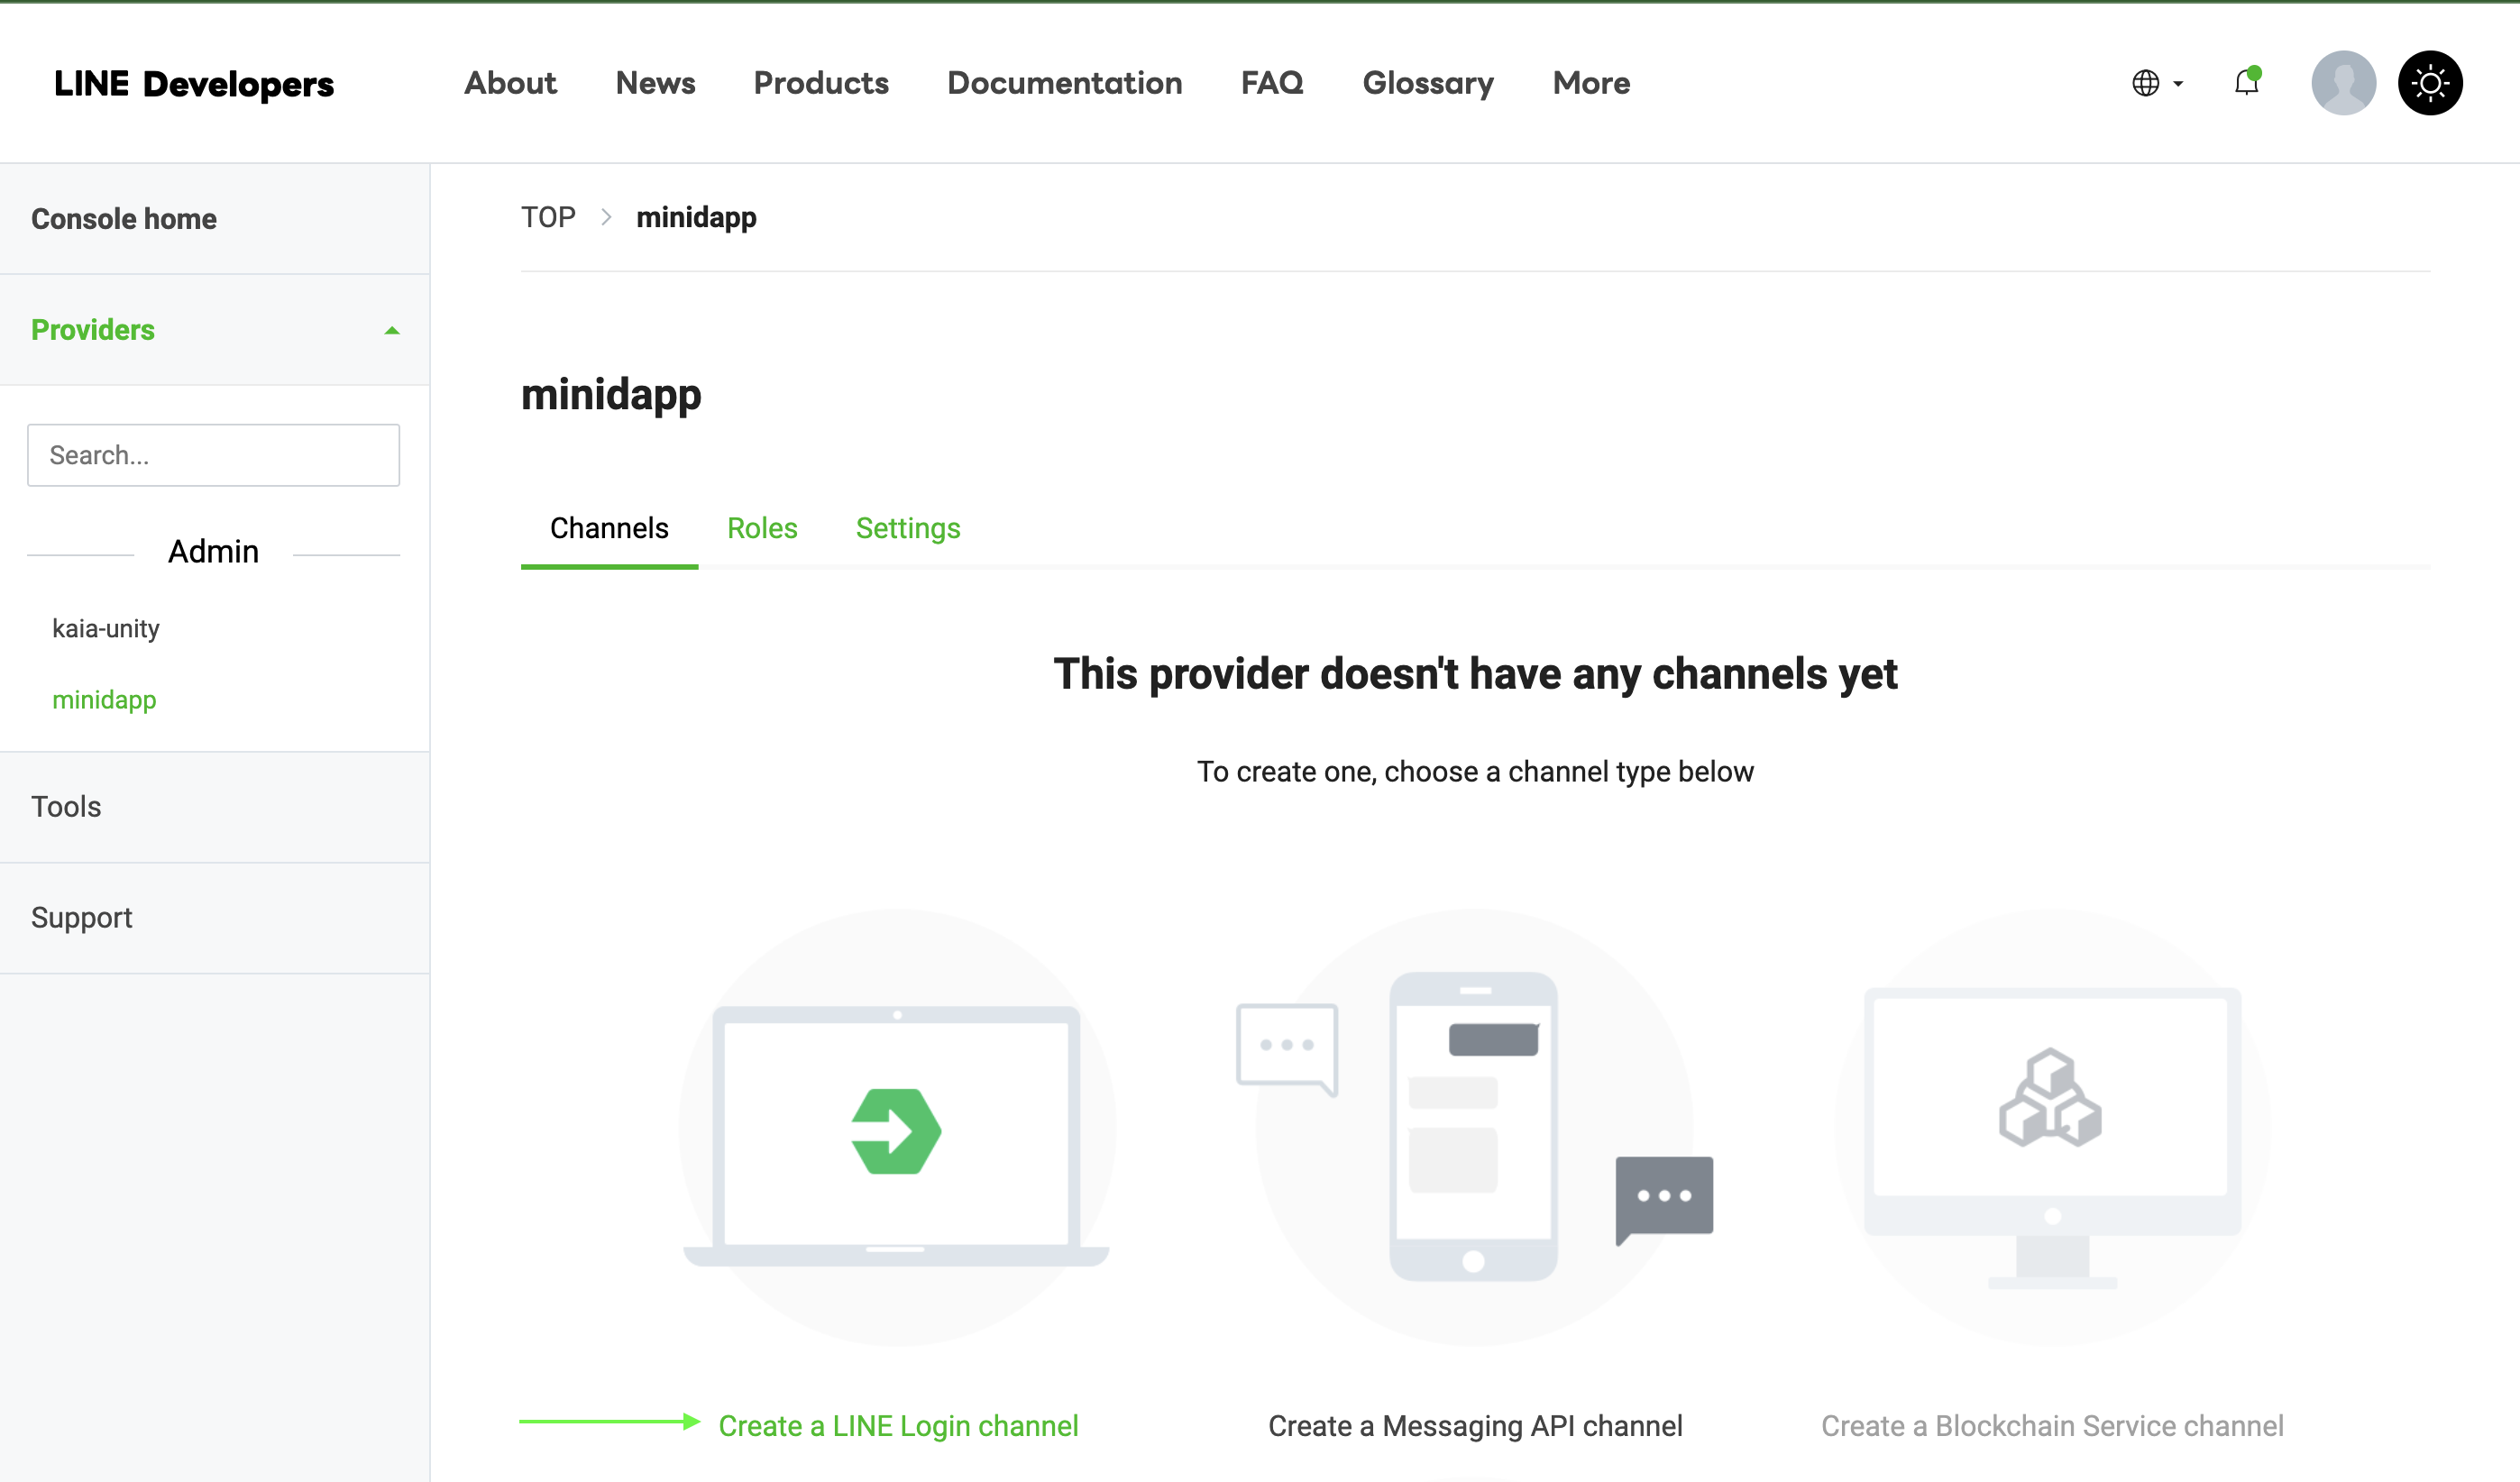
- LIFF 탭으로 이동합니다.
- "LIFF 앱 추가"를 클릭합니다.

-
LIFF 설정을 구성합니다:
Size: Choose one of:├── Full (entire screen)├── Tall (75% of screen)└── Compact (50% of screen)Endpoint URL: https://example.com (temporary)Permissions: Enable as needed
노트
다음 단계에 필요한 LIFF ID를 저장하세요!
2단계: 빌드 템플릿 수정
빌드 템플릿/웹-데스크톱/index.html에서 LIFF SDK를 템플릿에 추가합니다:
<!DOCTYPE html><html> <head> <meta charset="utf-8" /> <title>Cocos Creator | dapp-portal-example</title> <!-- LIFF SDK --> <script src="https://static.line-scdn.net/liff/edge/2/sdk.js"></script> <!-- DappPortal SDK --> <script src="https://static.kaiawallet.io/js/dapp-portal-sdk.js"></script> <meta name="viewport" content="width=device-width,user-scalable=no,initial-scale=1,minimum-scale=1,maximum-scale=1,minimal-ui=true" /> <meta name="apple-mobile-web-app-capable" content="yes" /> <meta name="full-screen" content="yes" /> <meta name="screen-orientation" content="portrait" /> <meta name="x5-fullscreen" content="true" /> <meta name="360-fullscreen" content="true" /> <meta name="renderer" content="webkit" /> <meta name="force-rendering" content="webkit" /> <meta http-equiv="X-UA-Compatible" content="IE=edge,chrome=1" /> <link rel="stylesheet" type="text/css" href="./style.css" /> <link rel="icon" href="favicon.ico" /> </head> <body> <h1 class="header">dapp-portal-example</h1> <div id="GameDiv" cc_exact_fit_screen="false" style="width: 1280px; height: 960px;" > <div id="Cocos3dGameContainer"> <canvas id="GameCanvas" width="1280" height="960" tabindex="99" ></canvas> </div> </div> <p class="footer"> Created with <a href="https://www.cocos.com/products" title="Cocos Creator" >Cocos Creator</a > </p> <!-- Polyfills bundle. --> <script src="src/polyfills.bundle.js" charset="utf-8"></script> <!-- SystemJS support. --> <script src="src/system.bundle.js" charset="utf-8"></script> <!-- Import map --> <script src="src/import-map.json" type="systemjs-importmap" charset="utf-8" ></script> <script> System.import('./index.js').catch(function (err) { console.error(err) }) </script> </body></html>
위의 코드 스니펫에서 LIFF-ID를 변경해야 합니다.
3단계: Web3Manager에서 LIFF 구현하기
// Web3Manager.ts@ccclass('Web3Manager')export class Web3Manager extends Component { private static instance: Web3Manager = null private sdk: any = null private connectedAddress: string = '' // Configuration private readonly CONTRACT_ADDRESS = 'YOUR_CONTRACT_ADDRESS' private readonly CHAIN_ID = '1001' private readonly CLIENT_ID = 'YOUR_CLIENT_ID' private readonly LIFF_ID = 'YOUR_LIFF_ID' // Add this onLoad() { if (Web3Manager.instance === null) { Web3Manager.instance = this director.addPersistRootNode(this.node) this.initializeLIFF() // Initialize LIFF first } else { this.node.destroy() } } private async initializeLIFF(): Promise<void> { try { await liff.init({ liffId: this.LIFF_ID, }) console.log('LIFF initialized') // Check if user is logged in if (!liff.isLoggedIn()) { console.log('User not logged in, redirecting to login') liff.login() return } // Get LIFF profile const profile = await liff.getProfile() console.log('LIFF Profile:', profile) // Initialize DappPortal SDK after LIFF await this.initializeSDK() } catch (error) { console.error('LIFF initialization error:', error) } } // Rest of your existing Web3Manager code...}
4단계: 빌드 및 테스트 프로세스
- 코코스 크리에이터에서 프로젝트를 다시 빌드하세요.
- 생성된 빌드/웹-데스크톱/index.html을 확인합니다.
- LIFF SDK 스크립트가 올바르게 포함되었는지 확인합니다.
5단계: 웹-데스크톱 빌드 배포하기
- WebGL용 Cocos 크리에이터 프로젝트 빌드하기
- 모든 빌드 파일을 웹 서버에 업로드합니다(예: Netlify).
배포 폴더 구조는 다음과 같아야 합니다:
build/ web-desktop/ index.html assets/ cocos-js/ src/ ...other files
6단계: 최종 구성 및 테스트
- LIFF 엔드포인트를 업데이트하세요:
- LINE 개발자 콘�솔로 돌아가기
- LIFF 앱 찾기
- "편집"을 클릭합니다.
- 배포된 사이트의 URL을 업데이트합니다.
이제 미니 디앱을 바로 사용할 수 있습니다.
결론
축하합니다! 코코스 크리에이터를 사용하여 첫 번째 LINE 미니 디앱을 성공적으로 빌드하고 배포했습니다! 이 가이드에 따라 지갑 연결, 잔액 조회, 토큰 발행 등 Web3 기능을 통합하여 블록체인 기반의 상호작용을 LINE 생태계에 도입할 수 있습니다.
LINE 미니 디앱 개발에 대한 자세한 내용은 다음 종합 리소스를 참조하세요: