How to configure your wallet for Kaia Networks
Introduction
This guide provides practical, step-by-step instructions for configuring leading software wallets—Kaia Wallet and MetaMask—to connect to the Kaia Mainnet and Kairos Testnet. This guide is designed for developers who have basic familiarity with crypto wallets and networks, and need to get set up for building or testing on Kaia.
You’ll learn both the fastest and manual ways to add Kaia networks, and how to fund your wallet with testnet KAIA.
Prerequisites
- Basic understanding of blockchain concepts (wallets, networks, transactions)
- Chrome or compatible browser installed
- Understanding of testnet vs mainnet concepts
Configure Kaia Wallet for Kaia
Kaia Wallet is the native browser extension wallet for the Kaia ecosystem. While it shares many features with MetaMask, it is optimized for Kaia by supporting unique transaction types, fee-delegated transactions, and the account system specific to the network and offers a seamless user experience on the network.
Install Kaia Wallet
- Browser Extension
- Mobile
- Visit https://www.kaiawallet.io
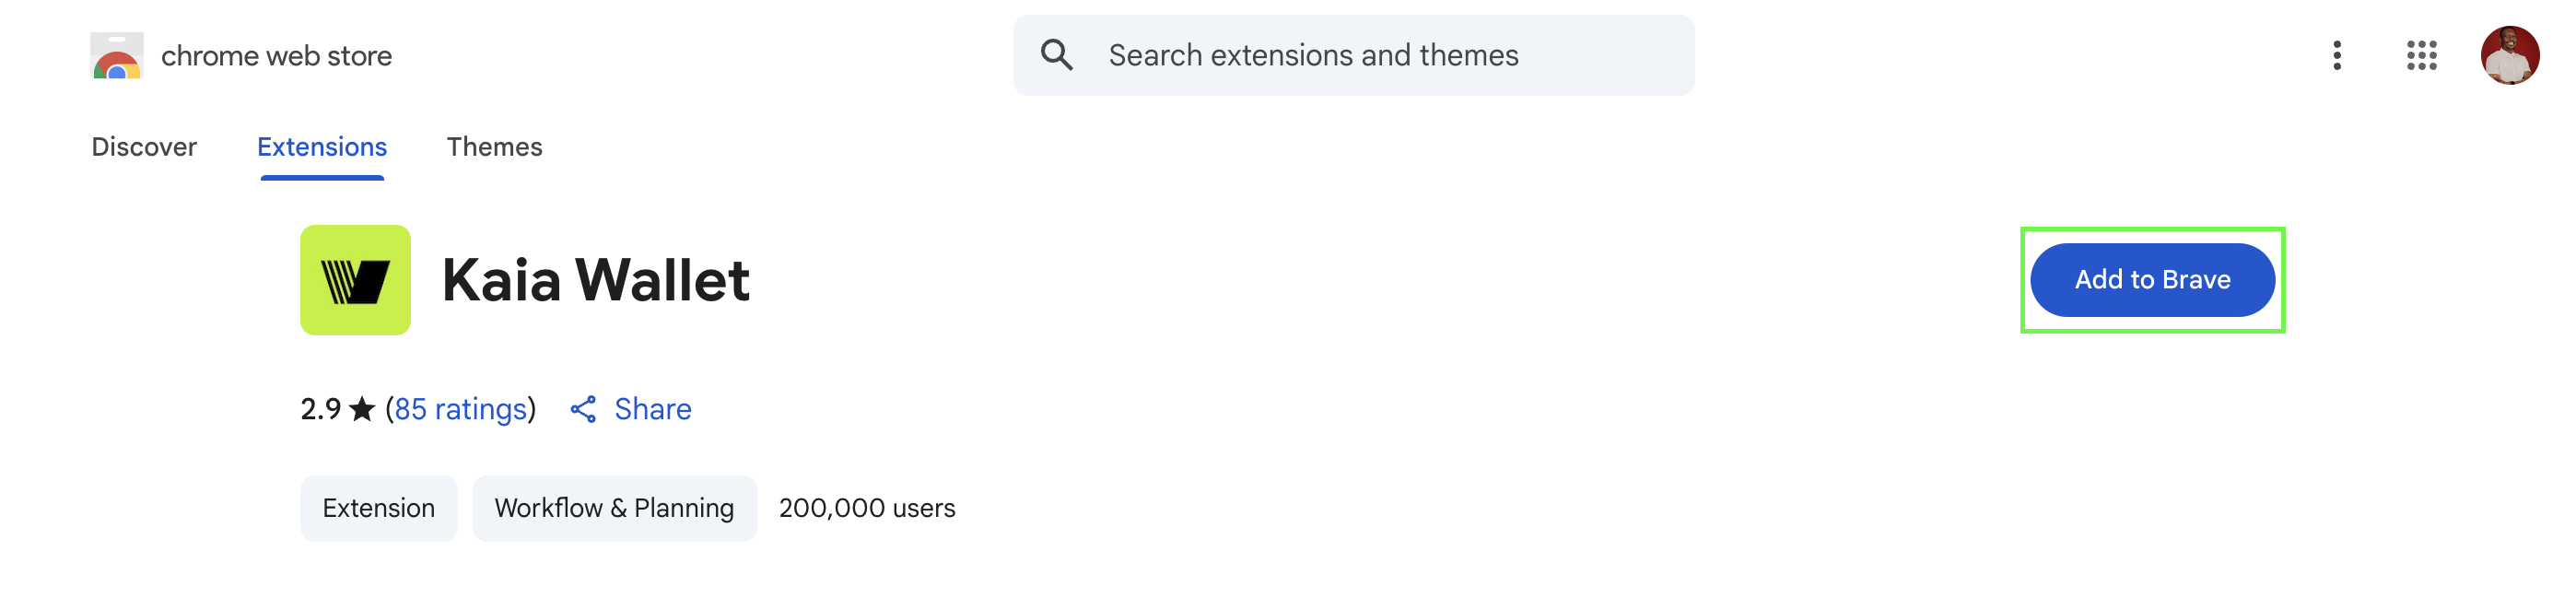
- Click the Browser extension (Chrome/Brave) button.
- Click the Add to Brave button.
- On the pop up, click the Add extension button.
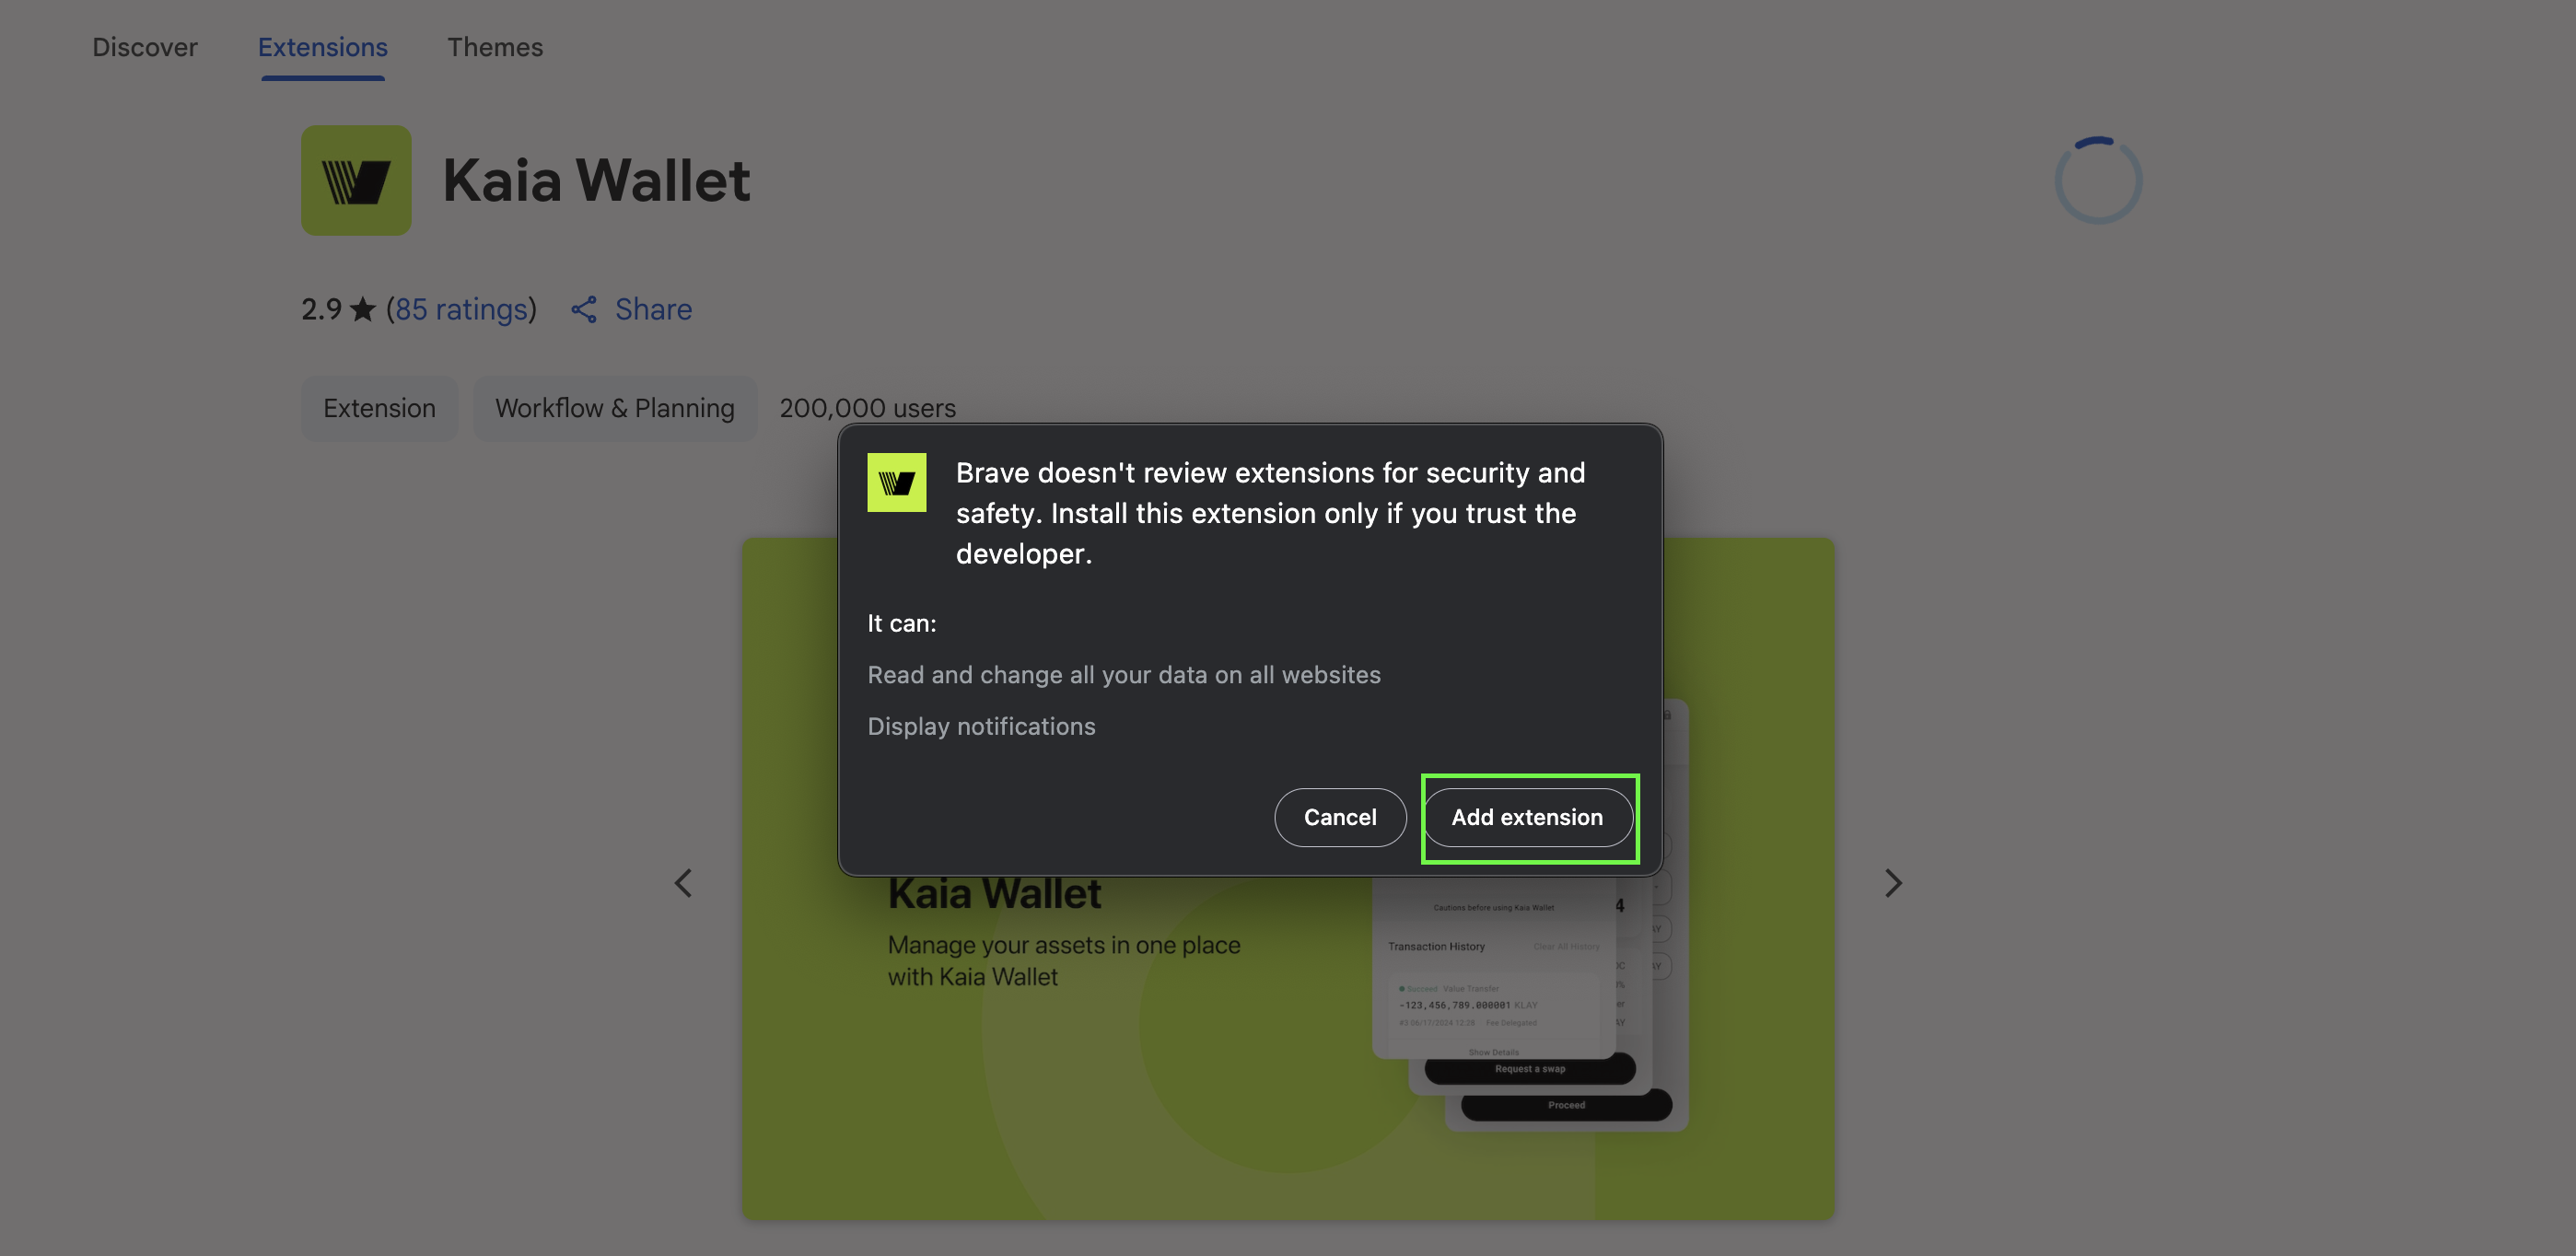
After adding Kaia Wallet Extension, an installation complete tab will automatically open. You can also make sure it's easily accessible in your toolbar by clicking the jigsaw icon in the top-right of the screen, and directly pinning it.
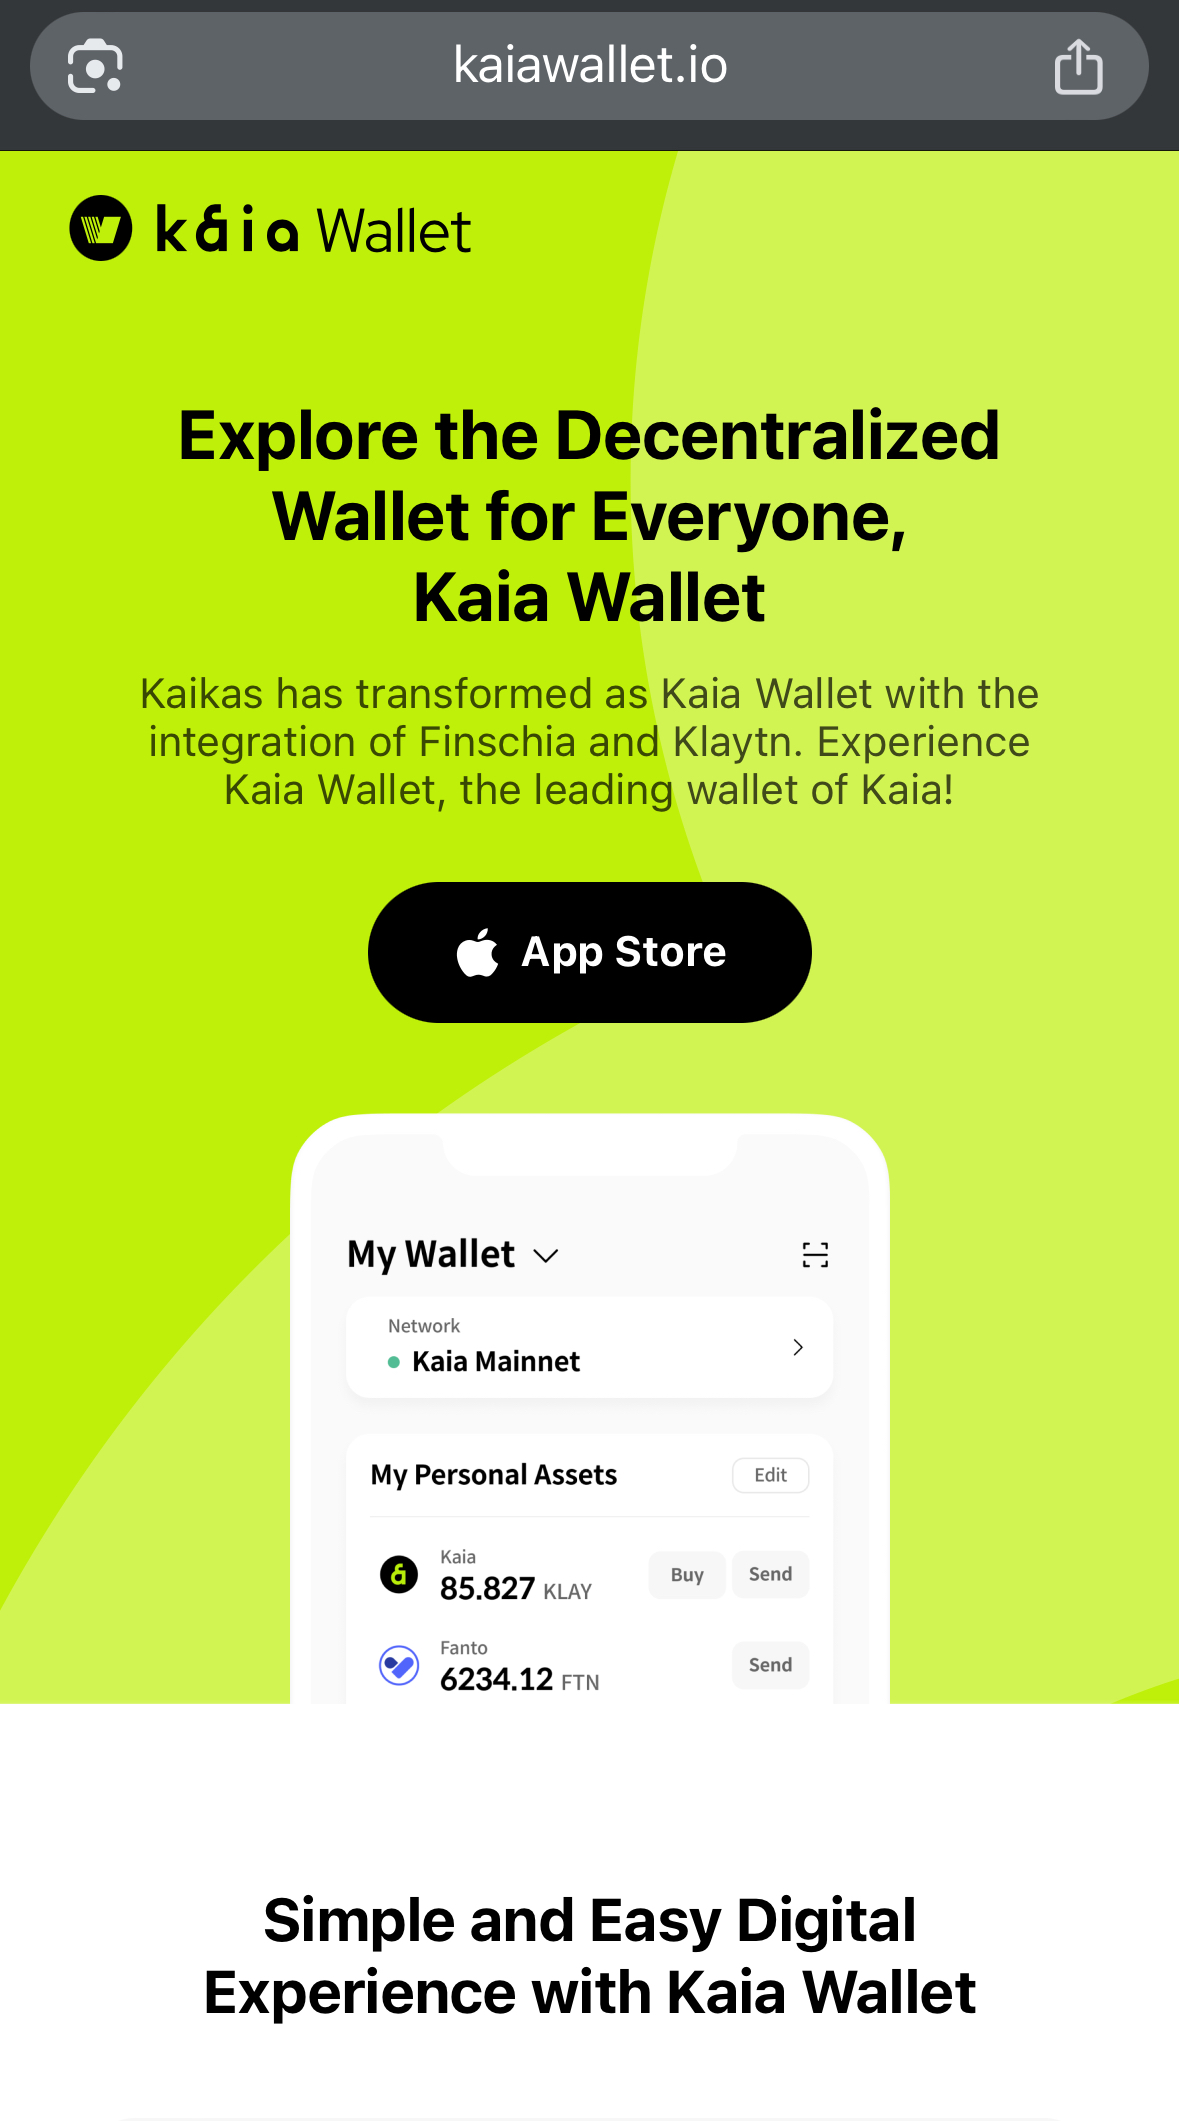
- Visit https://www.kaiawallet.io
- Click either of the App Store or Play Store button depending on your mobile device
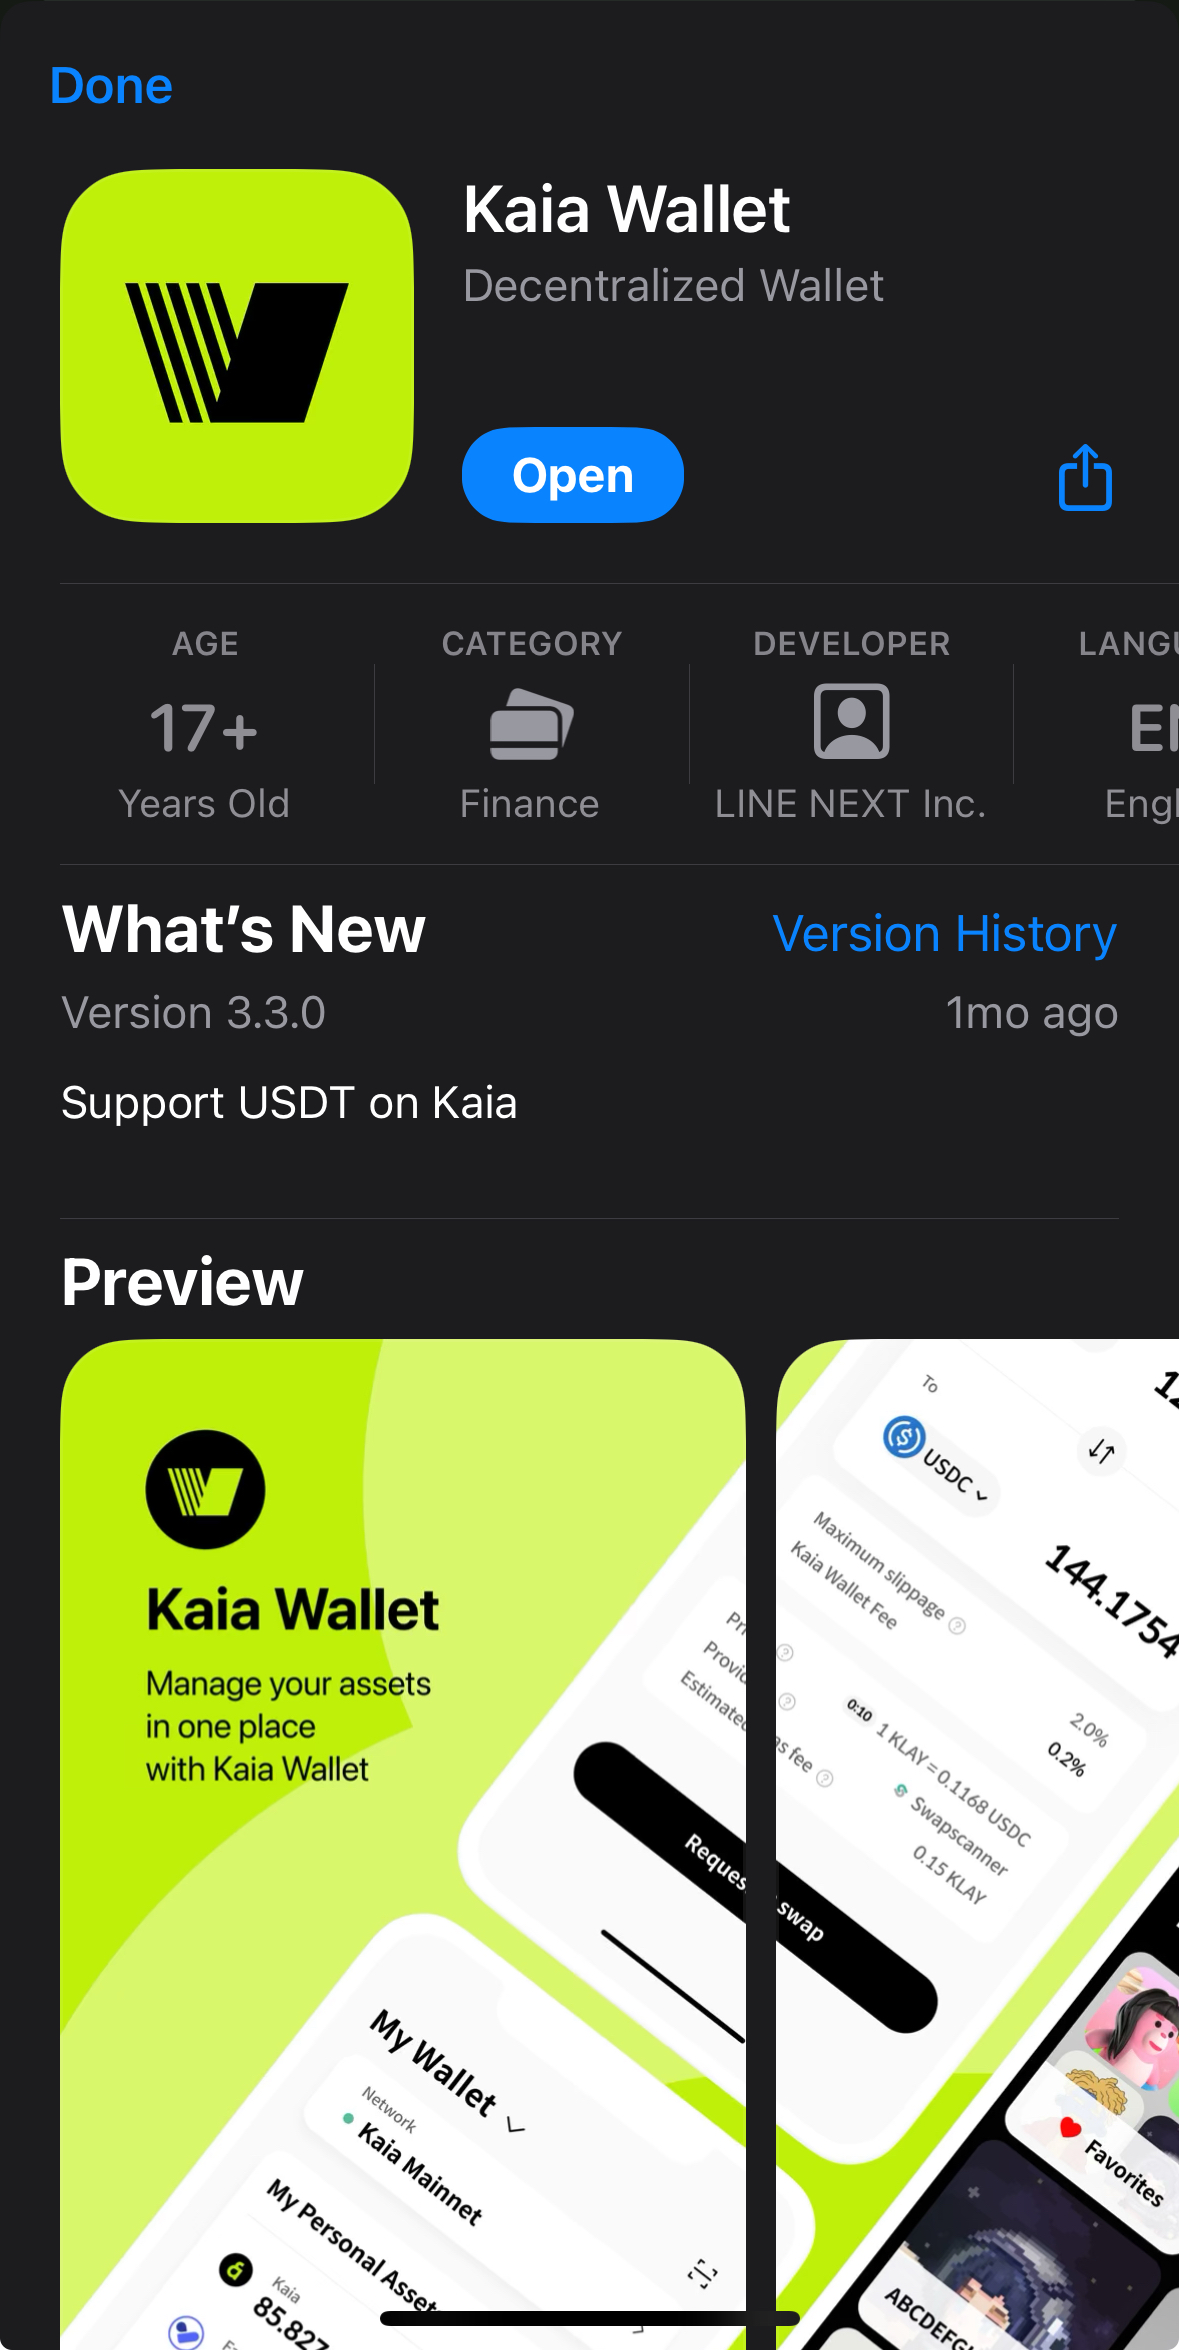
- Click the Get button to download Kaia Wallet. Once it's downloaded, click the Open button.
Create a Kaia Wallet
- Browser Extension
- Mobile
Now that you have successfully installed Kaia Wallet, the next thing is to create a wallet and see them in action.
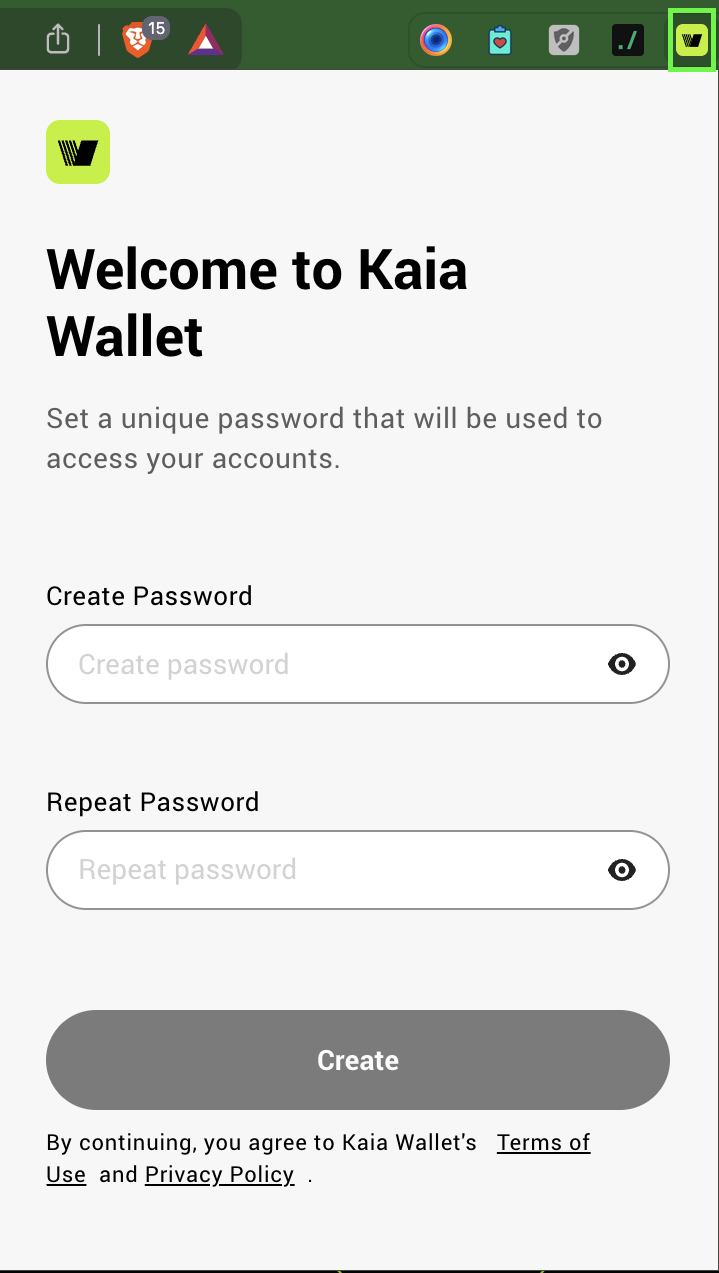
- Click on the Kaia Wallet icon from your pinned extension bar
- Set a unique password that will be used to access your accounts as shown below
- Enter a Wallet Nickname and then click the Create button
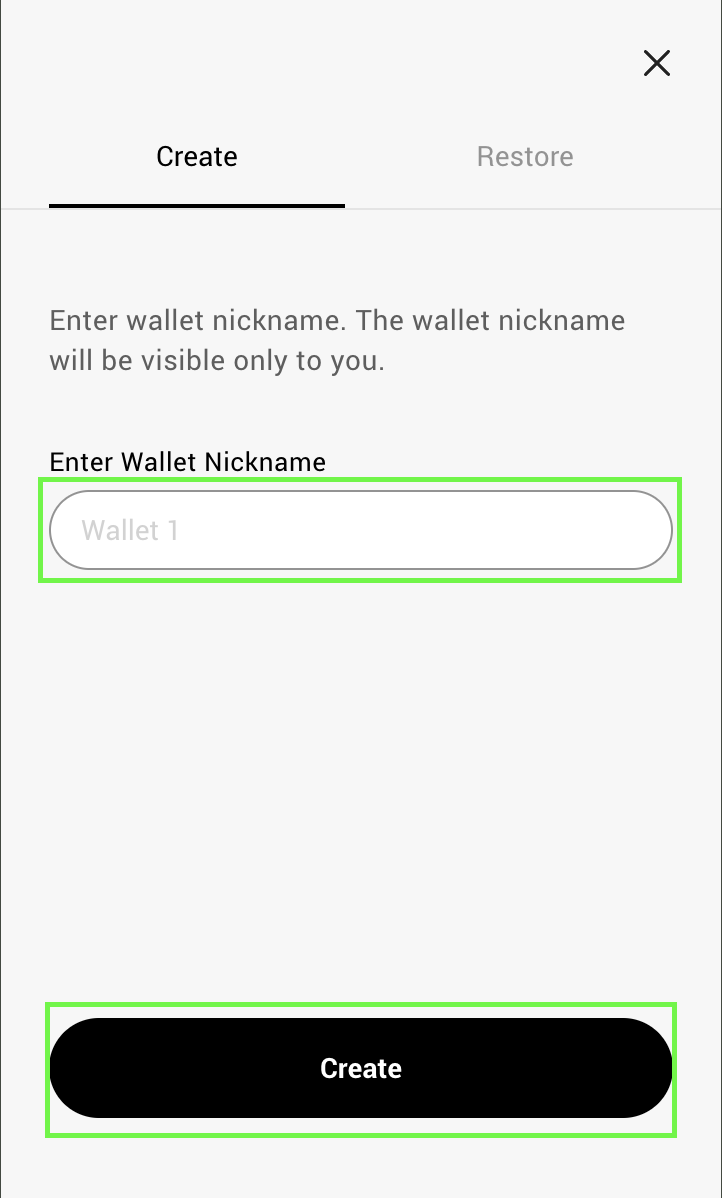
If you are importing an already existing wallet, click on the Restore tab and follow the steps accordingly.
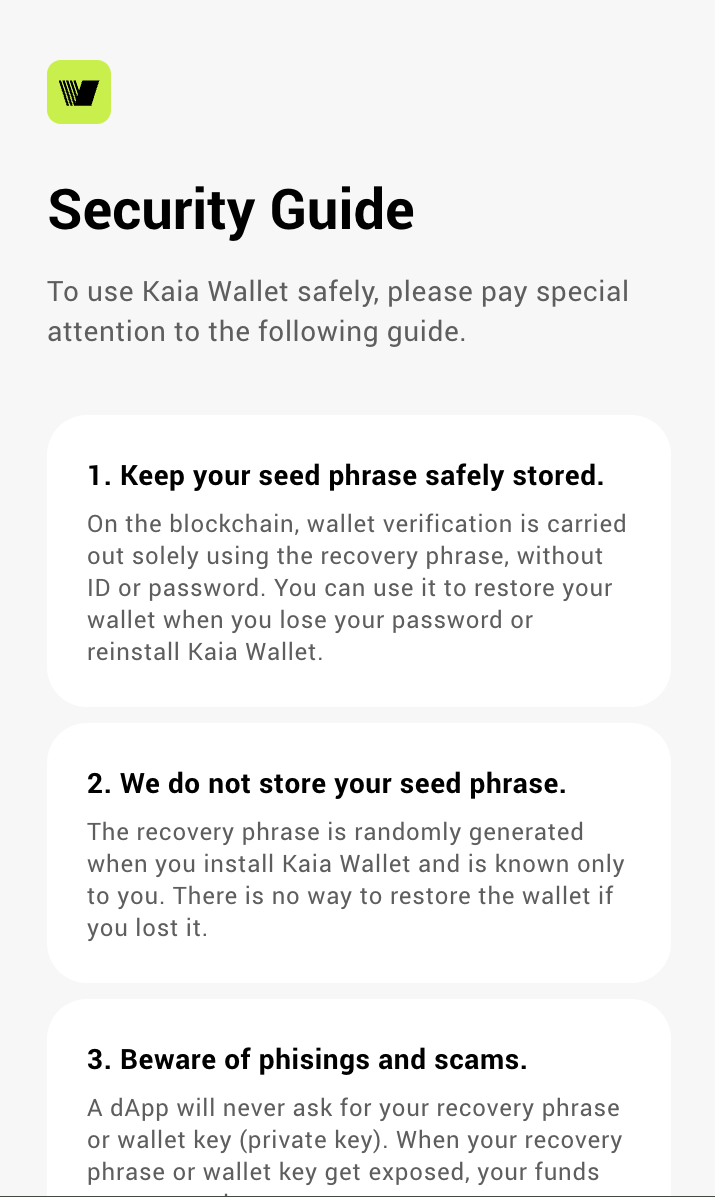
- Make sure to read the security guide and then click the Next button.
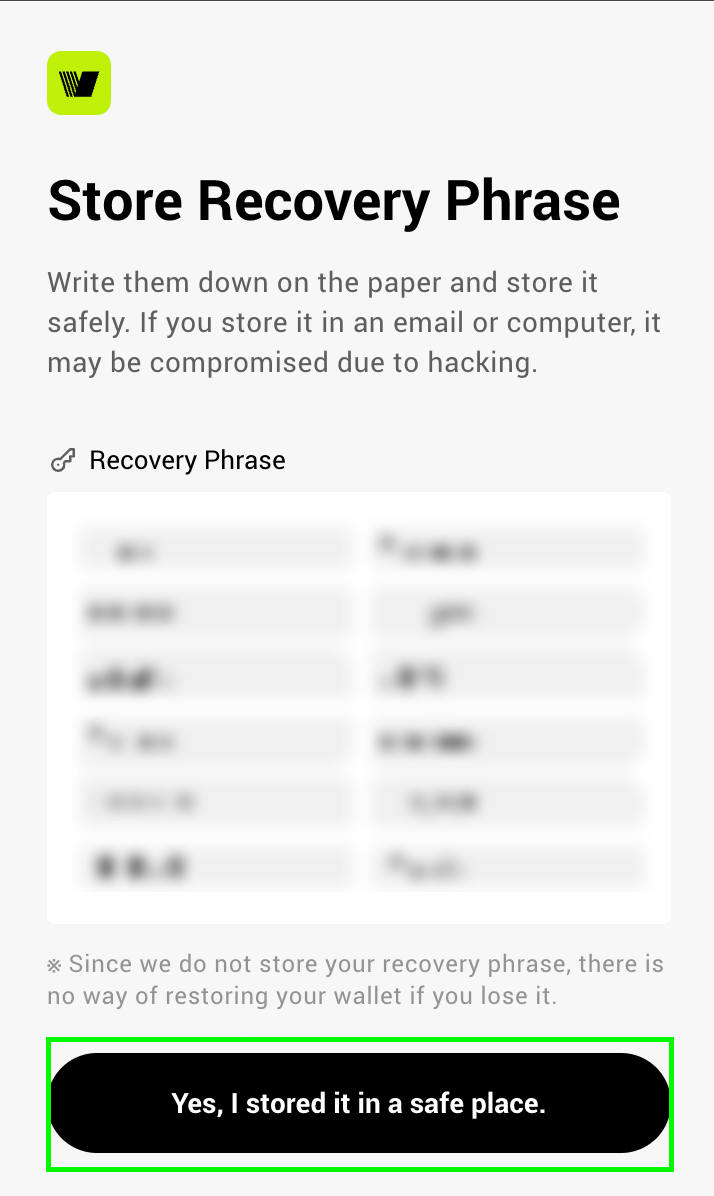
- Store your recovery phrase securely
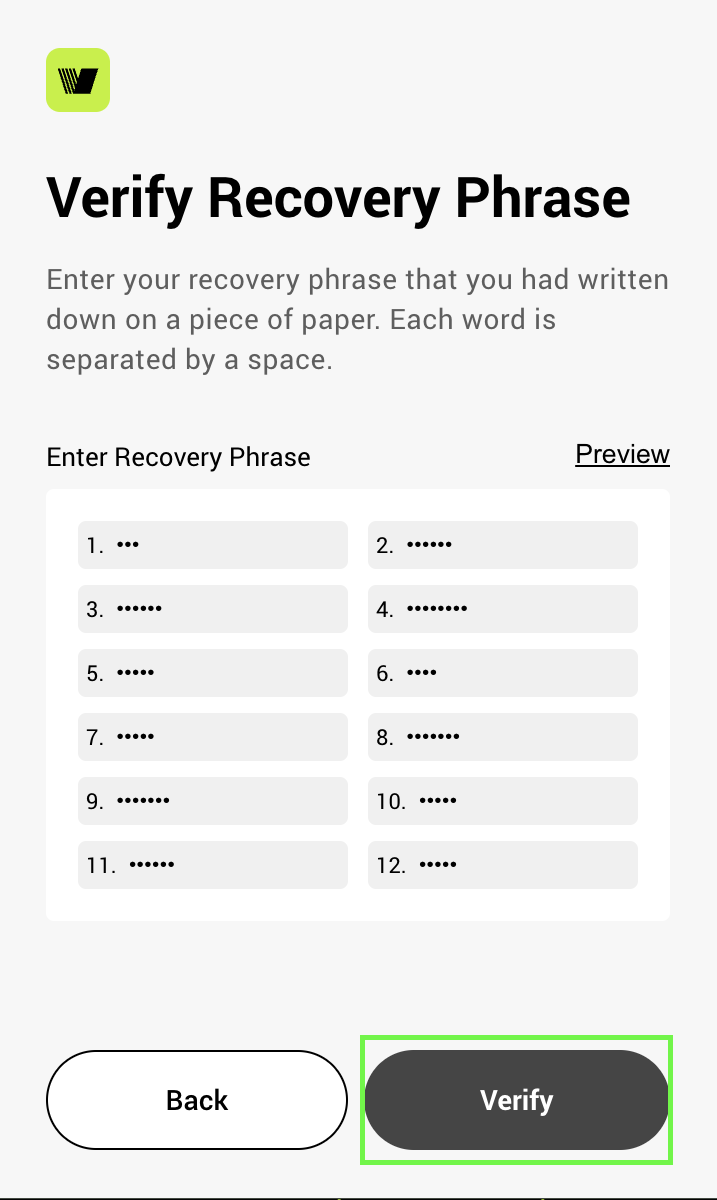
- Enter your recovery phrase that you had securely stored and click Verify
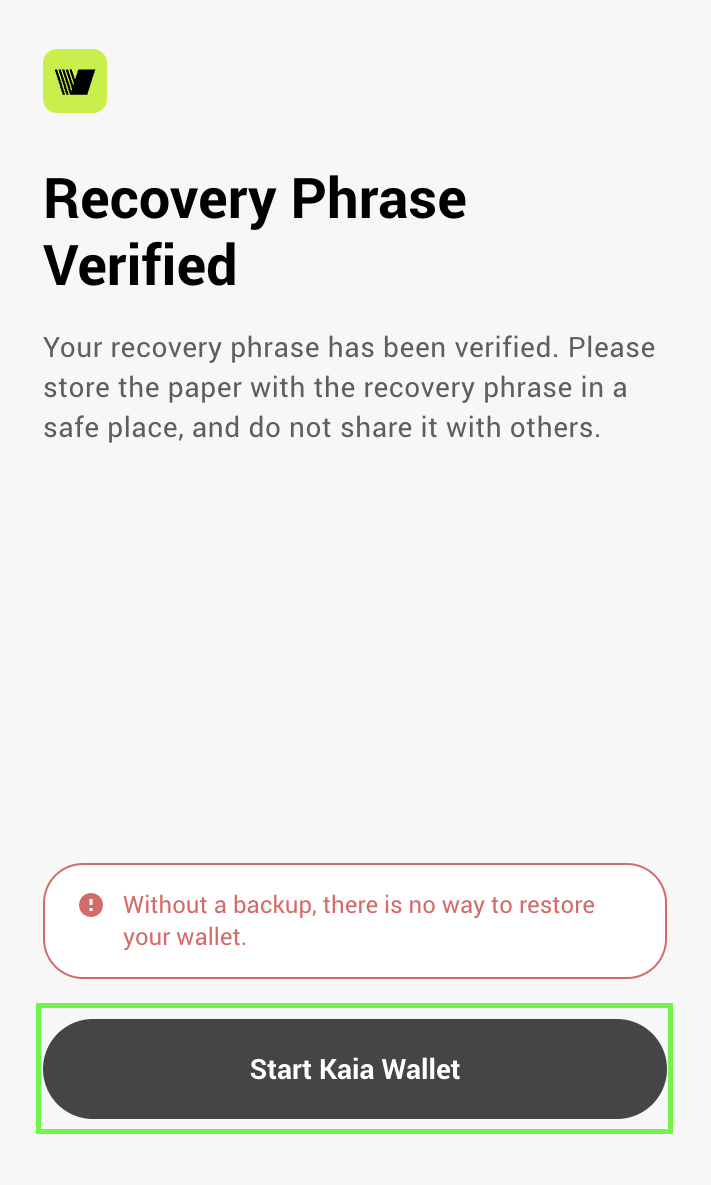
- Click the Start Kaia Wallet button to start using your wallet
- Check the Kaia Wallet Terms of use consent box and then click on the Create Wallet button.
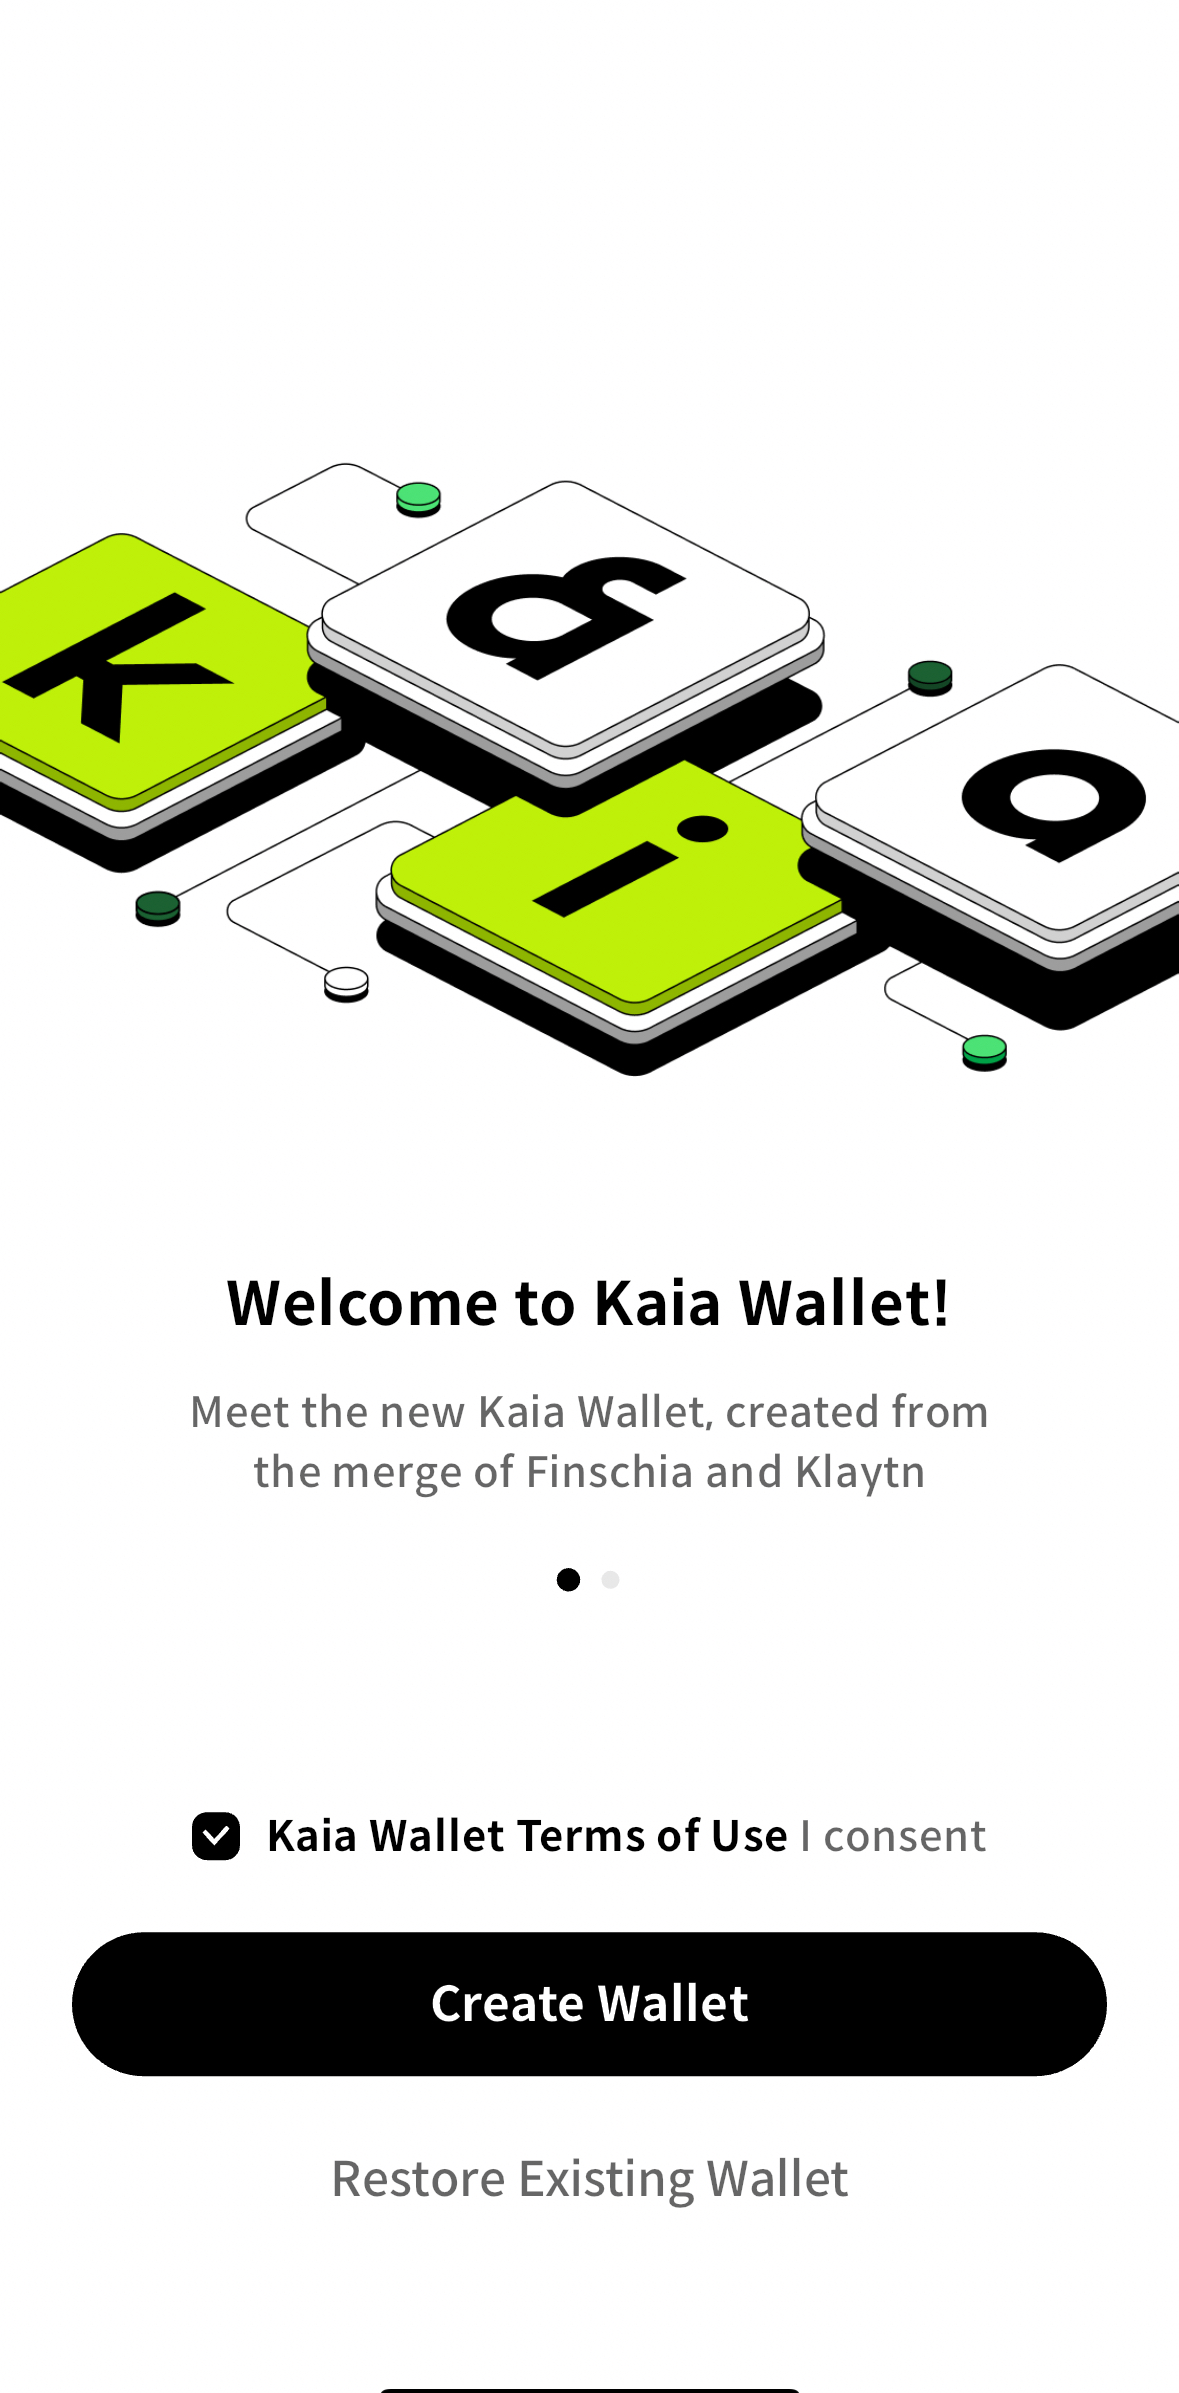
Note: if you want to restore an existing wallet, you can click on the Restore Existing Wallet button and follow the steps accordingly.
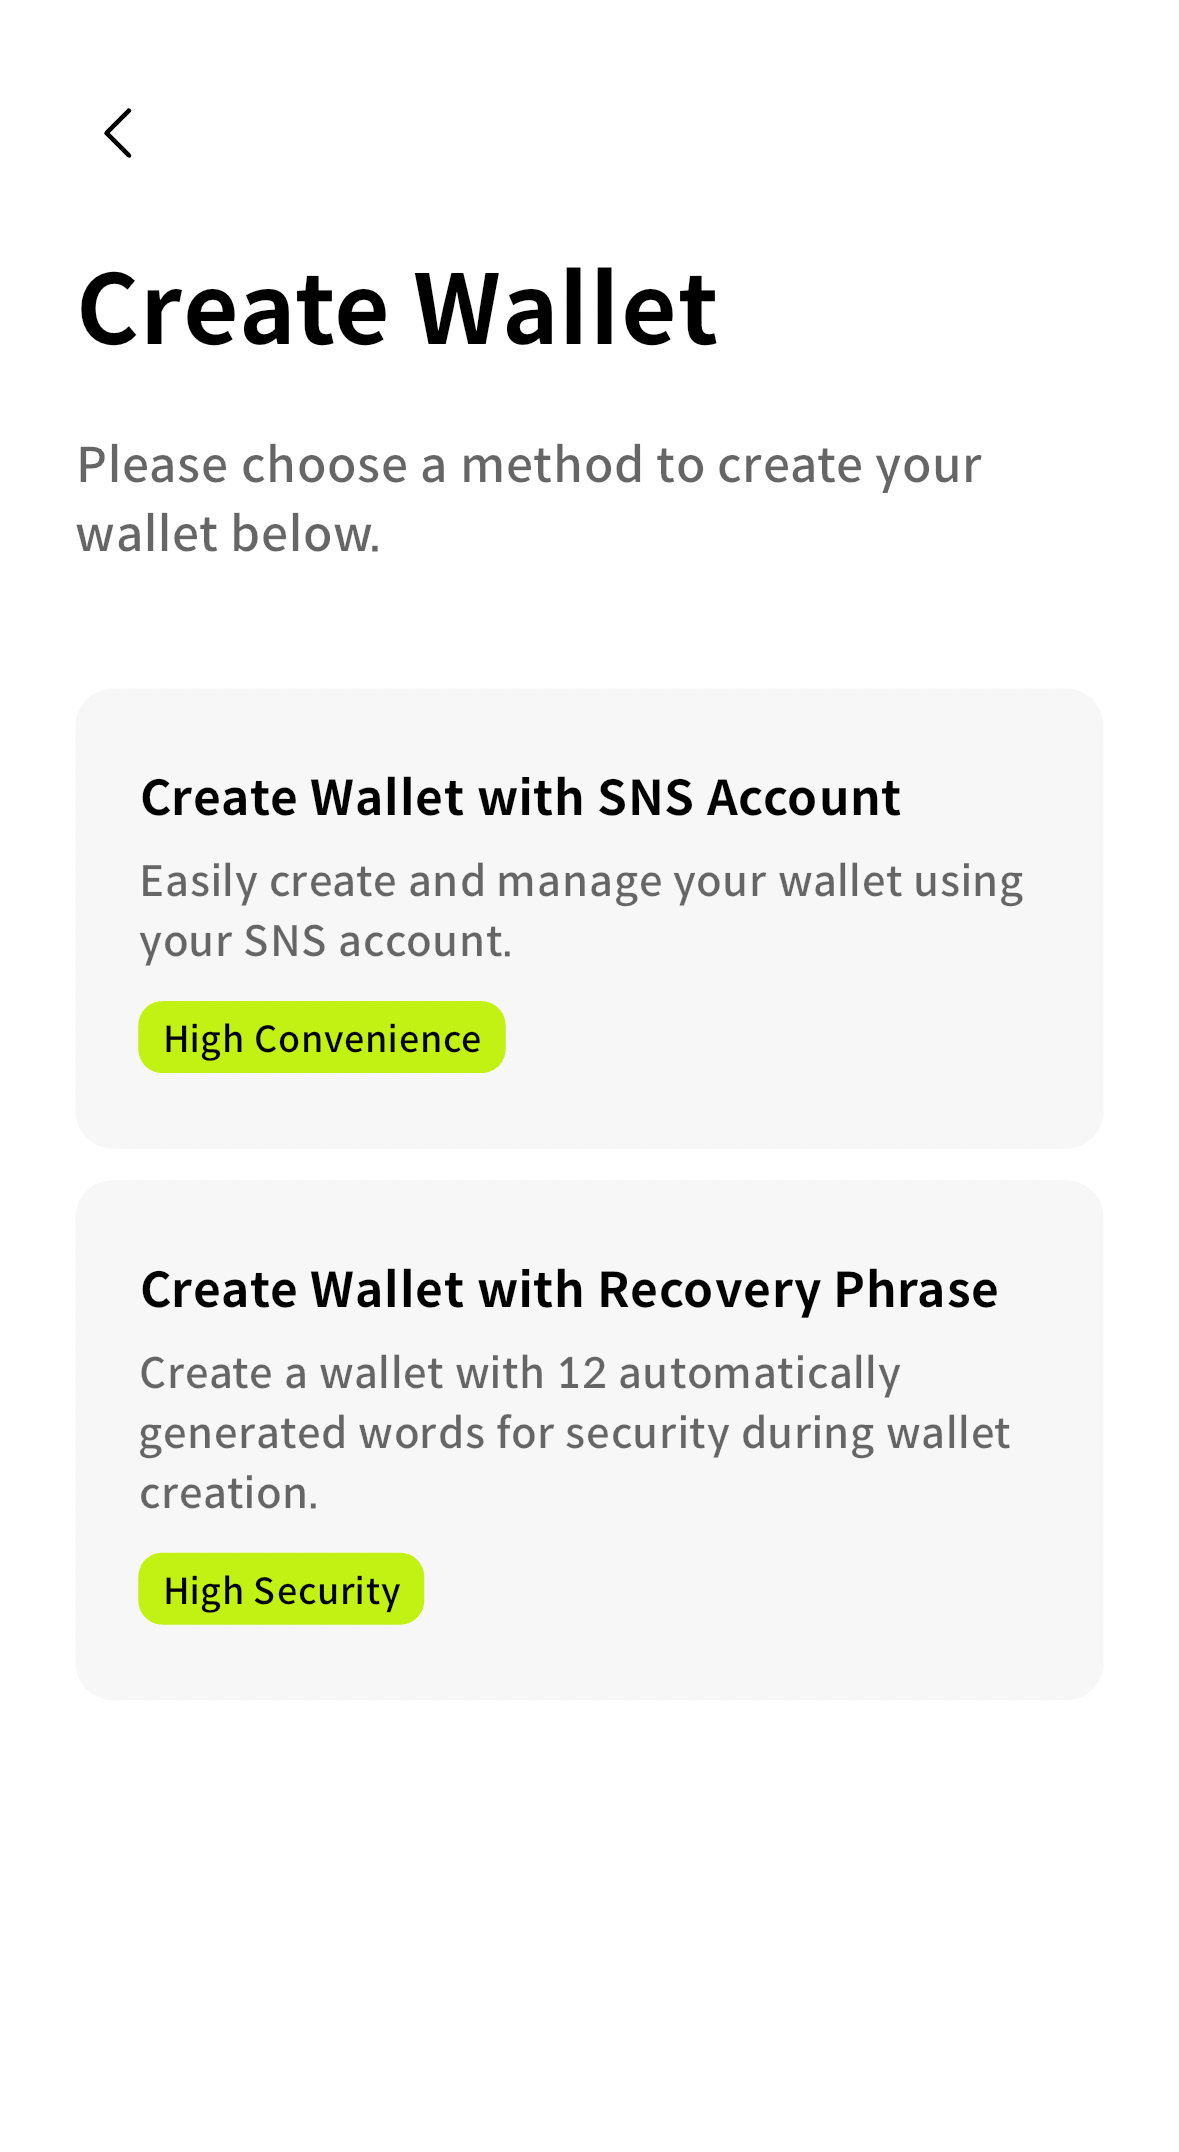
- Choose a method to create your wallet. Either create using Social Network Sites (SNS) like Google, LINE, Apple, Kakao, Naver, or create using Recovery Phase. For this guide we would select the Create Wallet with Recovery Phase.
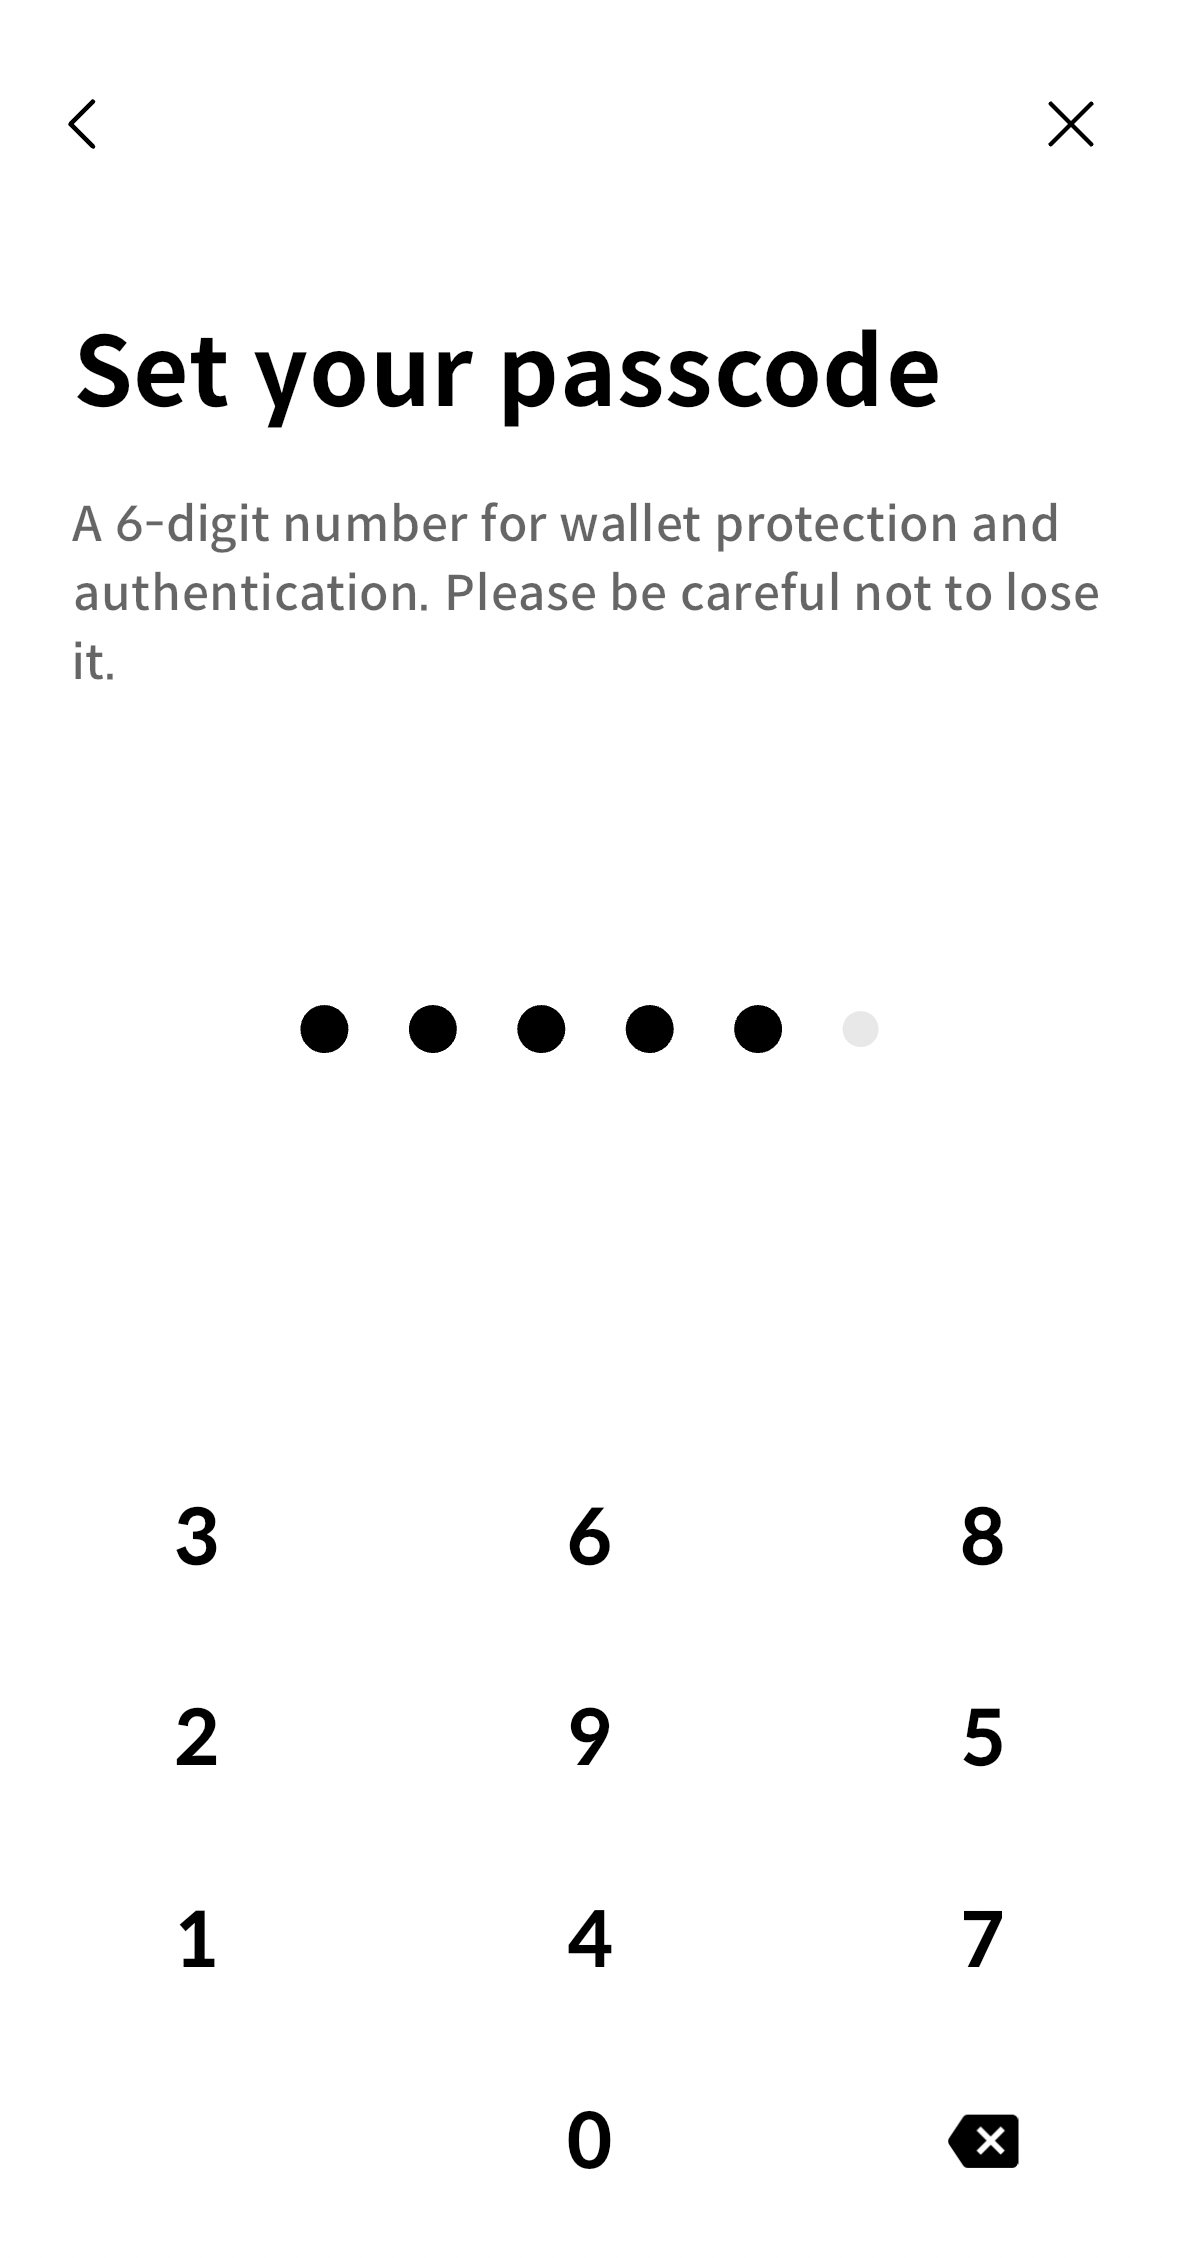
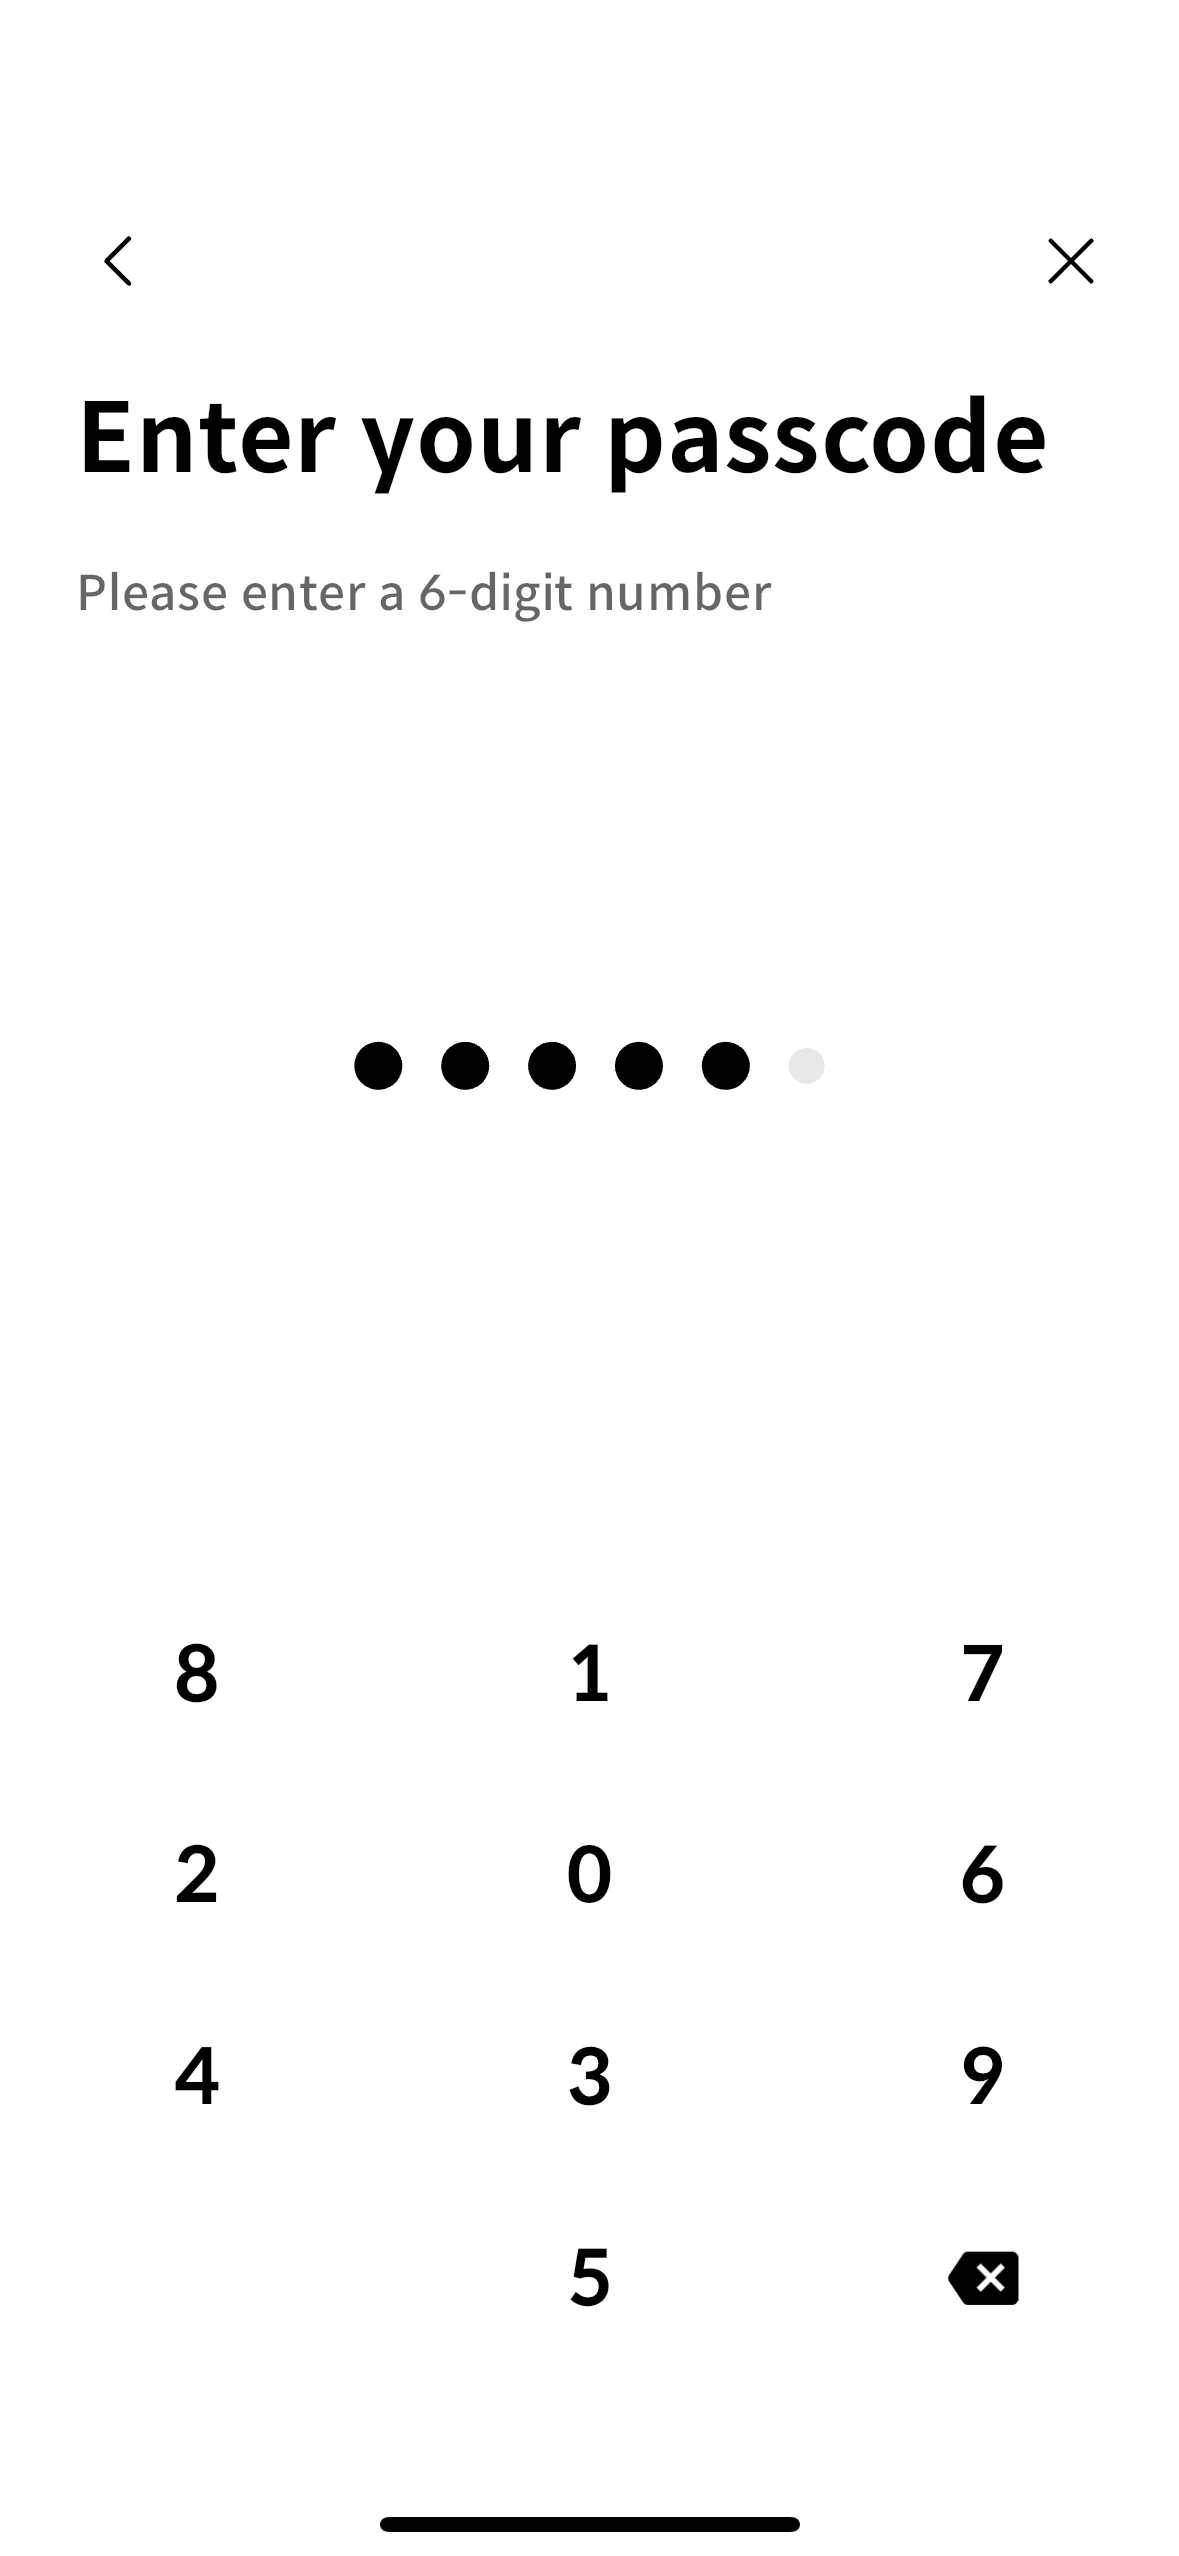
- Set your Passcode and verify the passcode for wallet protection and authentication.
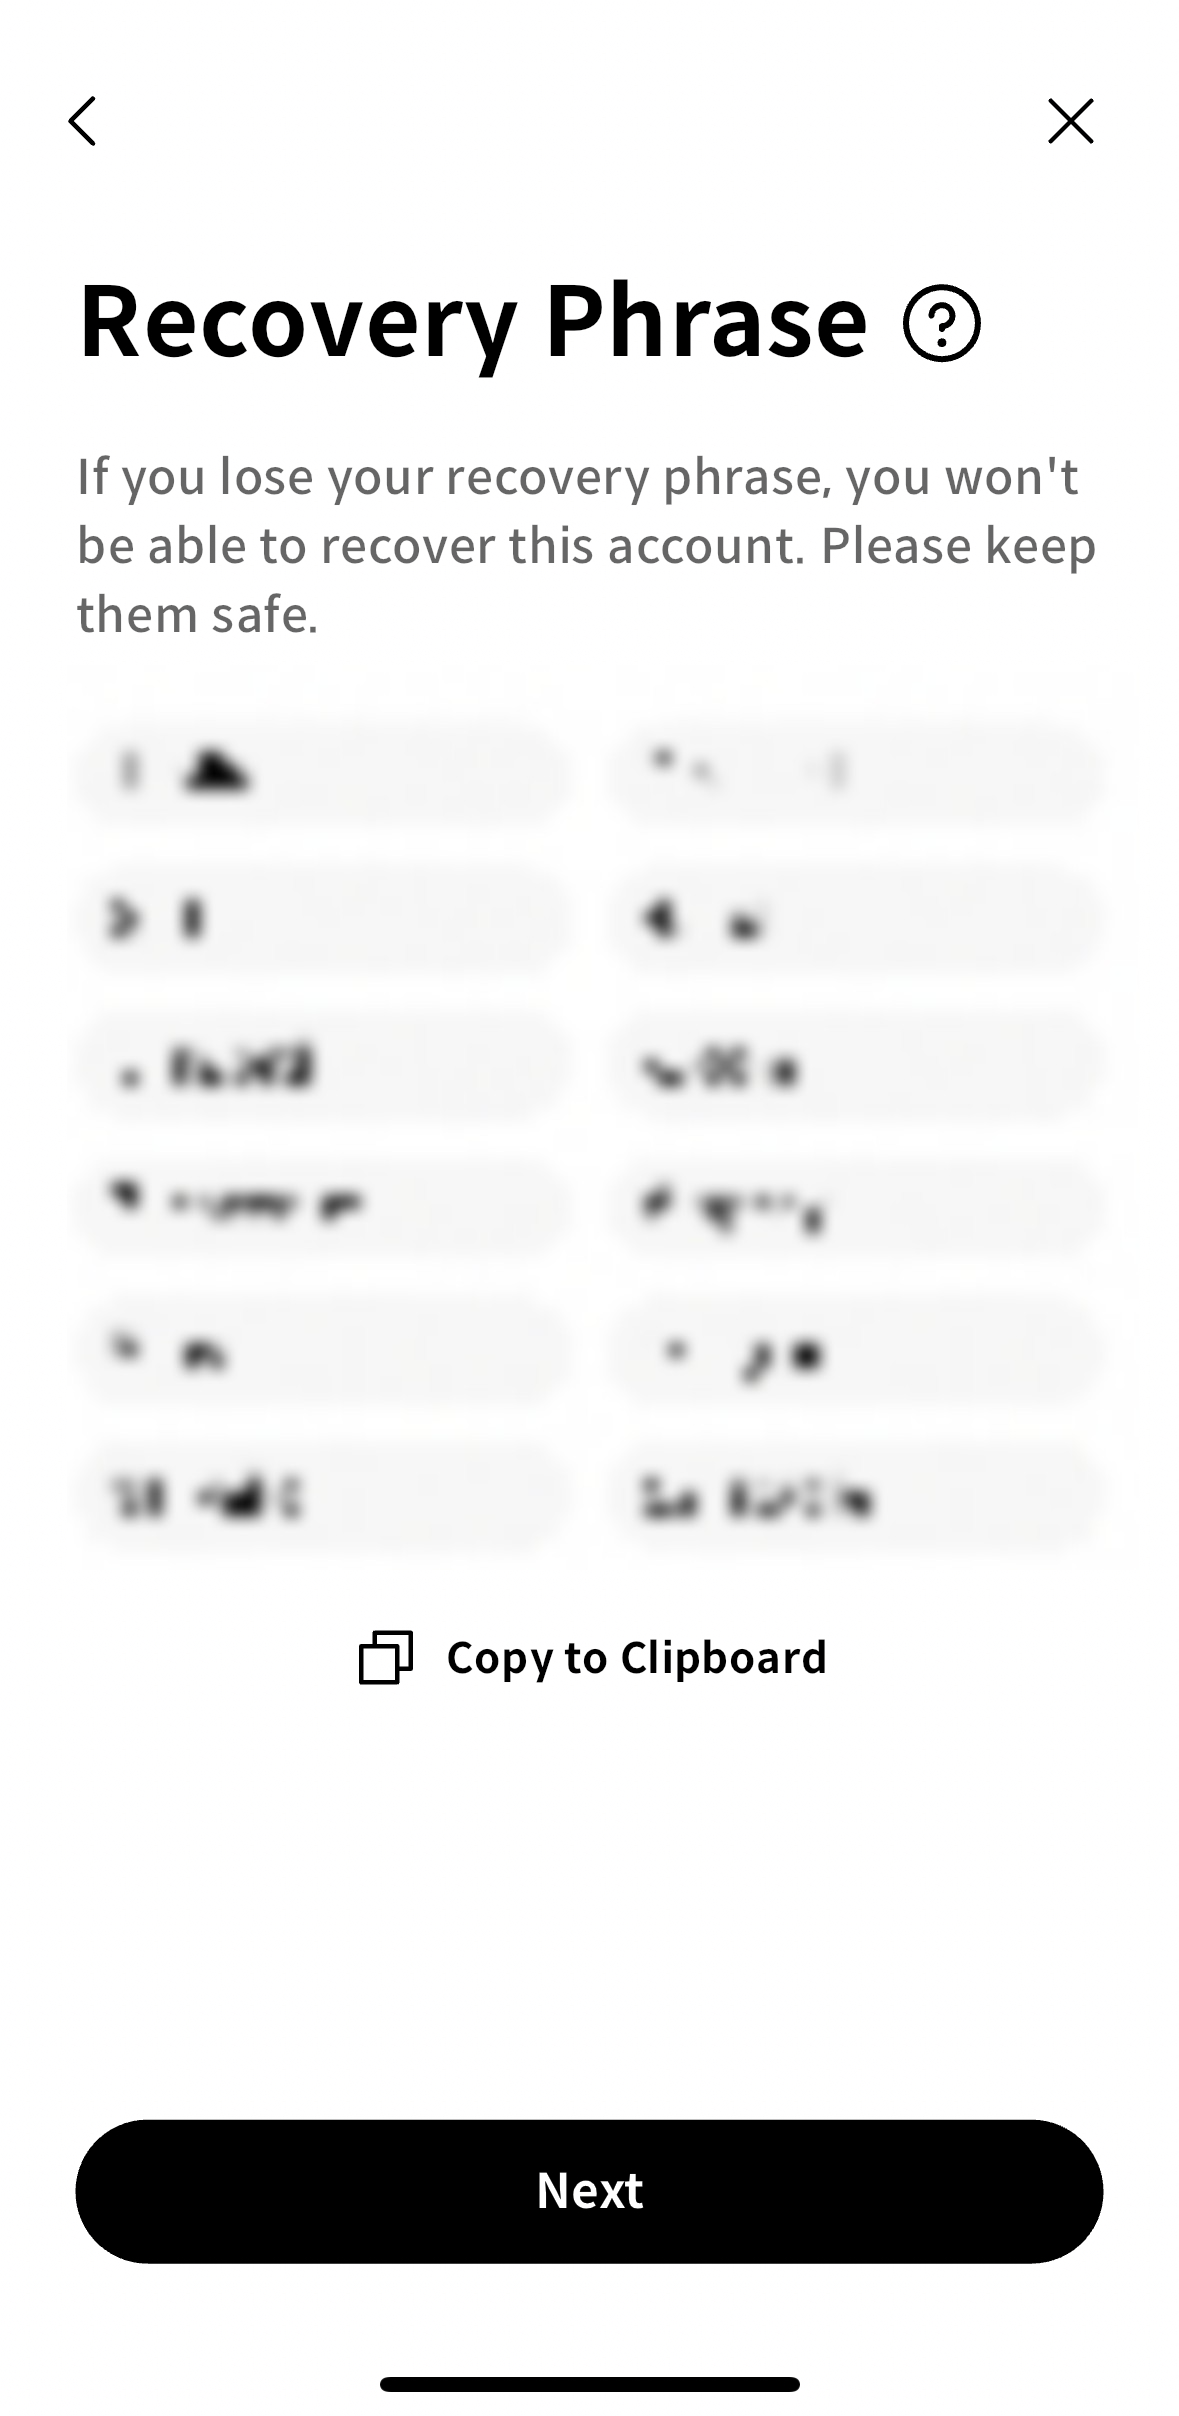
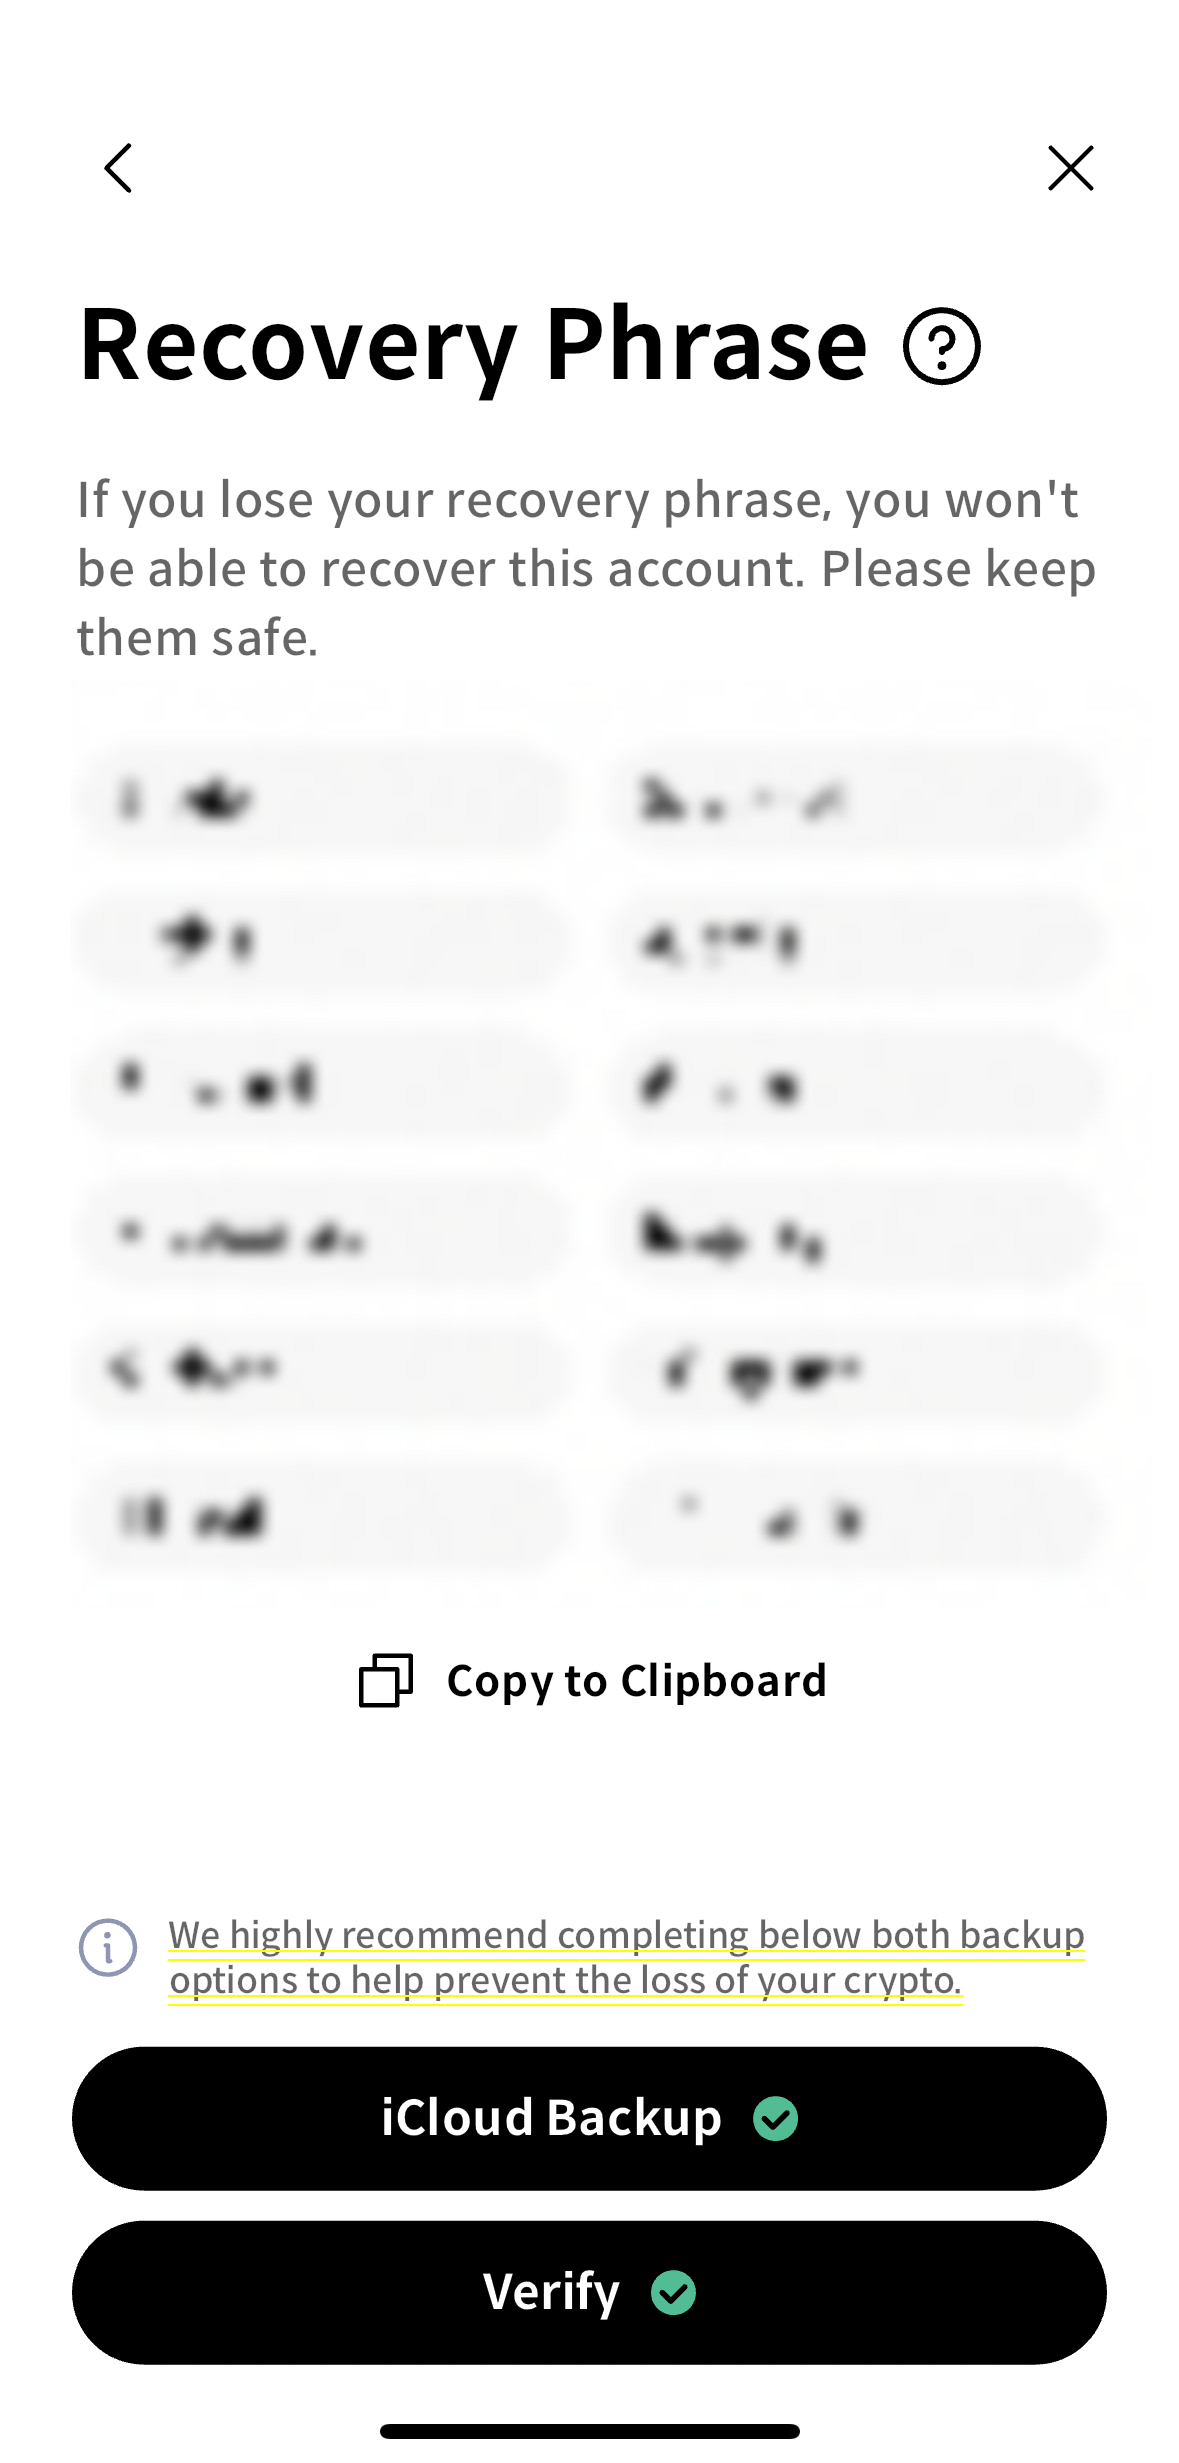
- Store your Recovery Phrase securely and click the Next button.
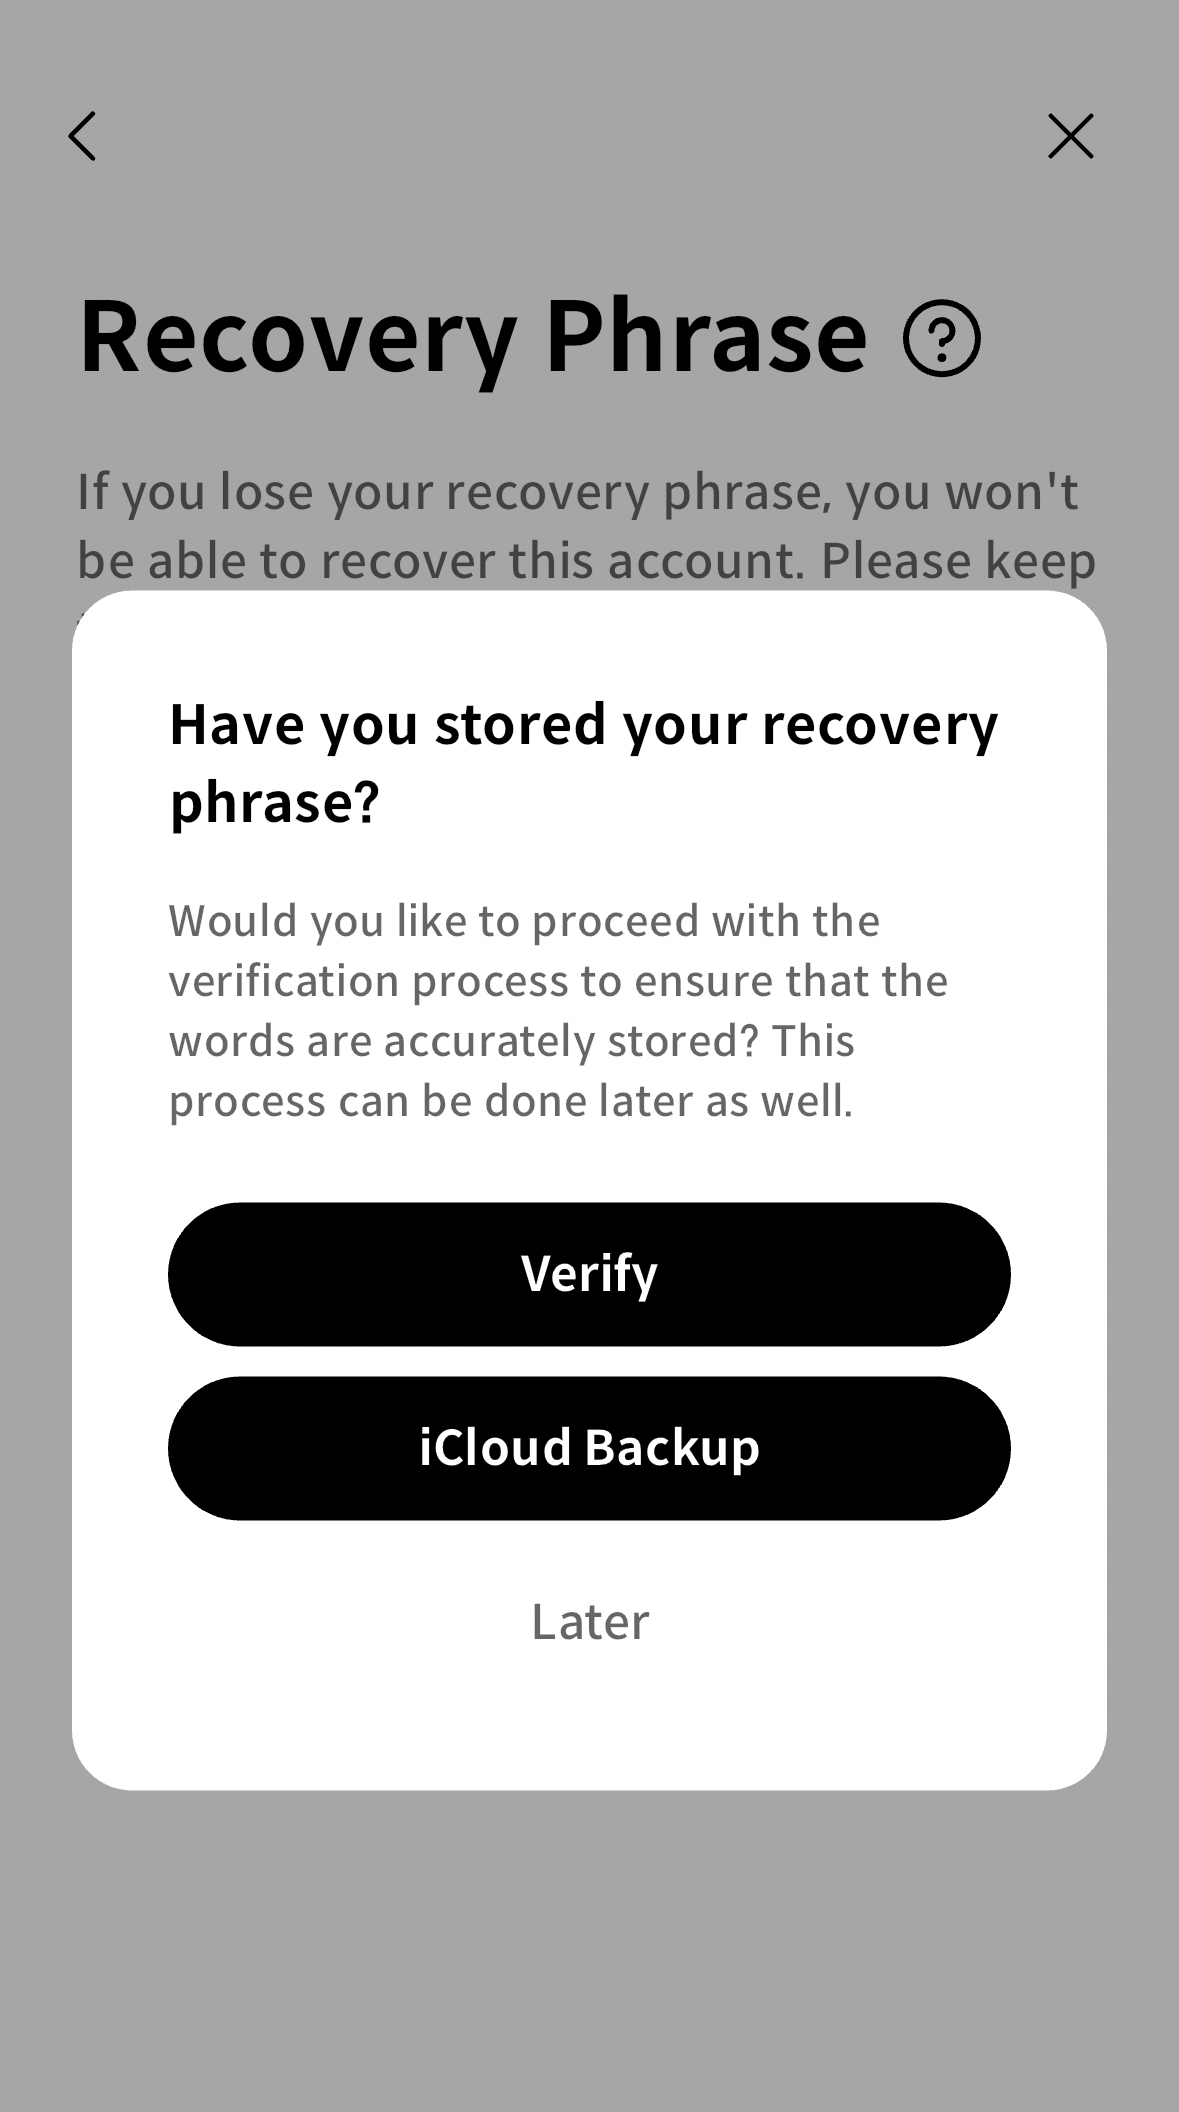
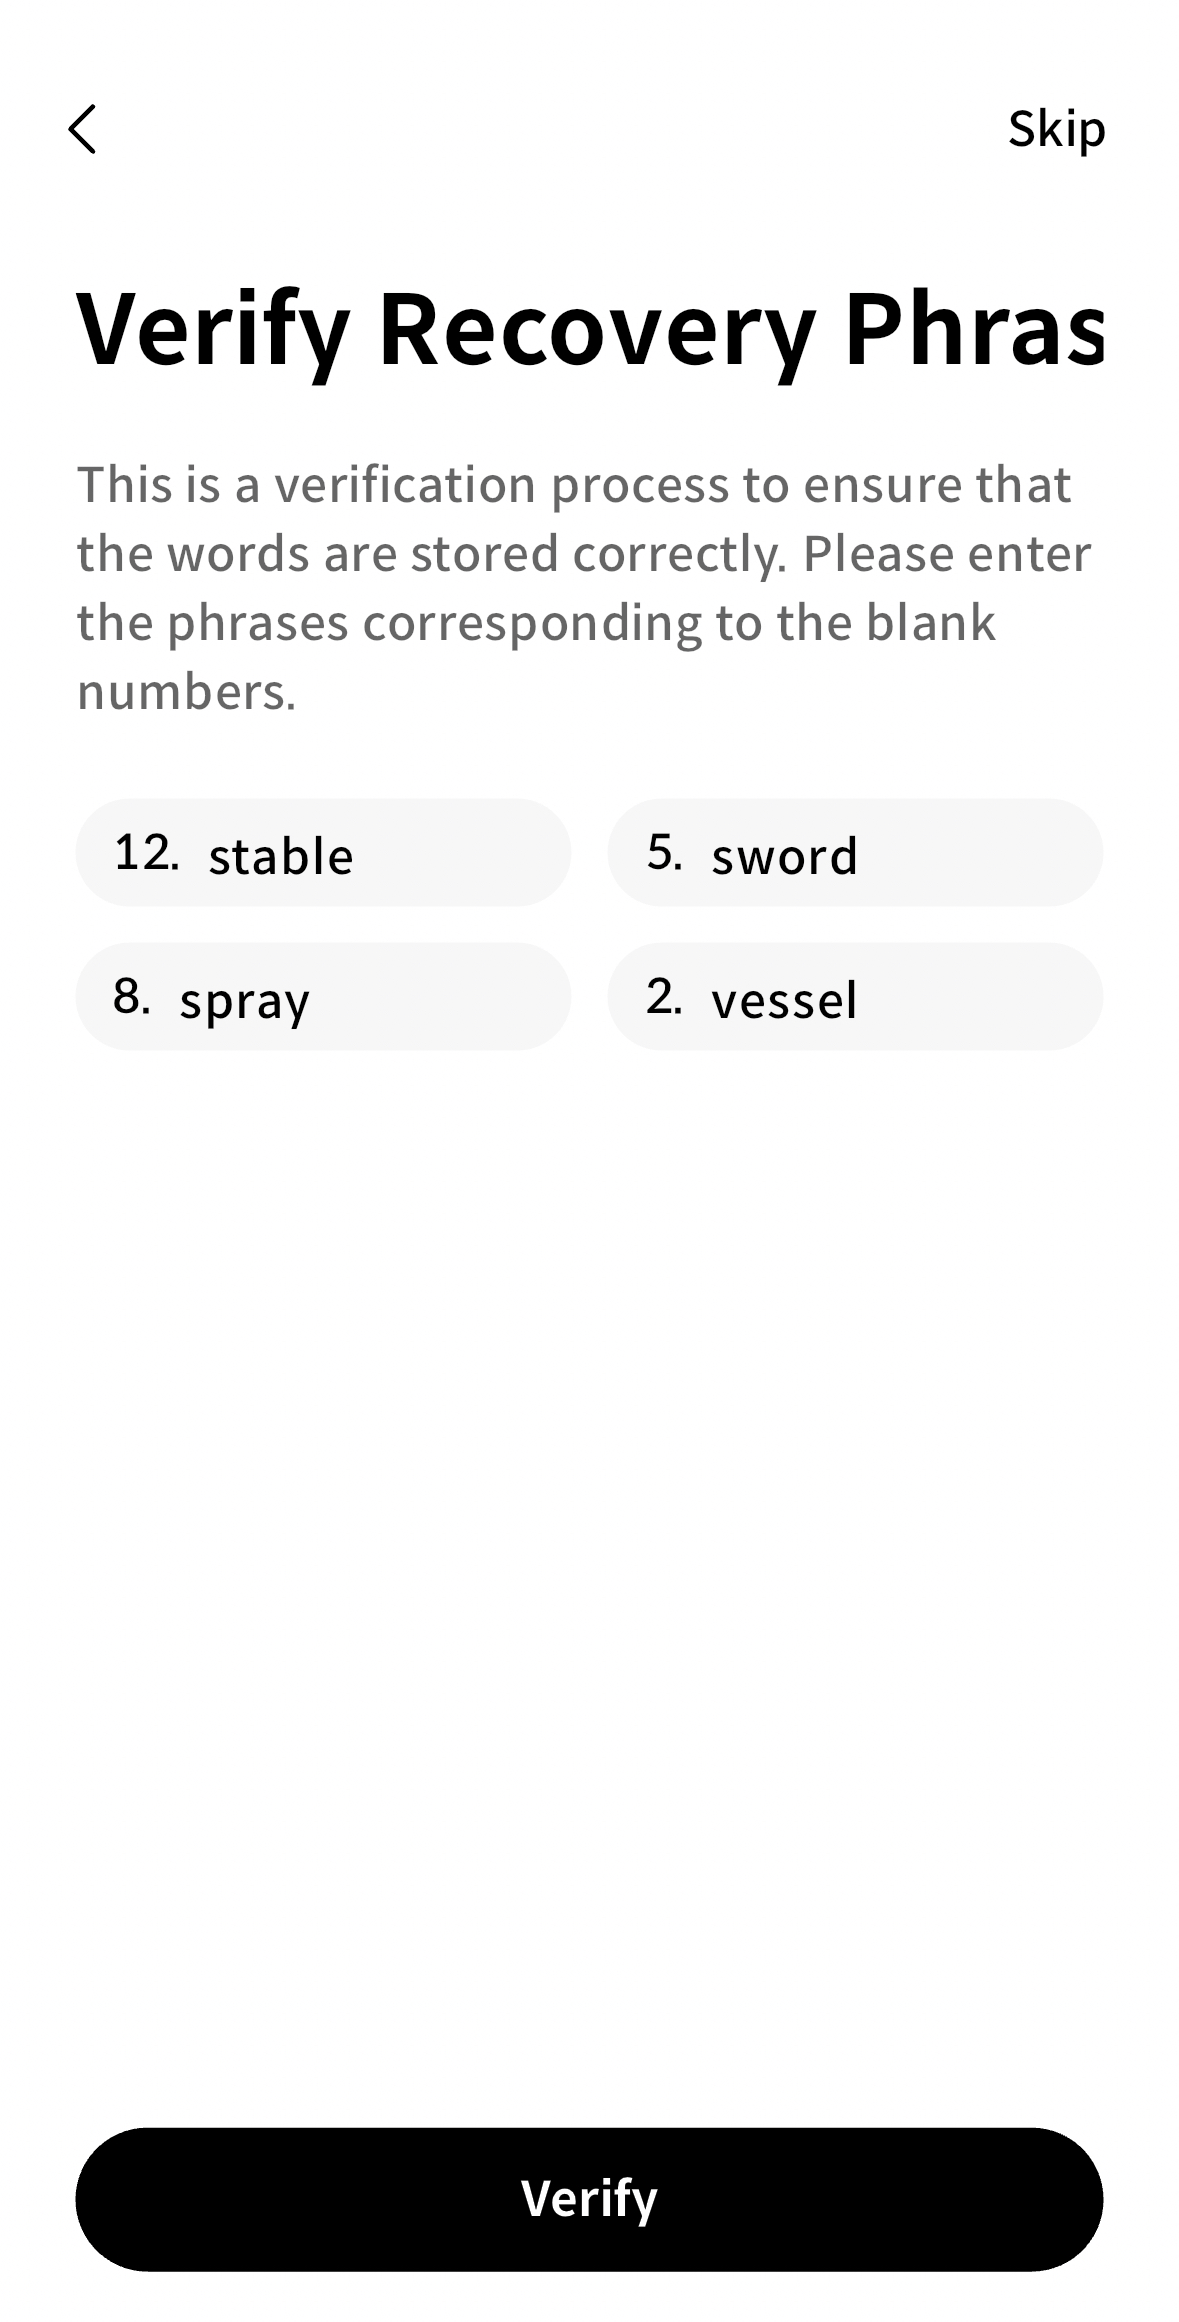
- You would see a popup to verify that you stored your recovery phrase accurately. Click Verify to move on to the next step.
- Enter the phrases corresponding to the blank numbers and then verify.
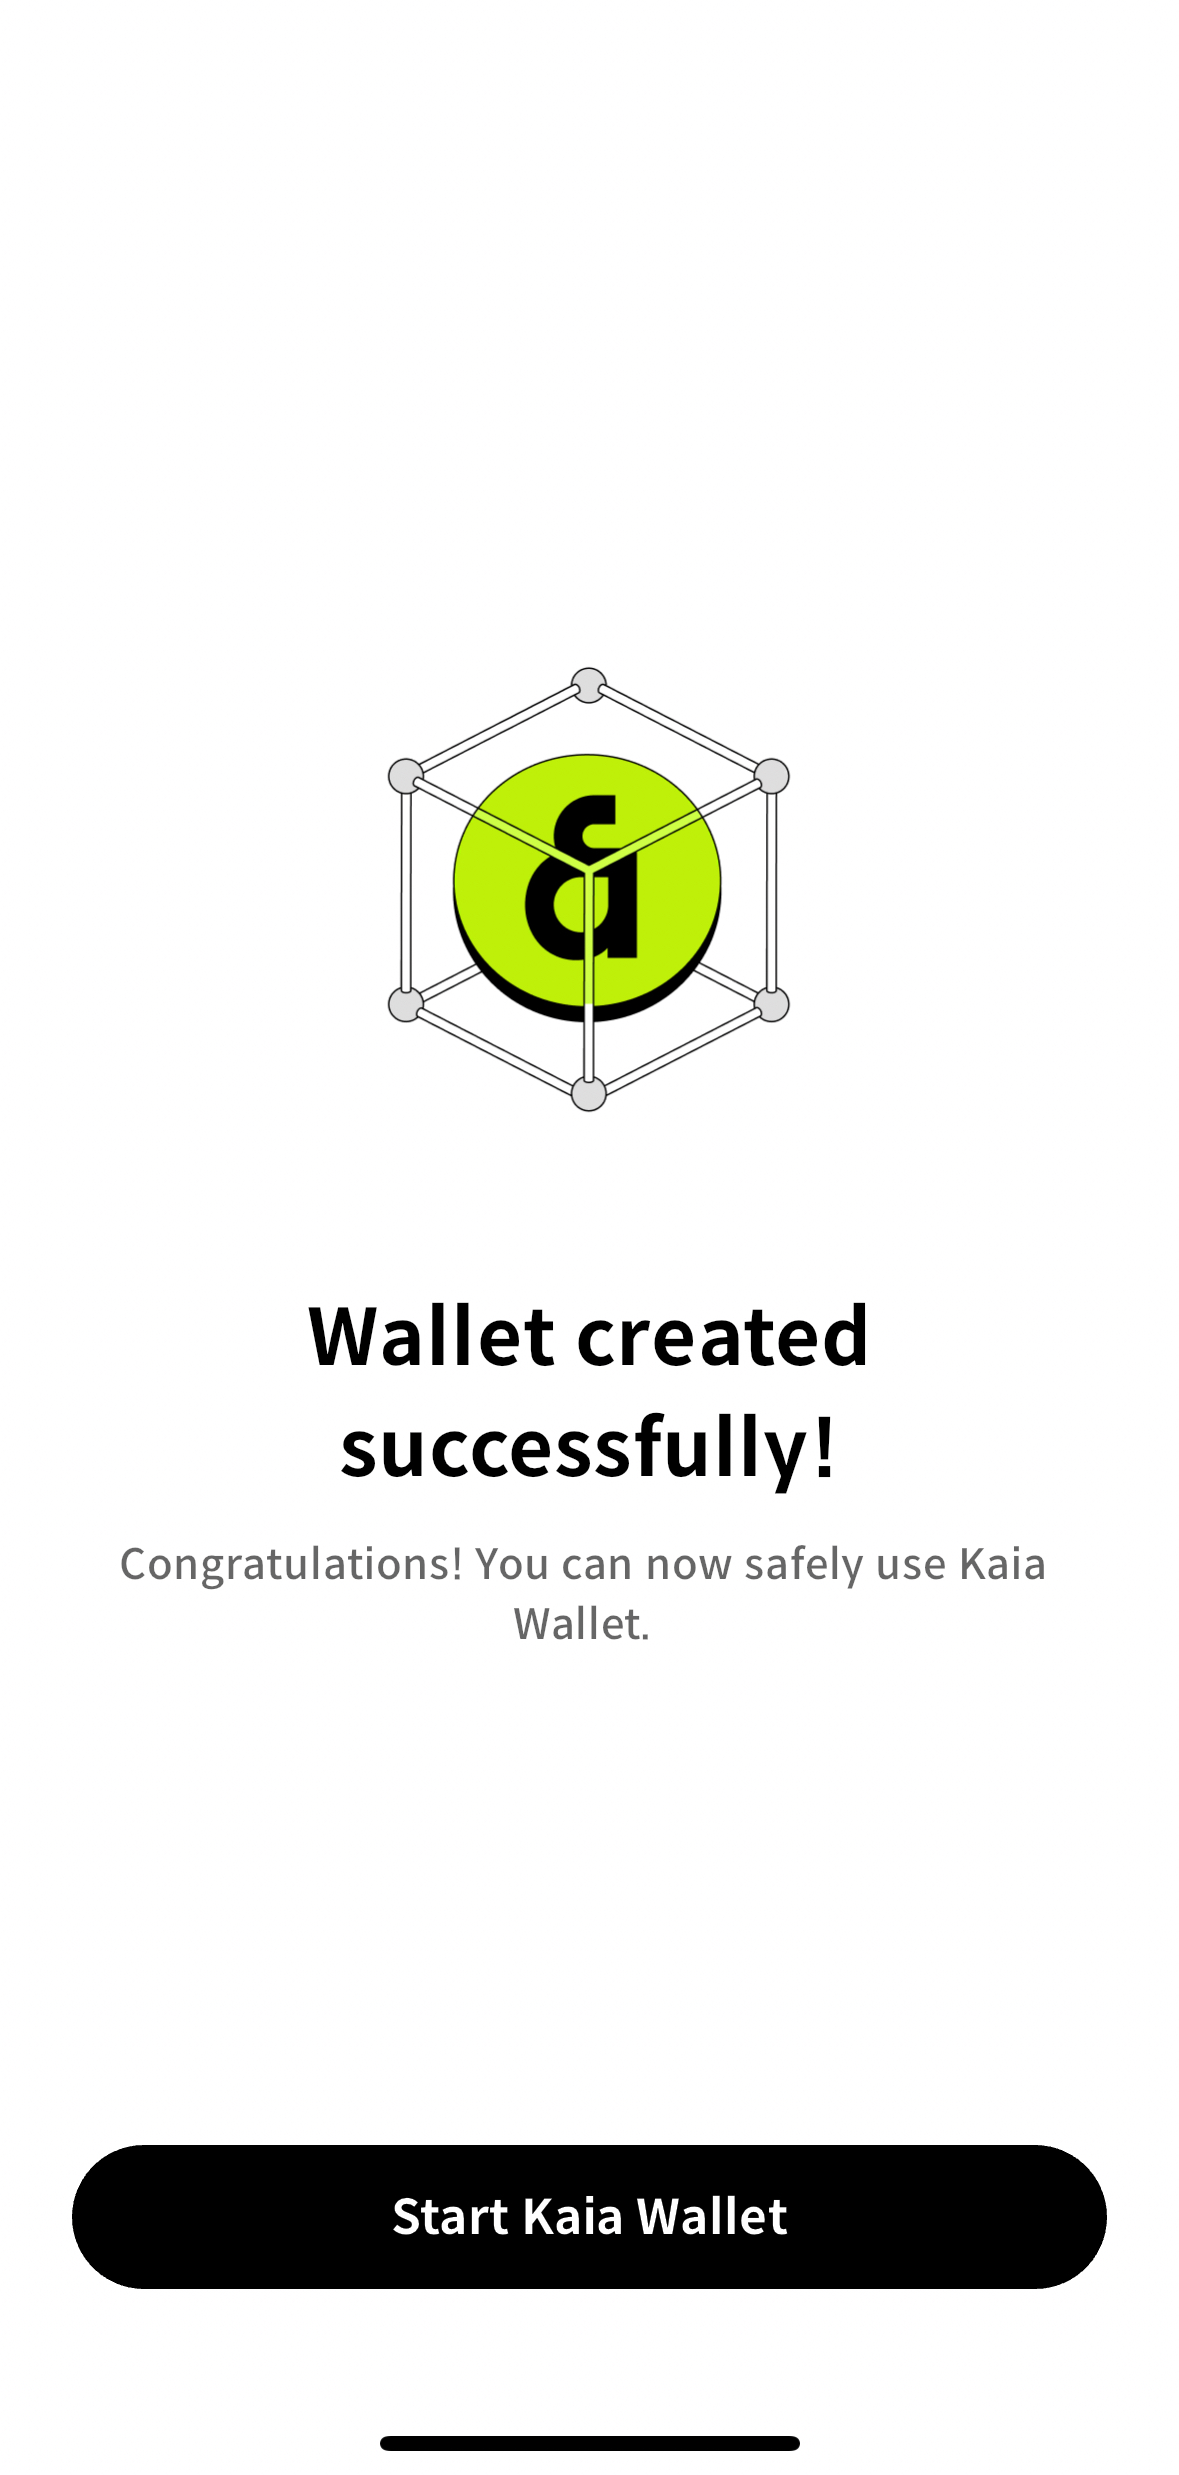
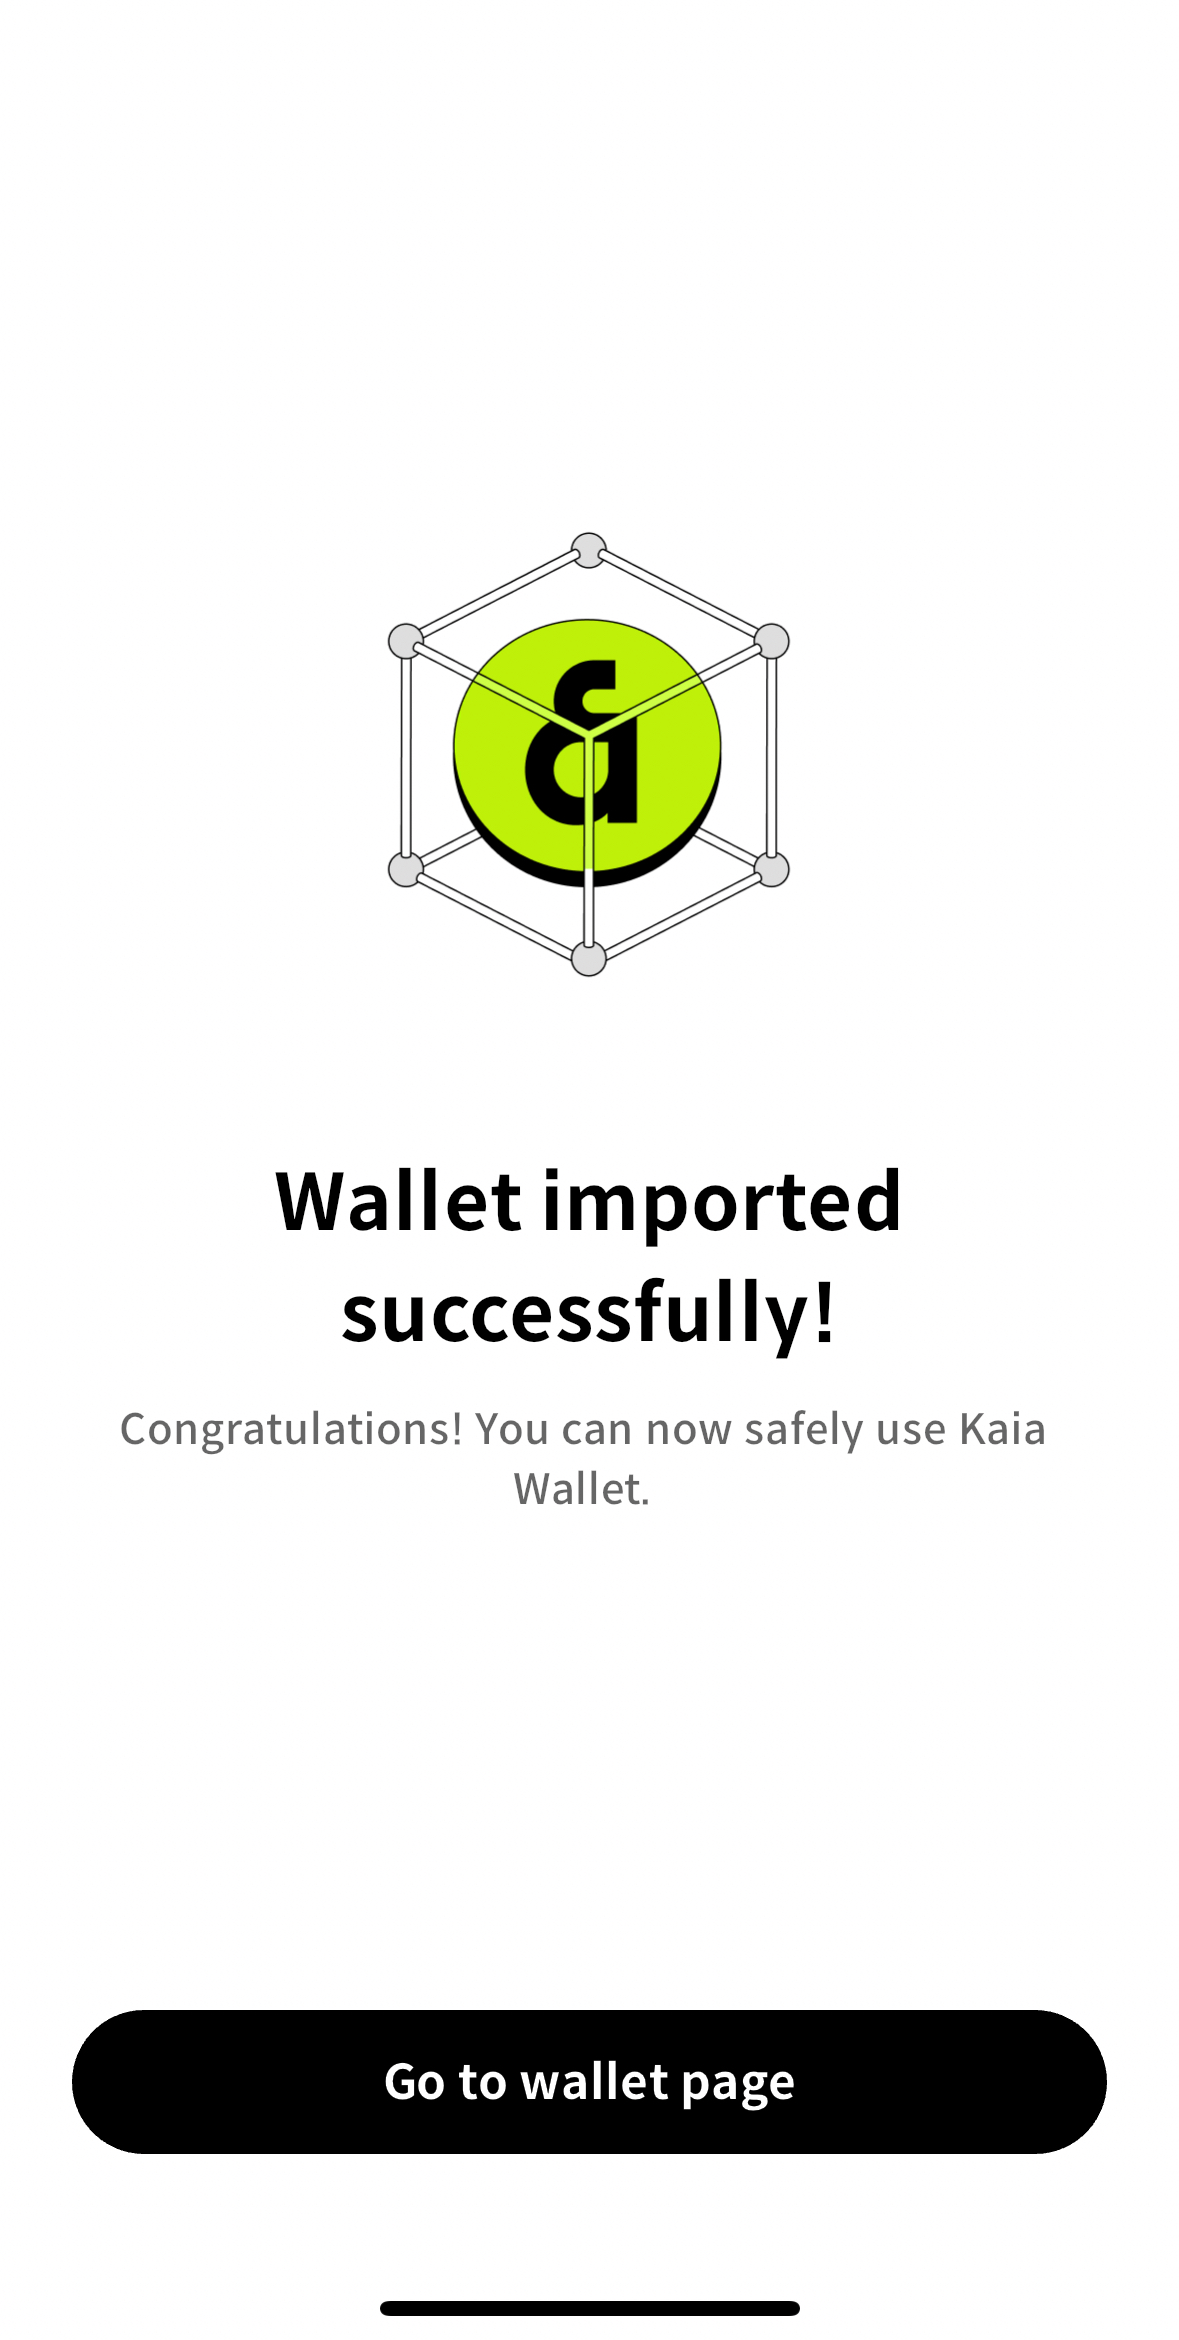
- Click the Start Kaia Wallet button to start using your wallet.
Add accounts in your wallet
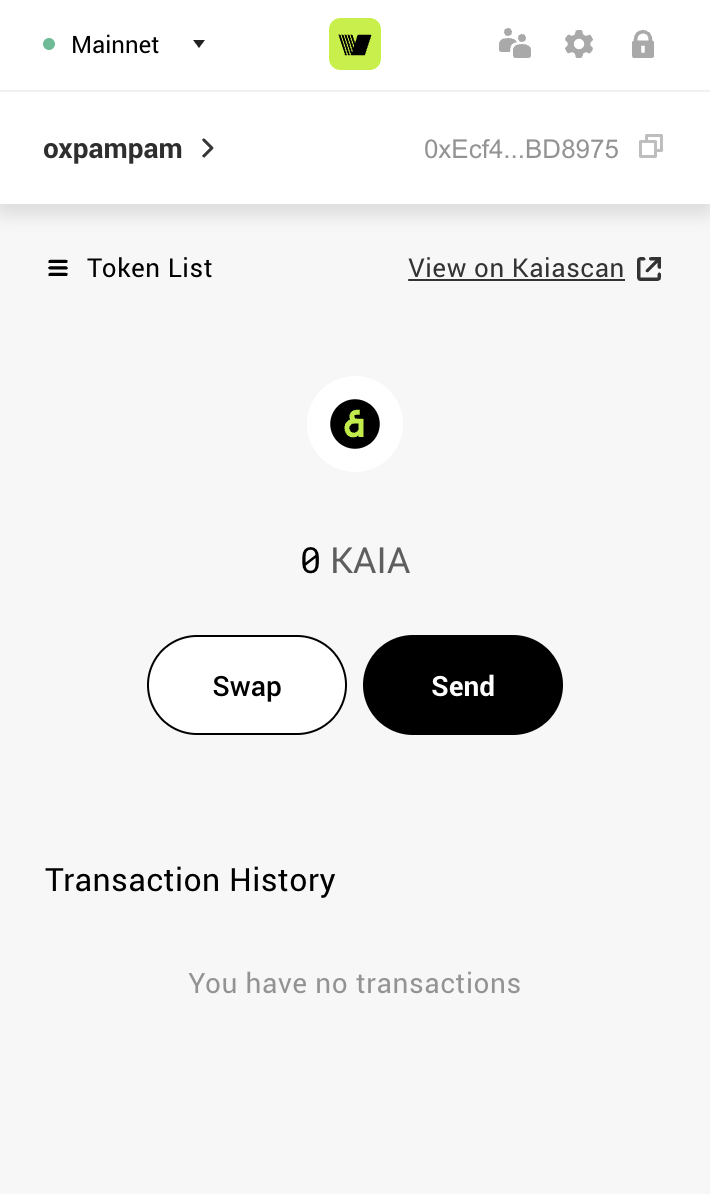
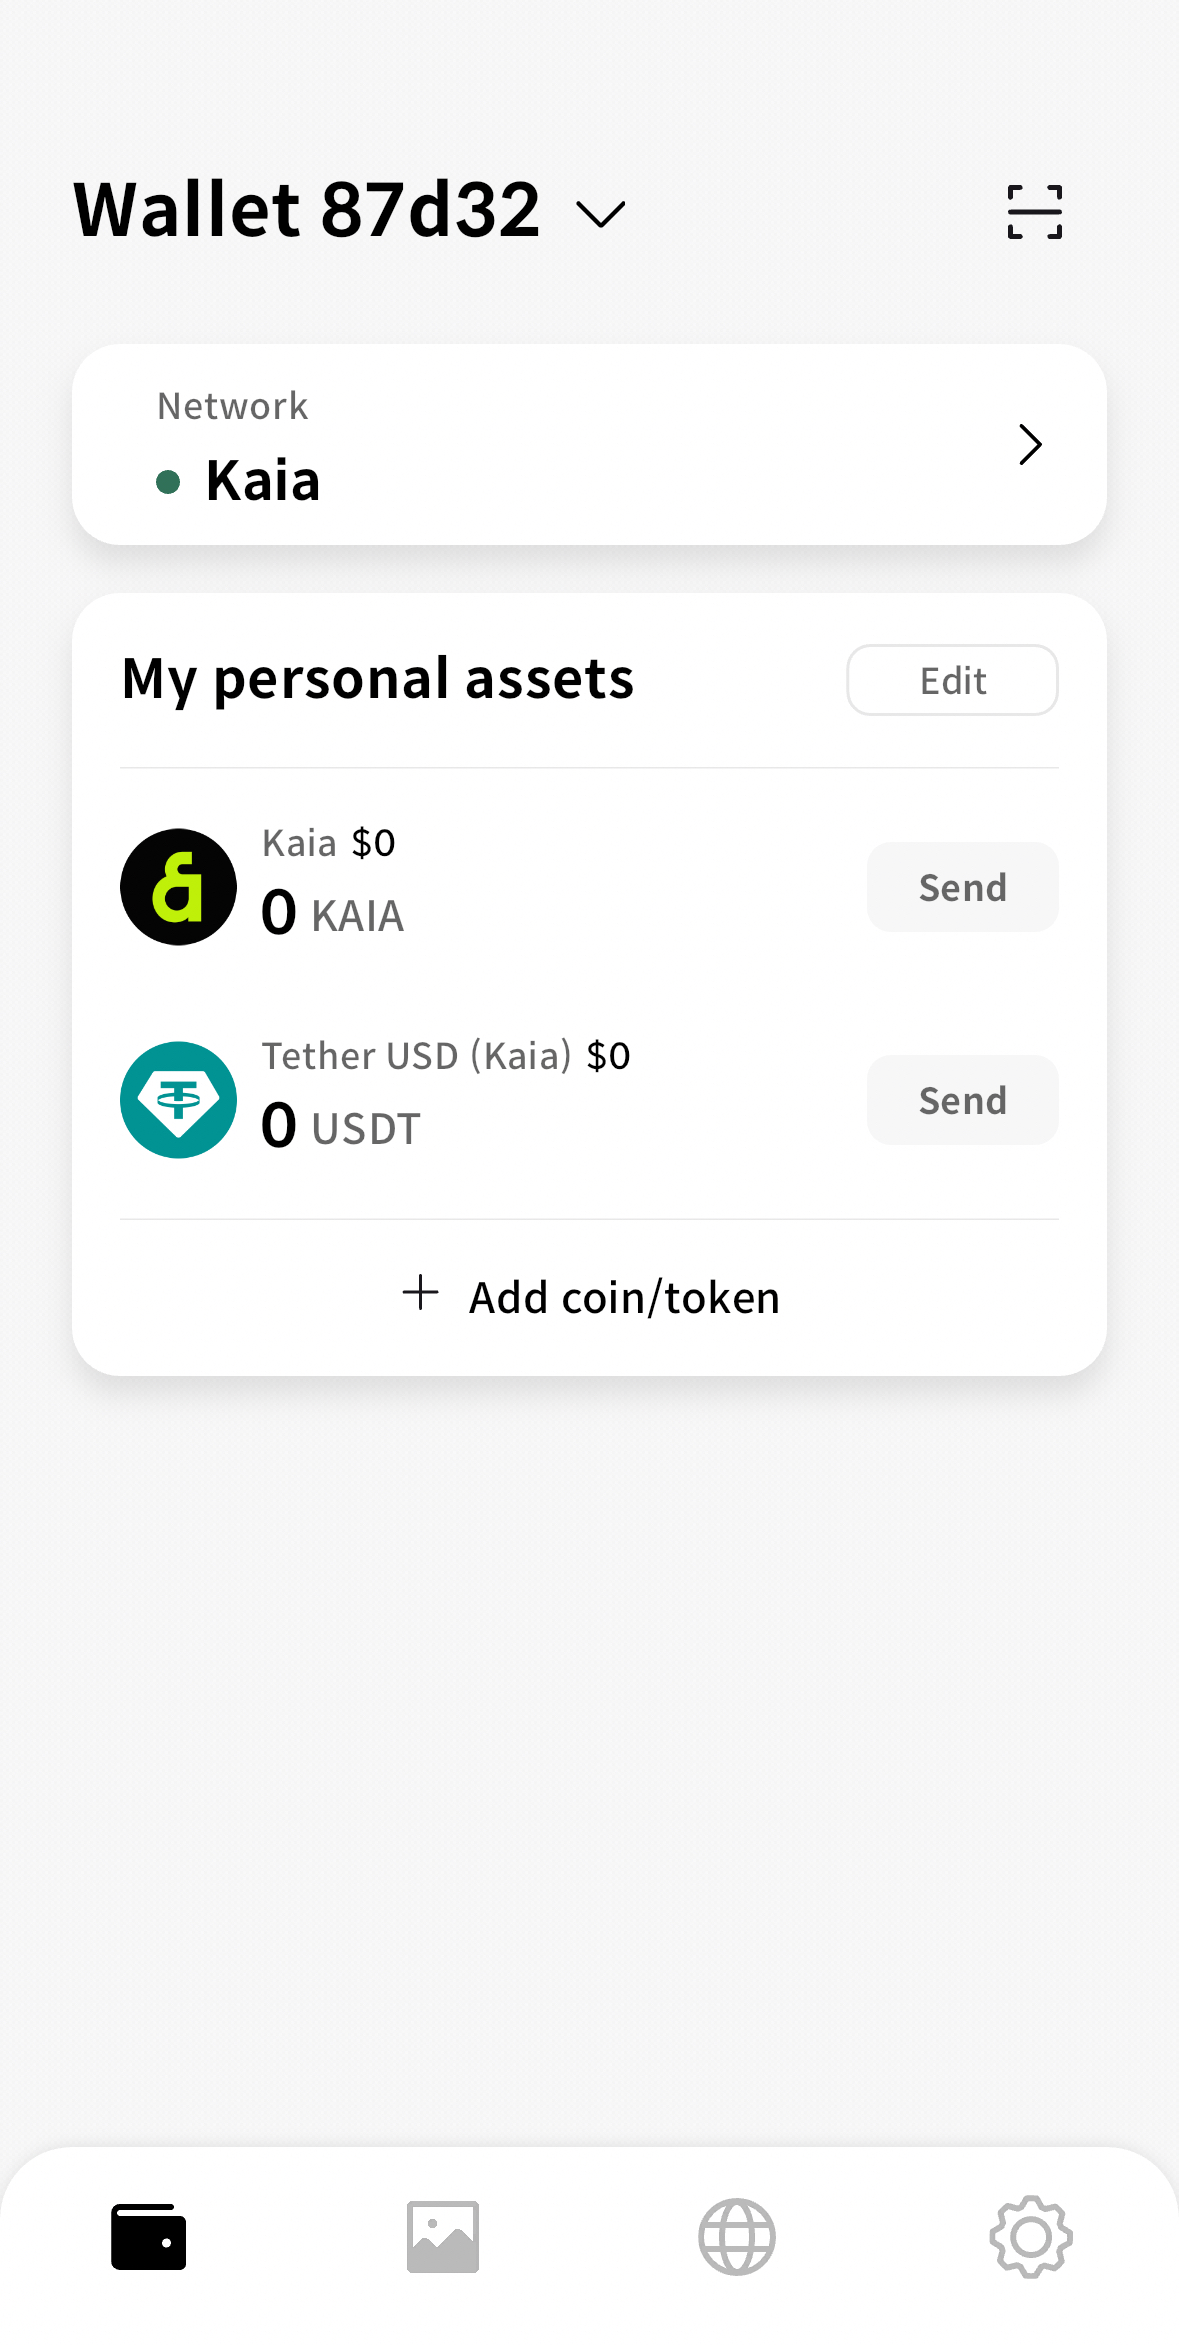
When you create your Kaia wallet, you will be given a Secret Recovery Phrase, and an account is automatically generated. You'll see that as your default account when you start your wallet as seen in the Create a wallet section.
In certain scenarios, you might want to create and manage multiple accounts. This process can easily be achieved simply by adding more accounts within Kaia Wallet.
Note that once you add an account, you cannot permanently delete it. It will exist on the blockchain forever.
- Browser Extension
- Mobile
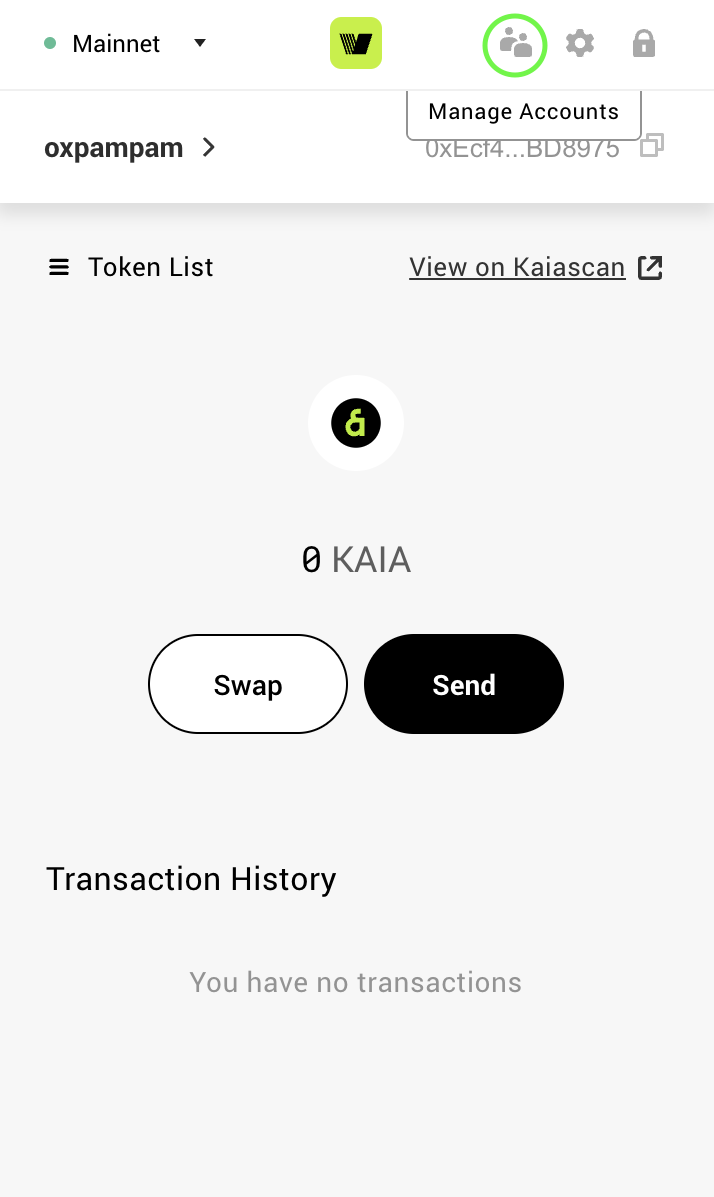
- Click the Manage Accounts icon at the top right of your wallet.
- Select the Create button at the bottom of the list.
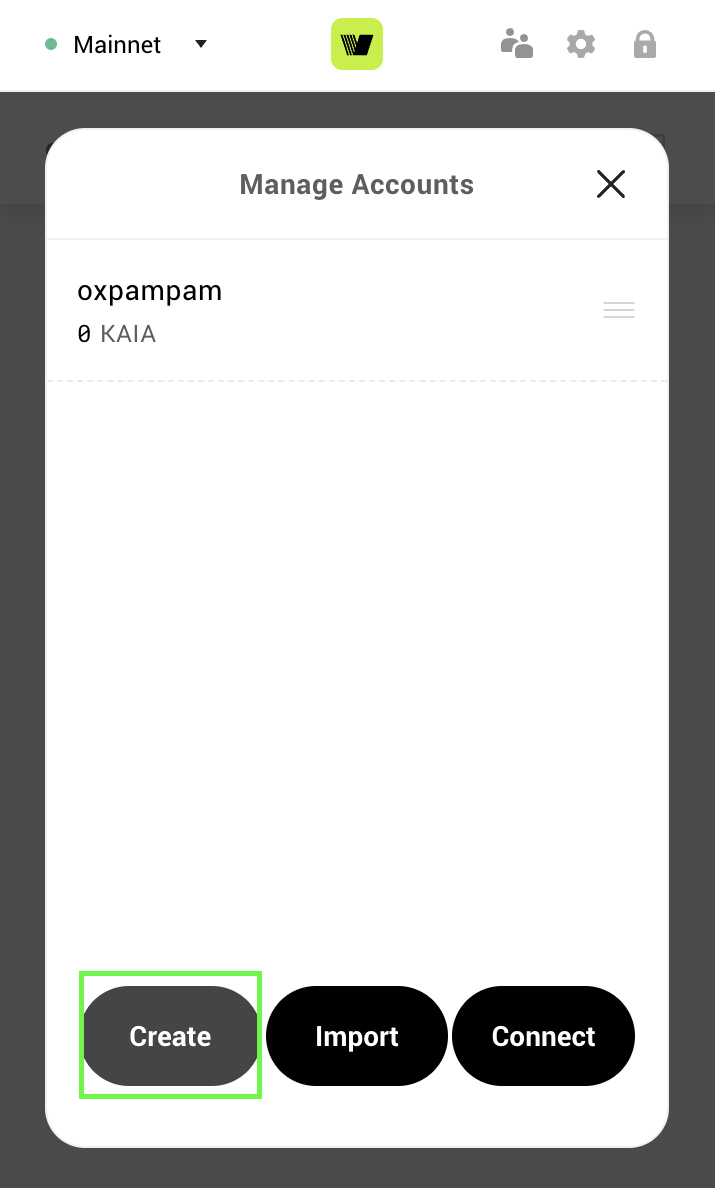
- Enter wallet nickname and click Create
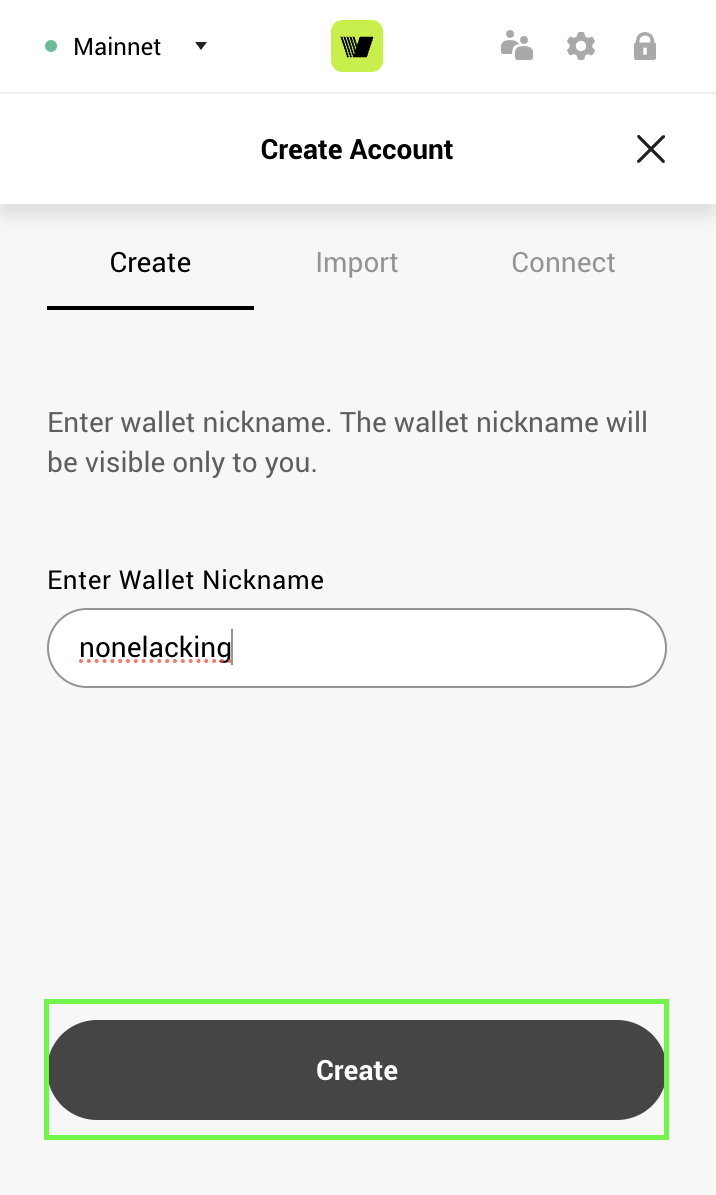
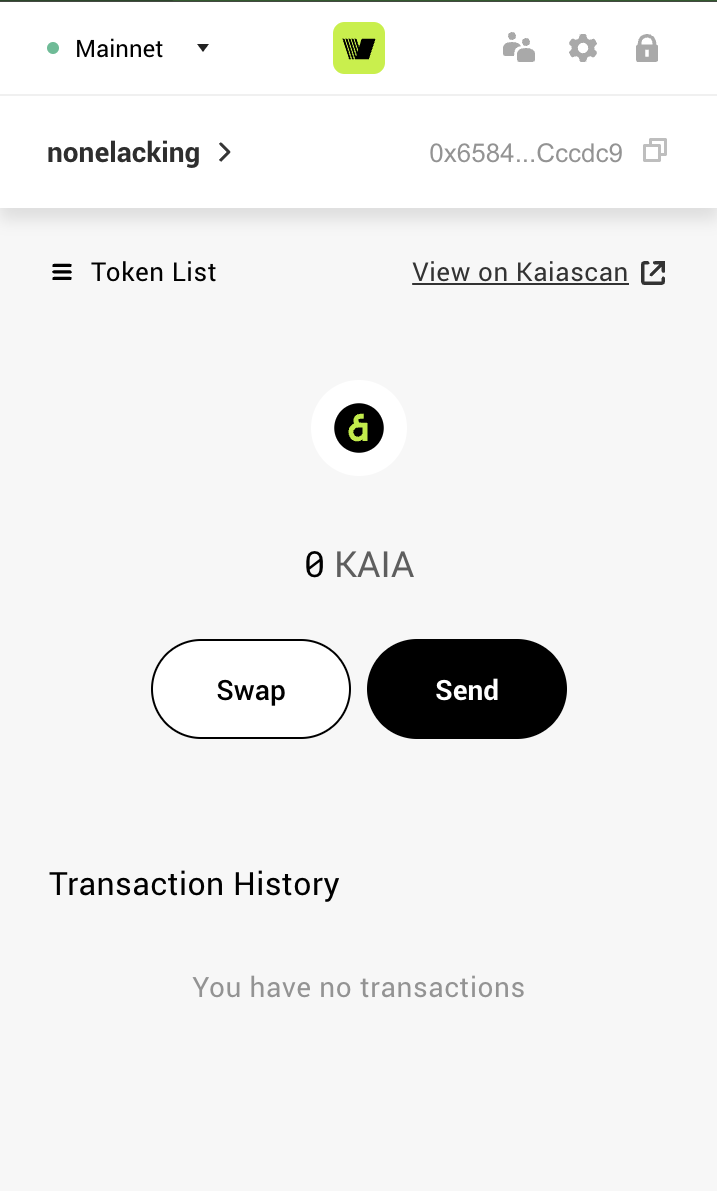
- Now your new account has been added to Kaia Wallet
- In the wallet view, tap the name of the currently selected account.
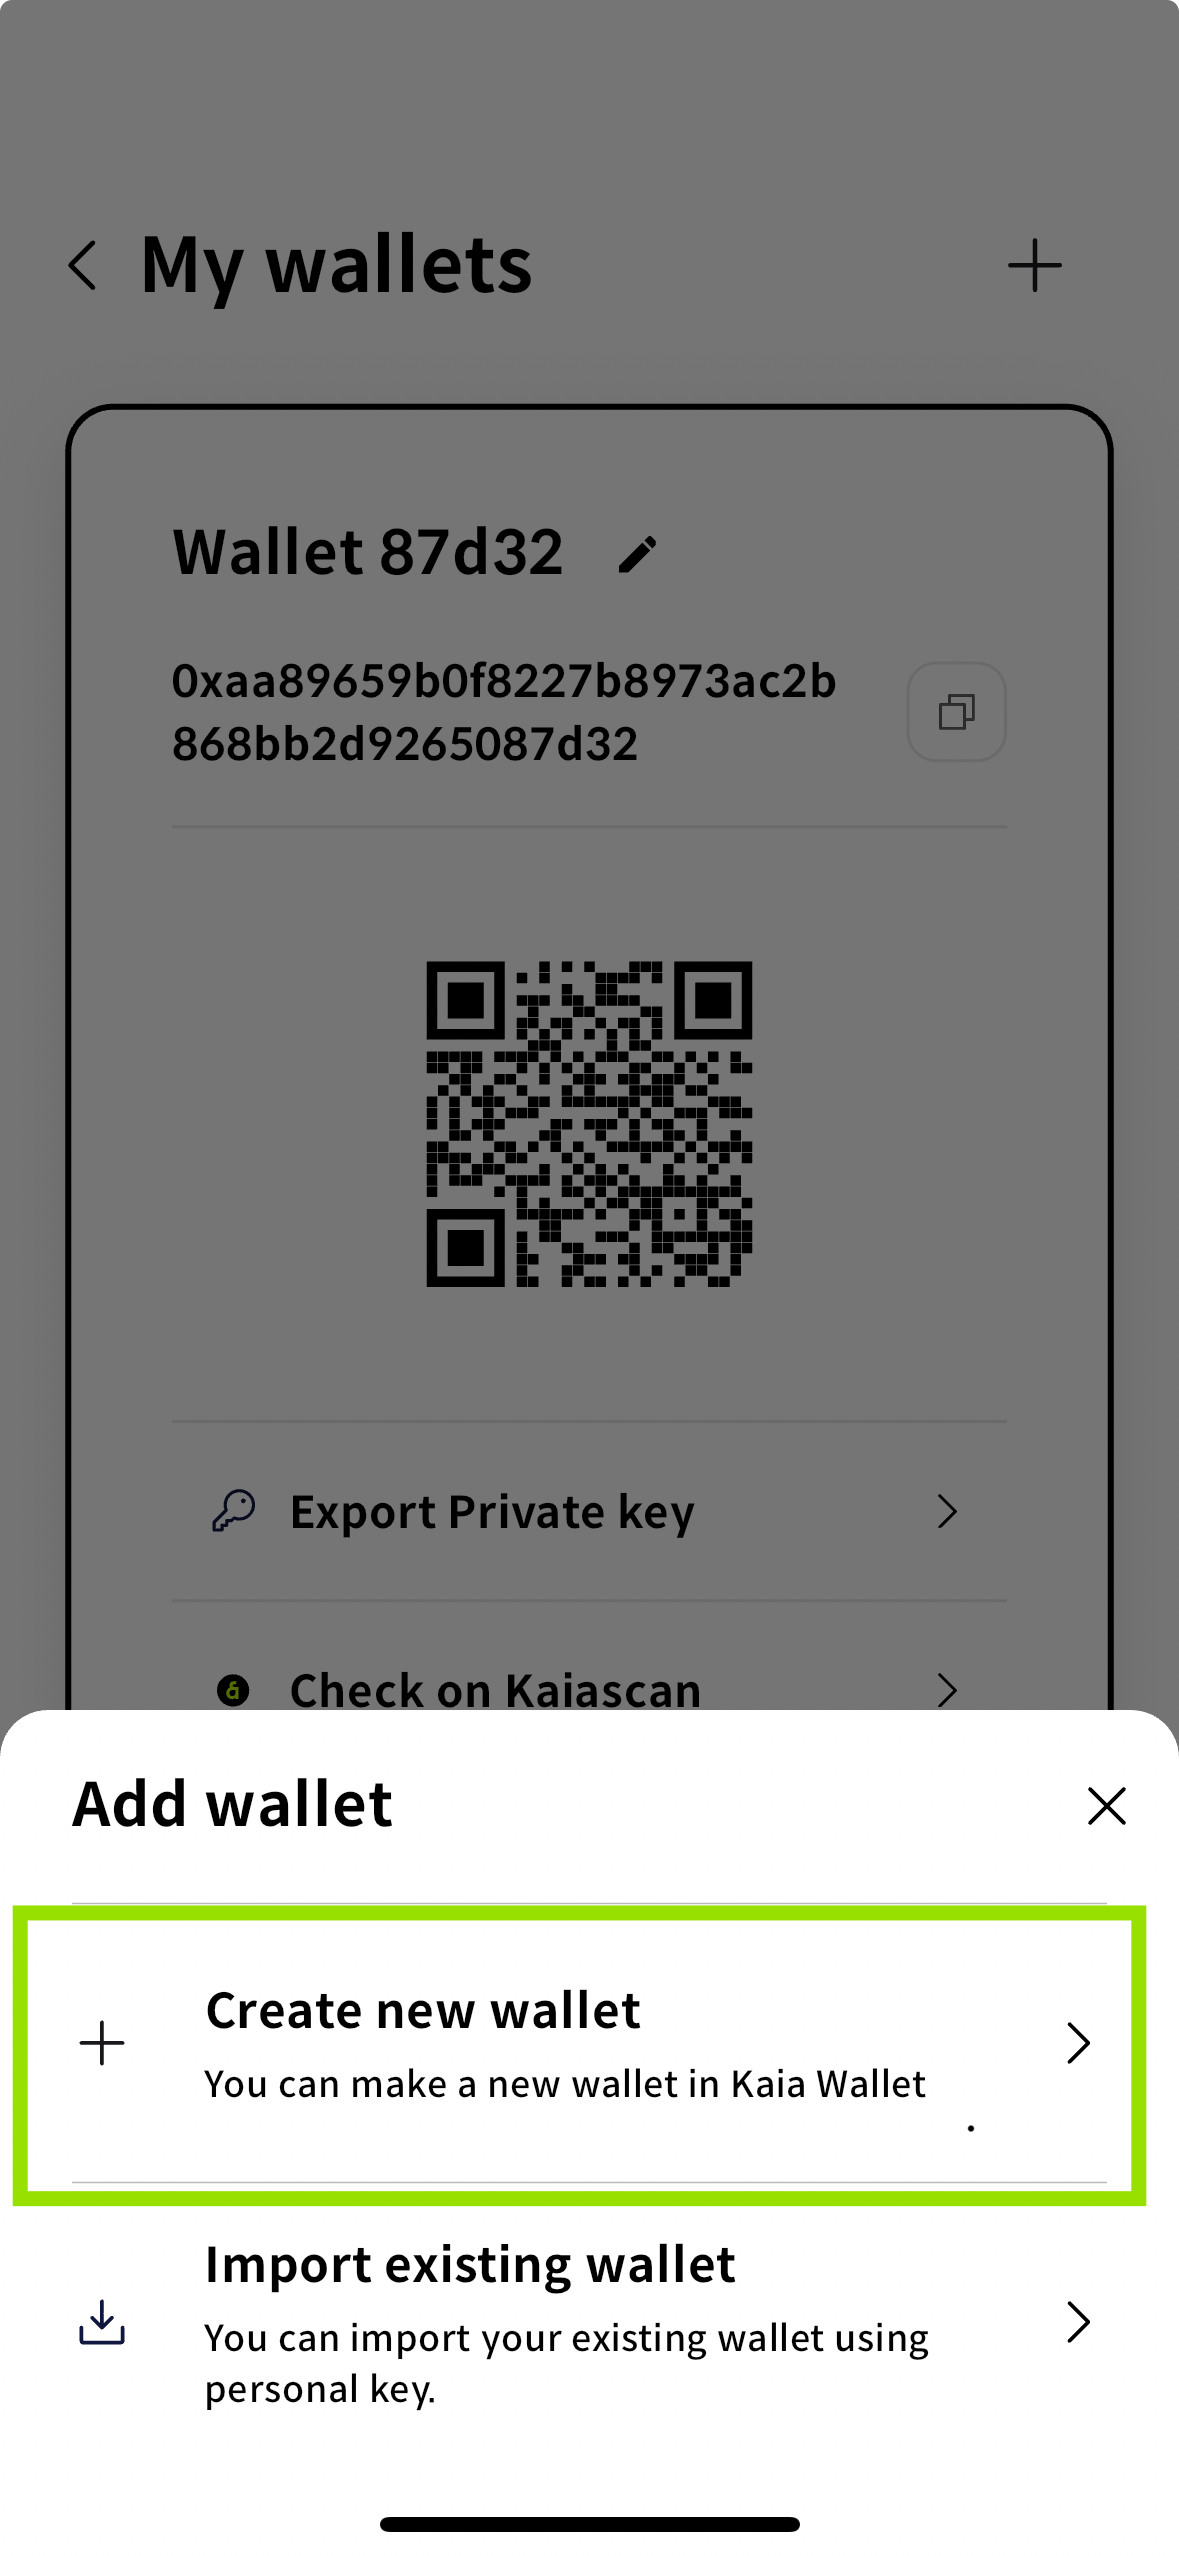
- On the account selector menu that appears, tap the + icon
- Select Create new wallet option from the Add wallet popup.
- Enter your passcode.
- Click on Go to wallet page to view your newly added account.
Backup seed phrase securely
Your seed phrase is the master key to your Web3 wallet. It allows you to create and recover your wallet, including every account generated within it. Each account tied to the seed phrase has its own private key, but the seed phrase gives access to all of them — such as Account 1, Account 2, and Account 3
If you only have the private key for one account, you will not be able to access the others. This makes your seed phrase the single most important piece of information to back up securely.
What to Do
- Write it down and store it safely: Handwriting your seed phrase protects it from online theft. Avoid storing it on any device connected to the internet.
- Double-check your writing: Confirm that every word is spelled correctly and in the exact order provided.
- Store it offline: A physical backup reduces exposure to hacking or accidental deletion.
What to Avoid
- Do not leave it in plain sight: Avoid obvious spots like a note on your desk or taped to your laptop.
- Do not store it in digital locations: Cloud services, email drafts, or notes apps are vulnerable to hacking.
- Never share it with anyone: No one, including Kaia Wallet Support, should ever ask for your seed phrase.
- Do not change the order of the words: The sequence matters. Any change will make the phrase invalid.
If, for some reason you forgot to back up your seed phrase or misplaced the original copy, and your Kaia Wallet is still unlocked, you can still view your Recovery Phrase using your password. Be sure to record it immediately and store it somewhere safe.
- Browser Extension
- Mobile
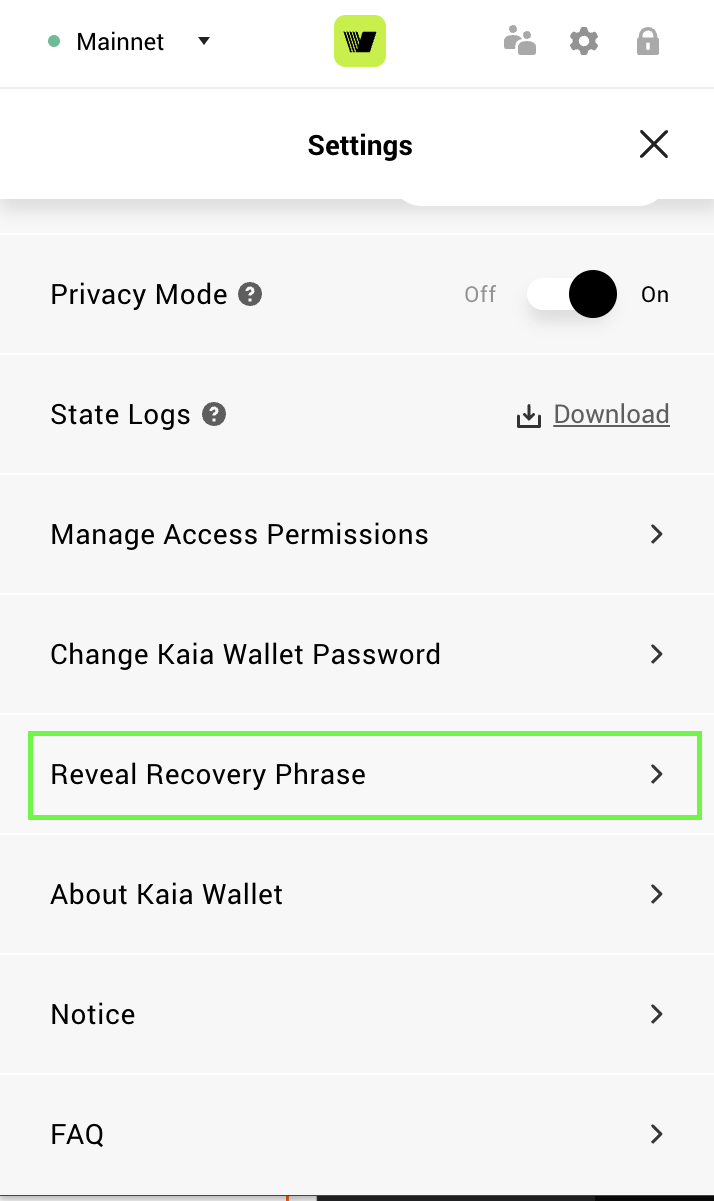
- Click the settings icon at the top right of your wallet.
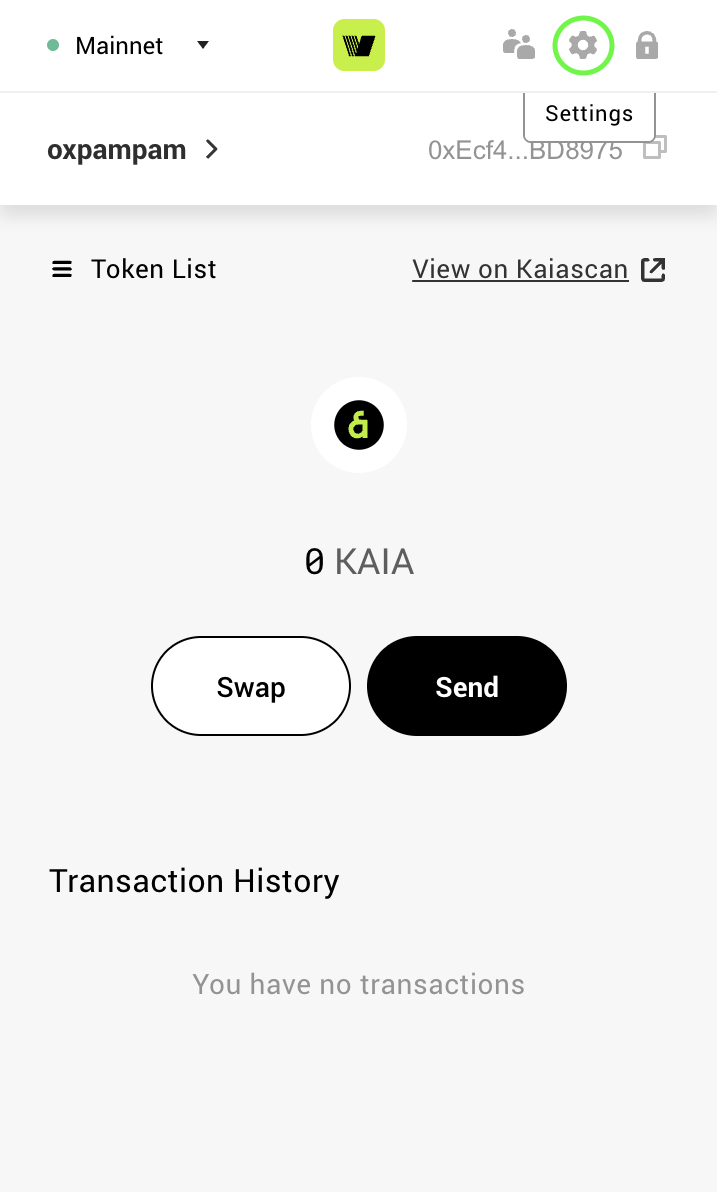
- Select Reveal Recovery Phrase in the settings options.
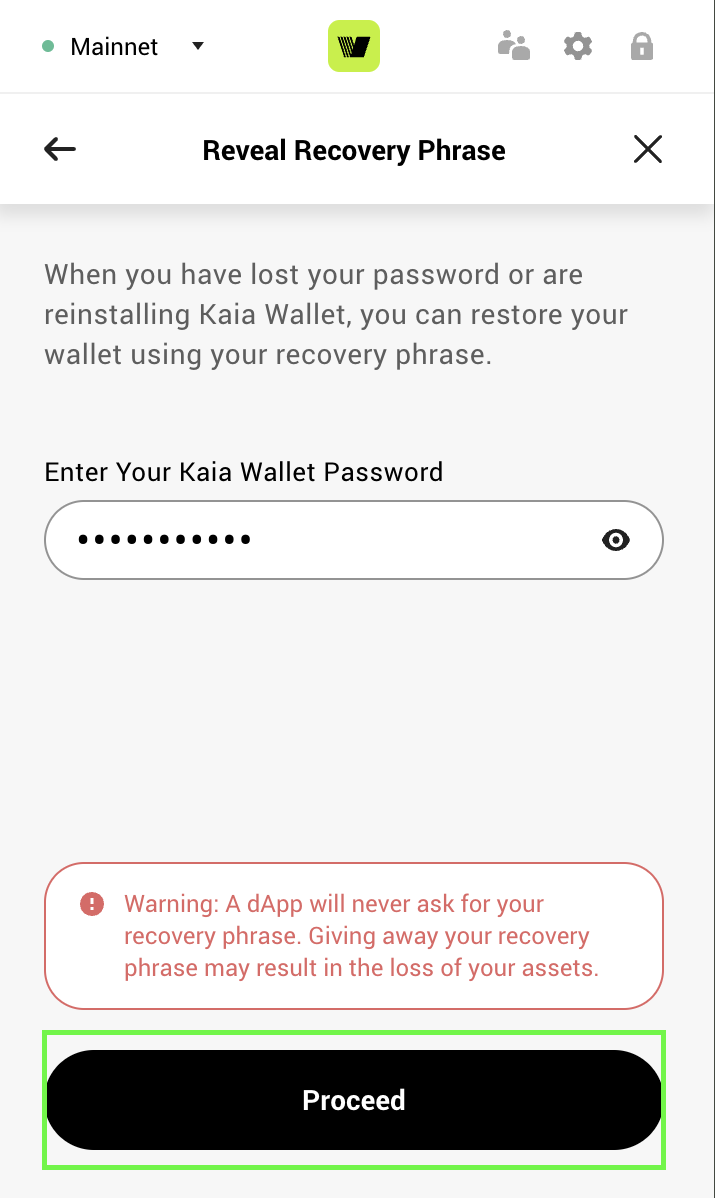
- Enter your password and click Proceed
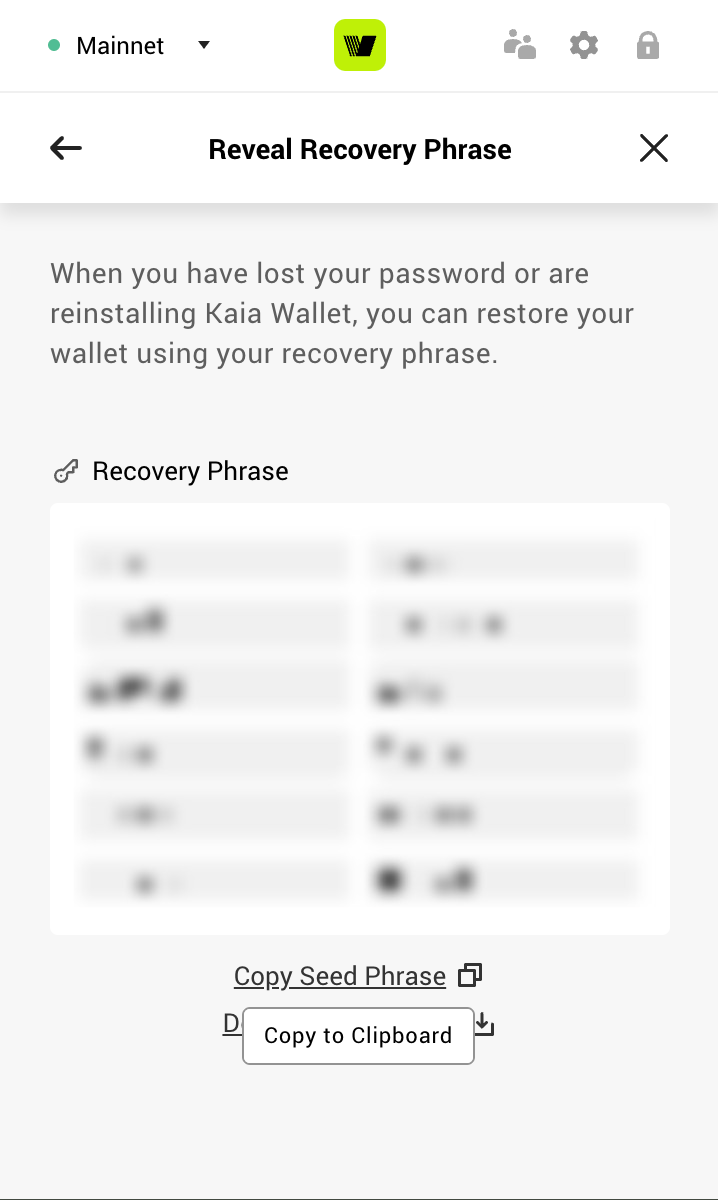
- Store your revealed seed phrase securely
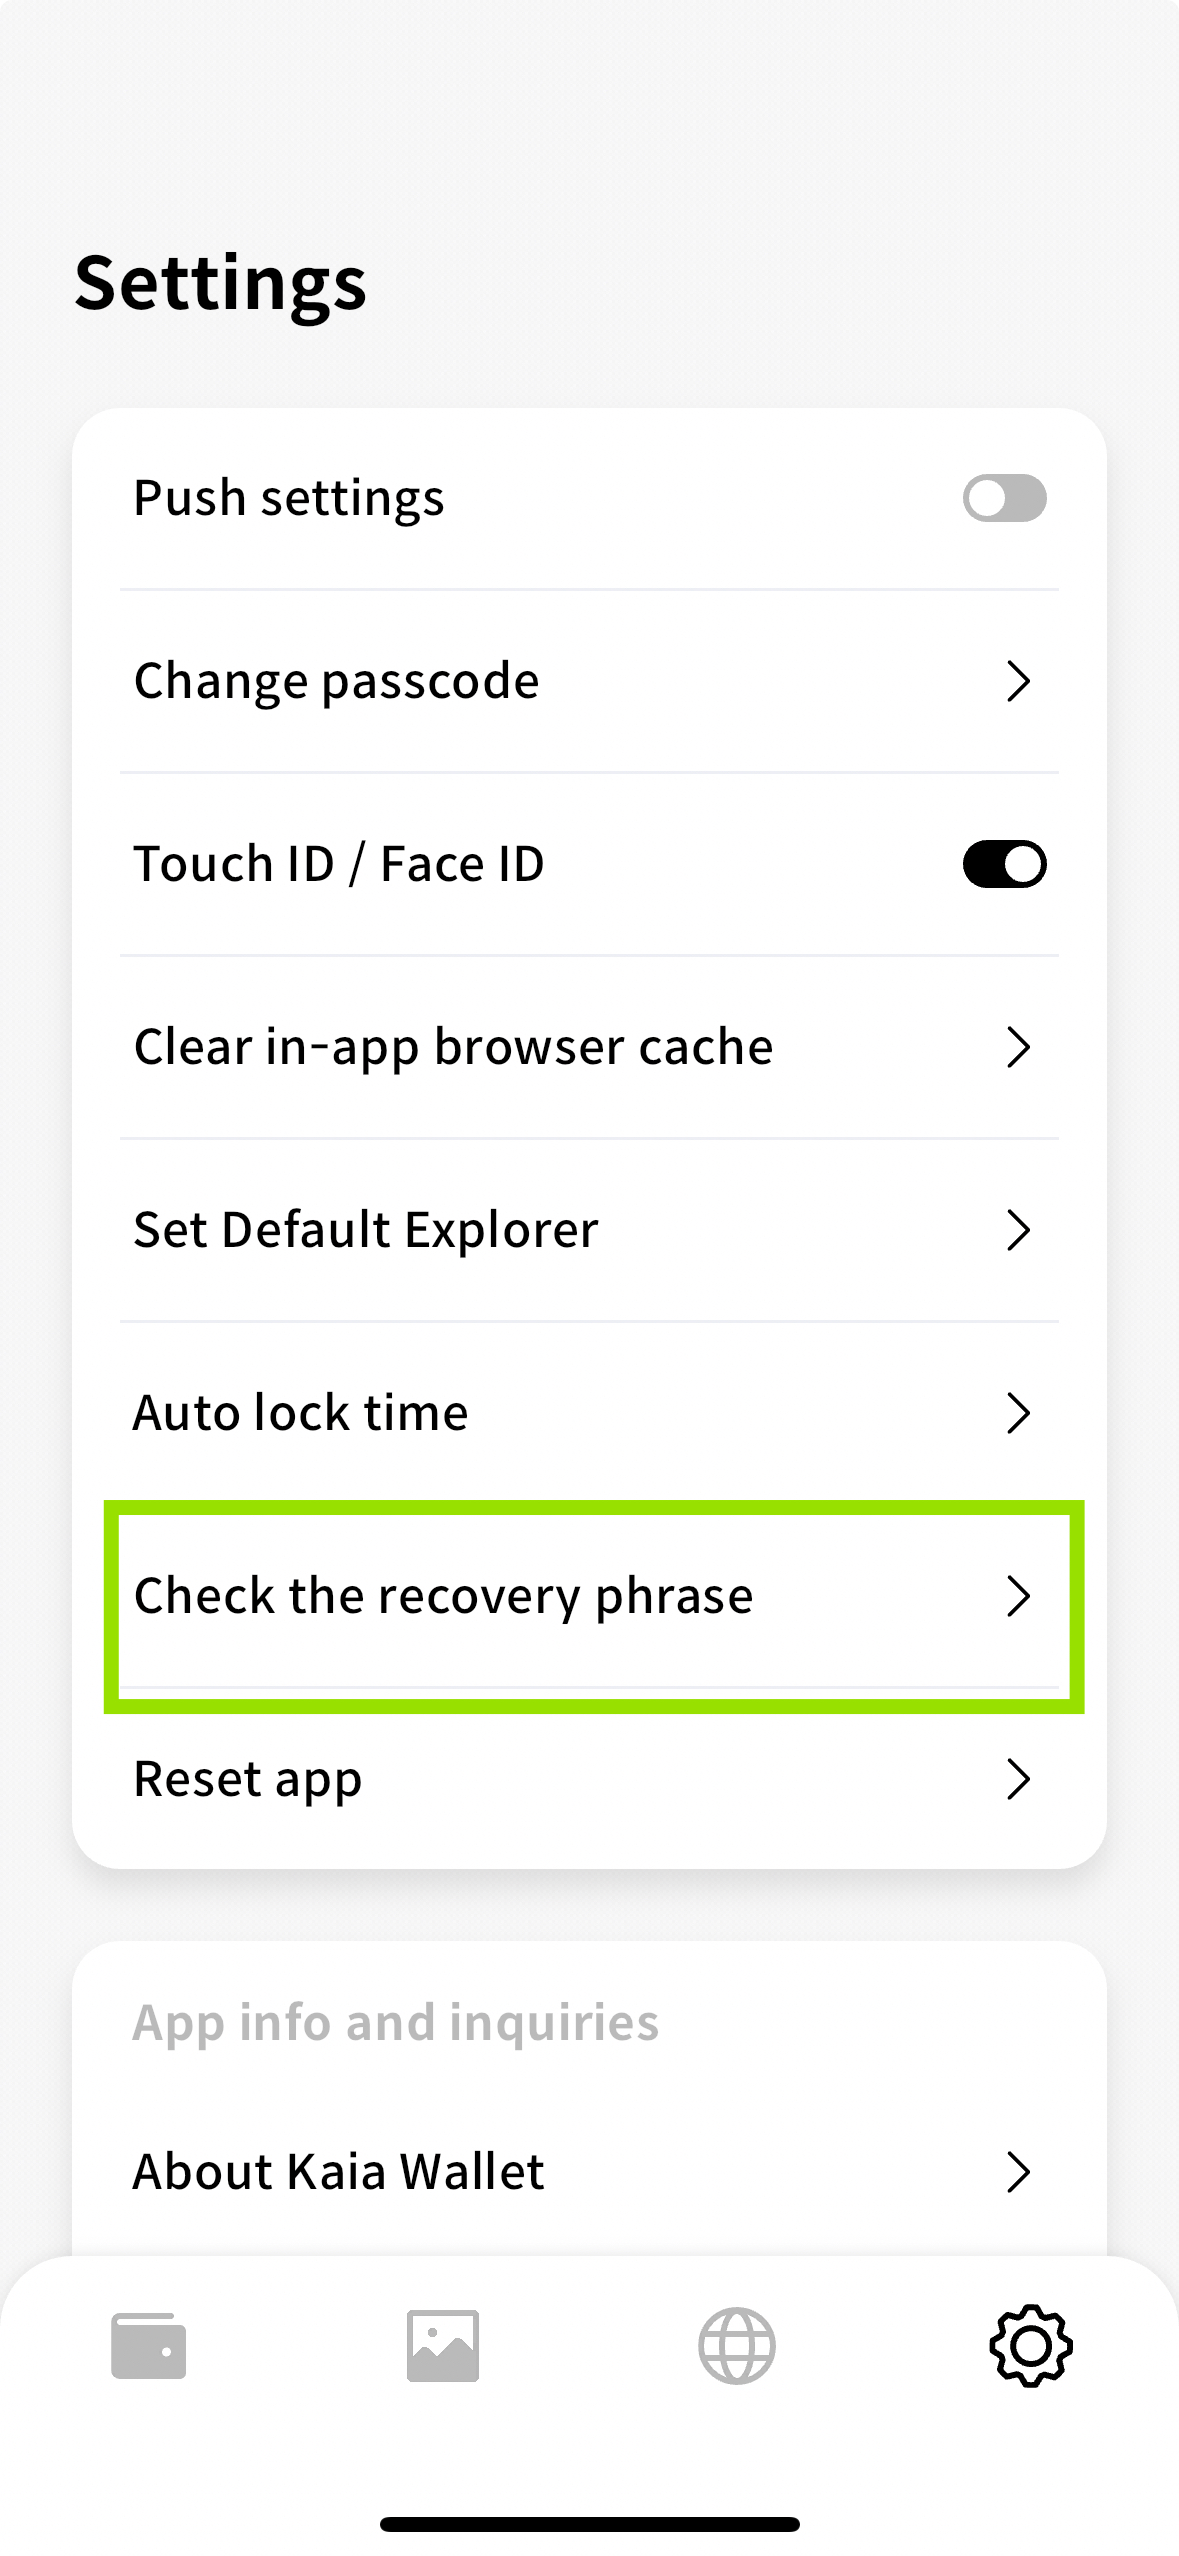
- Click the settings icon at the bottom right of your wallet.

- Select Check the recovery phrase in the settings option.
- Enter your passcode
- Store your revealed seed phrase securely
Fund your Kaia Wallet account
- Kaia Mainnet
- Kairos Testnet
To fund your account with KAIA tokens, you can buy and send directly from a Centralised Exchange (CEX). Kindly take a look at the exchanges you can buy and send KAIA from: Coingecko and CoinMarketCap
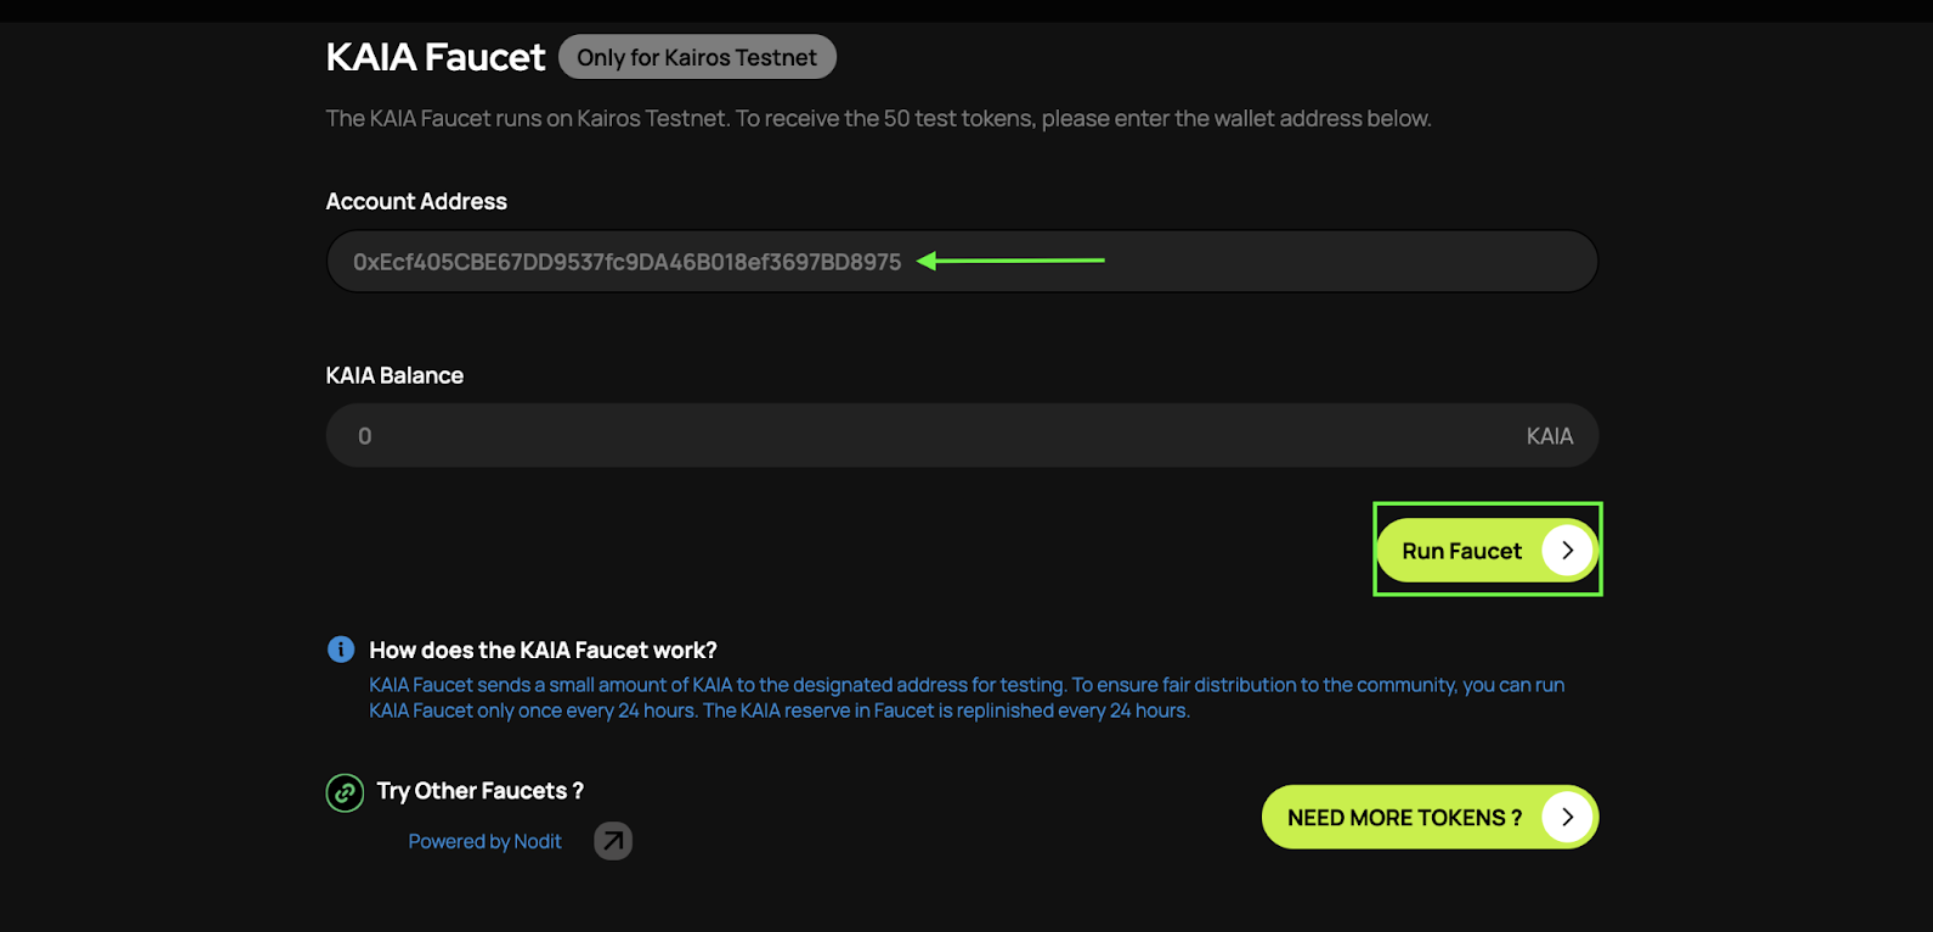
The testnet KAIA faucet runs on the Kairos network. The faucet can be accessed from the Kairos Kaia Faucet. To receive testnet KAIA, you should have a valid Kaia account.
- Paste your wallet address in the Account Address input field.
- Click the Run Faucet button and you will get 50 testnet KAIA sent to you. Note that you can run the faucet for each account once every 24 hours.
Connect MetaMask to Kaia
MetaMask is one of the most widely used browser-based wallets in the EVM ecosystem. Its compatibility with Kaia's address structure makes it a popular choice for developers who work across multiple EVM-compatible chains. This chapter will show you how to configure it specifically for Kaia.
Install MetaMask
- Browser Extension
- Mobile
- Visit https://metamask.io
- Click Download in the menu bar.
- We will use Chrome browser in this example. (Install Chrome)
- Add MetaMask Extension to Chrome.
- You can start MetaMask by clicking on the icon in the upper right-hand corner of your chrome browser.
- We will download MetaMask from the official app store appropriate to your device/OS. We will use iOS in this example.
- Open the App Store and hit the search button in the bottom right. Input MetaMask into the search bar.
- Either click Get or tap on the name of the app to see more details. Afterwards, complete the usual App Store download confirmation process.
Create a MetaMask Wallet
This process applies to both browser extension and mobile version of MetaMask wallet.
- Click on Create a Wallet button.
- Set a password.
- You will be given a 12 word seed phrase; back it up somewhere secure.
- Back up your Secret Recovery Phrase somewhere safe and offline!
- Follow all the prompts to create your wallet.
You can only restore your wallet with the seed phrase. Sharing your seed phrase with others may result in losing all of your funds. Therefore, it is recommended that you either write it down manually or store it in an offline device.
Connect to Kaia Network
Quick Configuration
Browser Extension
- Kaia Mainnet
- Kairos Testnet
Mobile
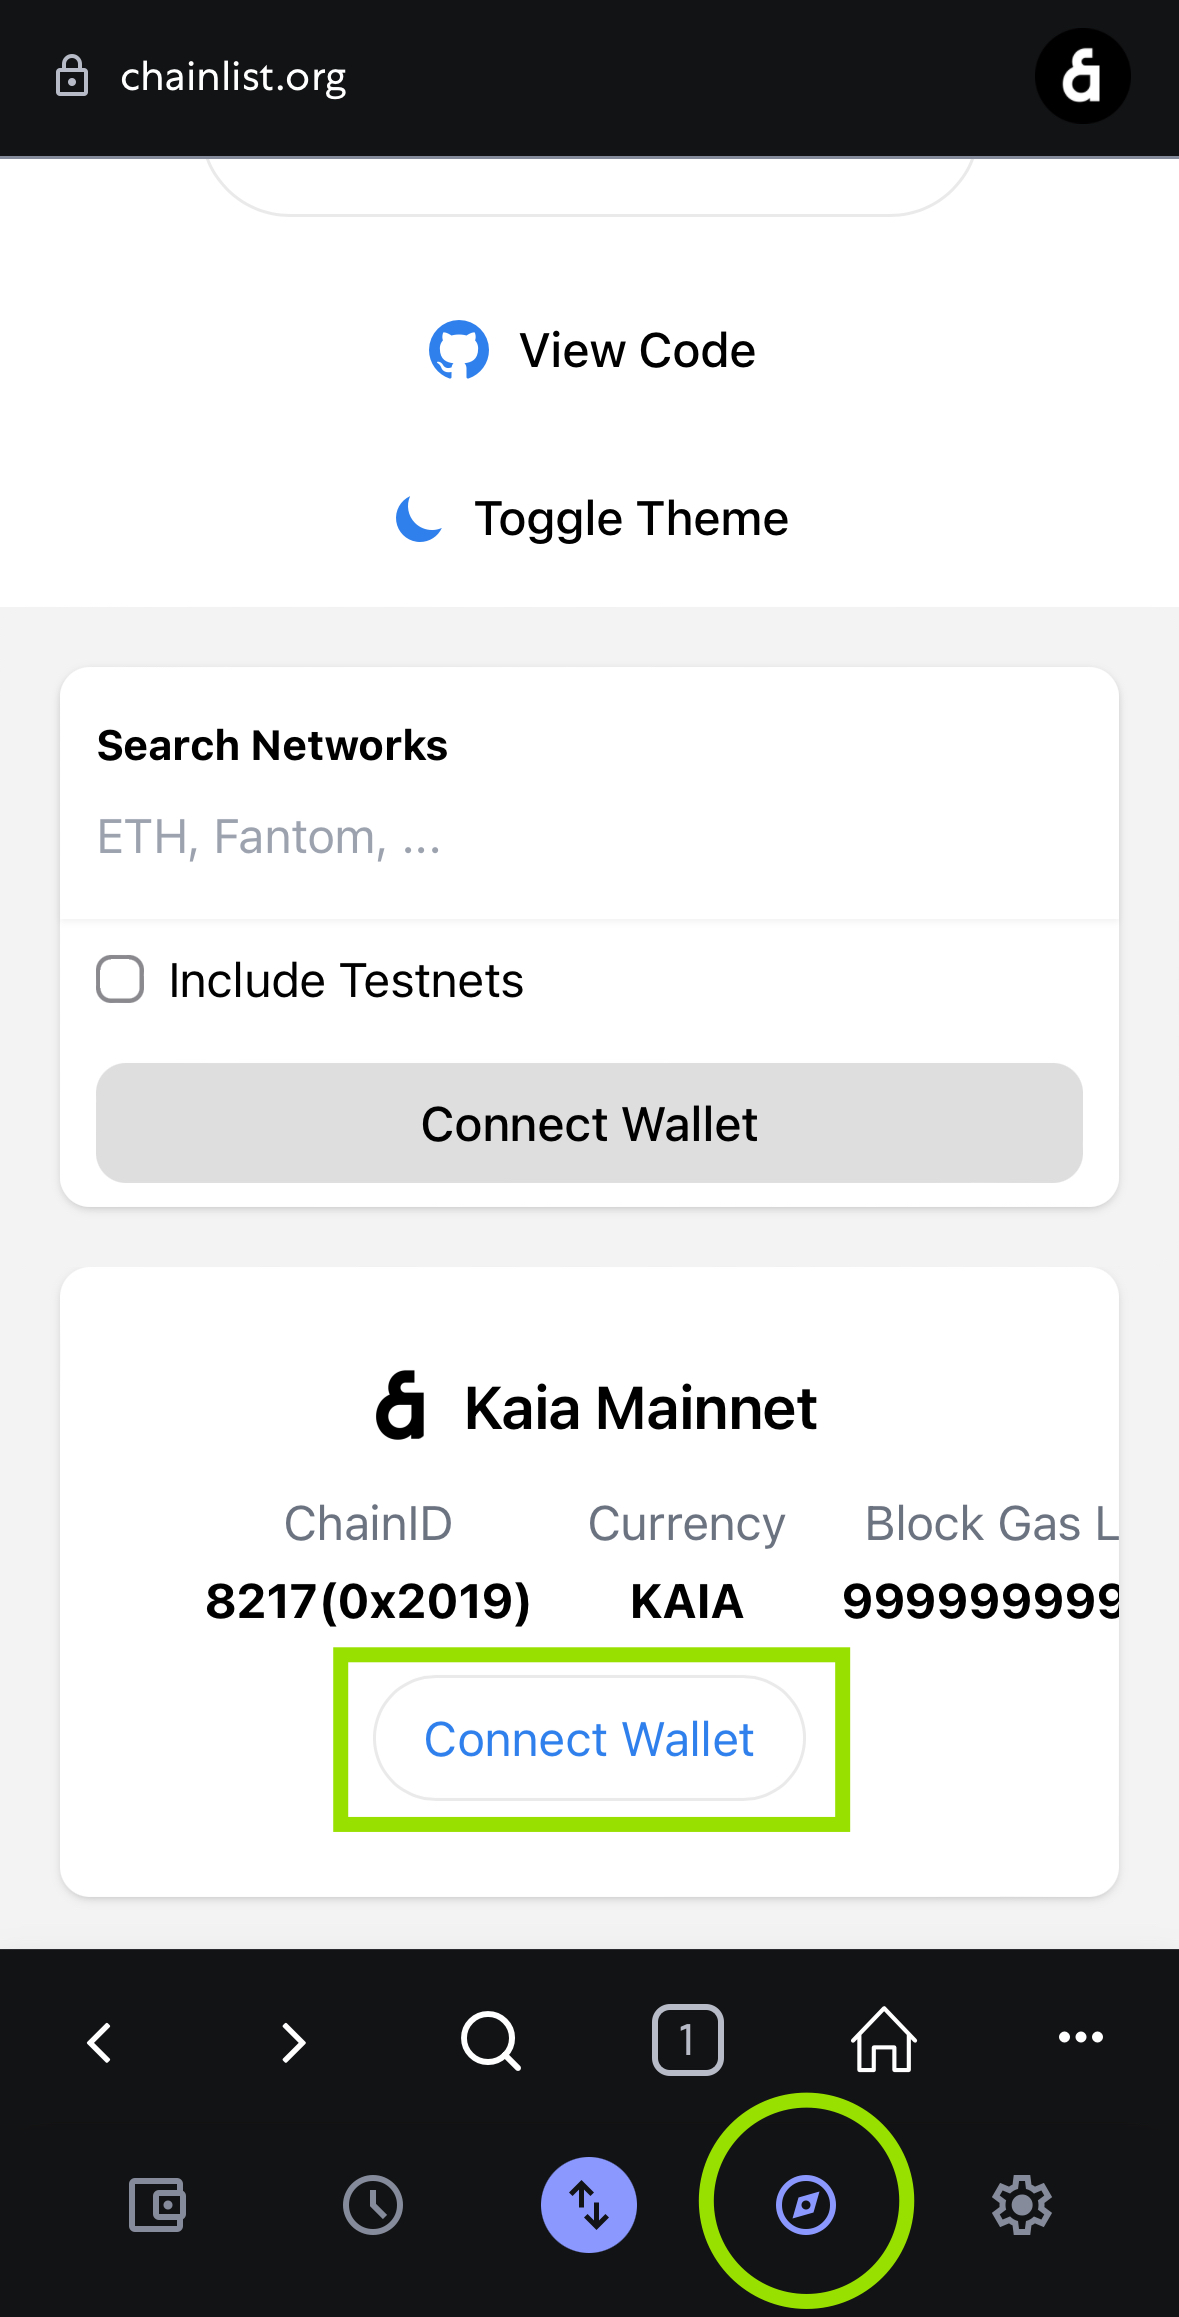
- Kaia Mainnet
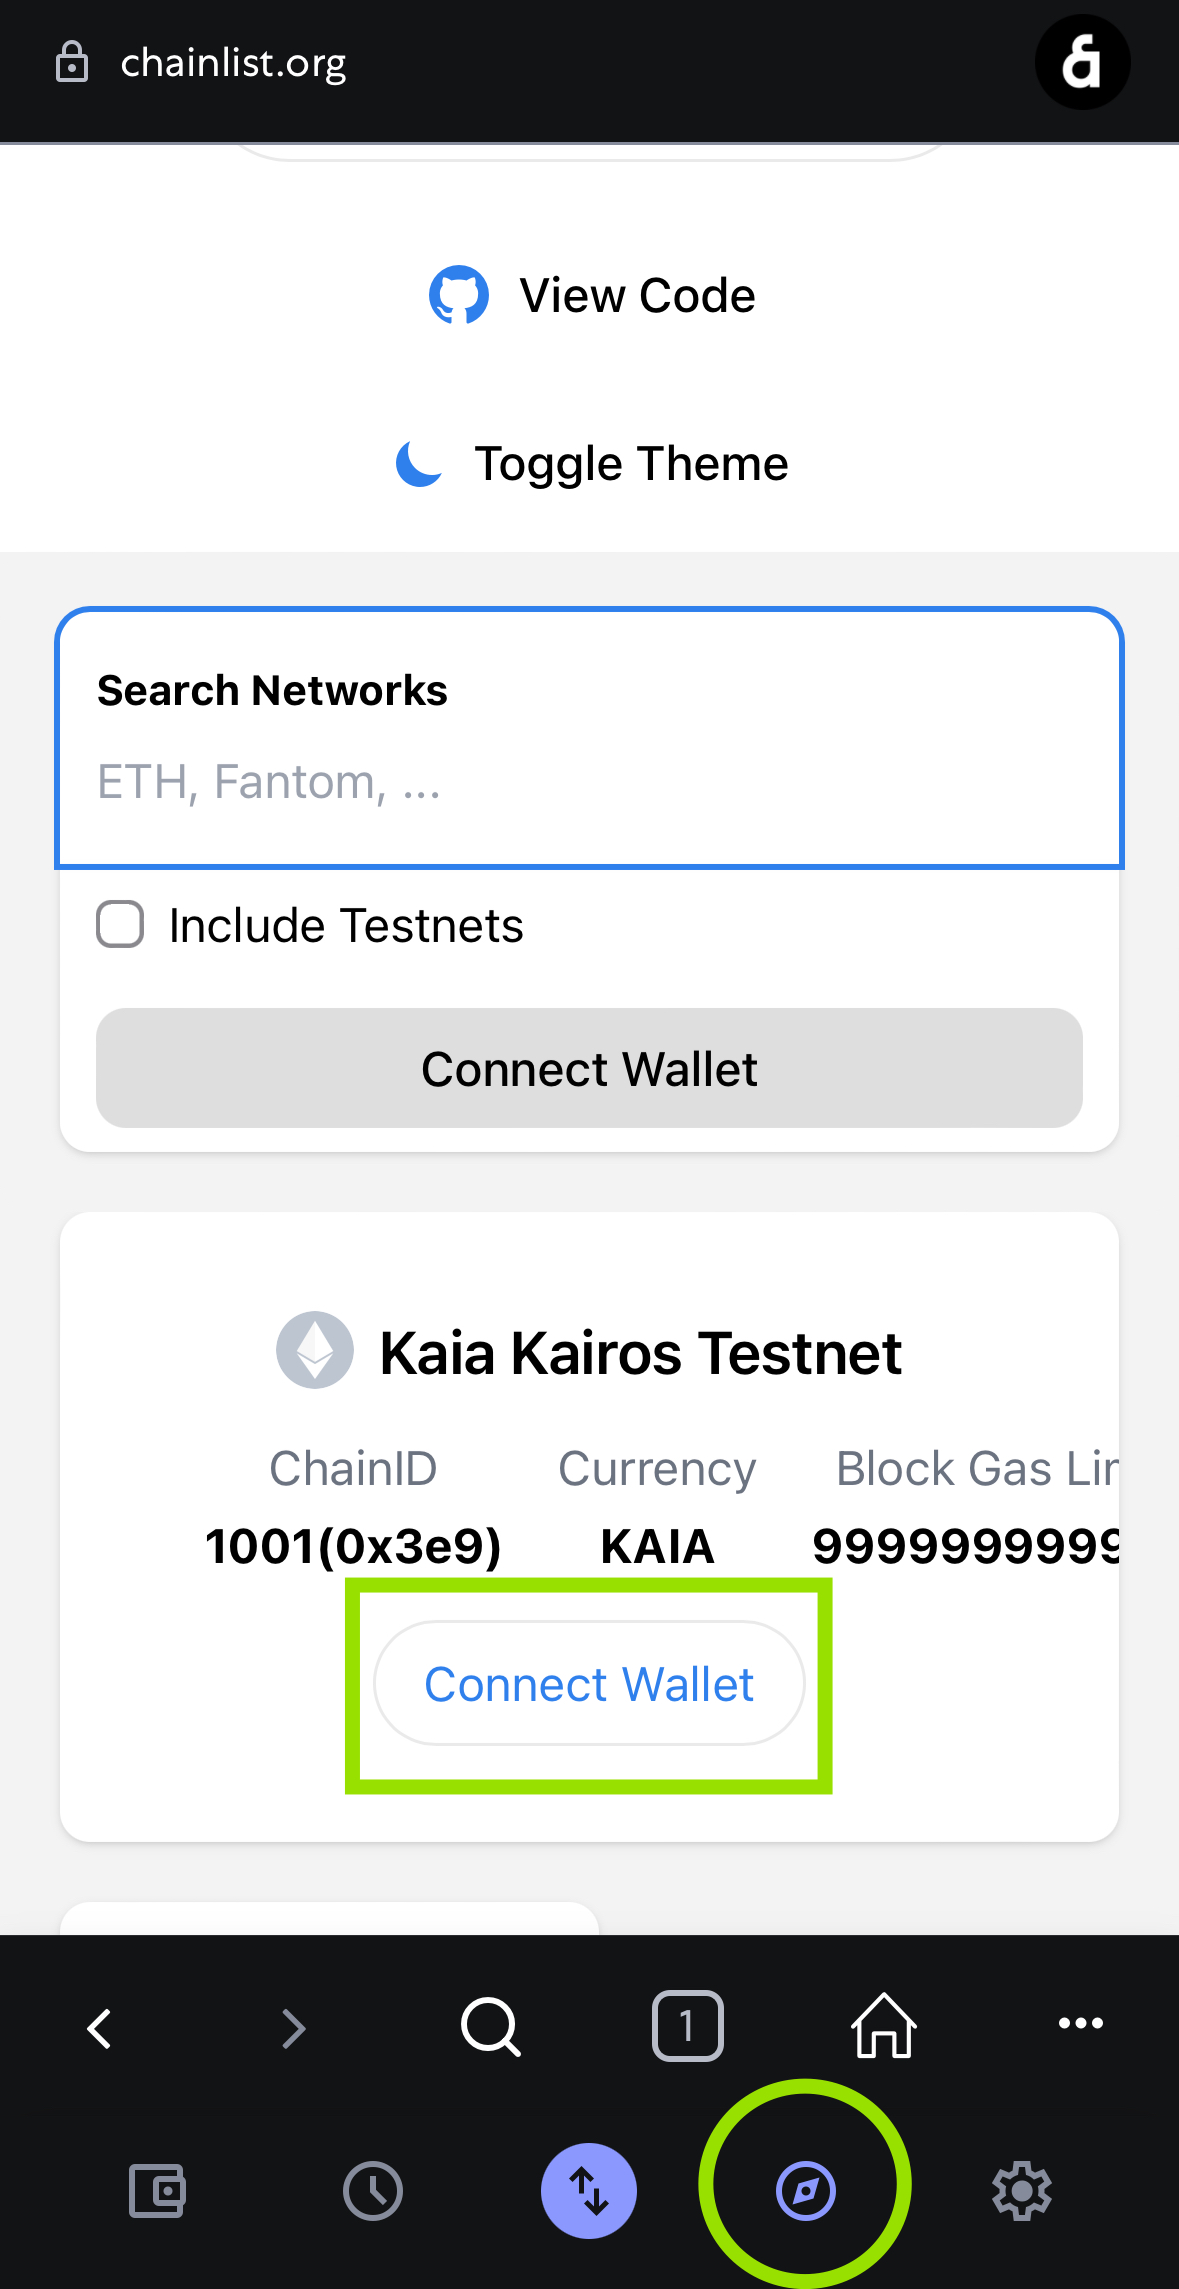
- Kairos Testnet
Manual Configuration
- Browser Extension
- Mobile
- Click on the upper Networks tab, which is on Ethereum Mainnet as default, and select Add network.
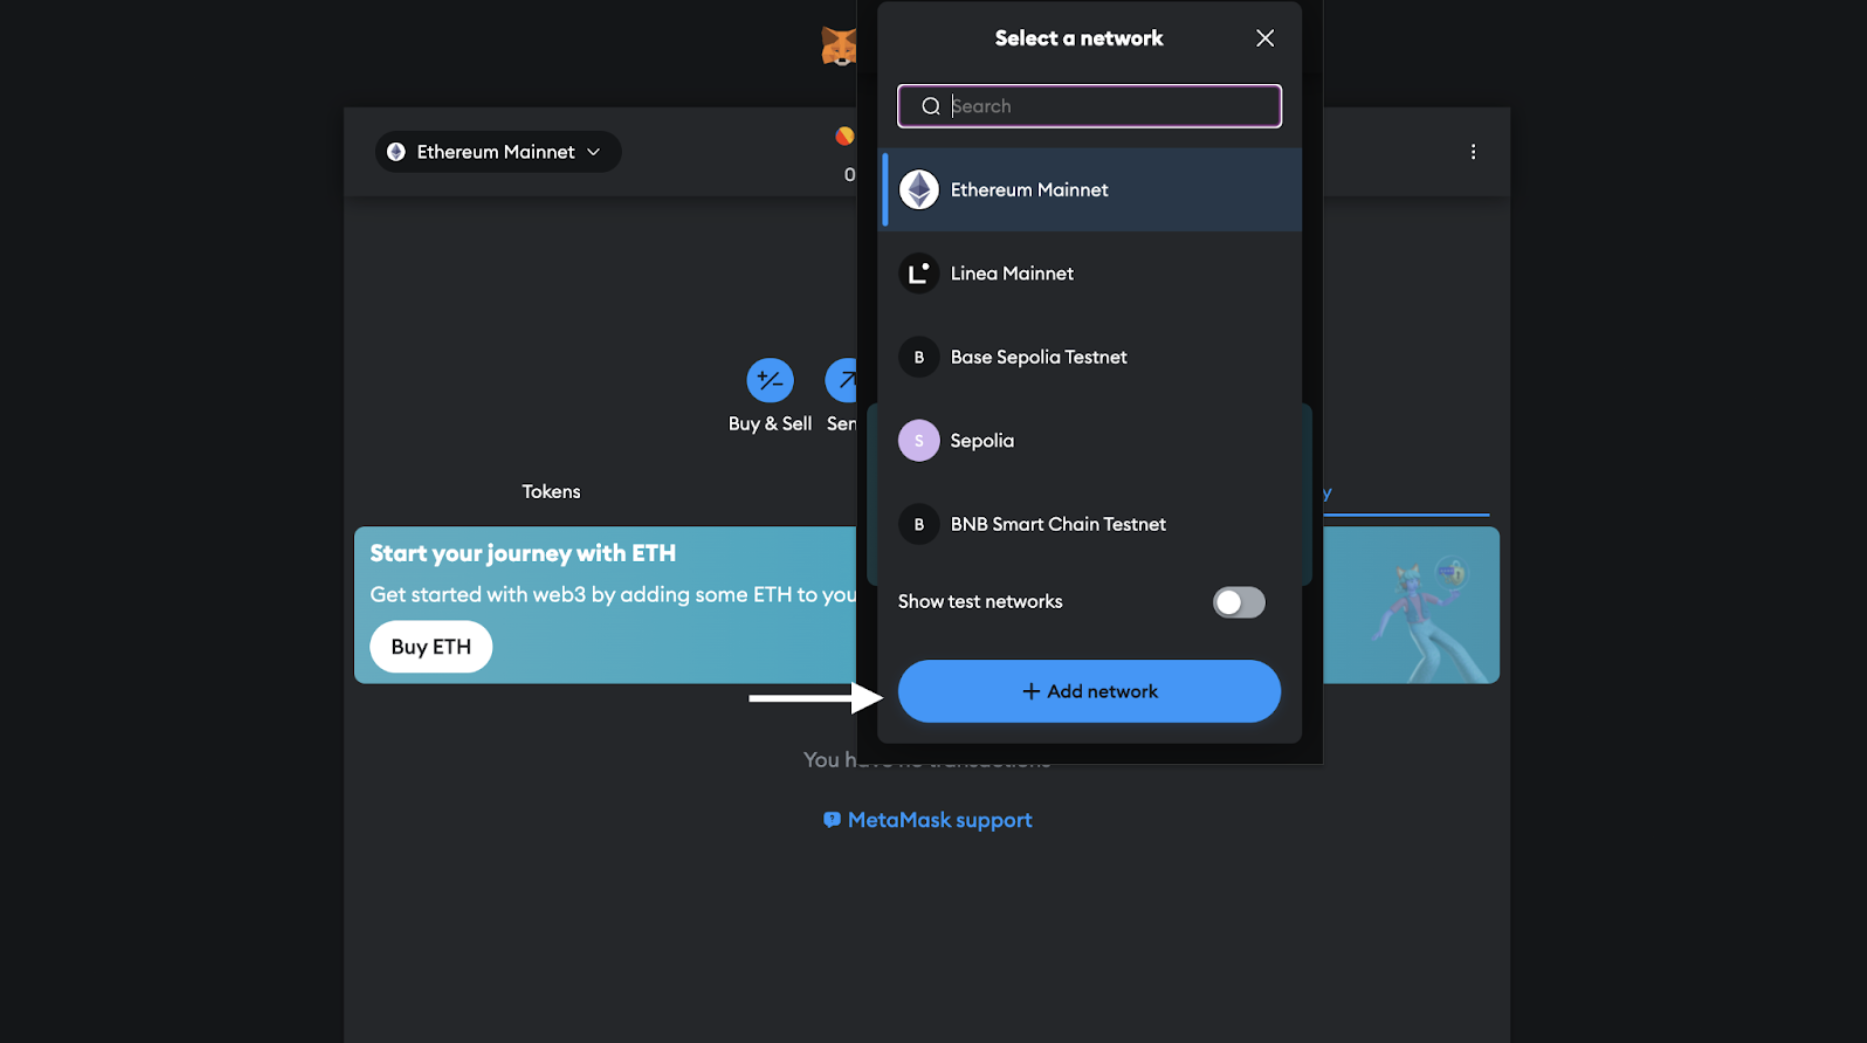
- Enter the following Kaia network details in the Add a network manually page and click Save.
- Kaia Mainnet
- Kairos Testnet
Name: Kaia MainnetRPC: https://public-en.node.kaia.ioID: 8217Symbol: KAIABlock Explorer: https://kaiascan.io
Name: Kaia Kairos TestnetRPC: https://public-en-kairos.node.kaia.ioID: 1001Symbol: KAIABlock Explorer: https://kairos.kaiascan.io
- Tap the network selector at the top of the screen.
- Click on the Add Network button.
- Switch to the Custom networks tab.
- Fill in the network's details as we have in the Browser Extension tab
Next Steps: Advancing Your Setup
Congratulations! You now have a wallet configured, connected, and funded on the Kaia network. You are ready to start your development journey.
Your next step is to learn how to manage your keys securely for development, testing, and production deployment. For in-depth recipes on using tools like Foundry and Hardhat, integrating with hardware wallets, and setting up production-grade security, please proceed to our comprehensive Secure Wallet Management Cookbook.