UI 創建
在本節中,我們將建立 dApp 的使用者介面! 我們將建立一個結構化的 UI 系統,其中有三個主要面板,分別用於狀態更新、行動和鑄幣功能。
設定主畫布
首先,讓我們建立基本畫布:
- 在 Hierarchy 視窗中,用滑鼠右鍵按一下「Sample Scene」(樣本場景)。
- 導覽到 GameObject → UI → Canvas。
建立 Web3UI 容器
- 在新的 Canvas 上按一下滑鼠右鍵。
- 選擇「建立空」。
- 重新命名為「Web3UI」。
設定主面板
在 Web3UI 中,建立三個面板物件:
- 在 Web3UI 上按一下滑鼠右鍵,然後選擇「建立空」。
- 建立並重新命名這些面板:
- StatusPanel - 您的 dApp 資訊顯示器
- ButtonPanel - 用於使用者互動
- MintPanel - 用於代幣鑄造功能
建立面板元件
狀態面板元件
此面板顯示您所有重要的 Web3 資訊:
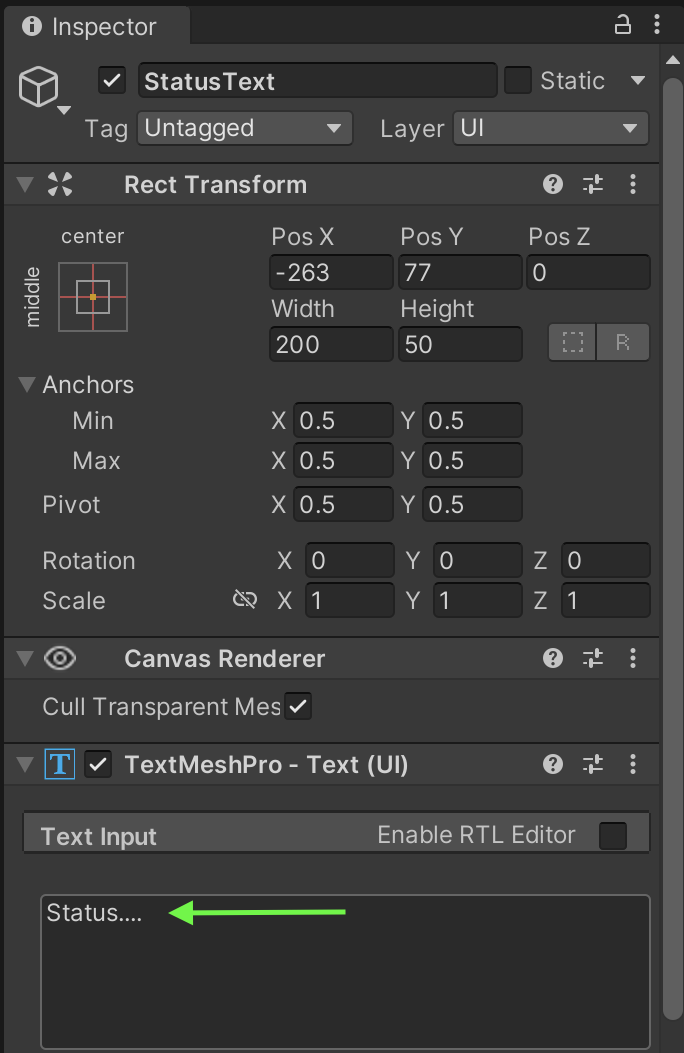
- 在 StatusPanel 上按一下滑鼠右鍵,然後按一下 UI → Text - TextMeshPro,再重新命名為 StatusText。 確保填入檢閱器窗格中的 「文字輸入 」欄位,例如 「狀態...」
TextMeshPro (TMP) 設定
當您第一次建立 TextMeshPro 元件時 (UI - Text - TextMeshPro),Unity 會自動提示您匯入 TMP Essentials。 如果您不小心跳過此提示,您可以透過 Window > TextMeshPro > Import TMP Essentials 手動匯入。
為什麼需要這個?TextMeshPro 需要核心資源 (著色器、預設字型和材質),才能在遊戲中正確顯示文字。 如果沒有這些要件,您的文字元件將無法正確呈現,而且您會在專案中看到著色器/材質錯誤。 這是文字正常運作所需的一次性設定。
- 在 StatusPanel 上按一下滑鼠右鍵,按一下 UI ��→ Text - TextMeshPro,然後將其重新命名為 AddressText。 請務必填入文字物件,例如:「地址文字......」
- 在 StatusPanel 點選滑鼠右鍵,點選 UI → Text - TextMeshPro,然後重新命名為 TokenBalanceText。 確保填入文字物件,例如 "0.0000 ET"
├── StatusText (TextMeshPro)│ └── Default: "Status..."├── AddressText (TextMeshPro)│ └── Default: "Address Text..."└── TokenBalanceText (TextMeshPro) └── Default: "0.0000 ET"
ButtonPanel 元件
您的主要互動按鈕:
-
在 ButtonPanel 上按一下滑鼠右鍵,按一下 UI → Button - TextMeshPro,然後將其重新命名為 ConnectWalletButton。 確保在 Inspector 窗格中的「Text Input」欄位填入「Connect Wallet」。
-
在 ButtonPanel 上按一下滑鼠右鍵,按一下 UI → Button - TextMeshPro,然後將其重新命名為 DisconnectWalletButton。 確保在 Inspector 窗格中的「Text Input」欄位填入「Disconnect Wallet」。
ButtonPanel├── ConnectWalletButton (Button - TextMeshPro)│ └── Text: "Connect Wallet"├── DisconnectWalletButton (Button - TextMeshPro)│ └── Text: "Disconnect Wallet"
MintPanel 元件
代幣鑄造介面:
- 在 MintPanel 上按一下滑鼠右鍵,按一下 UI → 輸入欄位 → TextMeshPro,然後將其重新命名為 MintAmountInput。 請務必在占位符物件中填入 「輸入金額…」
- 在 MintPanel 上按一下滑鼠右鍵,然後按一下 UI → Button → TextMeshPro,再重新命名為 MintButton。 確保文字物件填上 "Mint" 字樣
MintPanel├── MintAmountInput (Input Field - TextMeshPro)│ └── Placeholder: "Enter Amount..."└── MintButton (Button - TextMeshPro) └── Text: "Mint"
建立所有元件後,您的層級結構應該是這樣的:
Canvas└── Web3UI ├── StatusPanel ├── ButtonPanel └── MintPanel
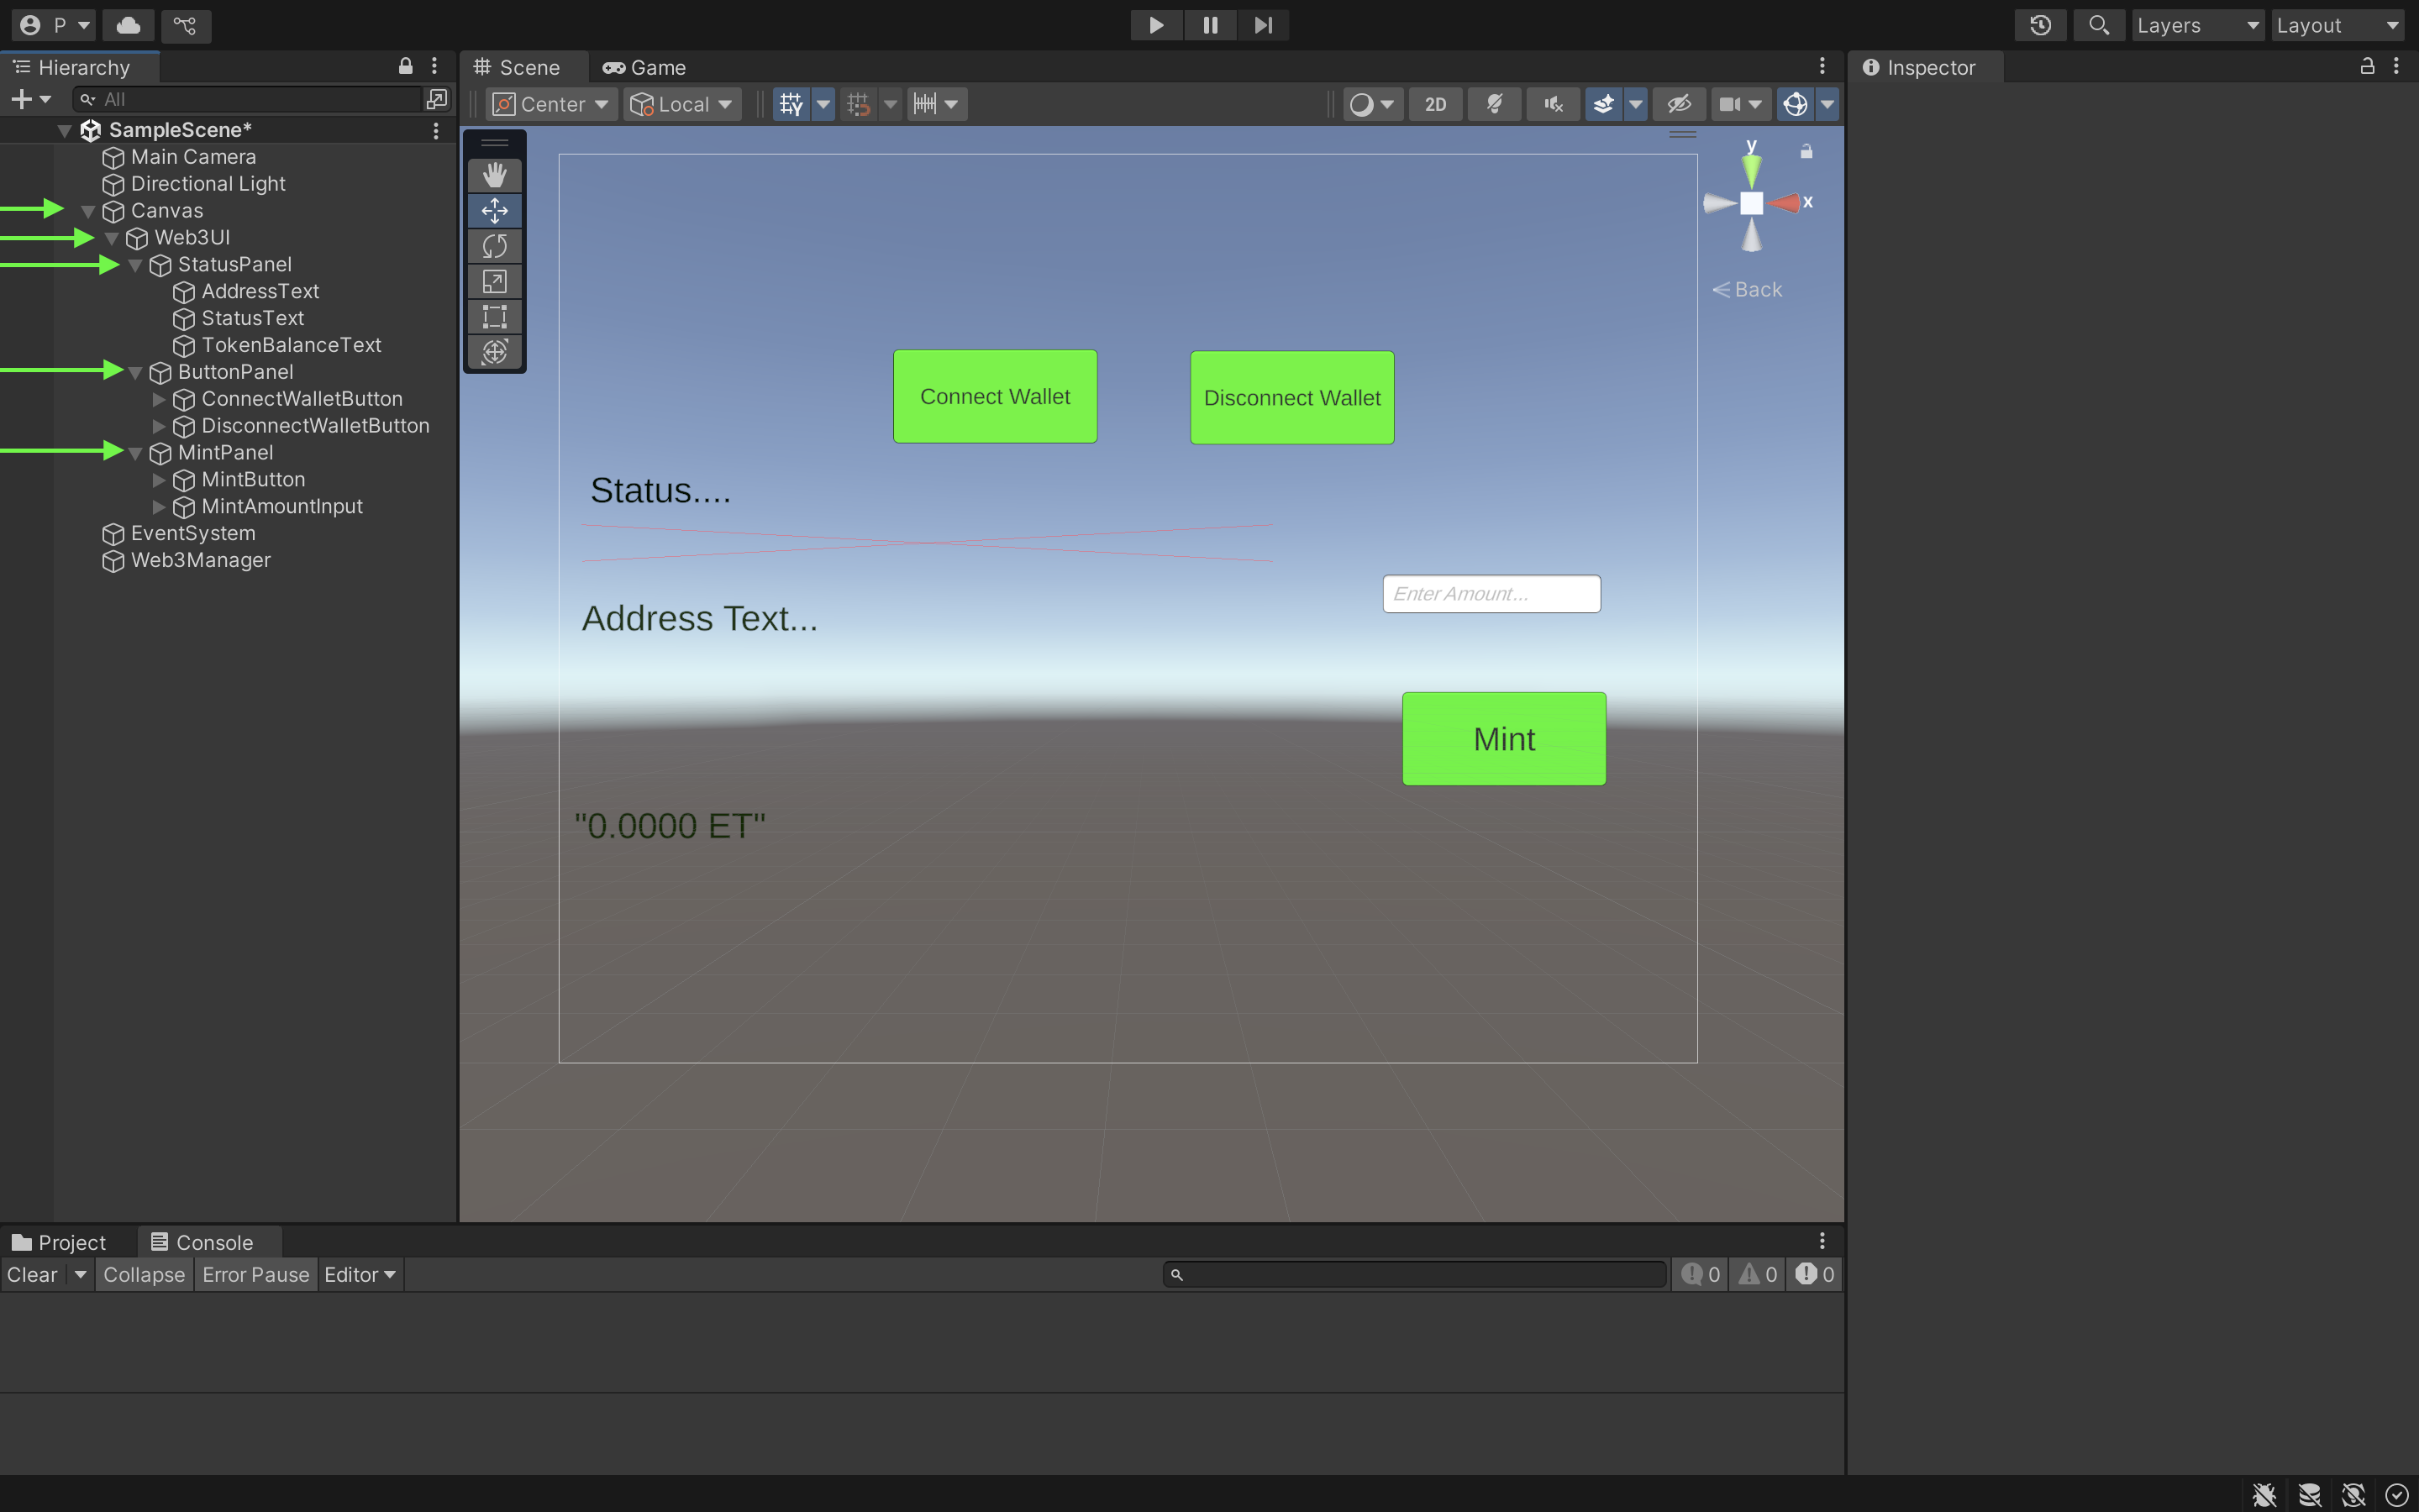
為了讓您的元件排列如上圖所示,您必須在點選每個元件時,利用右側的圖示手動排列它們。