Tạo giao diện người dùng
Trong phần này, chúng ta sẽ xây dựng giao diện người dùng cho dApp! Chúng tôi sẽ tạo một hệ thống giao diện người dùng có cấu trúc với ba bảng điều khiển chính để cập nhật trạng thái, hành động và chức năng đúc tiền.
Thiết lập Canvas chính
Đầu tiên, chúng ta hãy tạo khung nền cơ sở:
- Trong cửa sổ Hierarchy, nhấp chuột phải vào "Sample Scene".
- Điều hướng đến GameObject → UI → Canvas.
Tạo Container Web3UI
- Nhấp chuột phải vào Canvas mới của bạn.
- Chọn "Tạo rỗng".
- Đổi tên thành "Web3UI".
Thiết lập bảng điều khiển chính
Bên trong Web3UI, tạo ba đối tượng bảng điều khiển:
- Nhấp chuột phải vào Web3UI và chọn "Create Empty".
- Tạo và đổi tên các bảng điều khiển này:
- StatusPanel - Hiển thị thông tin dApp của bạn
- ButtonPanel - Dành cho tương tác của người dùng
- MintPanel - Dành cho các tính năng đúc mã thông báo
Tạo thành phần bảng điều khiển
Thành phần StatusPanel
Bảng điều khiển này hiển thị tất cả thông tin quan trọng về Web3 của bạn:
- Nhấp chuột phải vào StatusPanel, nhấp vào UI → Text - TextMeshPro rồi đổi tên thành StatusText. Đảm bảo điền vào trường “Nhập văn bản” trong ngăn Thanh tra, ví dụ: “Trạng thái…”
Cài đặt TextMeshPro (TMP)
Khi bạn lần đầu tạo phần tử TextMeshPro (UI - Text - TextMeshPro), Unity sẽ tự động nhắc bạn nhập TMP Essentials. Nếu bạn vô tình bỏ qua lời nhắc này, bạn có thể nhập thủ công thông qua Window > TextMeshPro > Import TMP Essentials.
Tại sao chúng ta cần điều này: TextMeshPro yêu cầu các tài nguyên cốt lõi (shader, phông chữ mặc định và vật liệu) để hiển thị văn bản chính xác trong trò chơi của bạn. Nếu thiếu những yếu tố cần thiết này, các thành phần văn bản của bạn sẽ không hiển thị chính xác và bạn sẽ thấy lỗi đổ bóng/vật liệu trong dự án của mình. Đây là thiết lập một lần cần thiết để văn bản hoạt động bình thường.

- Nhấp chuột phải vào StatusPanel, nhấp vào UI → Text - TextMeshPro rồi đổi tên thành AddressText. Hãy chắc chắn điền vào đối tượng văn bản, ví dụ "Văn bản địa chỉ..."
- Nhấp chuột phải vào StatusPanel, nhấp vào UI → Text - TextMeshPro rồi đổi tên thành TokenBalanceText. Hãy đảm bảo điền vào đối tượng văn bản ví dụ "0.0000 ET"
├── StatusText (TextMeshPro)│ └── Default: "Status..."├── AddressText (TextMeshPro)│ └── Default: "Address Text..."└── TokenBalanceText (TextMeshPro) └── Default: "0.0000 ET"
Thành phần ButtonPanel
Các nút tương tác chính của bạn:
-
Nhấp chuột phải vào ButtonPanel, nhấp vào UI → Button - TextMeshPro rồi đổi tên thành ConnectWalletButton. Đảm bảo điền "Kết nối ví" vào trường "Nhập văn bản" trong ngăn Thanh tra.
-
Nhấp chuột phải vào ButtonPanel, nhấp vào UI → Button - TextMeshPro rồi đổi tên thành DisconnectWalletButton. Đảm bảo điền "Ngắt kết nối ví" vào trường "Nhập văn bản" trong ngăn Thanh tra.
ButtonPanel├── ConnectWalletButton (Button - TextMeshPro)│ └── Text: "Connect Wallet"├── DisconnectWalletButton (Button - TextMeshPro)│ └── Text: "Disconnect Wallet"
Thành phần MintPanel
Giao diện đúc mã thông báo:
- Nhấp chuột phải vào MintPanel, nhấp vào UI → Input Field → TextMeshPro rồi đổi tên thành MintAmountInput. Đảm bảo điền vào đối tượng giữ chỗ bằng "Nhập số tiền…"
- Nhấp chuột phải vào MintPanel, nhấp vào UI → Button → TextMeshPro rồi đổi tên thành MintButton. Hãy chắc chắn điền vào đối tượng văn bản bằng "Mint"
MintPanel├── MintAmountInput (Input Field - TextMeshPro)│ └── Placeholder: "Enter Amount..."└── MintButton (Button - TextMeshPro) └── Text: "Mint"
Sau khi tạo tất cả các thành phần, hệ thống phân cấp của bạn sẽ trông như thế này:
Canvas└── Web3UI ├── StatusPanel ├── ButtonPanel └── MintPanel
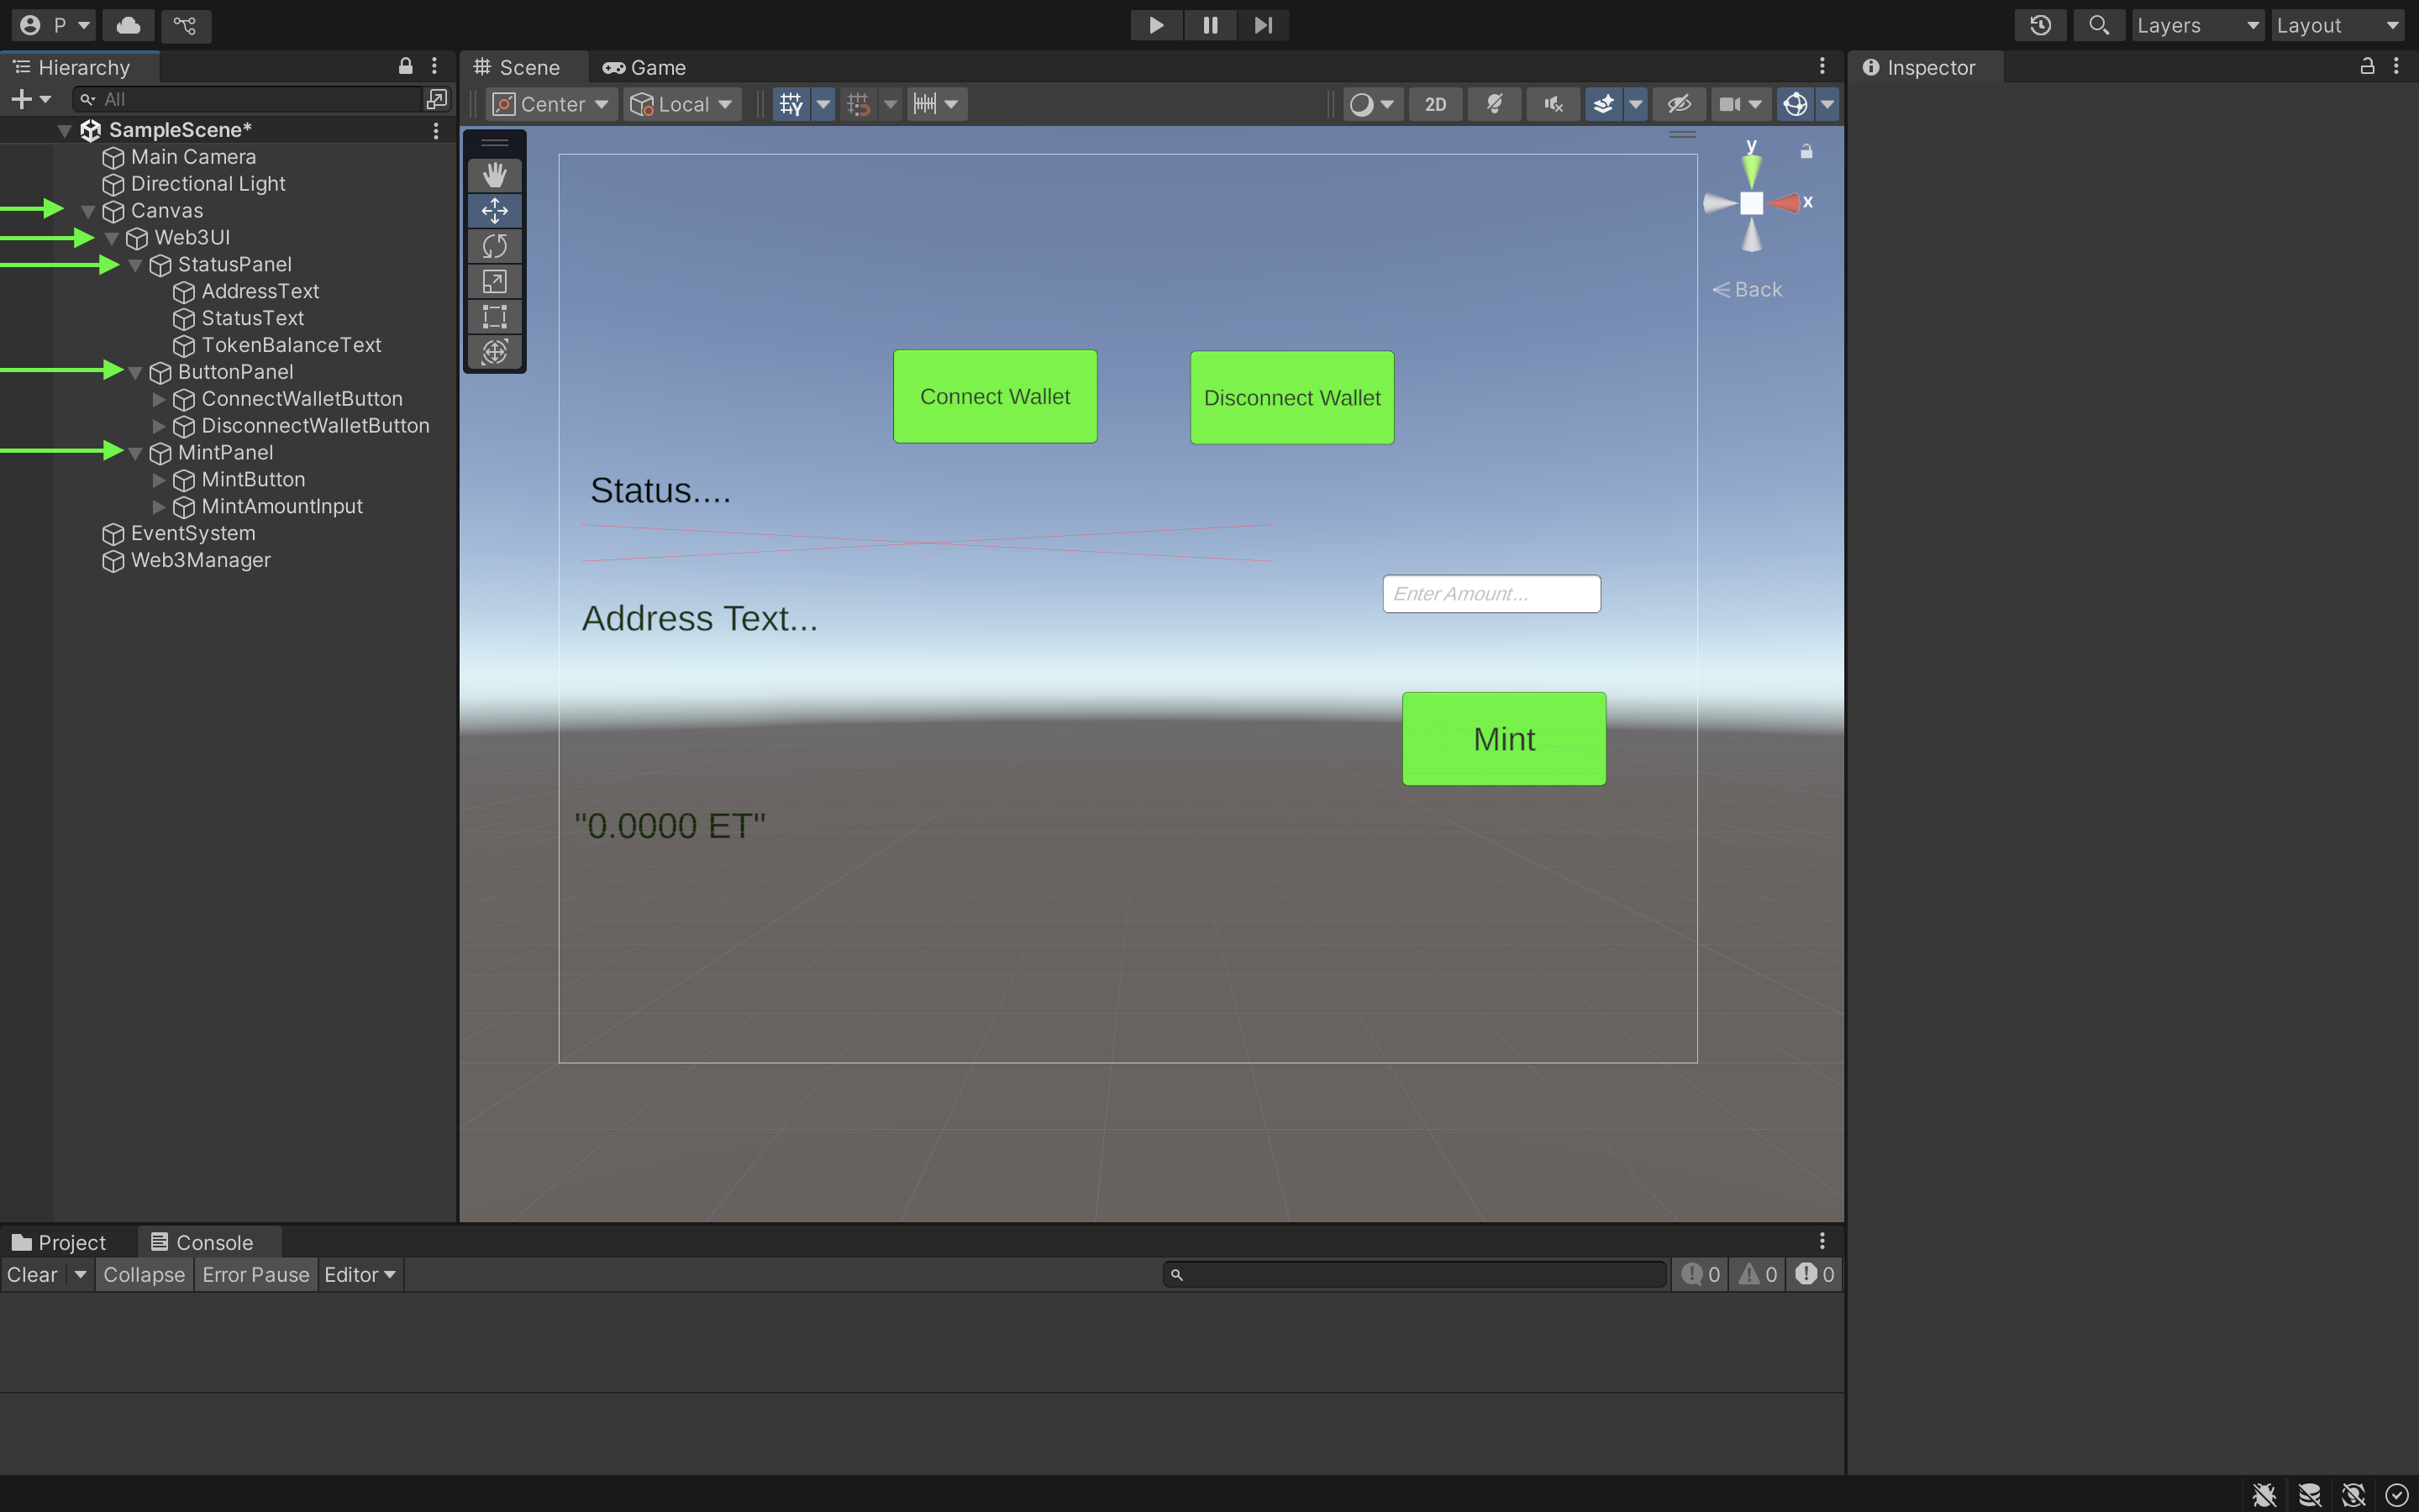
Để sắp xếp các thành phần theo đúng thứ tự như hình trên, bạn phải sắp xếp chúng theo cách thủ công bằng biểu tượng ở phía bên phải khi bạn nhấp vào từng thành phần.