이 페이지는 영문에서 기계 번역되었으므로 오역이나 어색한 표현이 있을 수 있습니다. 따라서 정확한 정보는 영어 원문을 참조하시기 바랍니다. 또한 잦은 업데이트로 인해 일부 콘텐츠는 영문이 그대로 남아있을 수 있습니다. Crowdin에서 이 페이지의 번역을 개선하는 데 동참하여 도움을 주세요. (Crowdin translation page, Contributing guide)
유동성 잠금
소개
암호화폐에서는 유동성 공급자와 투자자 간의 신뢰와 투명성이 필수적입니다. 유동성 잠금은 유동성 풀의 자금을 안전하게 유지하여 러그 풀을 방지하고 투자자에게 예기치 않은 위험 없이 거래할 수 있다는 확신을 줍니다.
팀 파이낸스의 유동성 잠금 기능은 유동성 공급자(LP) 토큰이 설정된 기간 동안 유동성 풀에 안전하게 잠겨 있도록 합니다. 이는 LP 토큰을 시간 제한 스마트 컨트랙트로 전송하여 달성할 수 있습니다.
유동성 잠금을 사용하면 토큰 보유자는 다음과 같이 할 수 있습니다:
- 자금 잠금 해제를 위한 특정 기간을 정의합니다,
- 소유자 주소와 만료일이 다른 여러 개의 잠금을 만들거나
- 잠금 소유권을 다른 지갑으로 이전합니다.
노트
잠금 기간 동안 토큰 보유자는 잠긴 토큰에 액세스할 수 없습니다.
잠금 기간이 종료되면 토큰 보유자는 '클레임' 대시보드를 통해 LP 토큰을 회수할 수 있습니다. 이러한 토큰은 드래곤스왑과 같은 탈중앙화 거래소(DEX)에서 유동성 풀에 있는 페어링된 토큰(예: WKLAY/USDT)으로 교환할 수 있습니다.
시작하기
이 튜토리얼에서는 팀 재정을 사용하여 유동성을 고정하는 방법을 알아보세요. 시작해보자!
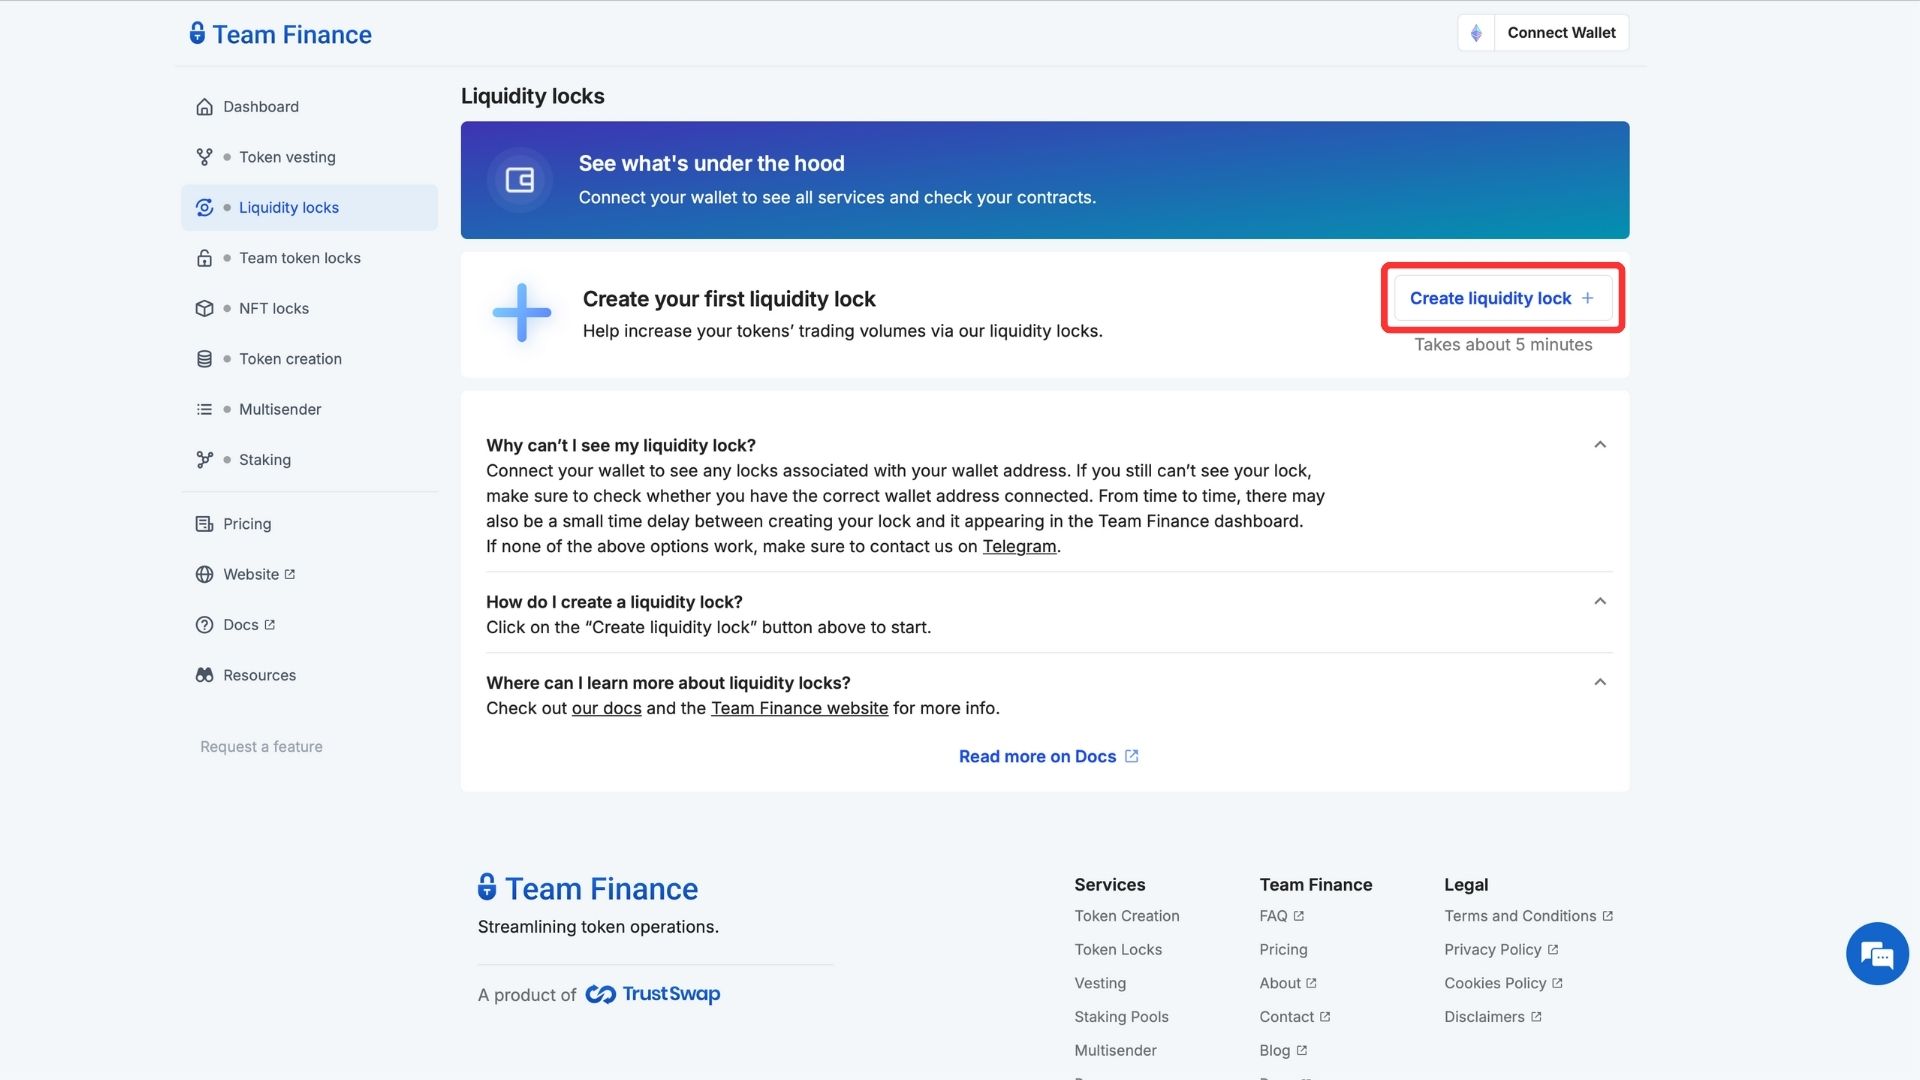
- 팀 재무 유동성 잠금으로 이동하여 유동성 잠금 만들기를 클릭합니다.
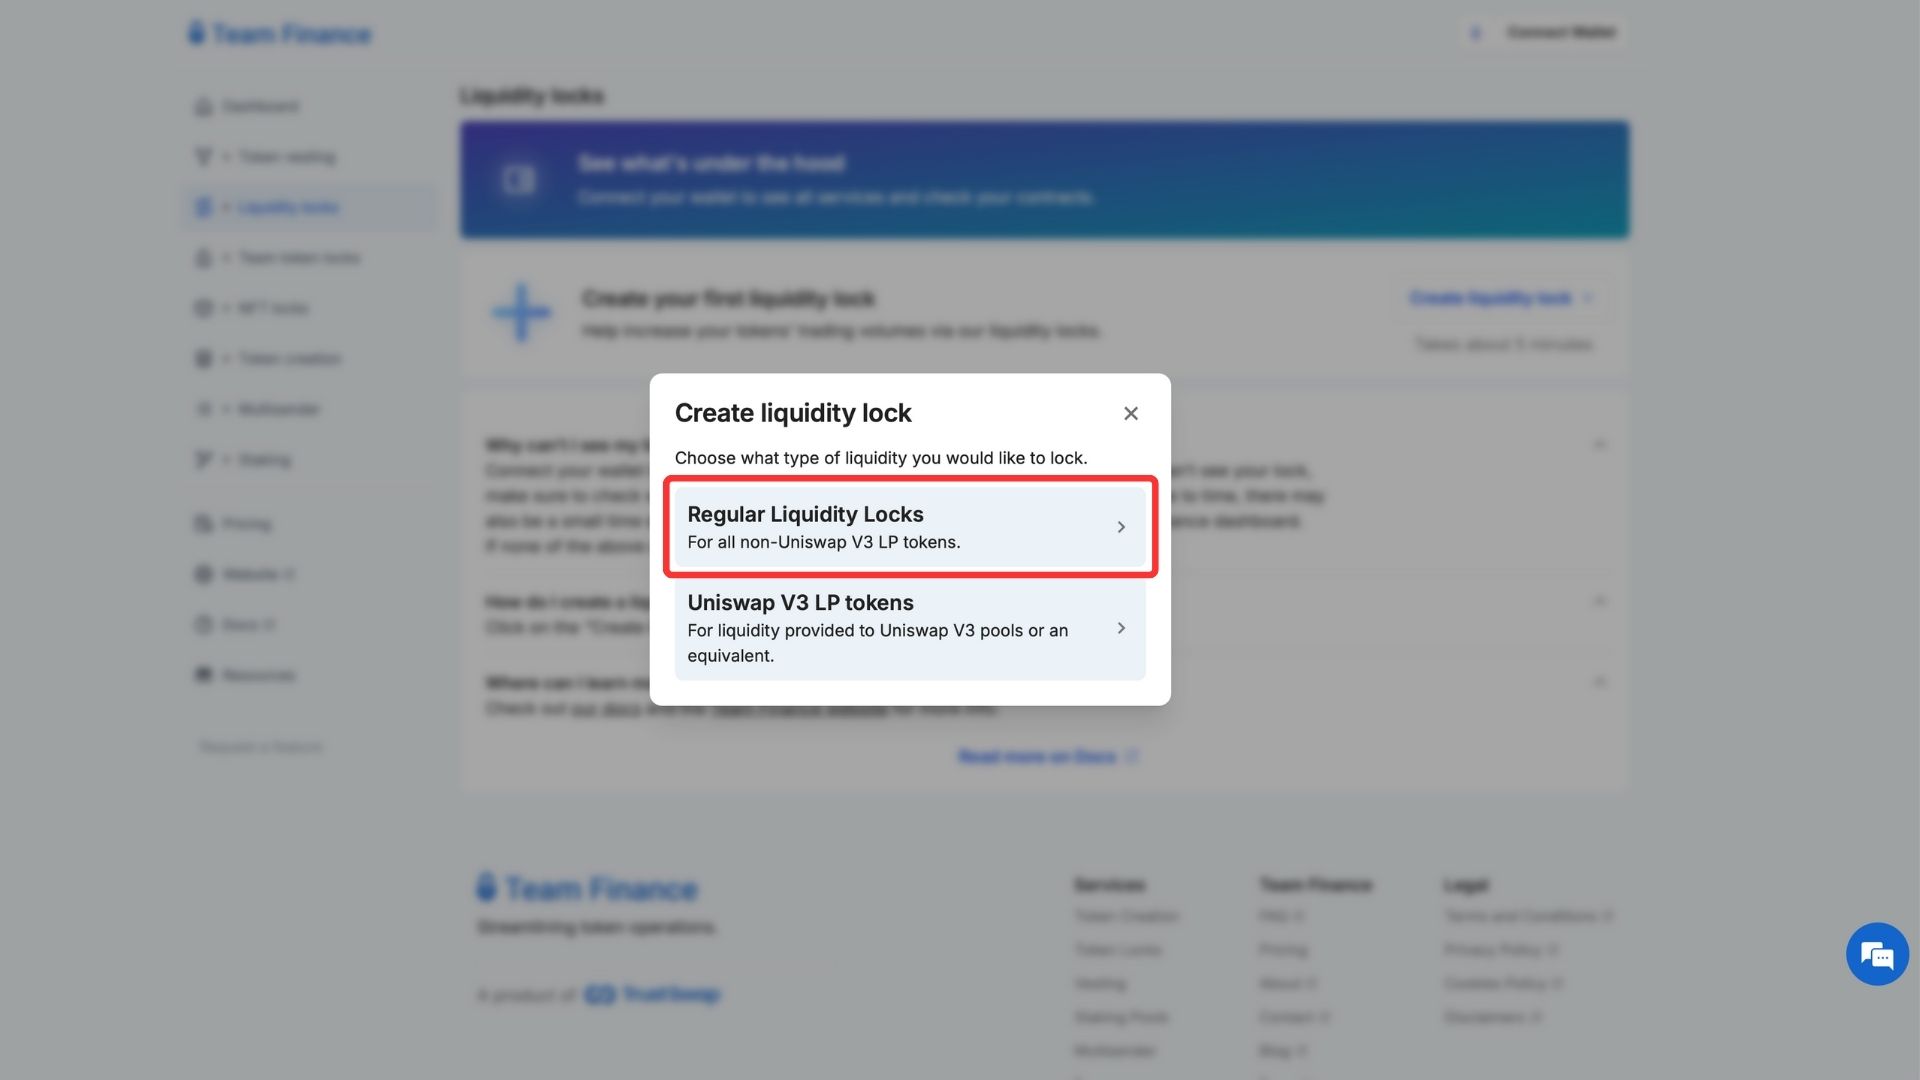
- 팝업 메뉴에서 정기 유동성 잠금을 선택합니다.
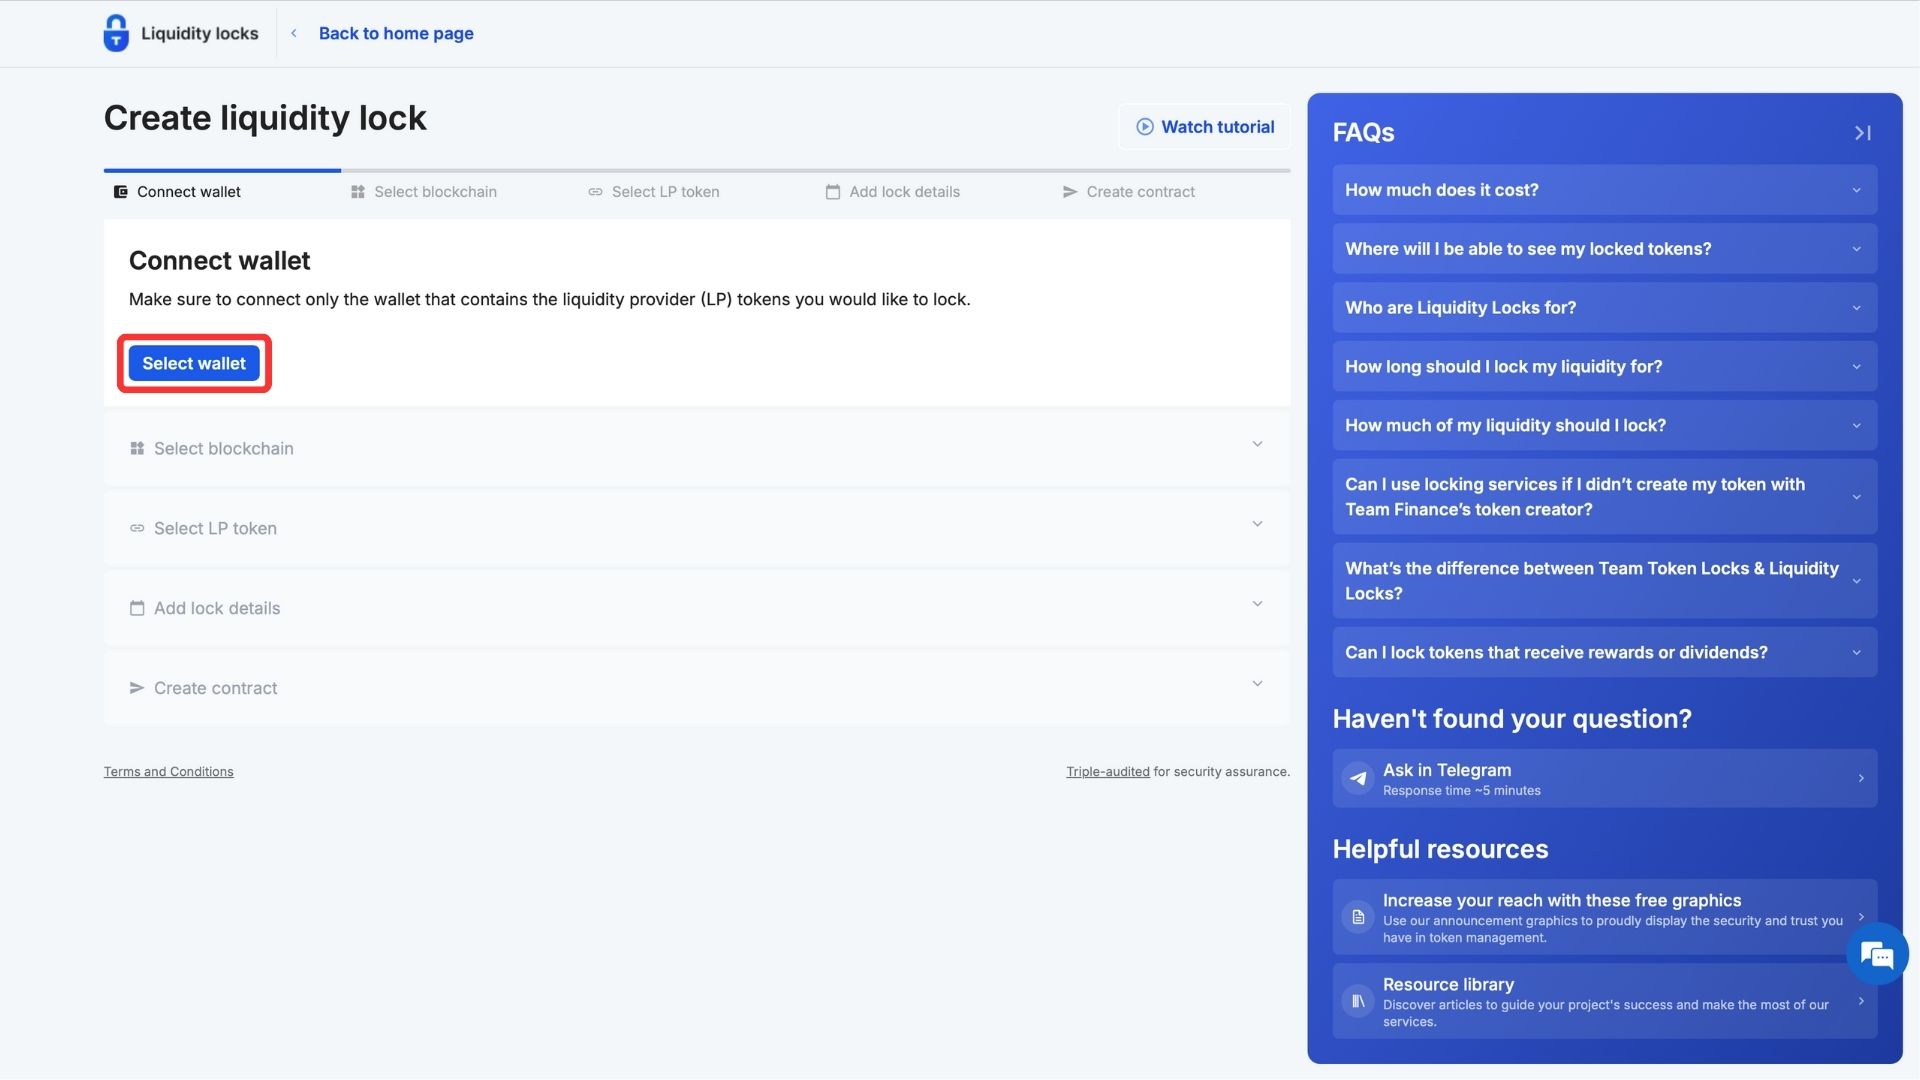
- 지갑을 지갑 선택을 클릭하고 계속을 클릭하여 팀 재무에 지갑을 연결합니다.
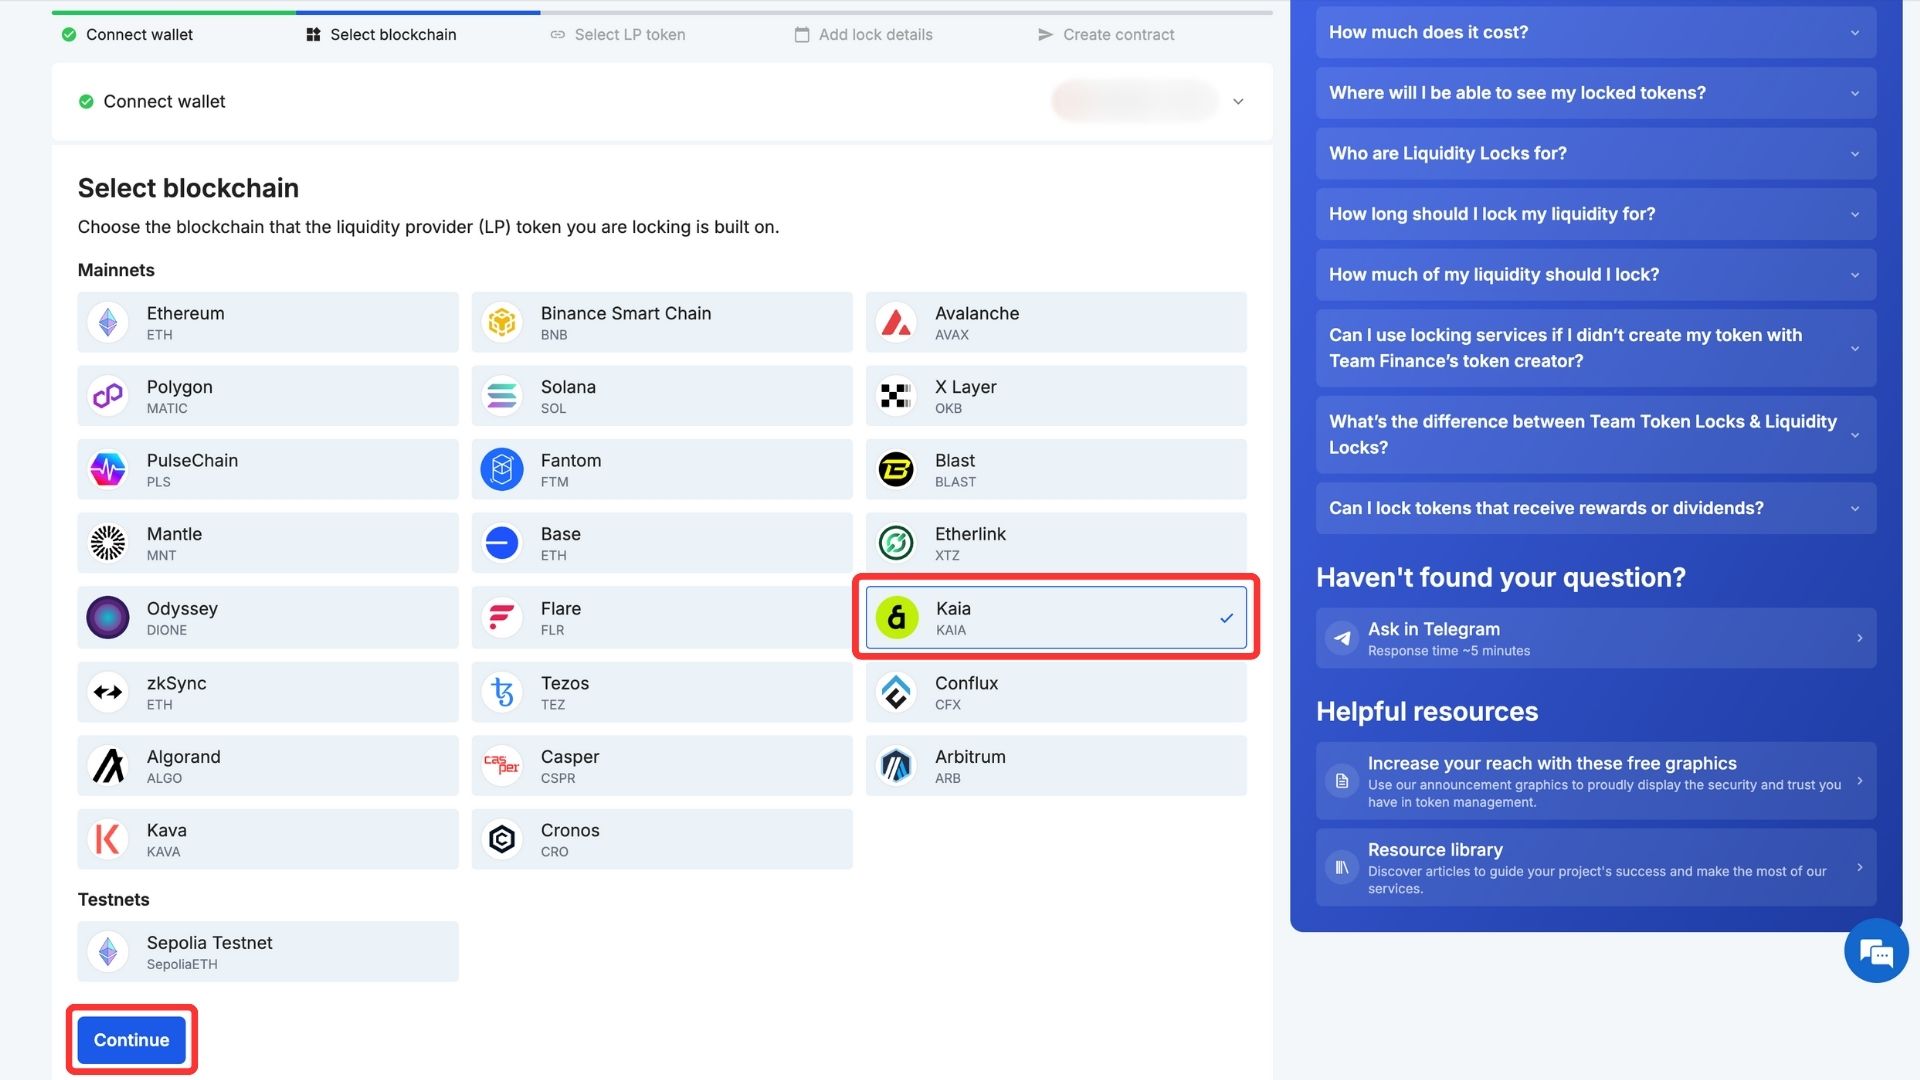
- 블록체인 네트워크 아래에서 Kaia를 선택하고 계속하기를 클릭합니다.
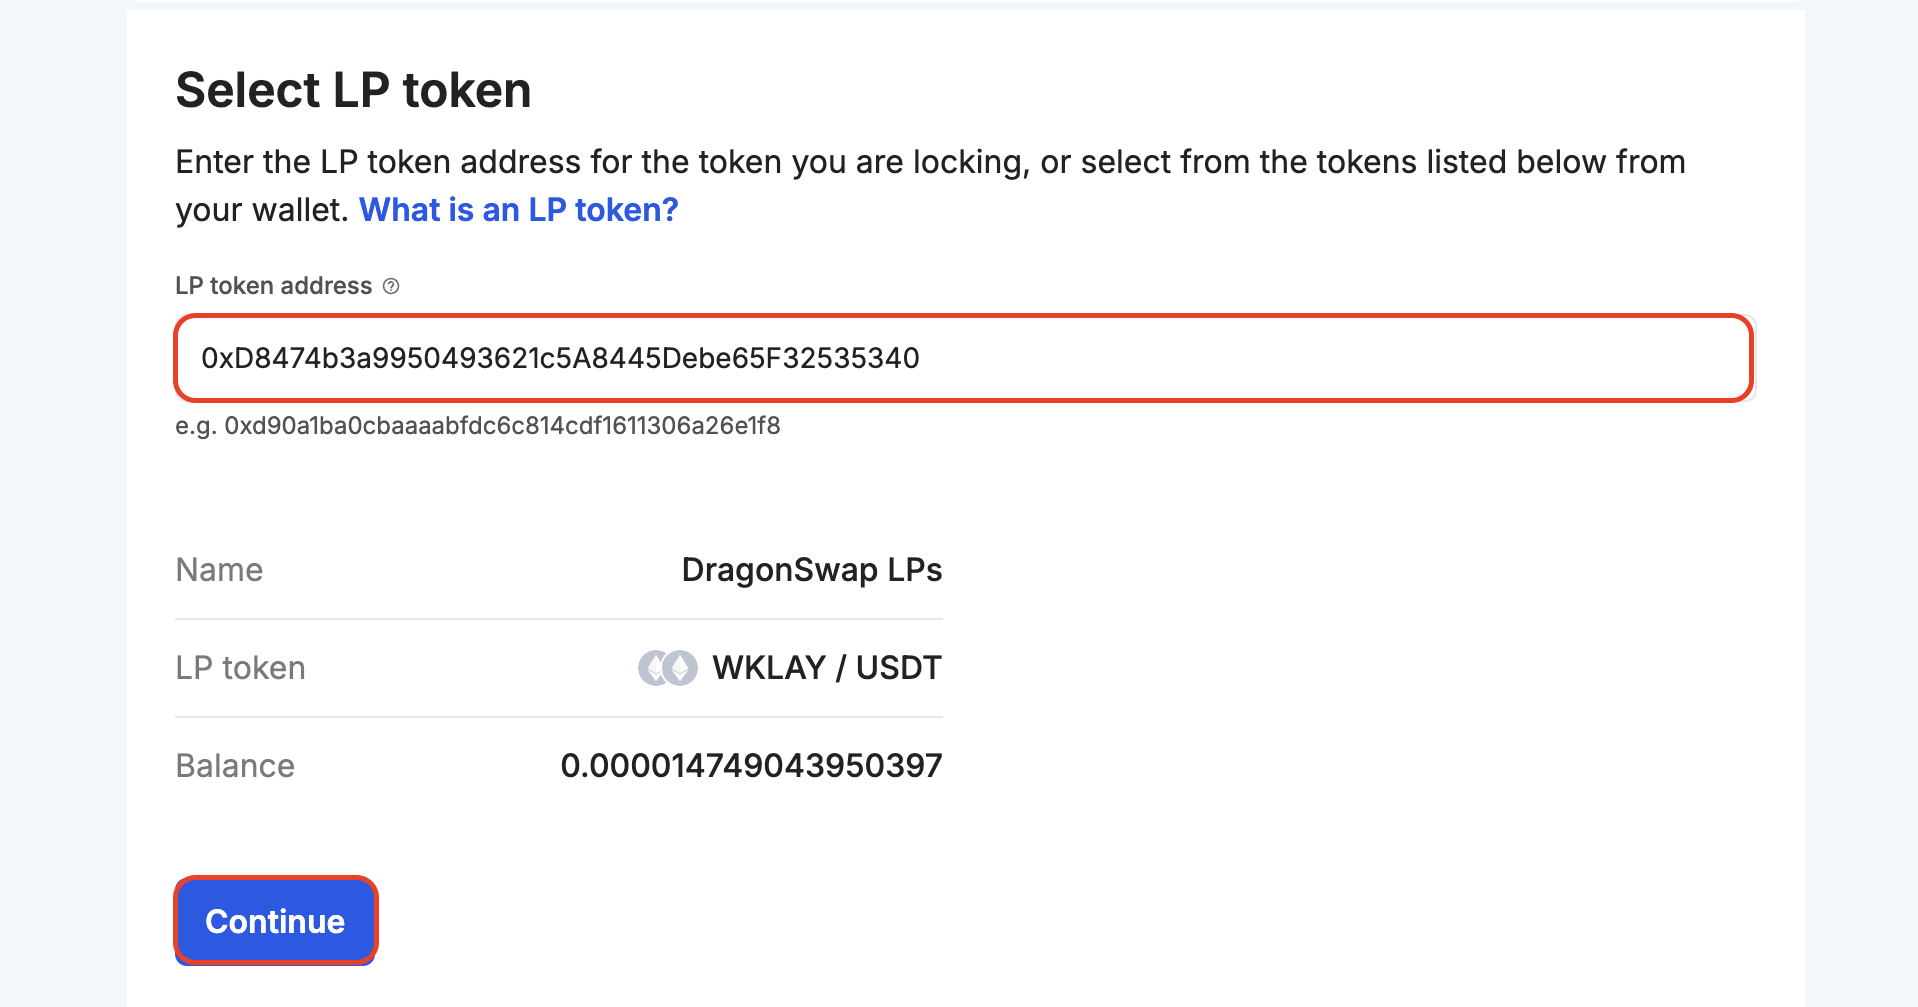
- 입력 필드에 LP 토큰 주소를 입력하고 계속하기를 클릭합니다.
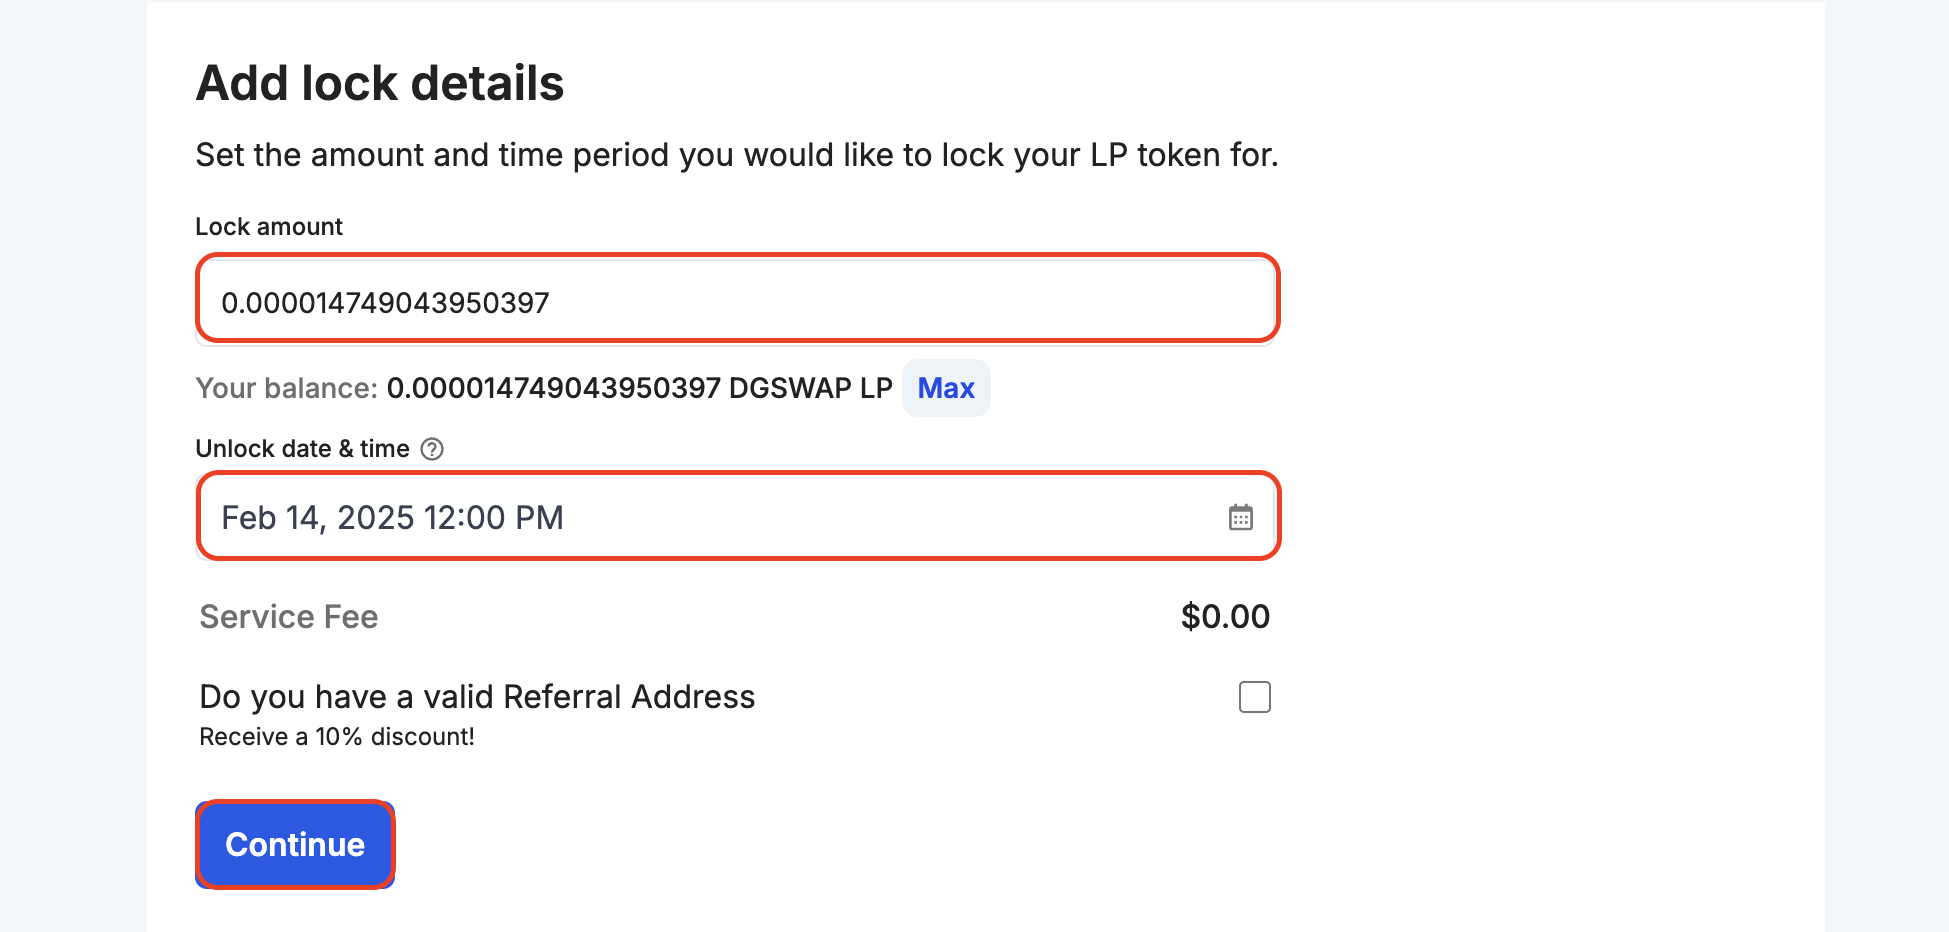
- 각 입력 필드에 LP 토큰을 잠글 금액과 기간을 설정하고 계속하기를 클릭합니다.
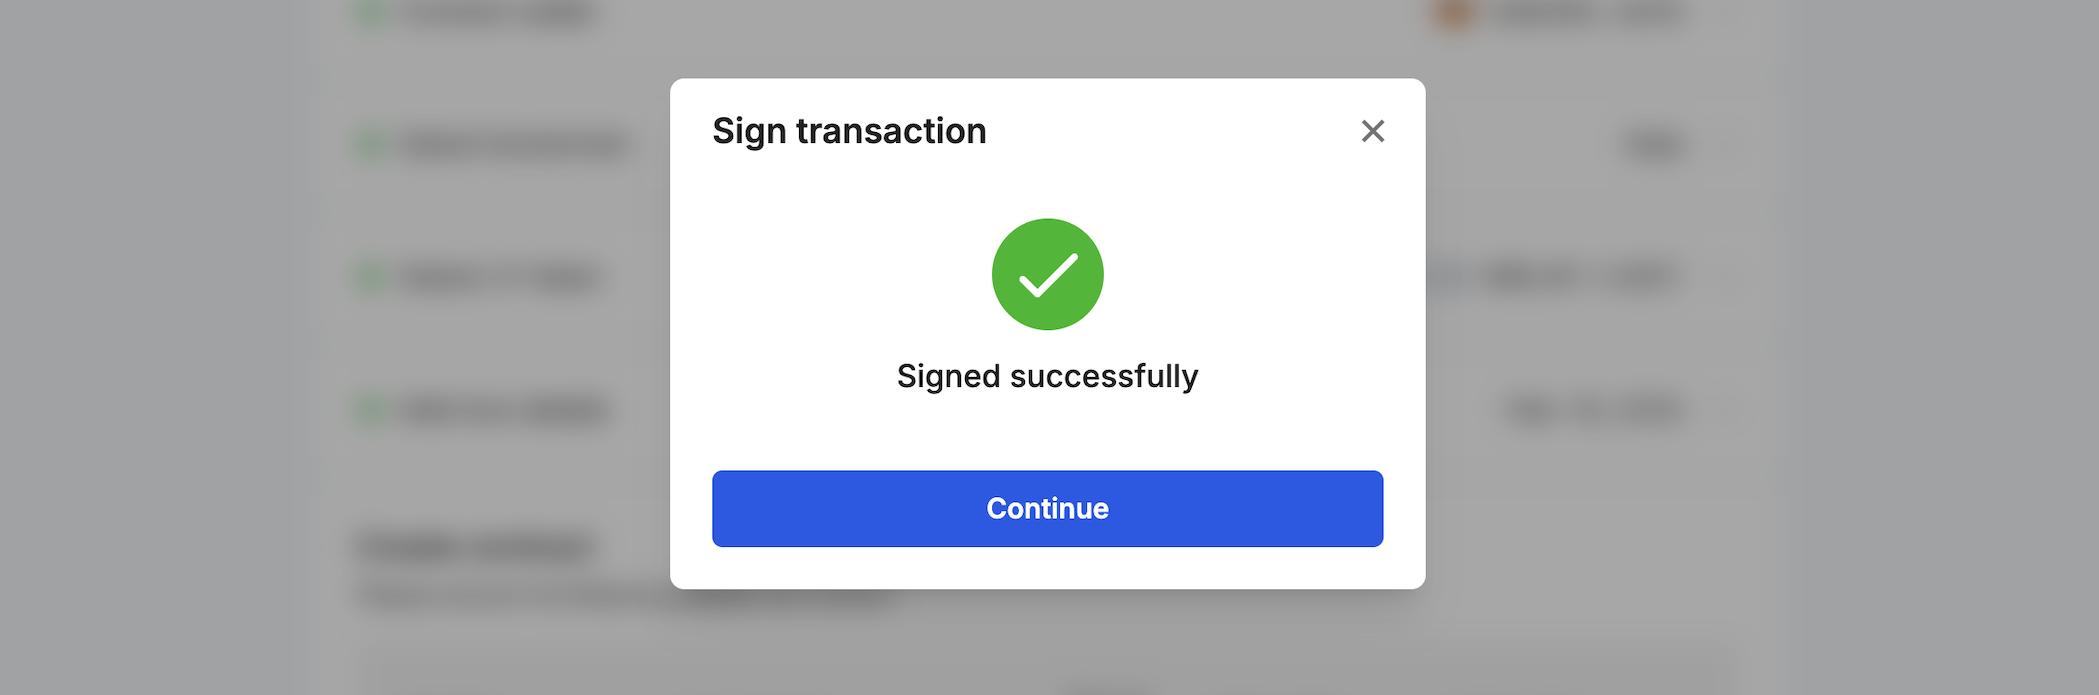
- 권한 부여**를 클릭하여 LP 토큰을 잠글 수 있는 권한을 부여하세요.

그러면 인증 거래에 서명하라는 메시지가 표시됩니다.
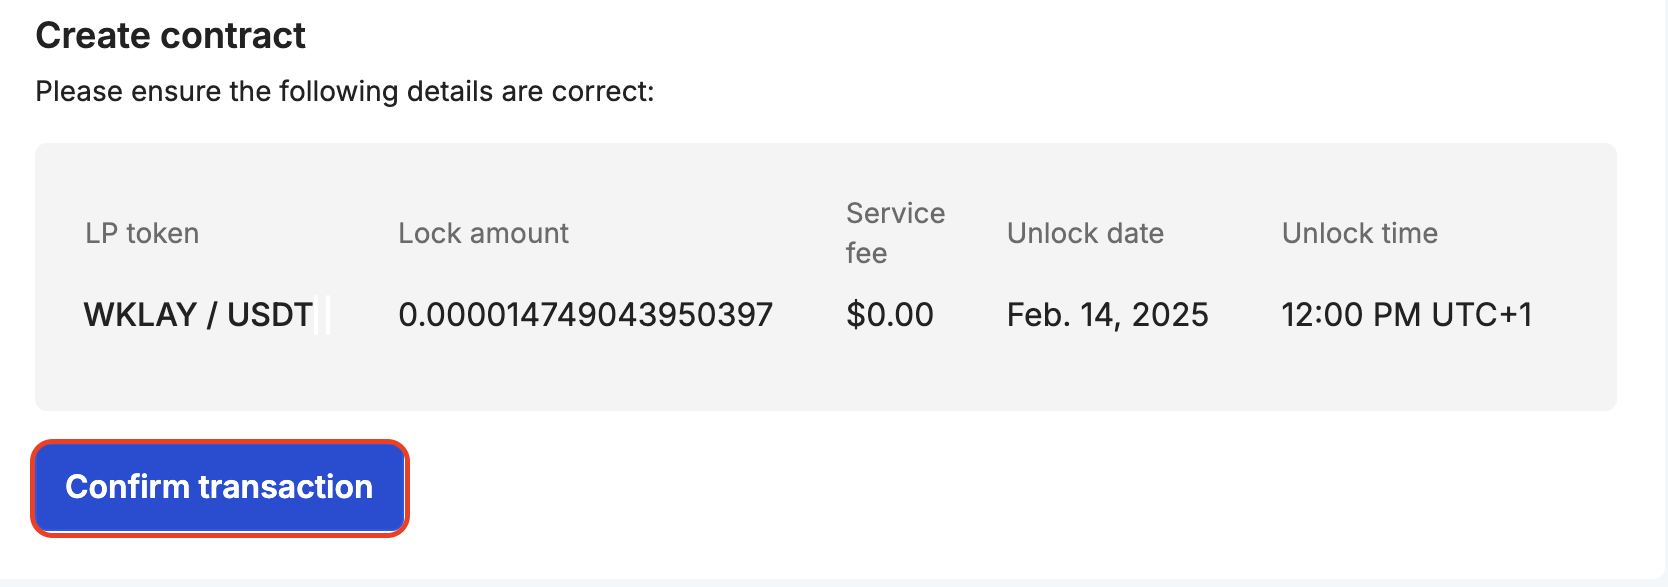
- 유동성 잠금 정보를 확인한 다음 거래 확인을 클릭합니다. 지갑에 거래에 서명하여 프로세스를 완료하라는 메시지가 표시됩니다.
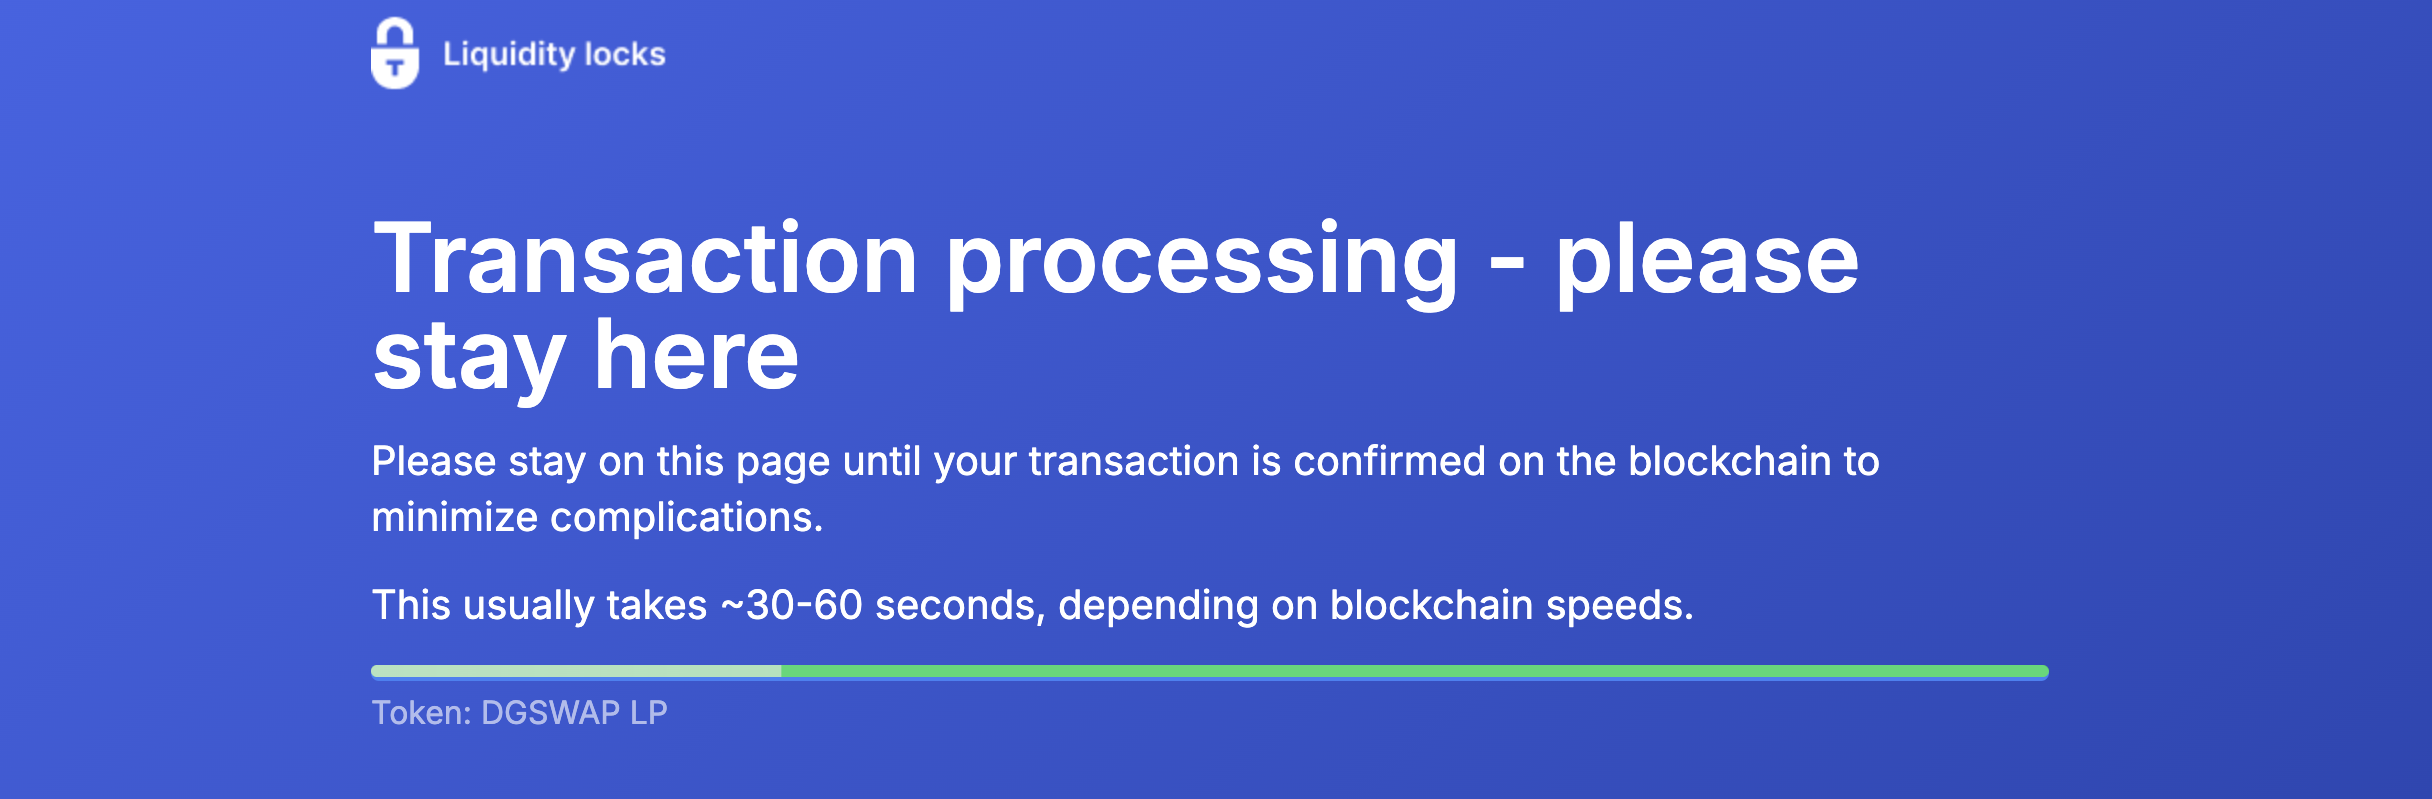
- 확인이 완료되면 거래 상태를 보여주는 페이지로 다시 연결됩니다. 거래가 확정될 때까지 페이지에서 다른 곳으로 이동하지 마세요.
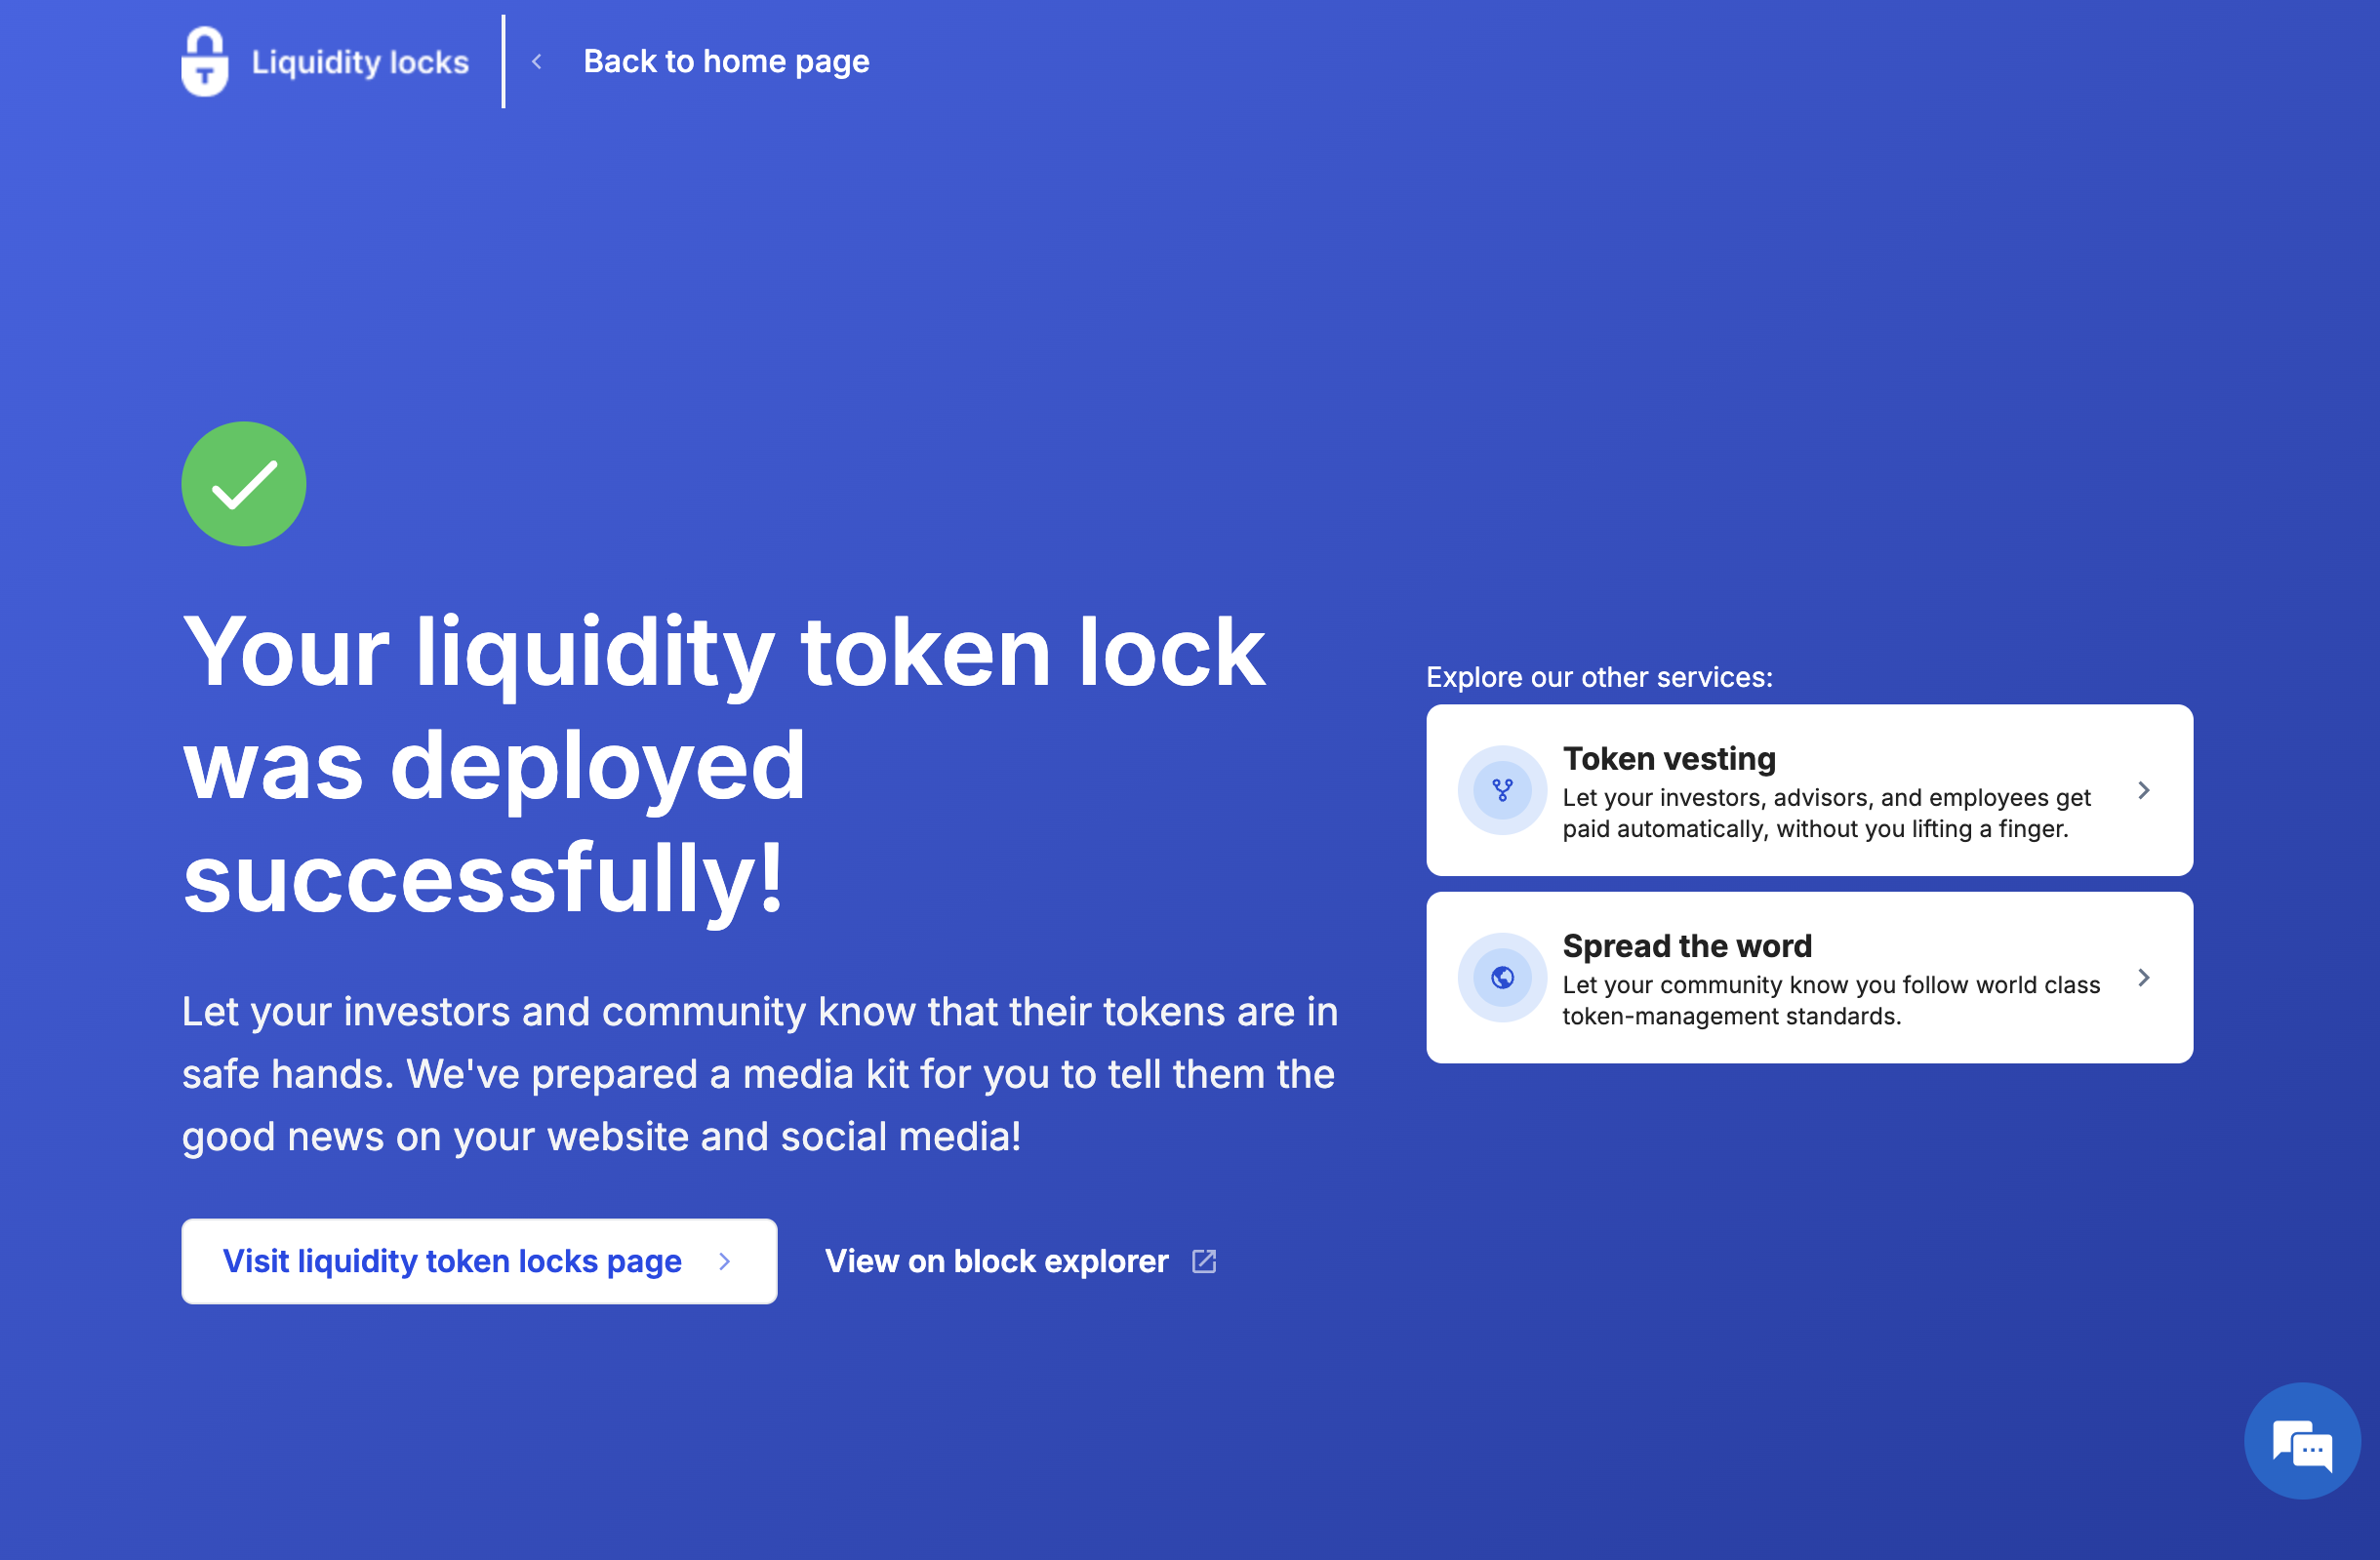
- 축하합니다! 팀 재정을 사용하여 유동성 잠금을 성공적으로 만들었습니다. 대시보드에서 잠금에 대한 세부 정보를 확인하고 진행 상황을 추적할 수 있습니다.
