UIクリエーション
このセクションでは、dAppのユーザー・インターフェースを構築する! 私たちは、ステータス更新、アクション、造幣機能のための3つのメインパネルを備えた構造化されたUIシステムを作成します。
メイン・キャンバスの設定
まず、ベースとなるキャンバスを作りましょう:
- 階層ウィンドウで、"Sample Scene "を右クリックします。
- GameObject → UI → Canvasに移動します。
Web3UIコンテナの作成
- 新しいキャンバスを右クリックします。
- Create Empty」を選択する。
- 名前を "Web3UI "に変更する。
メインパネルの設定
Web3UIの中に、3つのパネルオブジェクトを作成します:
- Web3UIを右クリックし、"Create Empty "を選択する。
- これらのパネルを作成し、名前を変更する:
- StatusPanel - dAppの情報表示
- ButtonPanel - ユーザーとのインタラクション用
- MintPanel - トークン造幣機能用
パネル・コンポーネントの作成
StatusPanel コンポーネント
このパネルには、Web3の重要な情報がすべて表示されます:
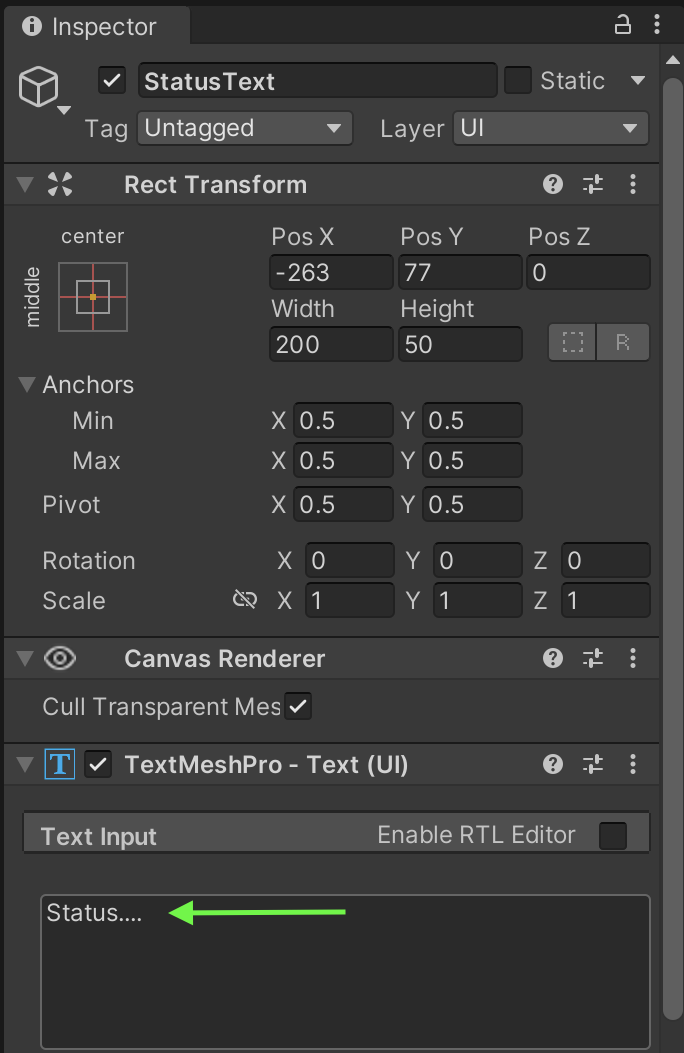
- StatusPanelを右クリックし、UI → Text - TextMeshProをクリックし、StatusTextにリネームする。 インスペクタペインの "テキスト入力 "フィールド(例:"Status...")に必ず入力してください。
テキストメッシュプロ(TMP)のセットアップについて
TextMeshProエレメントを初めて作成するとき(UI - Text - TextMeshPro)、Unityは自動的にTMP Essentialsをインポートするよう促します。 誤ってこのプロンプトをスキップしてしまった場合は、Window > TextMeshPro > Import TMP Essentialsから手動でインポートすることができます。
これが必要な理由TextMeshProは、ゲーム内でテキストを適切に表示するために、コアリソース(シェーダー、デフォルトフォント、マテリアル)を必要とします。 これらの必需品がないと、テキストコンポーネントが正しくレンダリングされず、プロジェクトでシェーダーやマテリアルのエラーが発生します。 これは、テキストを正しく動作させるために必要な1回限りのセットアップである。
- StatusPanelを右クリックし、UI → Text - TextMeshProをクリックし、AddressTextにリネームする。 テキスト・オブジェクトを必ず入力してください(例:"Address Text...")。
- StatusPanel を右クリックし、UI → Text - TextMeshPro をクリックし、TokenBalanceText にリネームする。 テキストオブジェクトを必ず入力してください。例:"0.0000 ET"
├── StatusText (TextMeshPro)│ └── Default: "Status..."├── AddressText (TextMeshPro)│ └── Default: "Address Text..."└── TokenBalanceText (TextMeshPro) └── Default: "0.0000 ET"
ボタンパネル・コンポーネント
あなたの主な対話ボタン
-
ButtonPanelを右クリックし、UI → Button - TextMeshProをクリックし、ConnectWalletButtonに名前を変更します。 インスペクタペインの "テキスト入力 "フィールドに "Connect Wallet "と入力してください。
-
ButtonPanelを右クリックし、UI → Button - TextMeshProをクリックし、名前をDisconnectWalletButtonに変更します。 インスペクタペインの "テキスト入力 "フィールドに "Disconnect Wallet "と入力してください。
ButtonPanel├── ConnectWalletButton (Button - TextMeshPro)│ └── Text: "Connect Wallet"├�── DisconnectWalletButton (Button - TextMeshPro)│ └── Text: "Disconnect Wallet"
MintPanelコンポーネント
トークンの造幣インターフェース:
- MintPanelを右クリックし、UI → Input Field → TextMeshProをクリックし、MintAmountInputにリネームする。 プレースホルダー・オブジェクトを必ず "Enter Amount…" で埋めてください。
- MintPanelを右クリックし、UI → Button → TextMeshProをクリックし、MintButtonにリネームする。 テキスト・オブジェクトは必ず "Mint "で埋めてください。
MintPanel├── MintAmountInput (Input Field - TextMeshPro)│ └── Placeholder: "Enter Amount..."└── MintButton (Button - TextMeshPro) └── Text: "Mint"
すべてのコンポーネントを作成した後、階層は次のようになります:
Canvas└── Web3UI ├── StatusPanel ├── ButtonPanel └── MintPanel
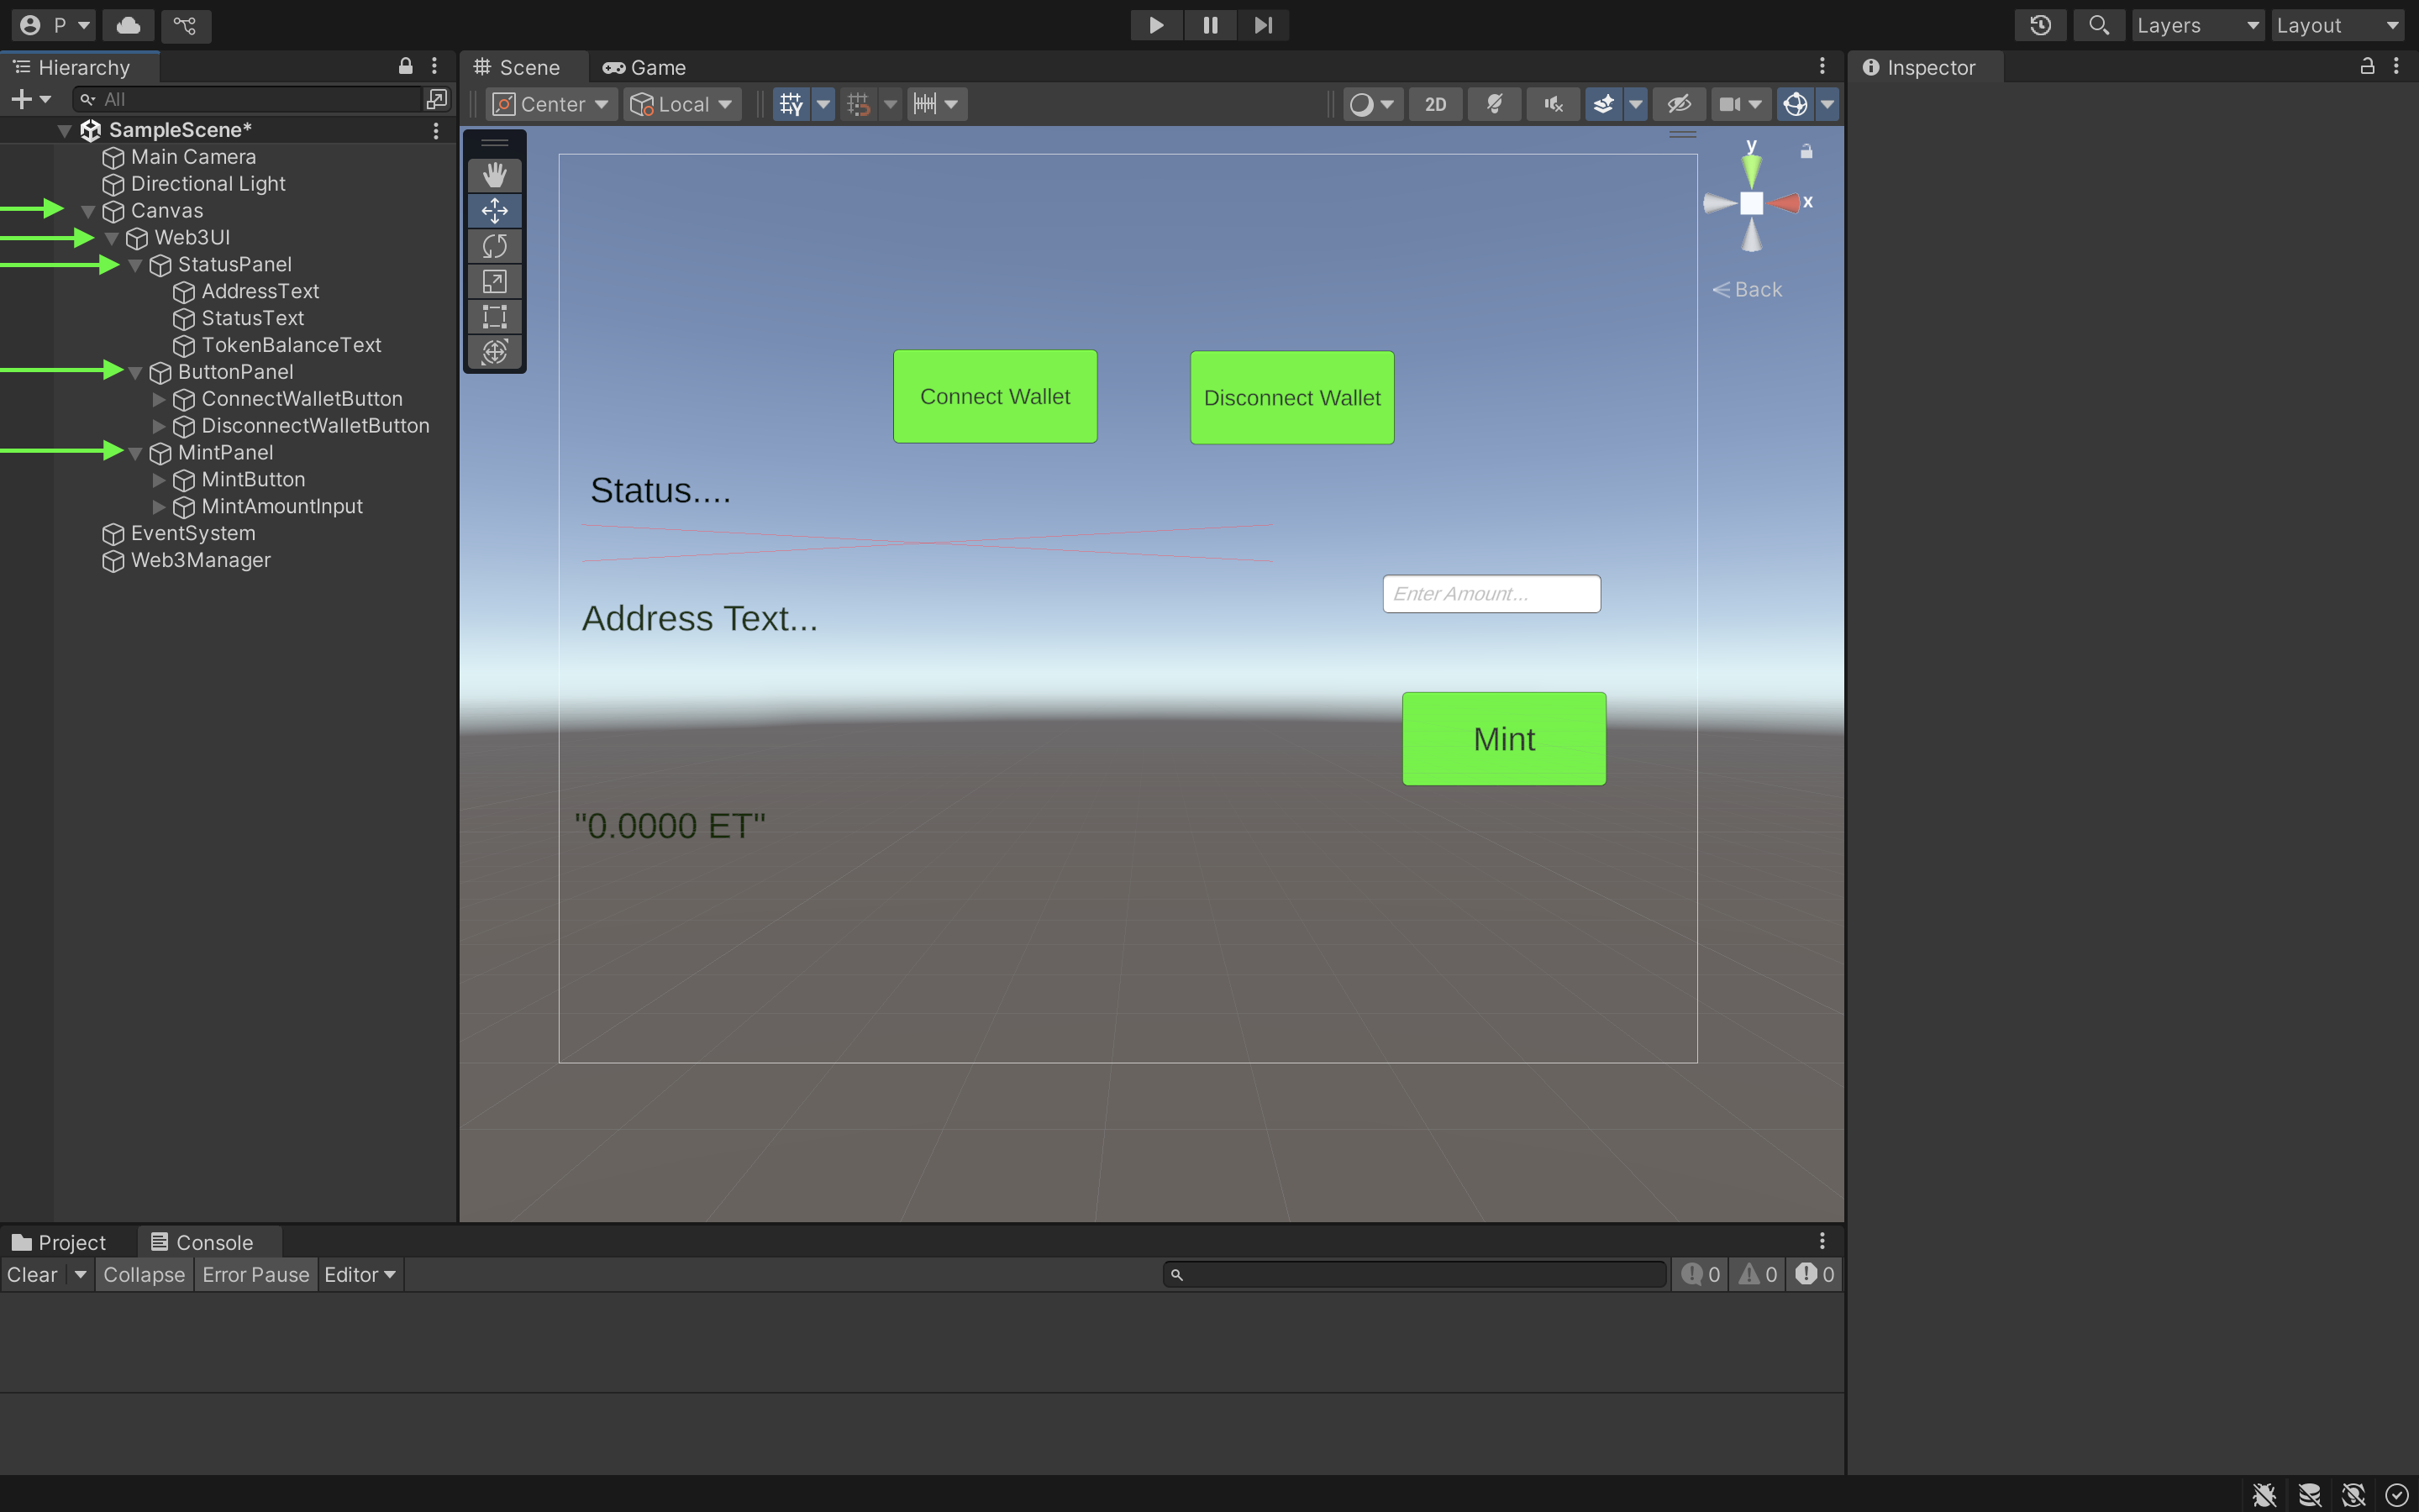
上の画像のようにコンポーネントをうまく配置するには、各コンポーネントをクリックしたときに右側にあるアイコンを使って手動で配置する必要がある。