このページは英語からの機械翻訳を使用しており、誤りや不明瞭な表現が含まれている可能性があります。最も正確な情報については、オリジナルの英語版をご覧ください。頻繁な更新のため、一部のコンテンツはオリジナルの英語になっている可能性があります。Crowdinでの取り組みに参加して、このページの翻訳改善にご協力ください。 (Crowdin translation page, Contributing guide)
LINE LIFFに変換
このセクションでは、作成したアプリをLINE LIFF(LINE Front-end Framework)アプリとして変換、統合、デプロイし、LINEエコシステム内でシームレスにアクセスできるようにする手順を説明します。
始めよう!
ステップ1:LIFFアプリの作成
まず、LINEエコシステムにアプリをセットアップしよう:
-
LINE Developers コンソールのセットアップ:
- LINEデベロッパーズコンソールをご覧ください。
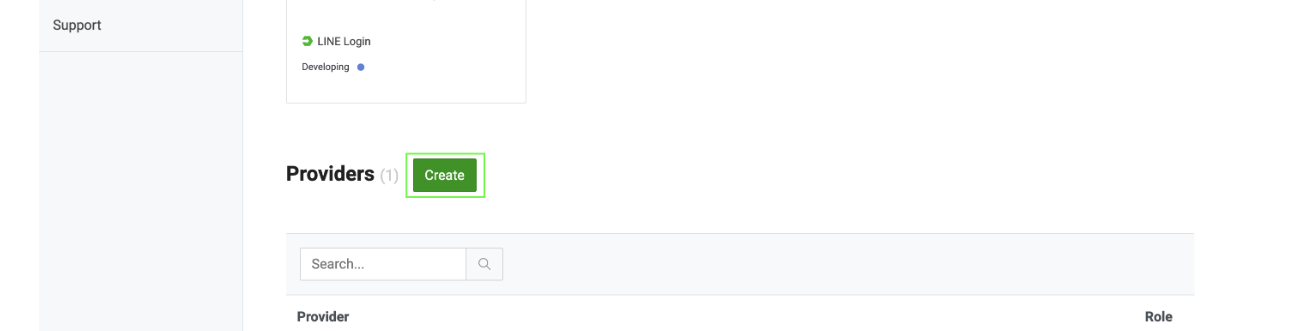
- プロバイダを作成します(すでにプロバイダをお持ちの場合はスキップしてください)。
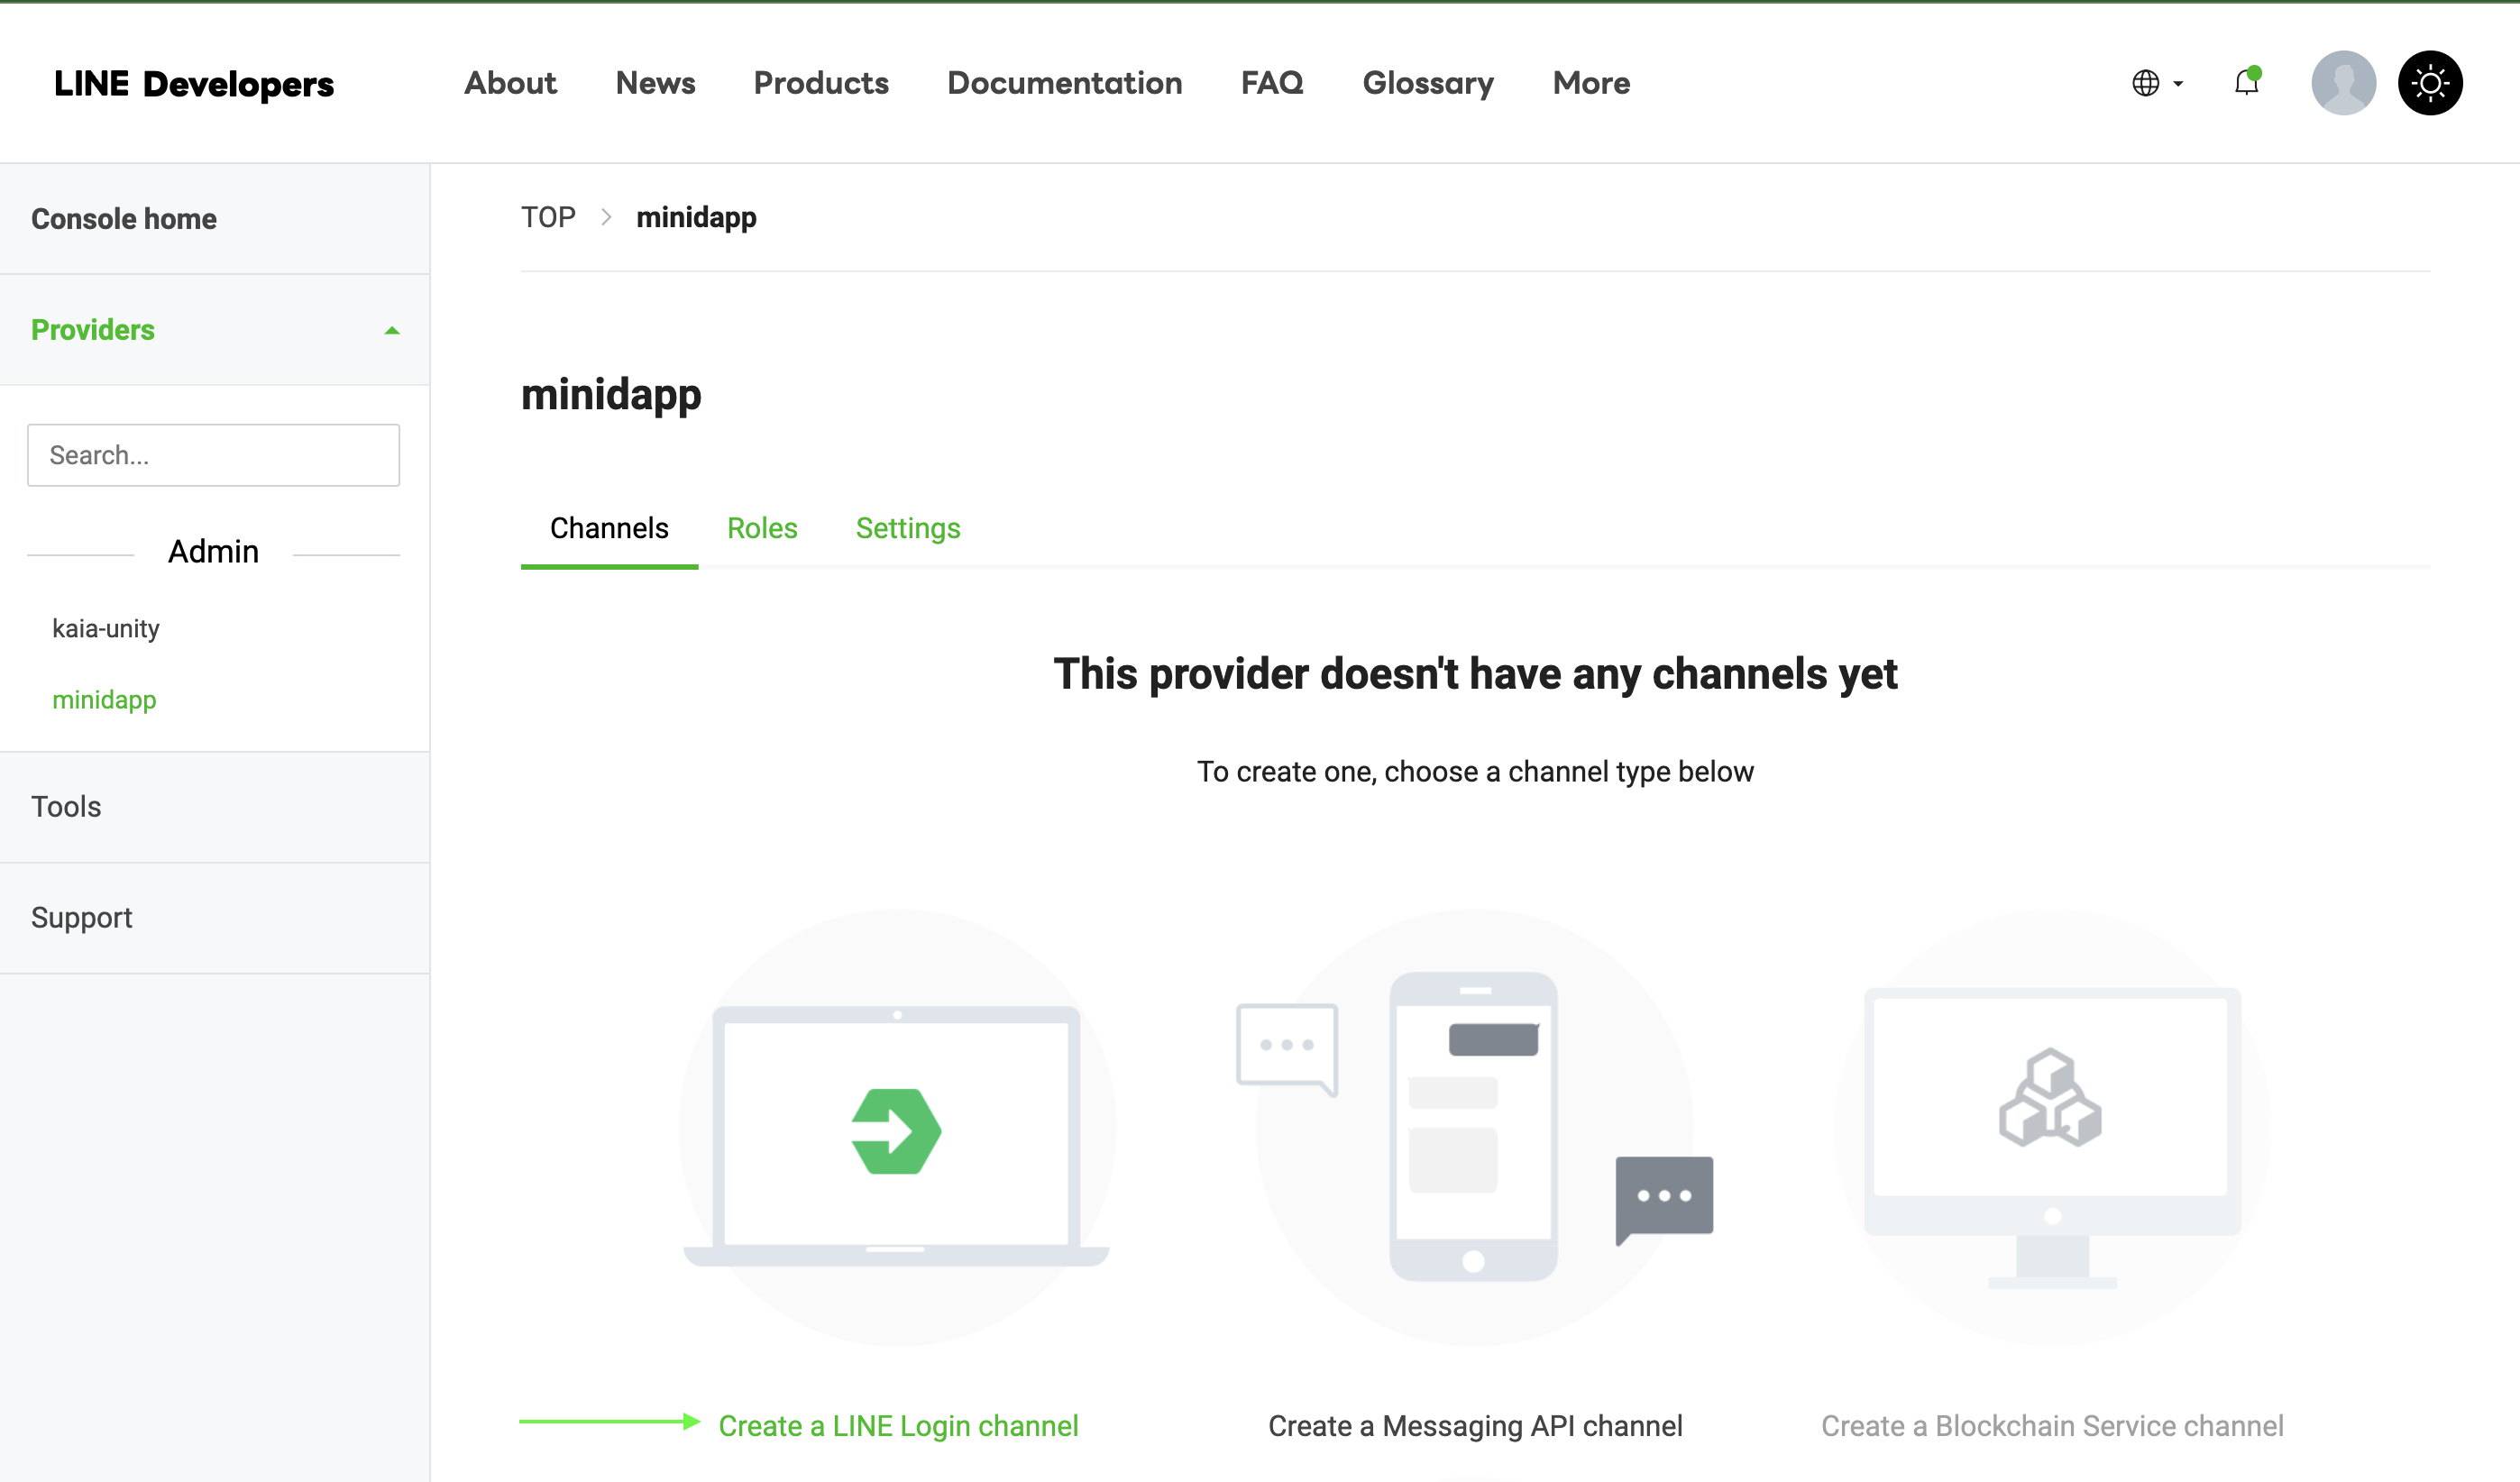
- 新しいLINEログインチャンネルを作成する。
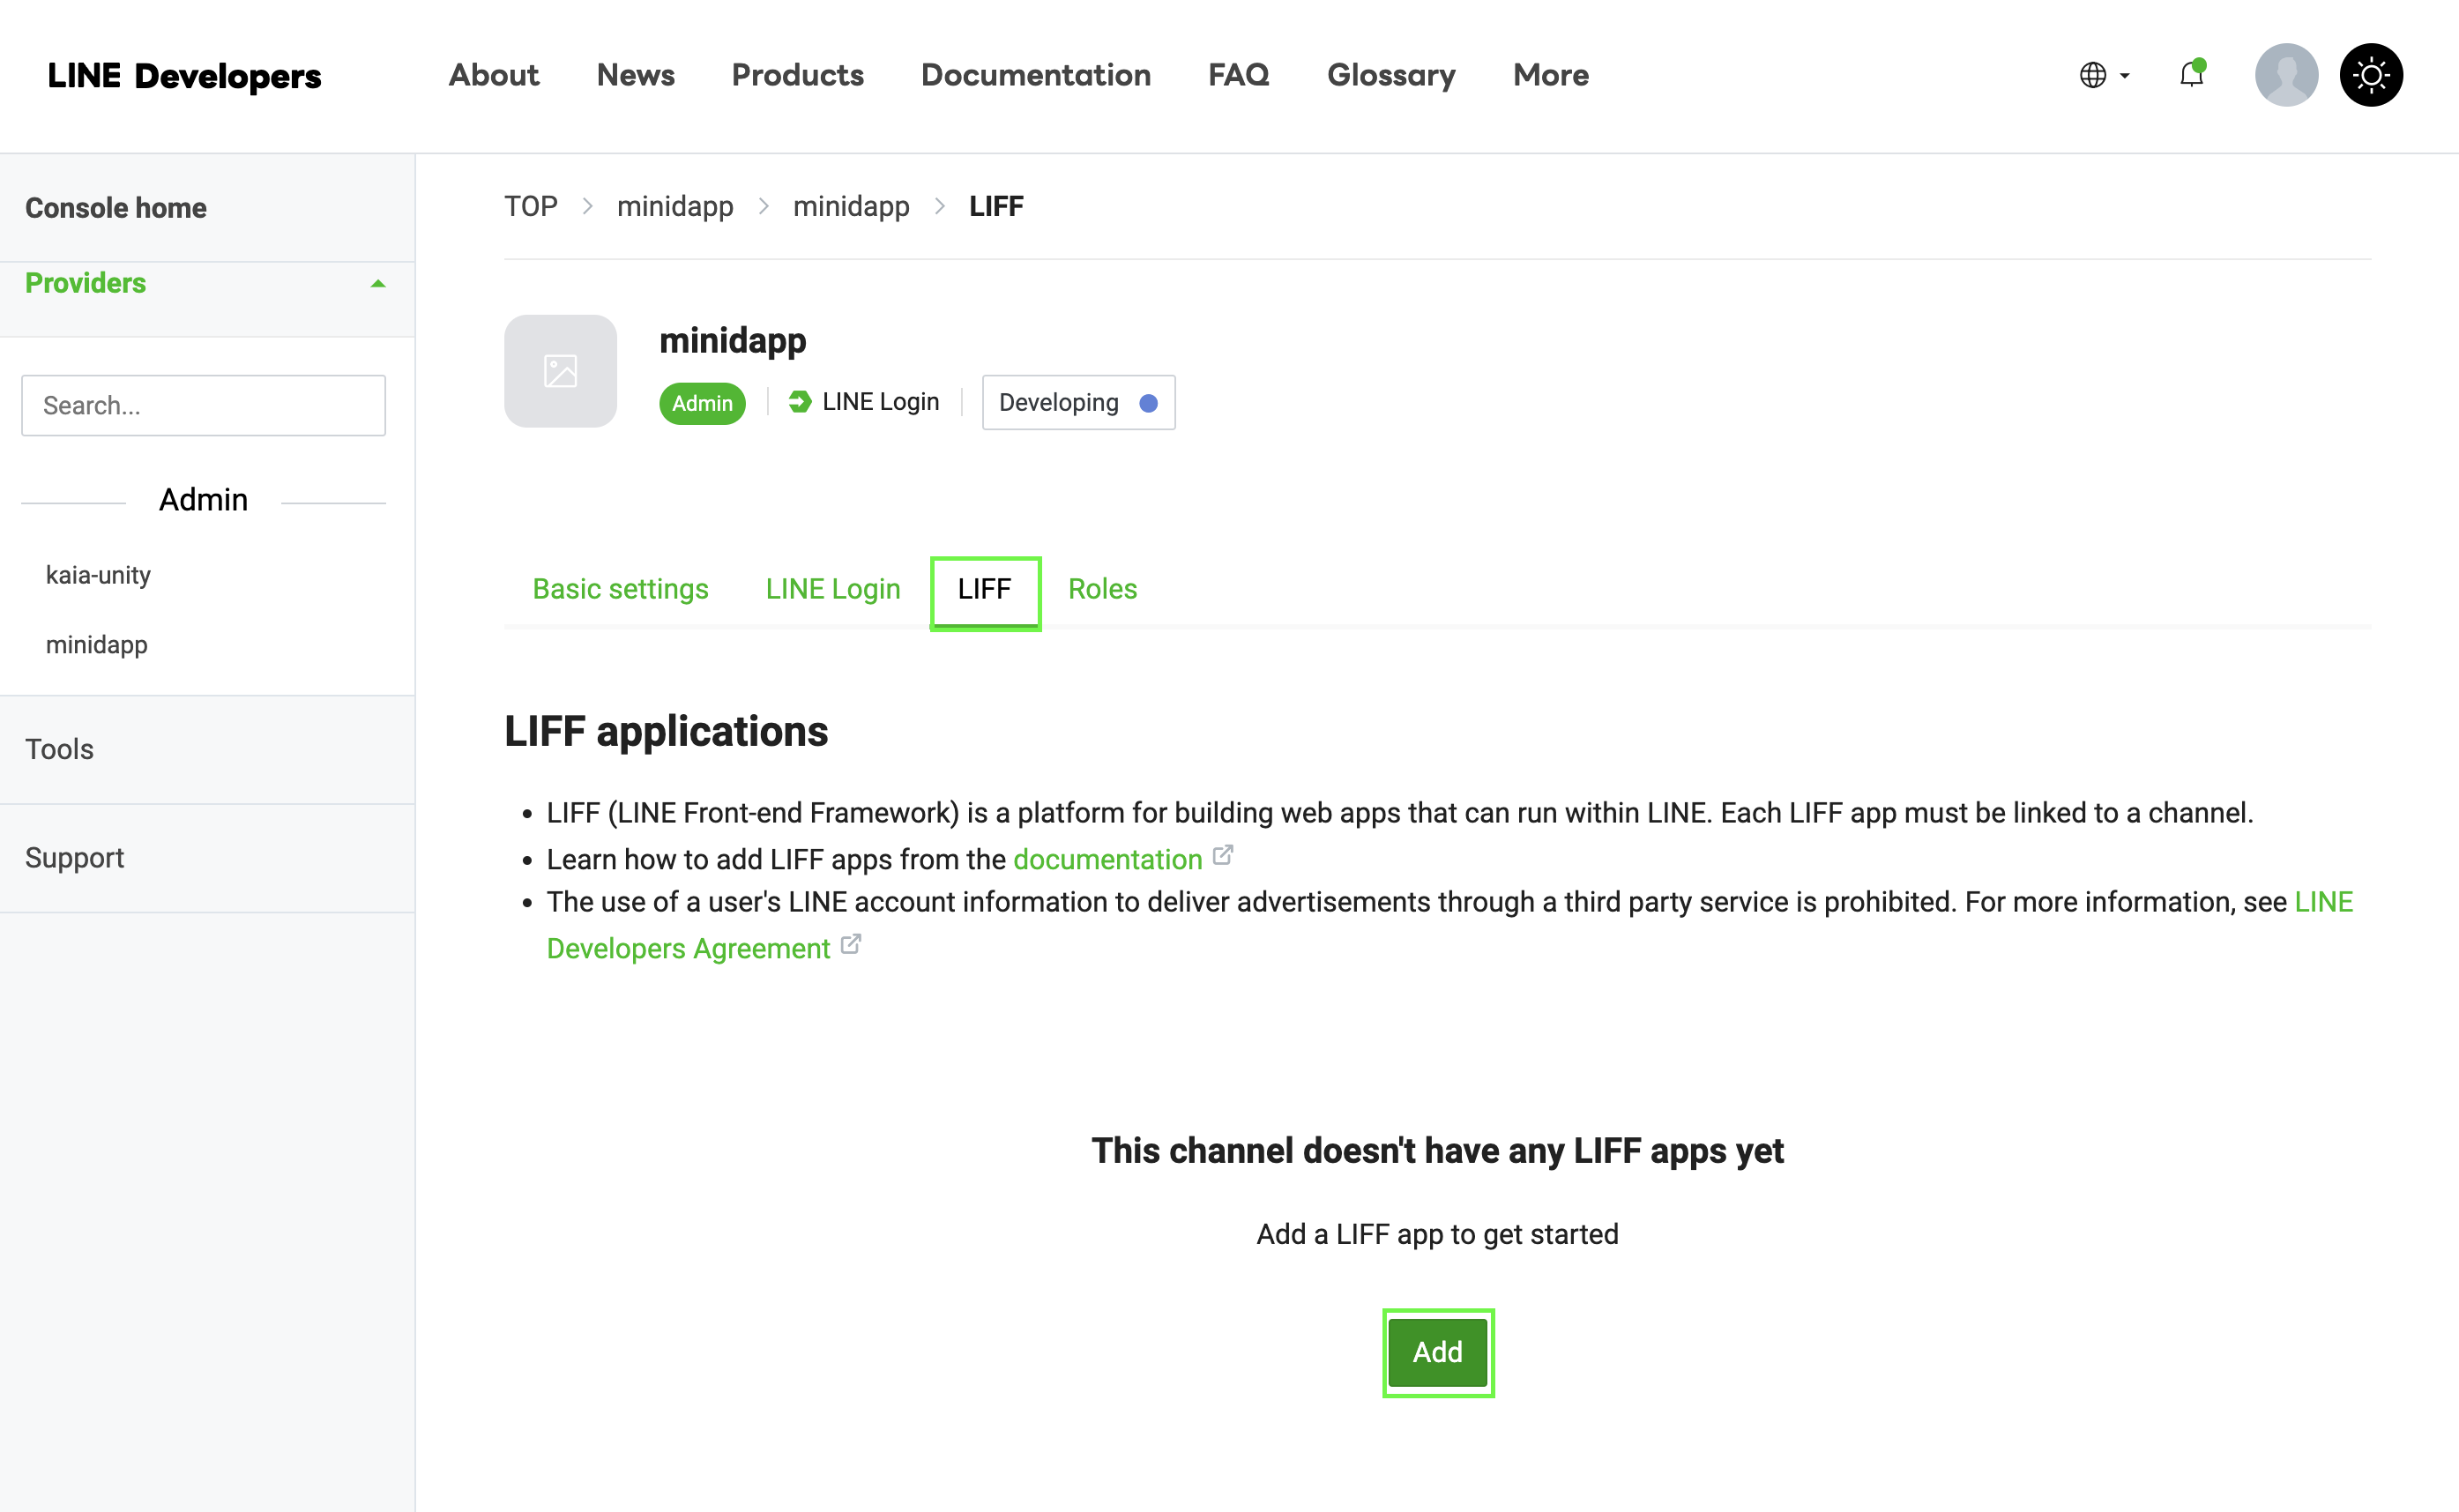
- LIFFタブに移動する
- LIFFアプリを追加」をクリック
-
LIFFの設定を行う:
Size: Choose one of:├── Full (entire screen)├── Tall (75% of screen)└── Compact (50% of screen)Endpoint URL: https://example.com (temporary)Permissions: Enable as needed
備考
LIFF IDを保存してください - 次のステップで必要になります!
ステップ 2: ビルド・テンプレートの修正
build-templates/web-desktop/index.html��のテンプレートにLIFF SDKを追加します:
<!DOCTYPE html><html> <head> <meta charset="utf-8" /> <title>Cocos Creator | dapp-portal-example</title> <!-- LIFF SDK --> <script src="https://static.line-scdn.net/liff/edge/2/sdk.js"></script> <!-- DappPortal SDK --> <script src="https://static.kaiawallet.io/js/dapp-portal-sdk.js"></script> <meta name="viewport" content="width=device-width,user-scalable=no,initial-scale=1,minimum-scale=1,maximum-scale=1,minimal-ui=true" /> <meta name="apple-mobile-web-app-capable" content="yes" /> <meta name="full-screen" content="yes" /> <meta name="screen-orientation" content="portrait" /> <meta name="x5-fullscreen" content="true" /> <meta name="360-fullscreen" content="true" /> <meta name="renderer" content="webkit" /> <meta name="force-rendering" content="webkit" /> <meta http-equiv="X-UA-Compatible" content="IE=edge,chrome=1" /> <link rel="stylesheet" type="text/css" href="./style.css" /> <link rel="icon" href="favicon.ico" /> </head> <body> <h1 class="header">dapp-portal-example</h1> <div id="GameDiv" cc_exact_fit_screen="false" style="width: 1280px; height: 960px;" > <div id="Cocos3dGameContainer"> <canvas id="GameCanvas" width="1280" height="960" tabindex="99" ></canvas> </div> </div> <p class="footer"> Created with <a href="https://www.cocos.com/products" title="Cocos Creator" >Cocos Creator</a > </p> <!-- Polyfills bundle. --> <script src="src/polyfills.bundle.js" charset="utf-8"></script> <!-- SystemJS support. --> <script src="src/system.bundle.js" charset="utf-8"></script> <!-- Import map --> <script src="src/import-map.json" type="systemjs-importmap" charset="utf-8" ></script> <script> System.import('./index.js').catch(function (err) { console.error(err) }) </script> </body></html>
上記のコード・スニペットでLIFF-IDを変更してください。
ステップ3:Web3ManagerにLIFFを実装する
// Web3Manager.ts@ccclass('Web3Manager')export class Web3Manager extends Component { private static instance: Web3Manager = null private sdk: any = null private connectedAddress: string = '' // Configuration private readonly CONTRACT_ADDRESS = 'YOUR_CONTRACT_ADDRESS' private readonly CHAIN_ID = '1001' private readonly CLIENT_ID = 'YOUR_CLIENT_ID' private readonly LIFF_ID = 'YOUR_LIFF_ID' // Add this onLoad() { if (Web3Manager.instance === null) { Web3Manager.instance = this director.addPersistRootNode(this.node) this.initializeLIFF() // Initialize LIFF first } else { this.node.destroy() } } private async initializeLIFF(): Promise<void> { try { await liff.init({ liffId: this.LIFF_ID, }) console.log('LIFF initialized') // Check if user is logged in if (!liff.isLoggedIn()) { console.log('User not logged in, redirecting to login') liff.login() return } // Get LIFF profile const profile = await liff.getProfile() console.log('LIFF Profile:', profile) // Initialize DappPortal SDK after LIFF await this.initializeSDK() } catch (error) { console.error('LIFF initialization error:', error) } } // Rest of your existing Web3Manager code...}
ステップ: 4: ビルドとテストのプロセス
- Cocos Creatorでプロジェクトを再構築する。
- 生成されたbuild/web-desktop/index.htmlを確認してください。
- LIFF SDKスクリプトが正しくインクルードされていることを確認してください。
ステップ5:Webデスクトップ構築のデプロイ
- WebGL用のCocosクリエーター・プロジェクトを構築する
- すべてのビルドファイルをNetlifyなどのウェブサーバーにアップロードする。
デプロイメントのフォルダ構造は次のようになるはずです:
build/ web-desktop/ index.html assets/ cocos-js/ src/ ...other files
ステップ6:最終設定とテスト
- LIFFエンドポイントを更新する:
- LINEデベロッパーズコンソールに戻る
- LIFFアプリを探す
- 編集」をクリックする
- 配備したサイトのURLを更新する。
これでミニdAppがすぐに利用できるようになるはずだ。
結論
おめでとう! Cocos Creatorを使ったLINE Mini dAppのビルドとデプロイが完了しました! このガイドに従うことで、ウォレット接続、残高照会、トークン鋳造などのWeb3機能を統合し、ブロックチェーンを活用したインタラクションをLINEのエコシステムに取り込むことができます。
LINE mini dAppsの開発に関するより詳細な情報については、以下の包括的なリソースをご覧ください: