このページは英語からの機械翻訳を使用しており、誤りや不明瞭な表現が含まれている可能性があります。最も正確な情報については、オリジナルの英語版をご覧ください。頻繁な更新のため、一部のコンテンツはオリジナルの英語になっている可能性があります。Crowdinでの取り組みに参加して、このページの翻訳改善にご協力ください。 (Crowdin translation page, Contributing guide)
クイックスタート
前提条件
その前に、あなたが持っていることを確認してください:
- ココス・ダッシュボード をコンピュータにインストールする。
- TypeScriptの基礎知識
- A ココス開発者アカウント
- LINEデベロッパーアカウント(メールアドレスで簡単に作成できます。)
- カイア蛇口](https://faucet.kaia.io/)からKAIAトー��クンをテストする。
- ミニDapp SDKクライアントID(DAppポータルチームより提供)
- 基本的なWeb3の知識(ウォレットとトークンの一般的な理解で十分です。)
Cocos Creatorの開発環境のセットアップ
始める前に、開発環境が適切にセットアップされていることを確認しよう。 まずはCocos Dashboardのインストールと検証から始めよう。
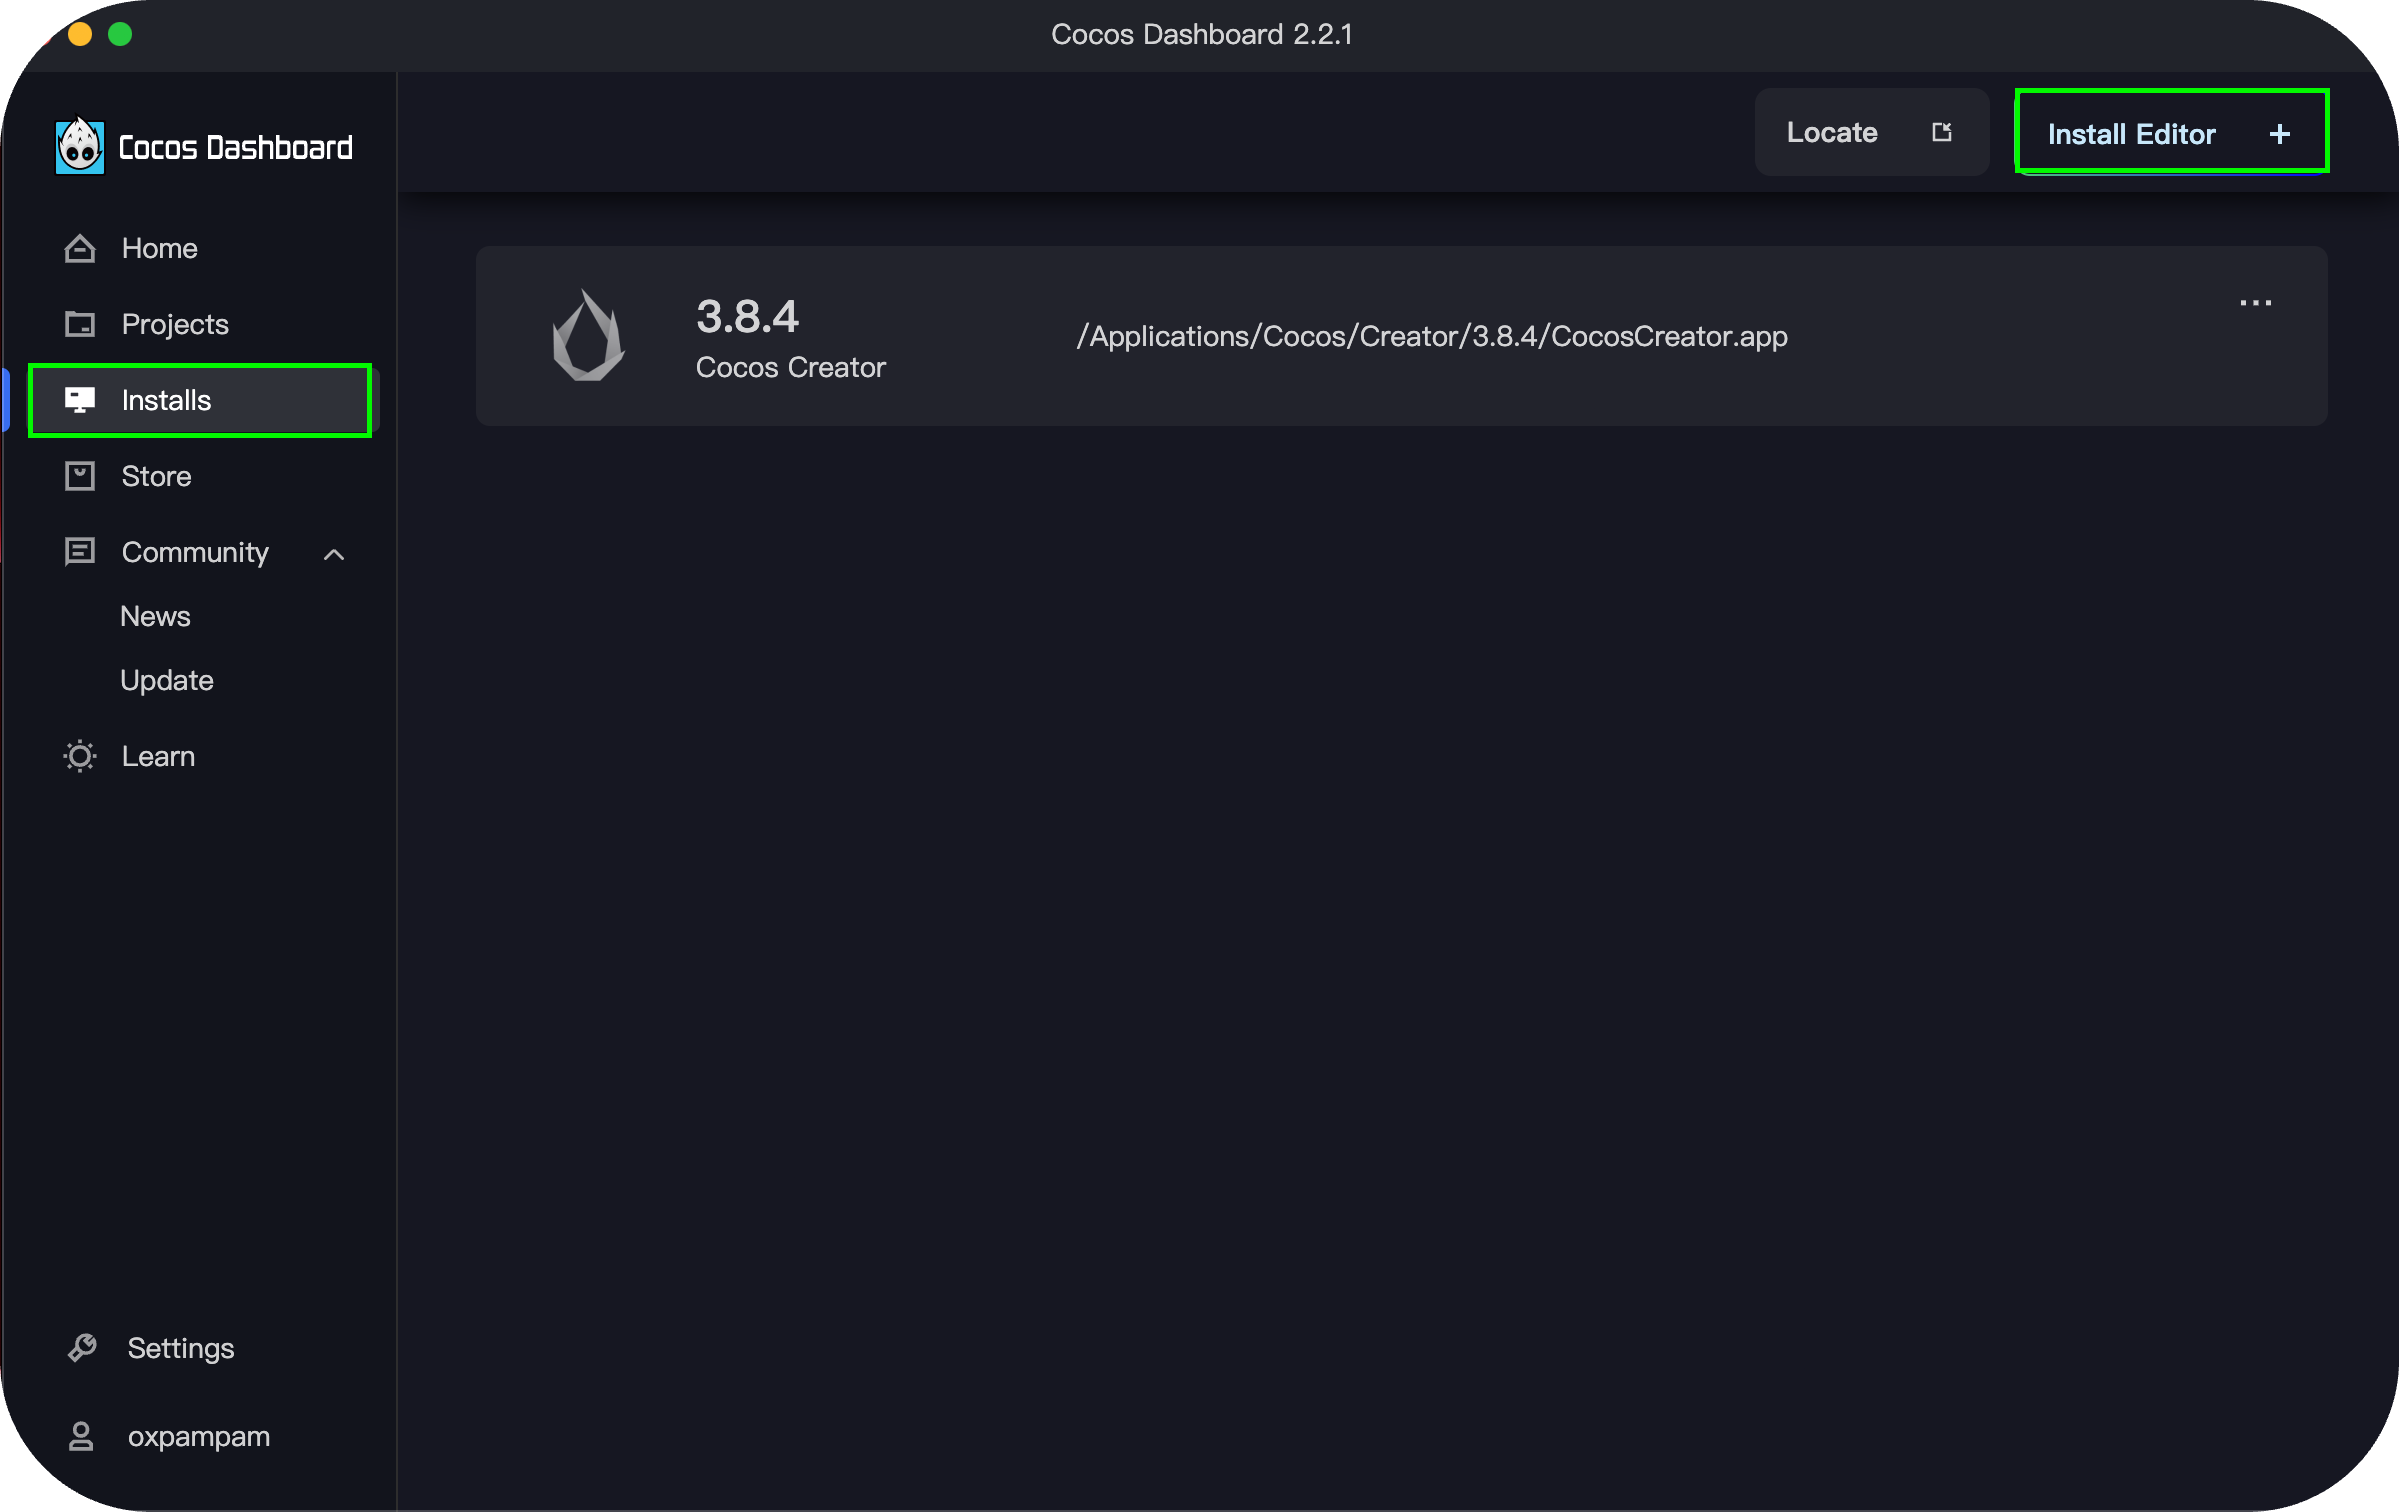
ステップ1:Cocos Dashboardのインストールと確認
互換性の問題を避けるために、正しいバージョンのCocos Creatorを使用していることを確認してください:
- Cocos Dashboardをインストールする。
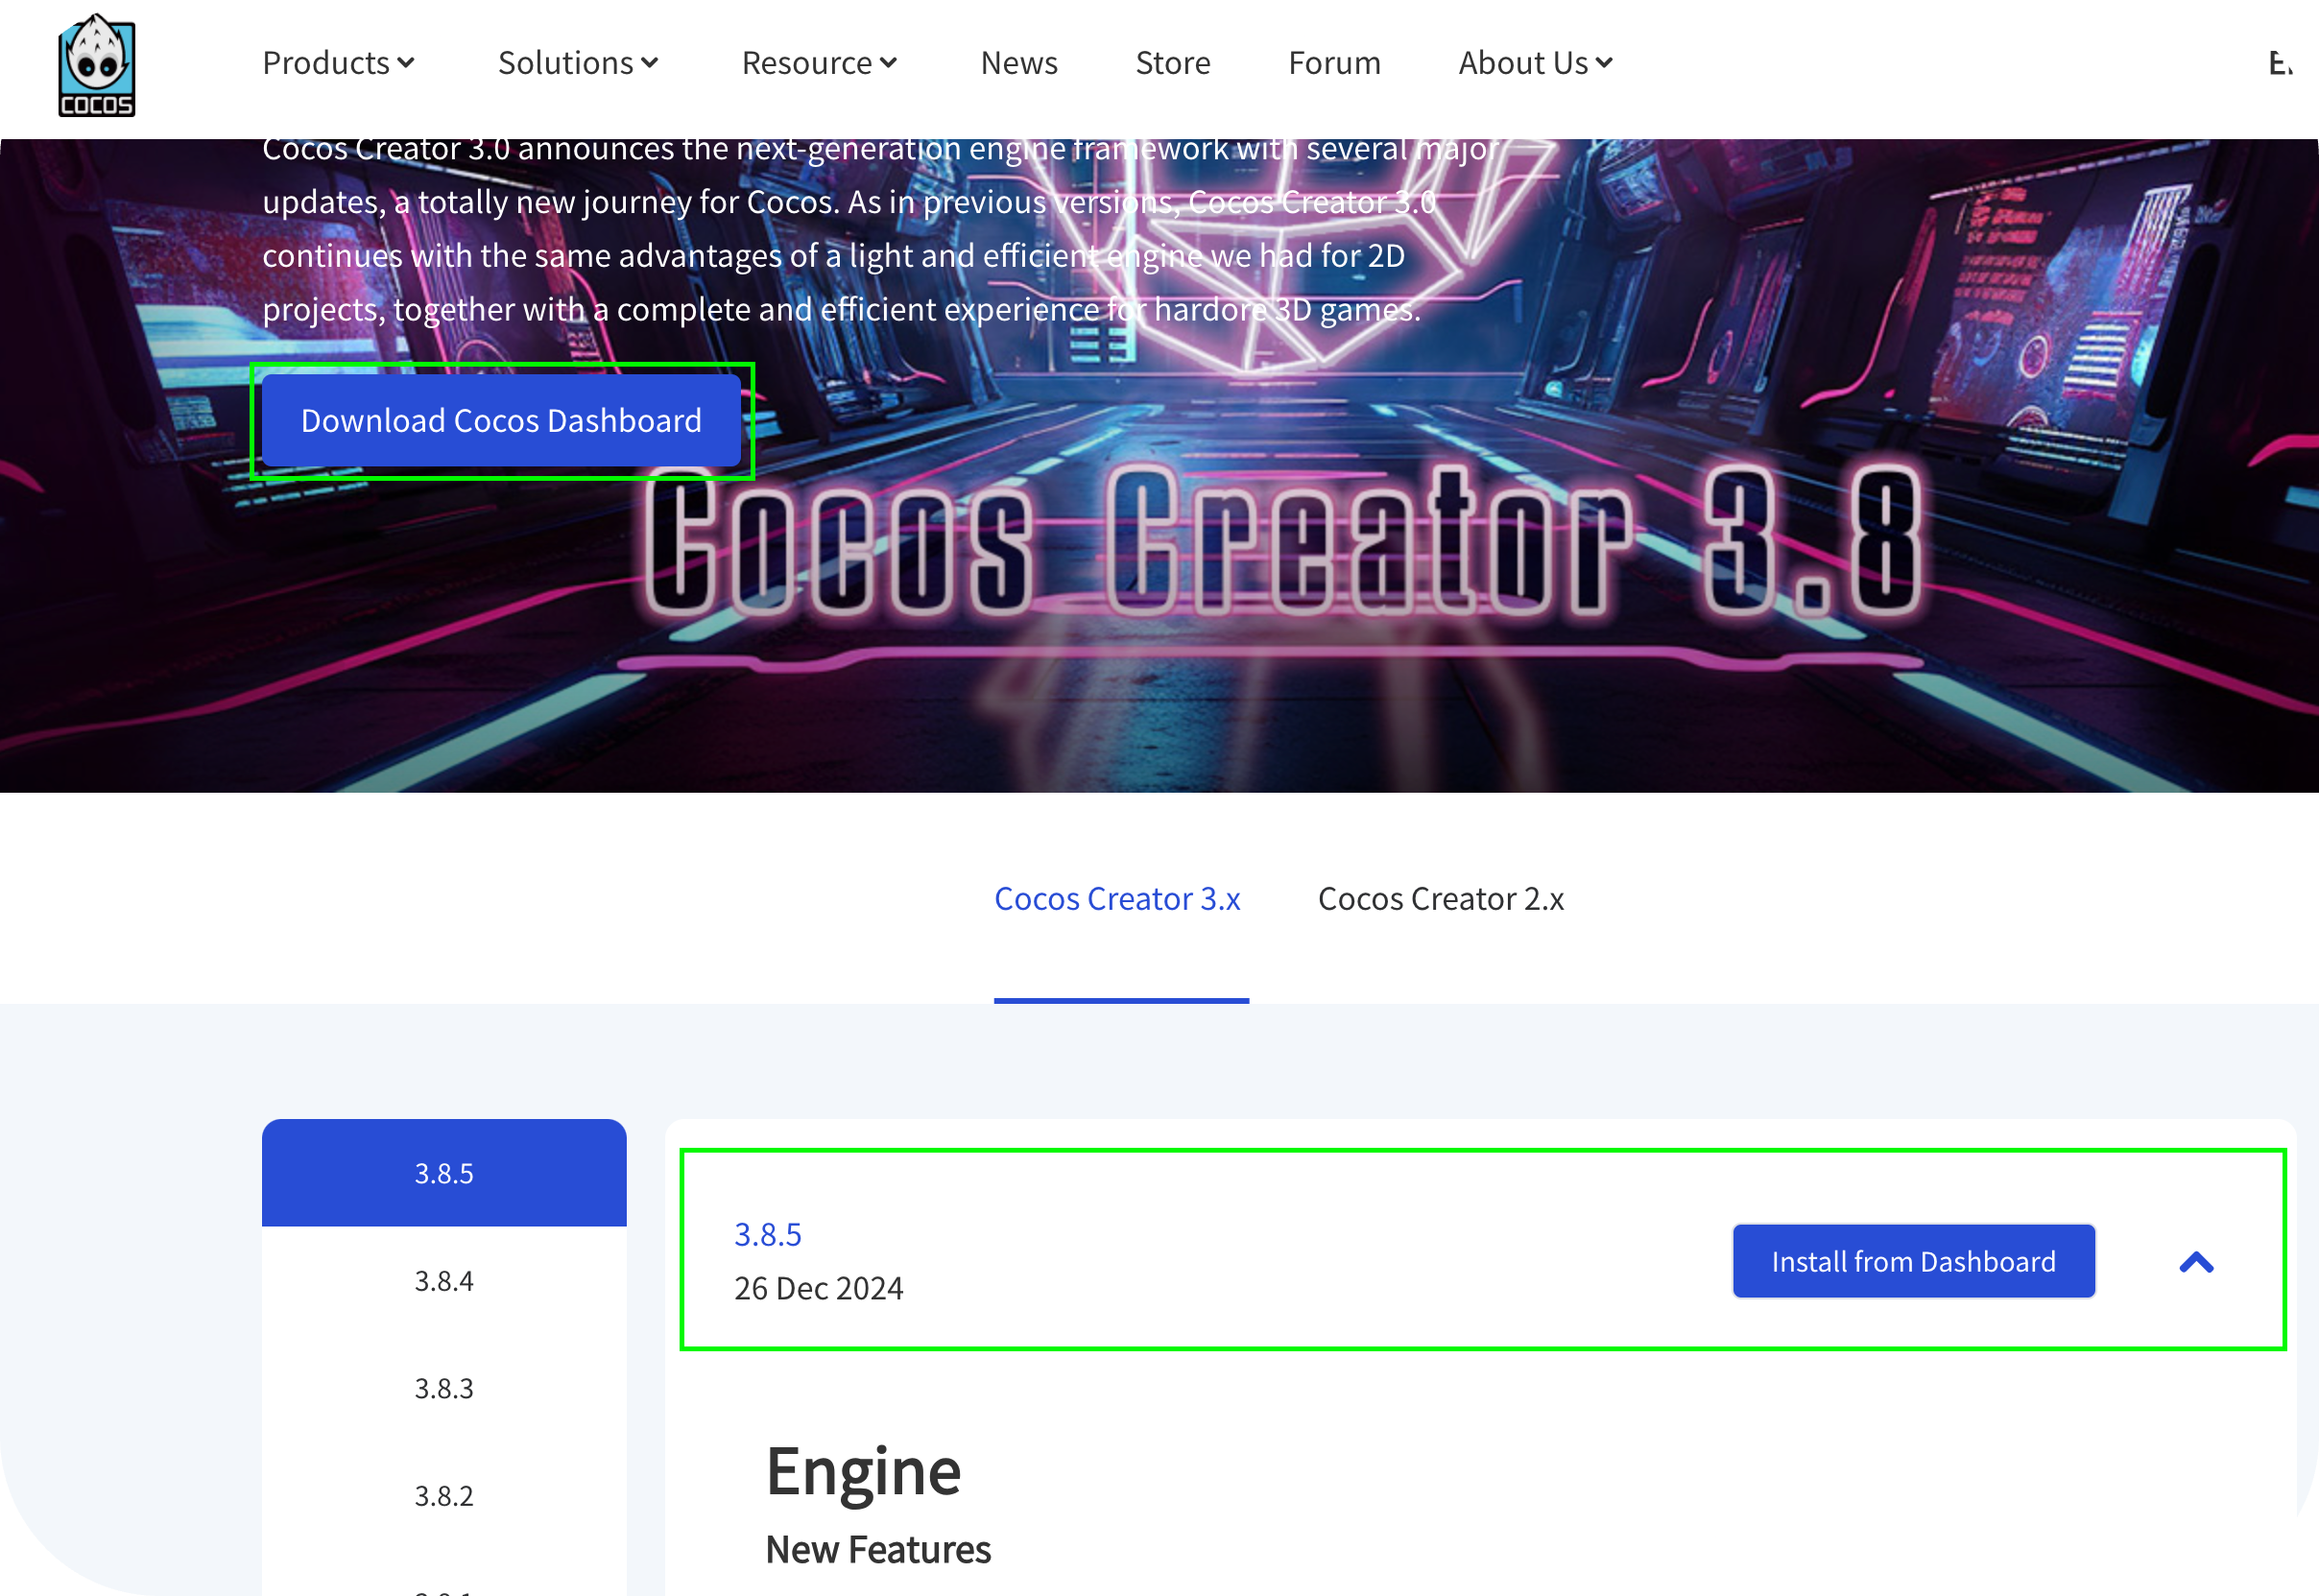
- Cocos Creator Editorをインストールする(このガイドではバージョン3.8.4を使用)。
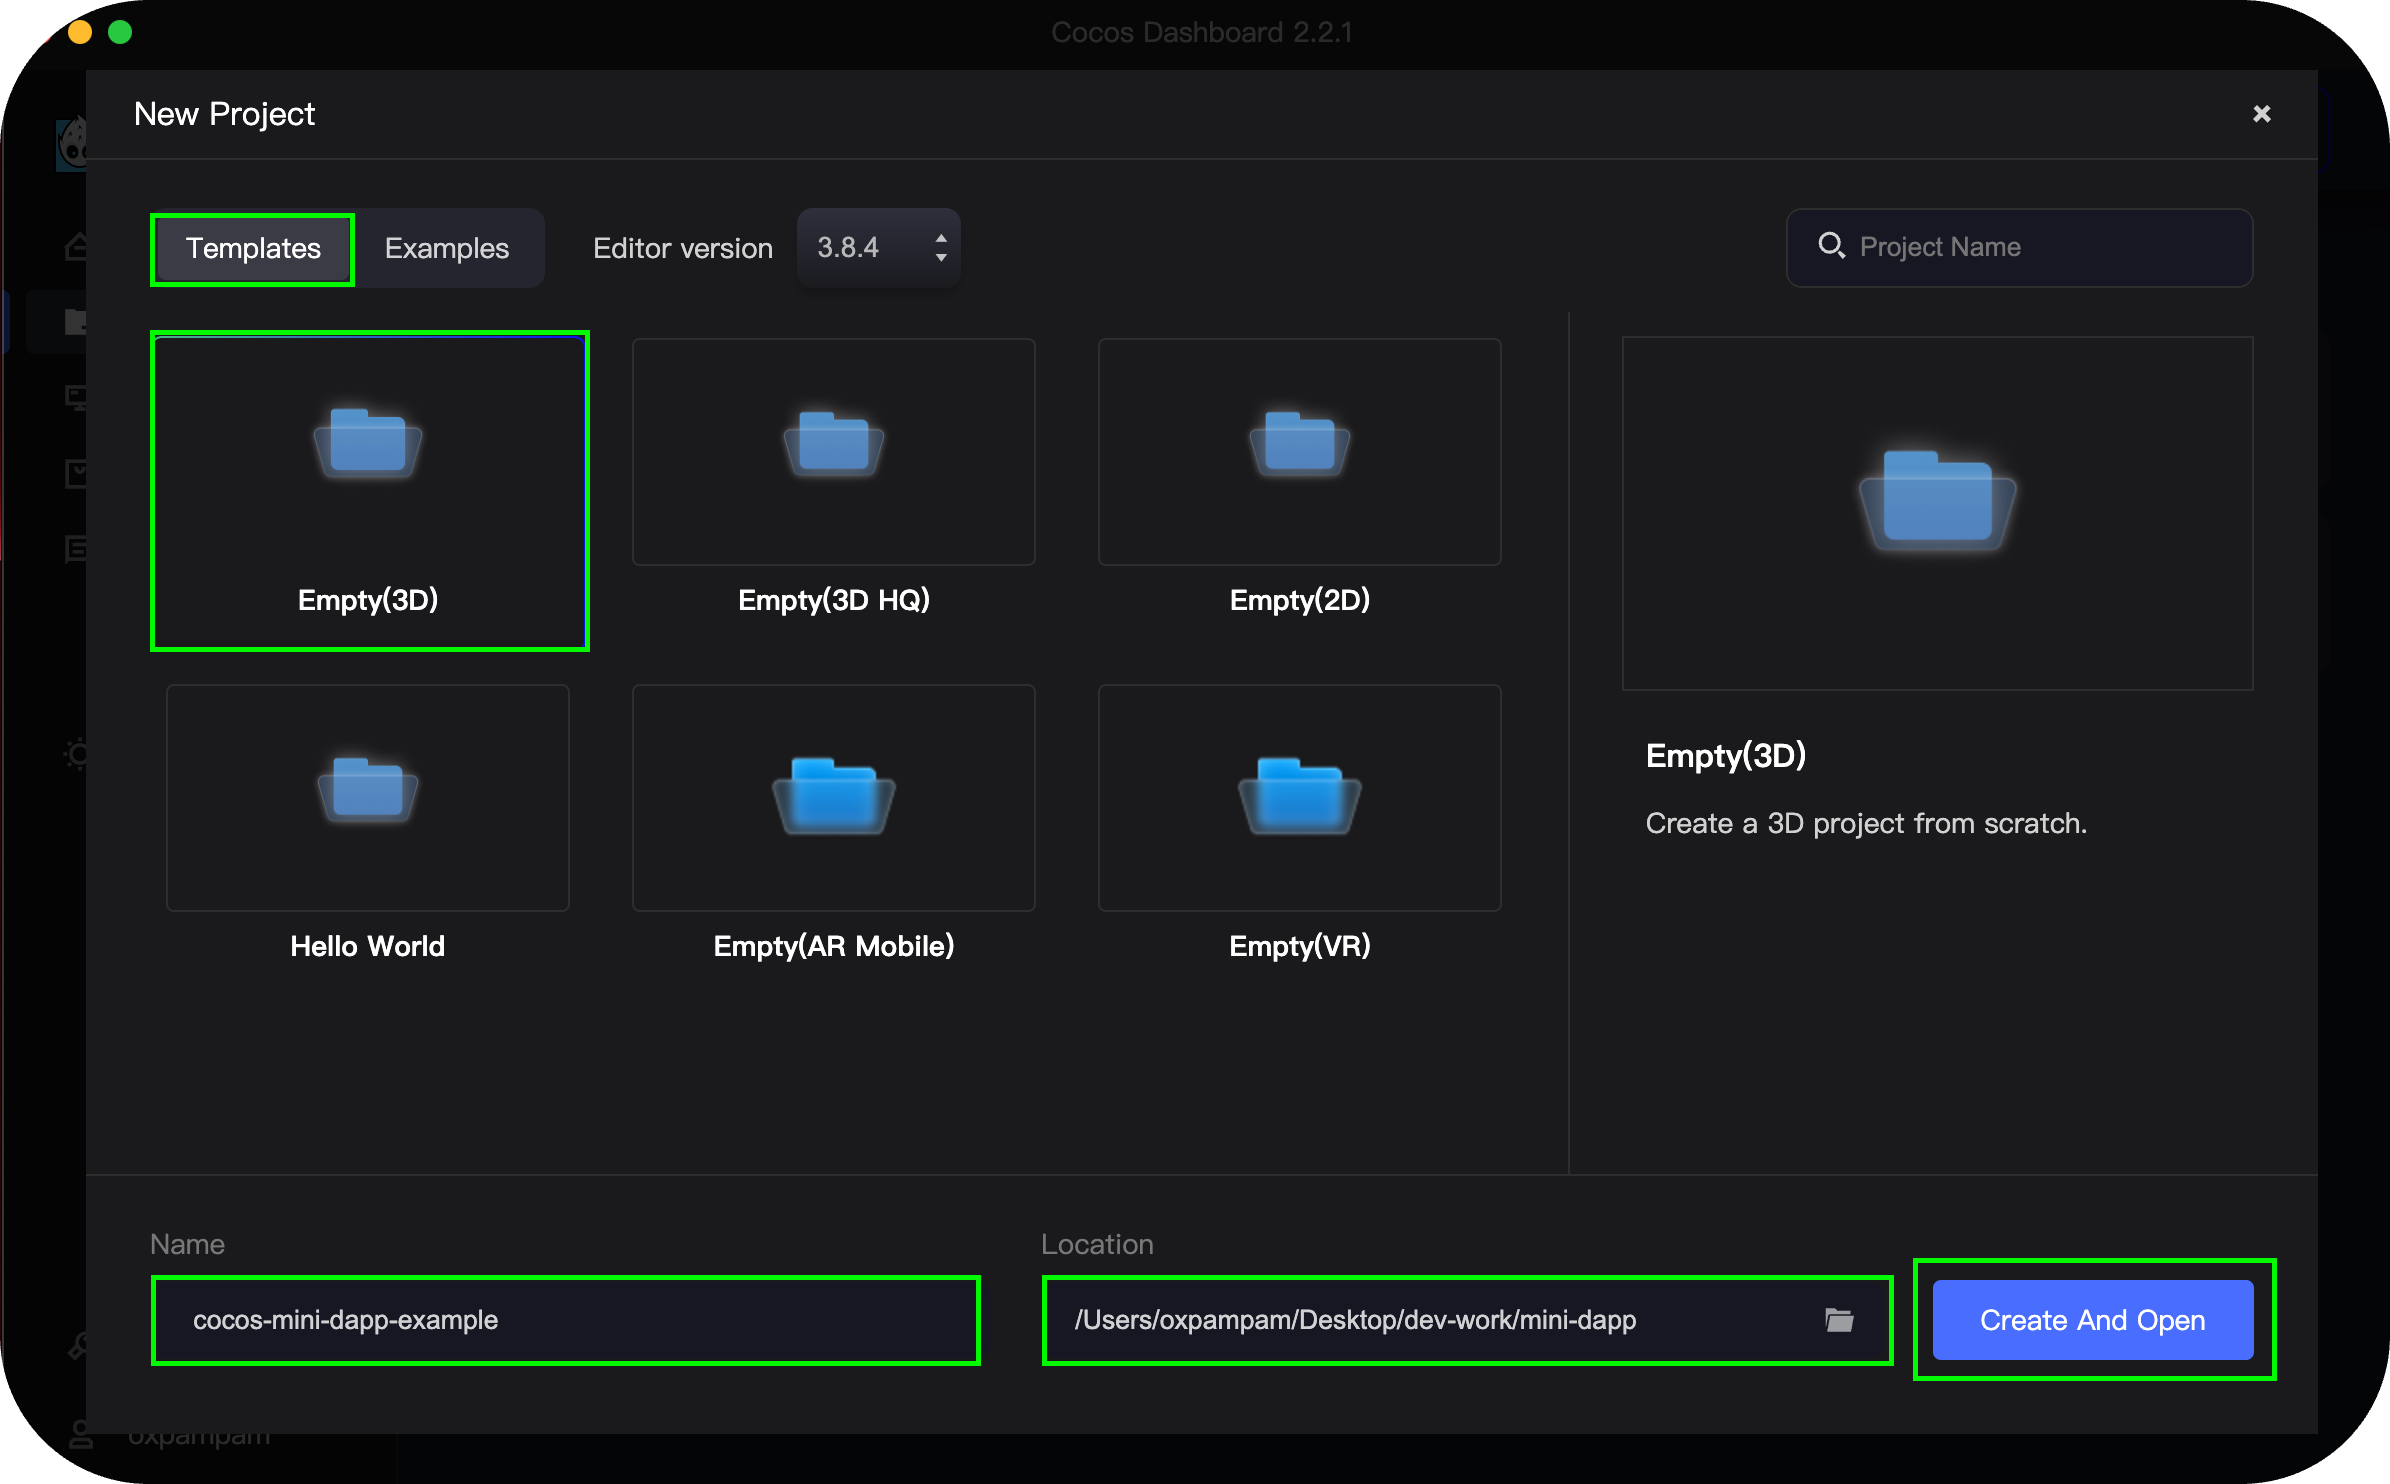
ステップ2:新しいCocos Creatorプロジェクトを作成する
- Cocos Dashboard**を開き、Projectsタブに移動します。
- 右上の新規プロジェクトをクリックします。
- Templates**で、**Empty (3D)**を選択します。
- プロジェクト名を入力する(例:cocos-mini-dapp-example)。
- プロジェクトファイルの保存場所を選択してください。
- Create and Open**をクリックしてセットアップを完了します。