ミニDapp SDKの統合
このセクションでは、Mini Dapp SDKがゲームにロードされていることを確認します。 そのために、Cocos Creatorのbuild-templatesディレクトリでは、ゲームがどのようにウェブ・プラットフォーム用にビルドされるかをカスタマイズすることができ、ゲーム開始前にSDKをプリロードするのに欠かせない。
build-templates/web-desktop**にカスタムテンプレートを作成することで、すべてのビルドにSDKを自動的に含めることができ、開発とデプロイが効率化されます。
ステップ1:build-templatesディレクトリの作成
プロジェクトをVS Codeで開き、ターミナルで以下のコマンドを実行する:
mkdir -p build-templates/web-desktop
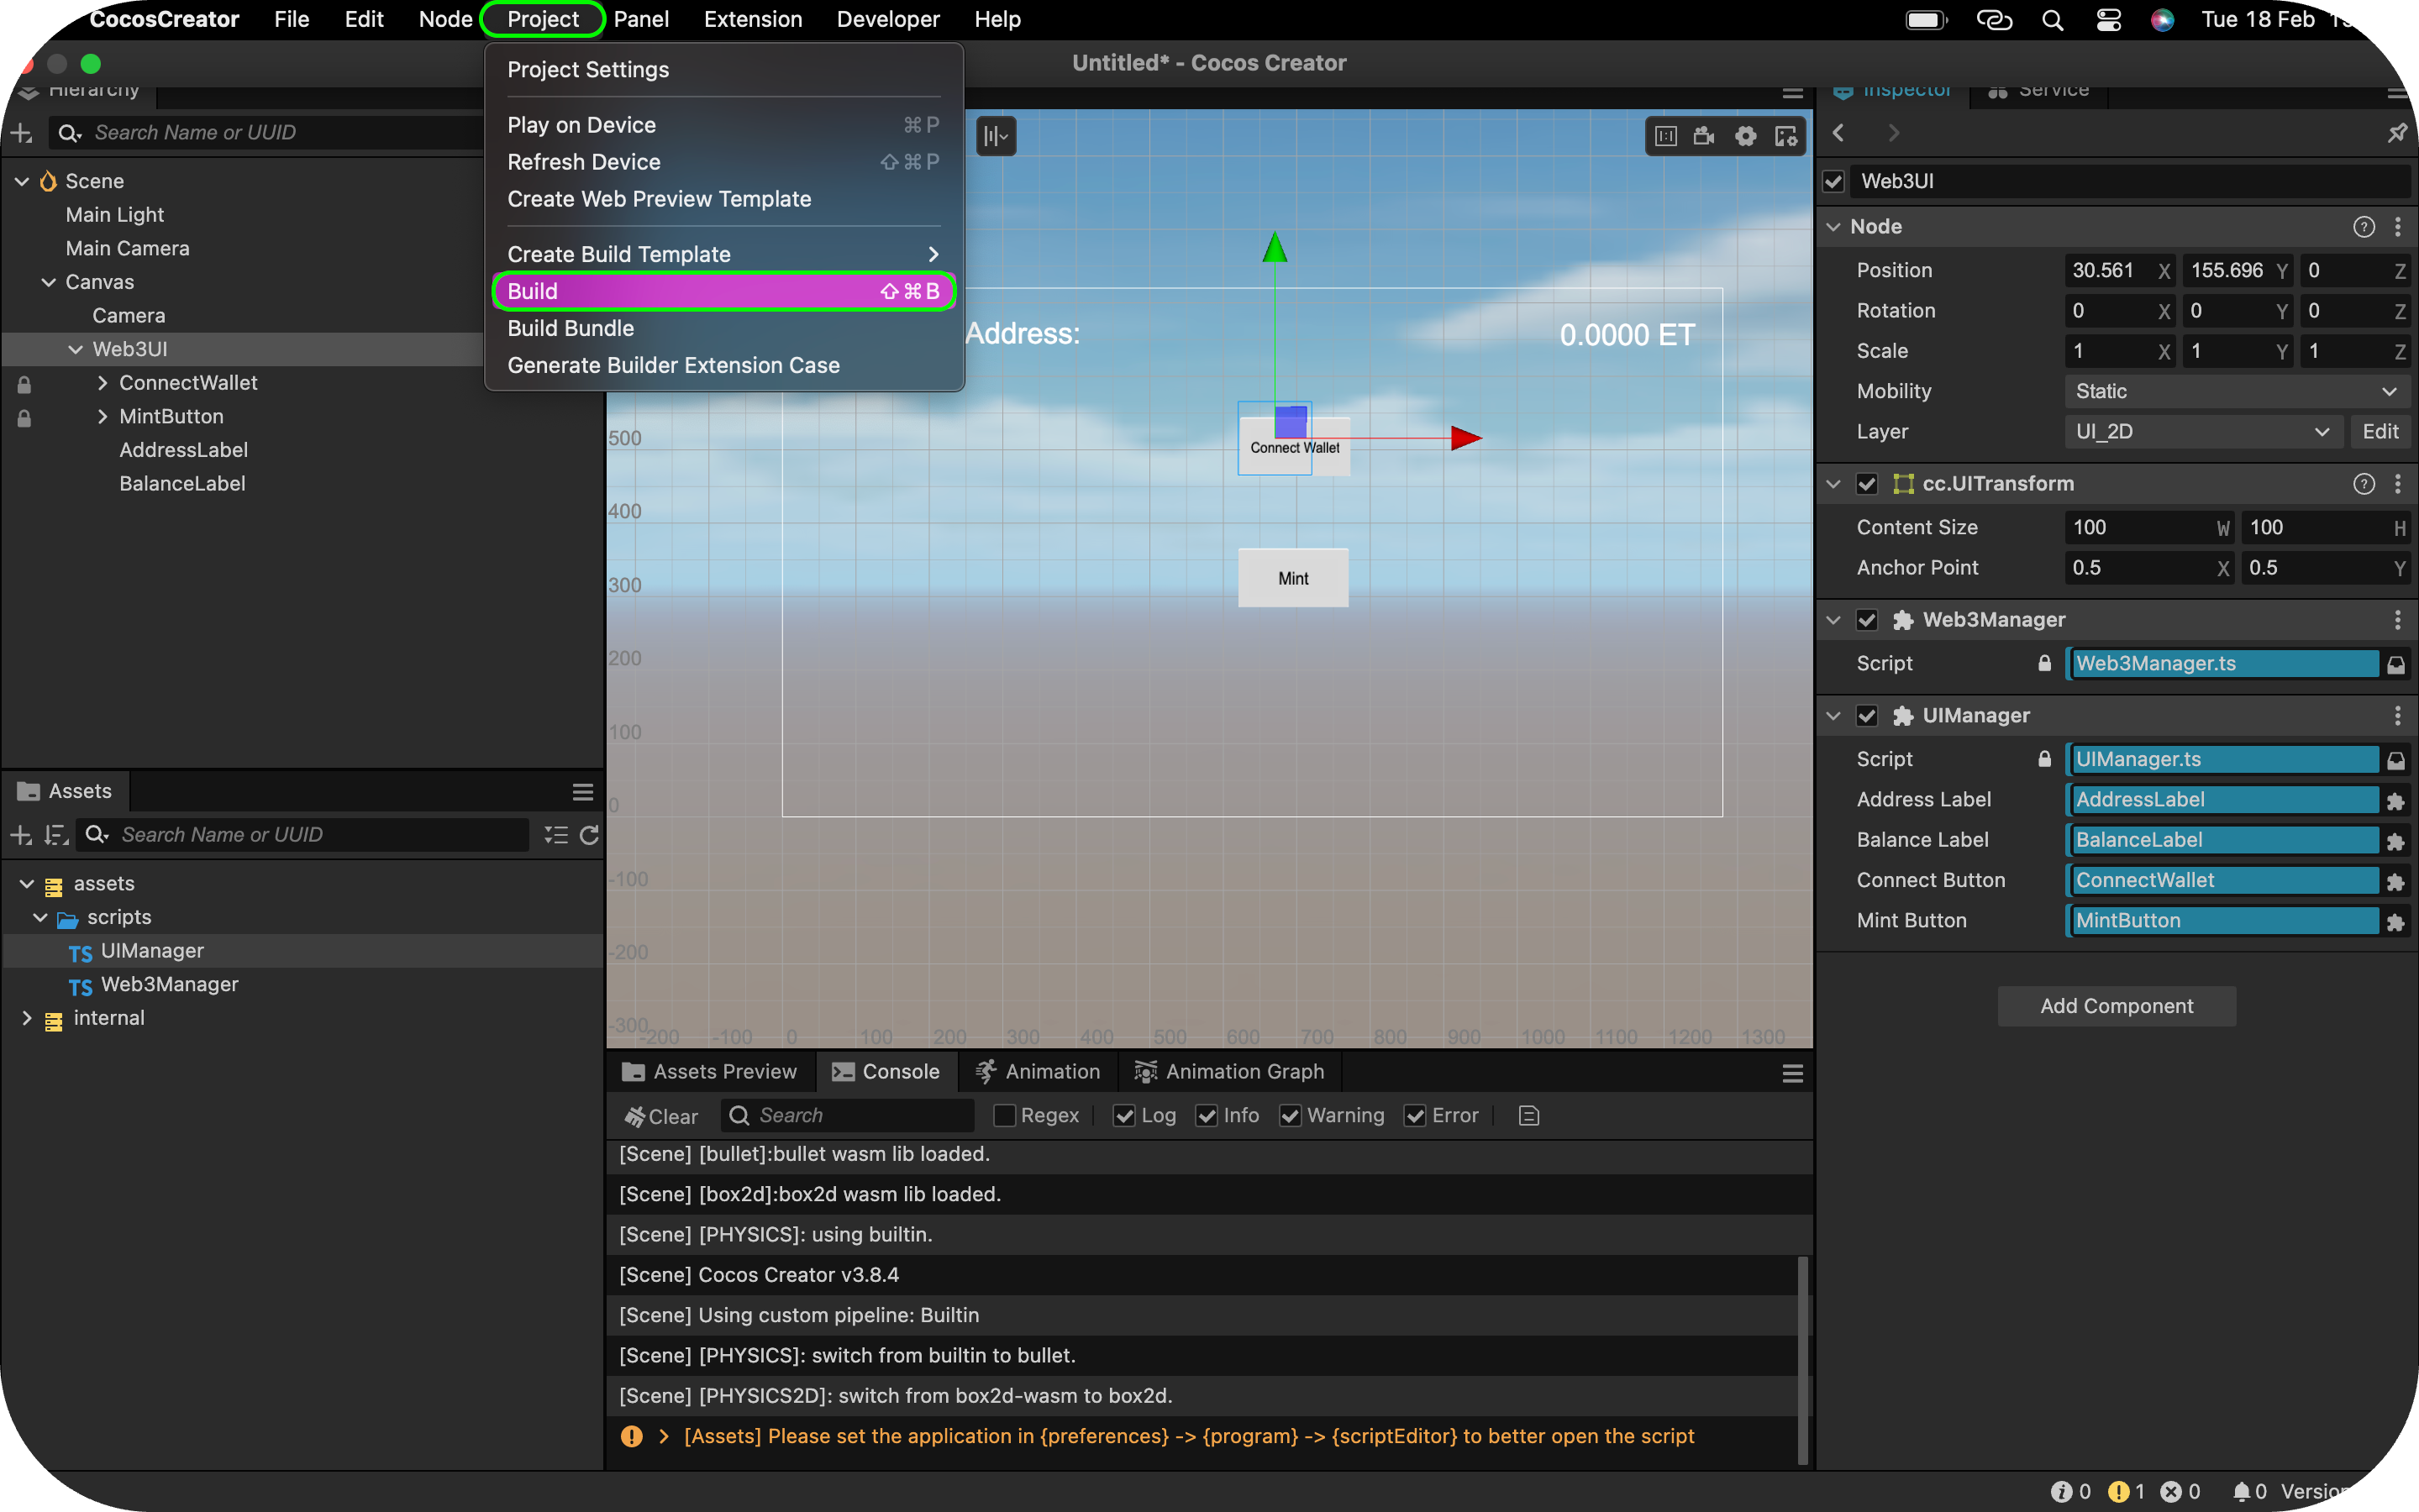
ステップ2:Cocos Creatorで初期ビルドを行う
- Menu → Project → Build**.
-
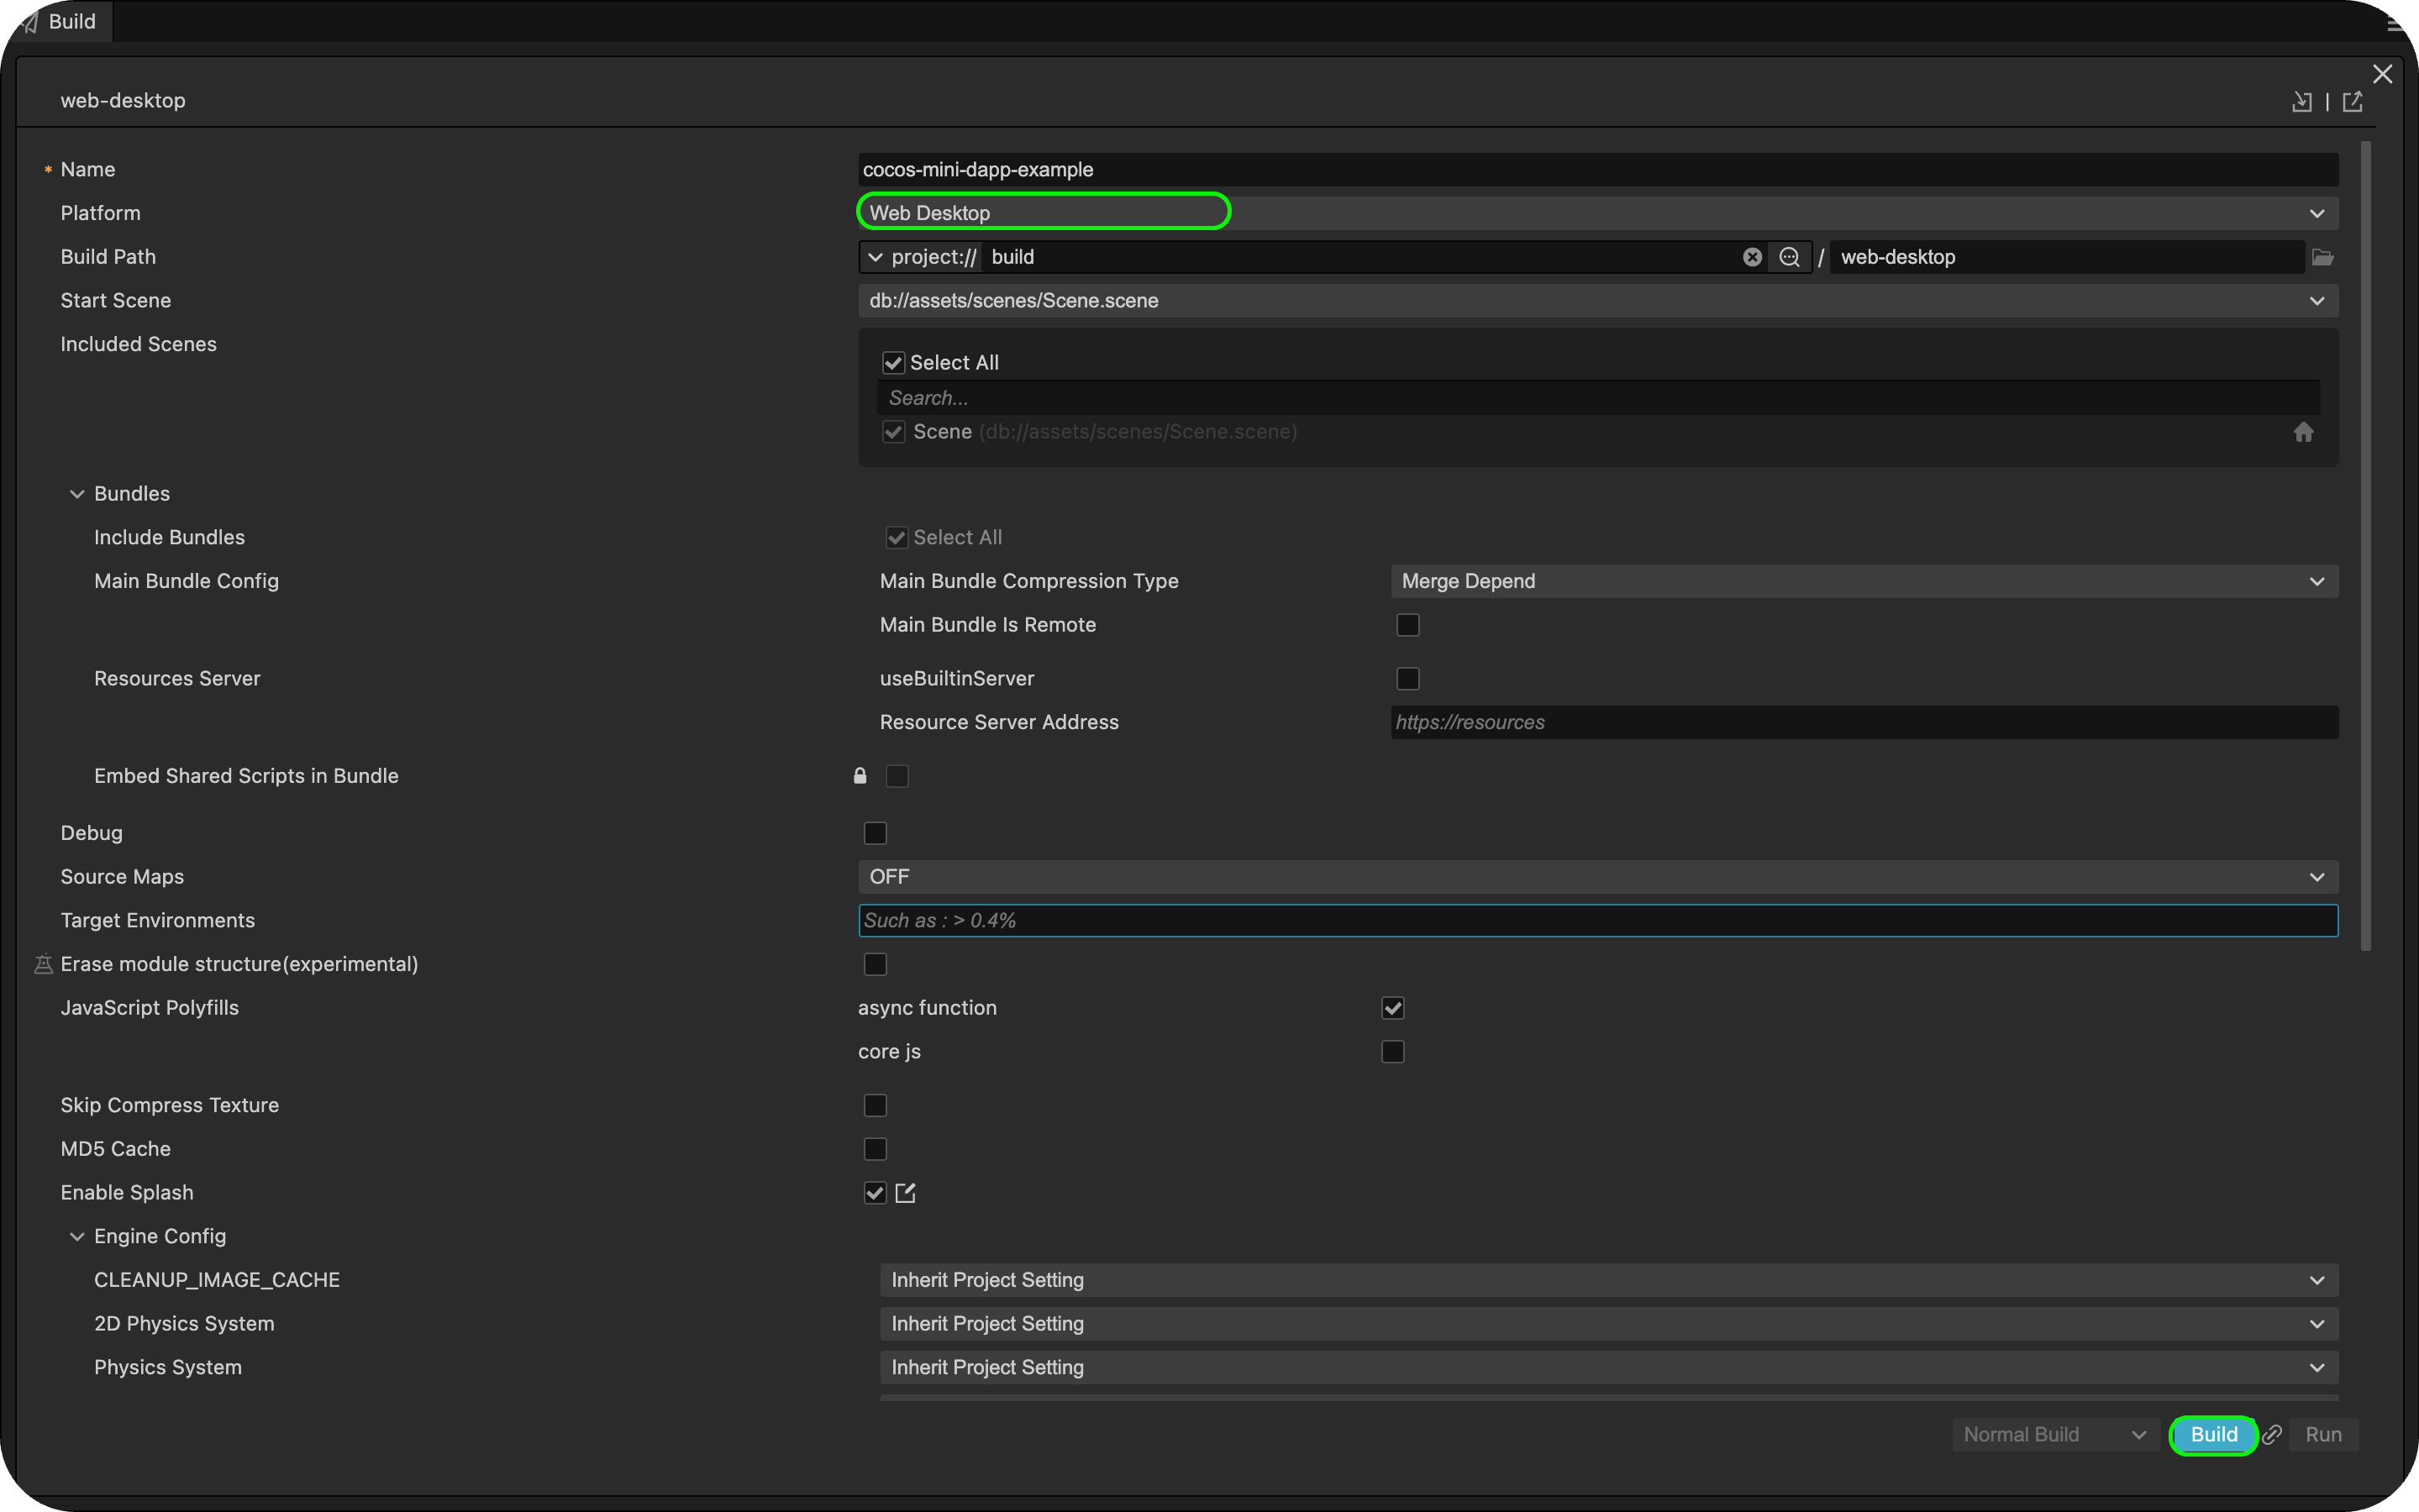
プラットフォームをWebデスクトップ**に設定します。
-
ビルド**をクリックする。
ステップ3:ビルド・ディレクトリからindex.htmlファイルをコピーする
ビルドが完了したら、index.htmlファイルをbuild-templatesディレクトリにコピーする:
cp build/web-desktop/index.html build-templates/web-desktop/
ステップ4: ミニダップSDKを含めるためにindex.htmlを修正する
build-templates/web-desktop/index.htmlを編集し、<head> </head>セクション内に以下のMini Dapp SDK scriptタグを追加する:
<script src="https://static.kaiawallet.io/js/dapp-portal-sdk.js"></script>
ステップ 5: ビルド・セットアップの確認
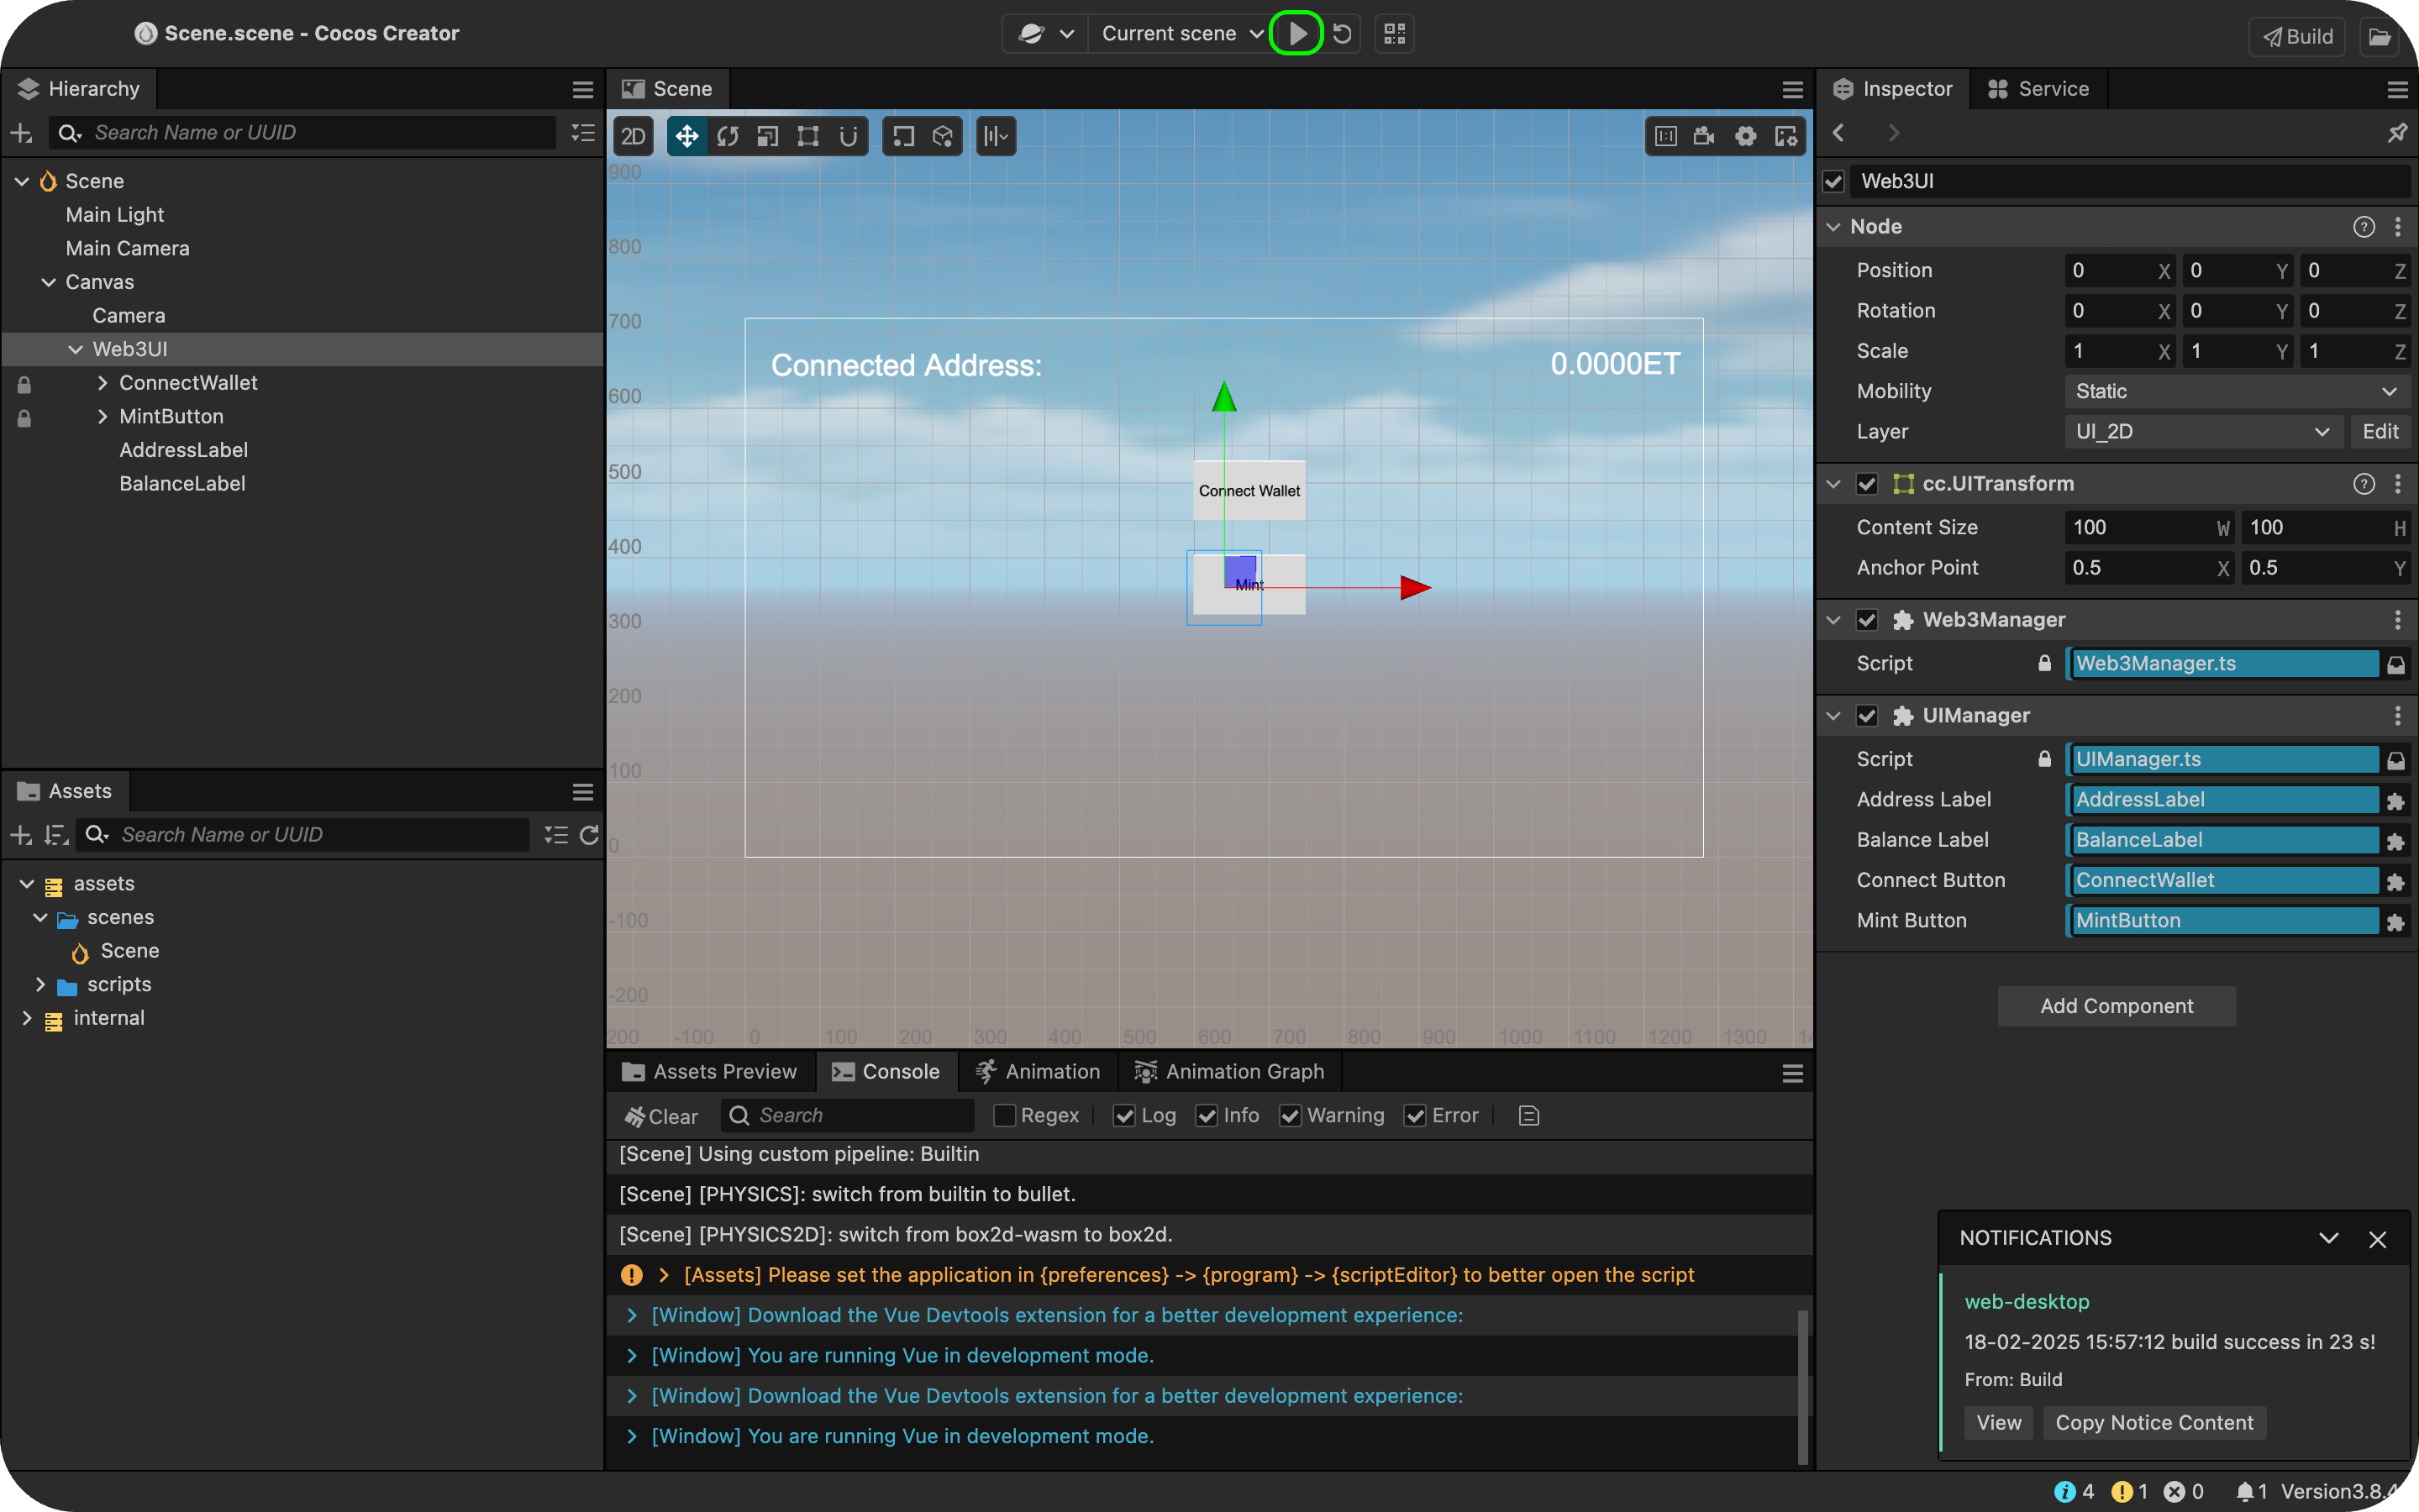
- Cocos Creatorでプロジェクトを再構築する。
- 生成された
build/web-desktop/index.htmlを確認する。 - Mini Dapp SDKスクリプト**が正しくインクルードされていることを確認してください。
ステップ6:プロジェクトのビルドとプレビュー
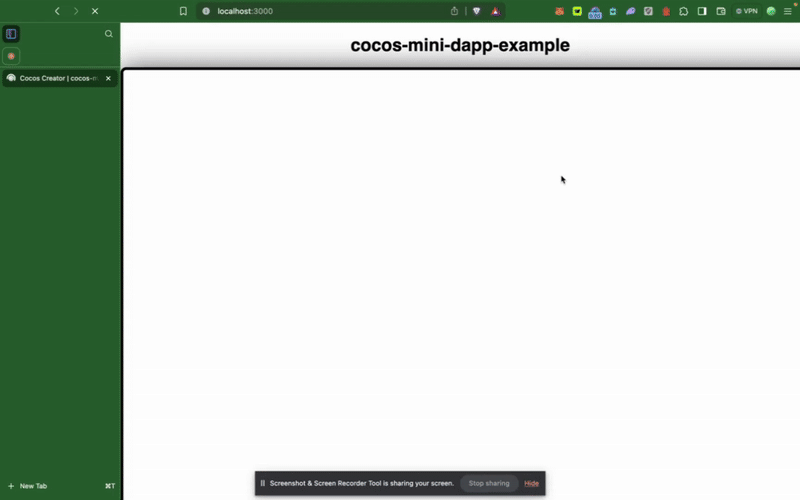
設定が完了したら、Cocos Creator Editorの上部にある_Play on Device_をクリックします。 新しいブラウザのタブでゲームが開くはずです。
WebビルドをLocalhost:3000にルートする
セキュリティと開発目的のため、Mini Dapp SDKは現在localhost:3000で動作しています。 現時点では、デフォルトのUnity WebGLビルドはランダムなポート(7457など)を使用しており、アプリを効率的に動作させるには、Unity WebGLビルドをlocalhost:3000で開くように設定する必要があります。
そのためには、以下の手順に従ってください:
- 以下のコードをコピーして、プロジェクトのターミナルに貼り付けます。
# Install http-server globallynpm install -g http-server
- ビルド・フォルダーに移動する
cd build/web-desktop
- ポート3000でサーバーを起動
http-server -p 3000
アプリケーションのテストと実行
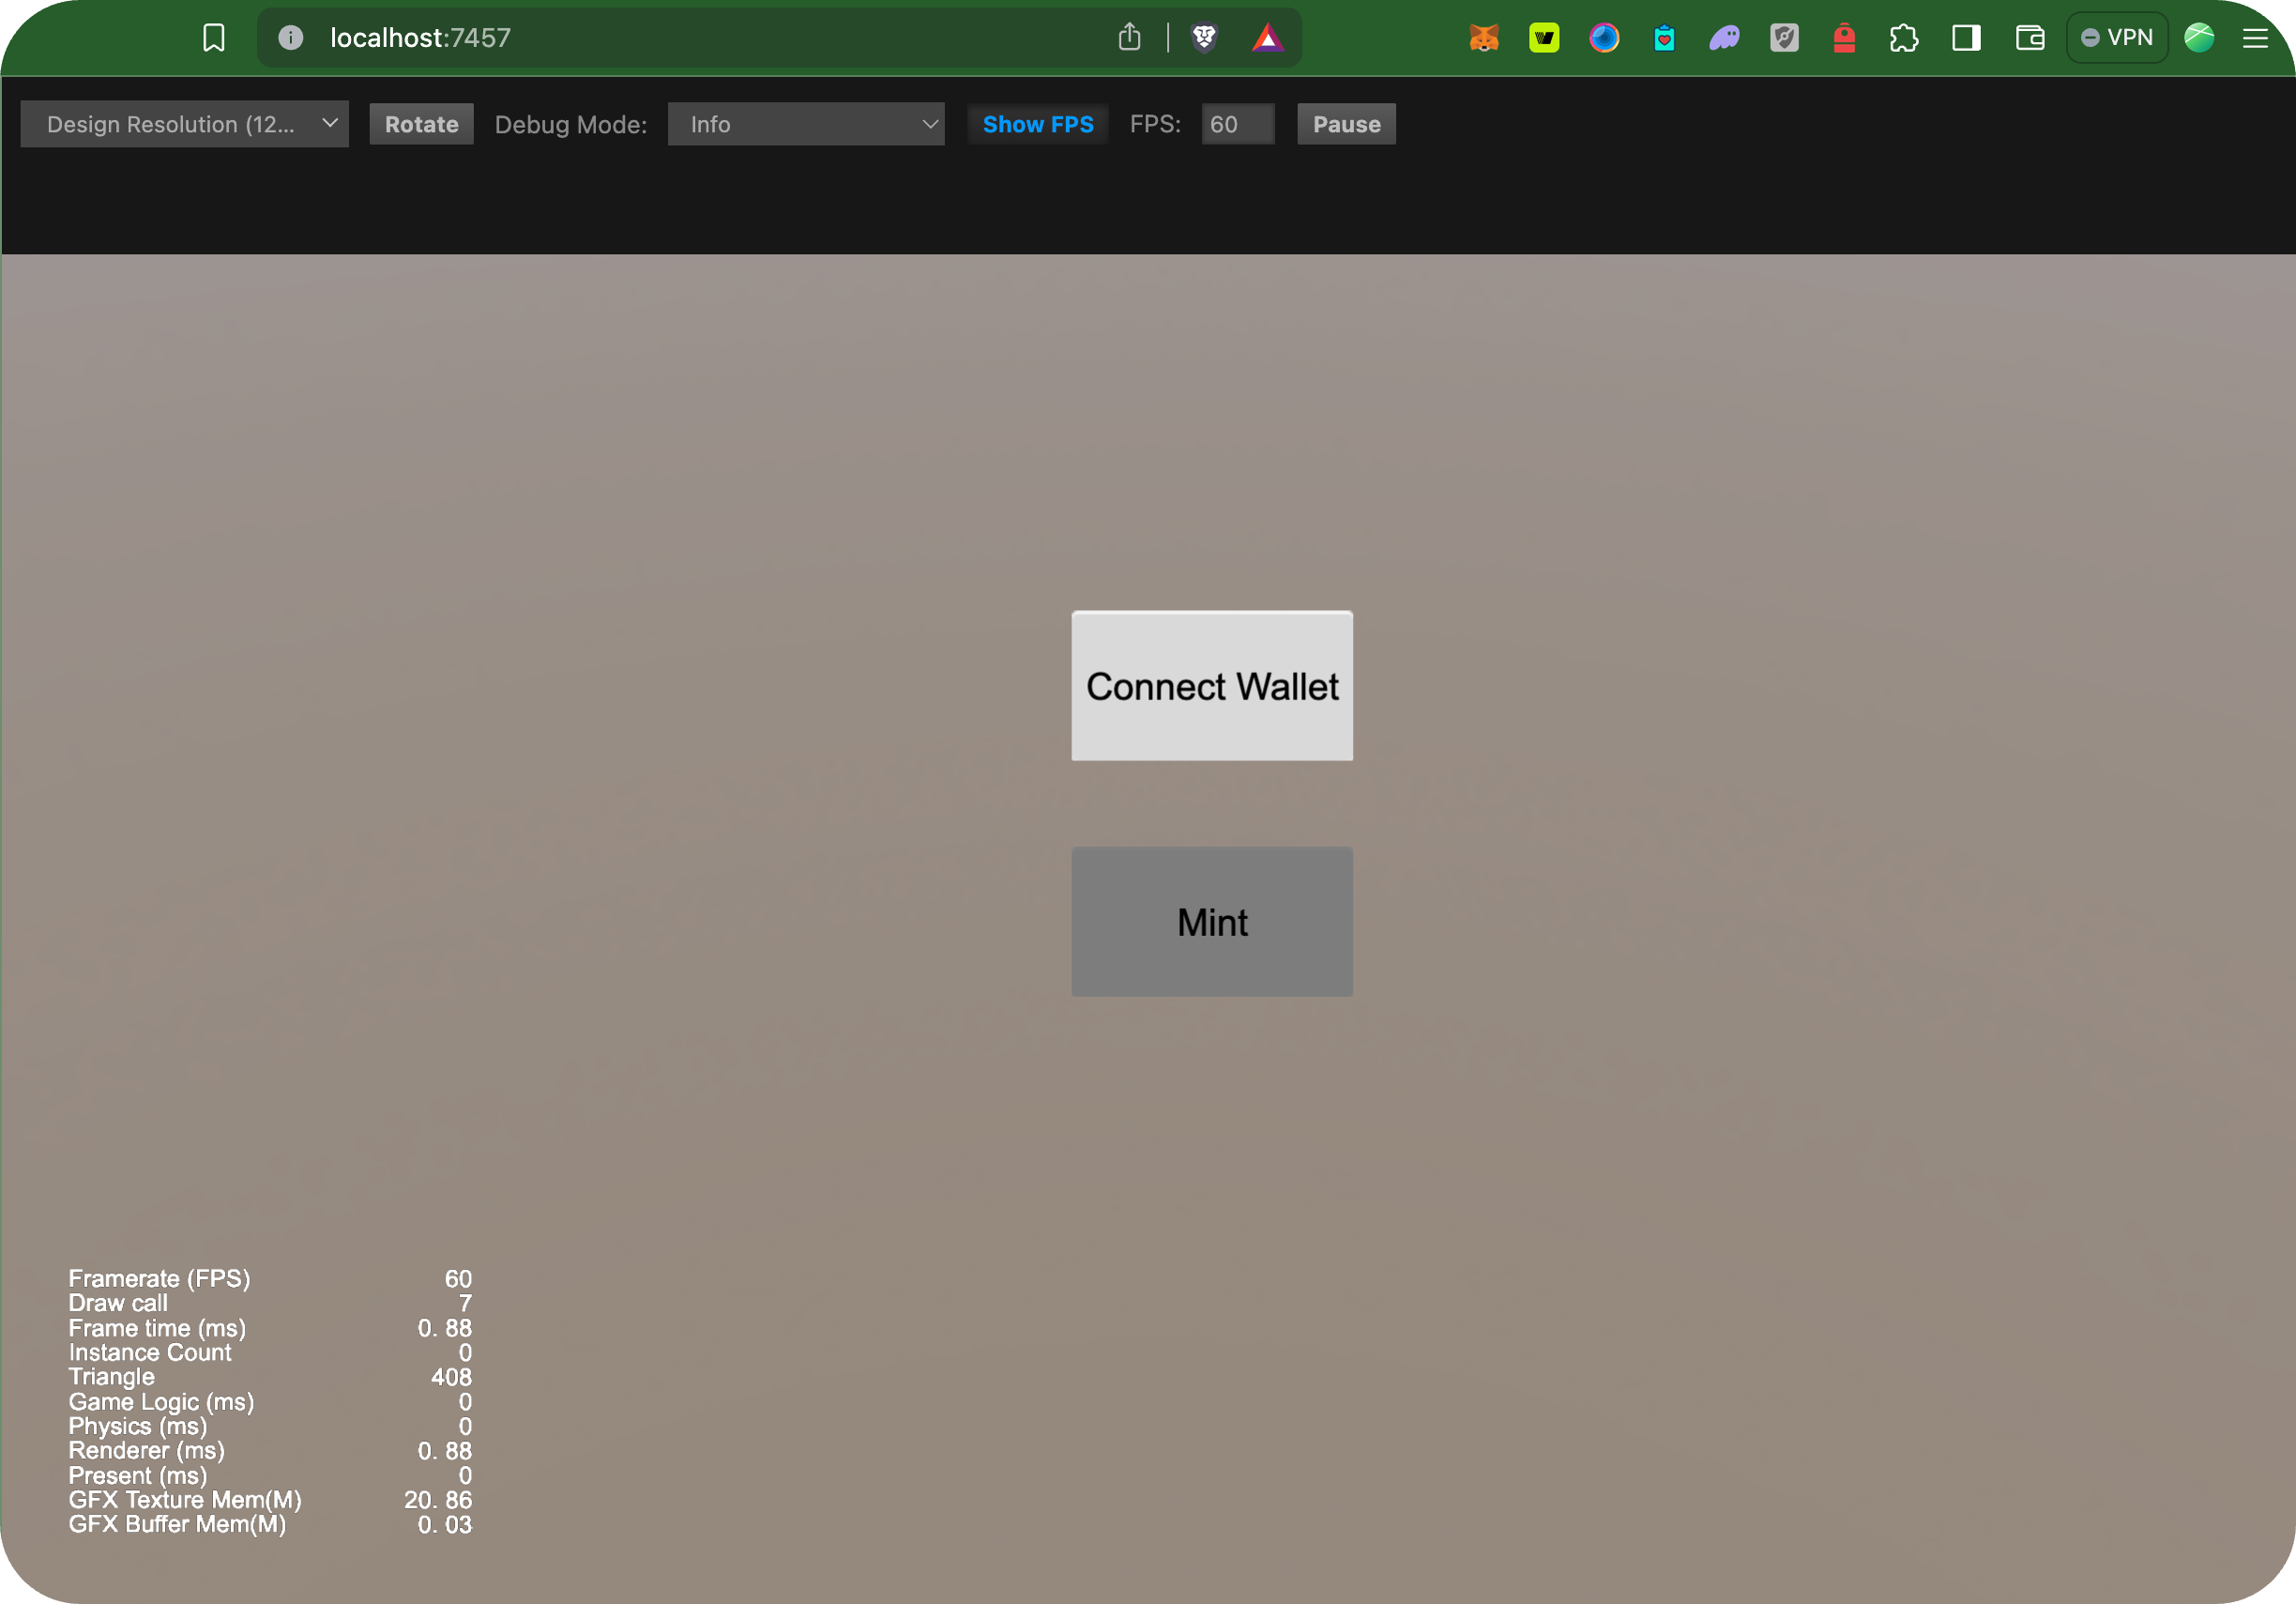
さて、プロジェクトを走らせたので、テストして操作してみよう。
- Connect Wallet ボタンをクリックして Dapp Portal Wallet に接続します。
- 一旦接続されると、接続されたアドレスに一定額を送金する。