本頁面使用機器翻譯自英語,可能包含錯誤或不清楚的語言。如需最準確的信息,請參閱英文原文。由於更新頻繁,部分內容可能與英文原文有出入。請加入我們在 Crowdin 上的努力,幫助我們改進本頁面的翻譯。 (Crowdin translation page, Contributing guide)
快速啟動
先決條件
在我們開始之前,請確保您擁有
- Cocos Dashboard 已安裝在您的電腦上
- 基本的 TypeScript 知識
- 一個 Cocos 開發者帳戶
- LINE 開發者帳號 (使用您的電子郵件即可輕鬆建立)
- 從 [Kaia Faucet] 測試 KAIA 代幣(https://faucet.kaia.io/)
- Mini Dapp SDK 客戶 ID(由 DApp Portal 團隊提供)
- 熟悉 Web3 的基本知識(對錢包和代幣有一般瞭解即可)
設定 Cocos Creator 的開發環境
在我們開始之前,先確保您的開發環境已設定妥當。 我們先安裝並驗證 Cocos Dashboard。
步驟 1:安裝並驗證 Cocos Dashboard
為避免相容性問題,請確保您使用的是正確版本的 Cocos Creator:
- 如果尚未安裝,請安裝 Cocos Dashboard。
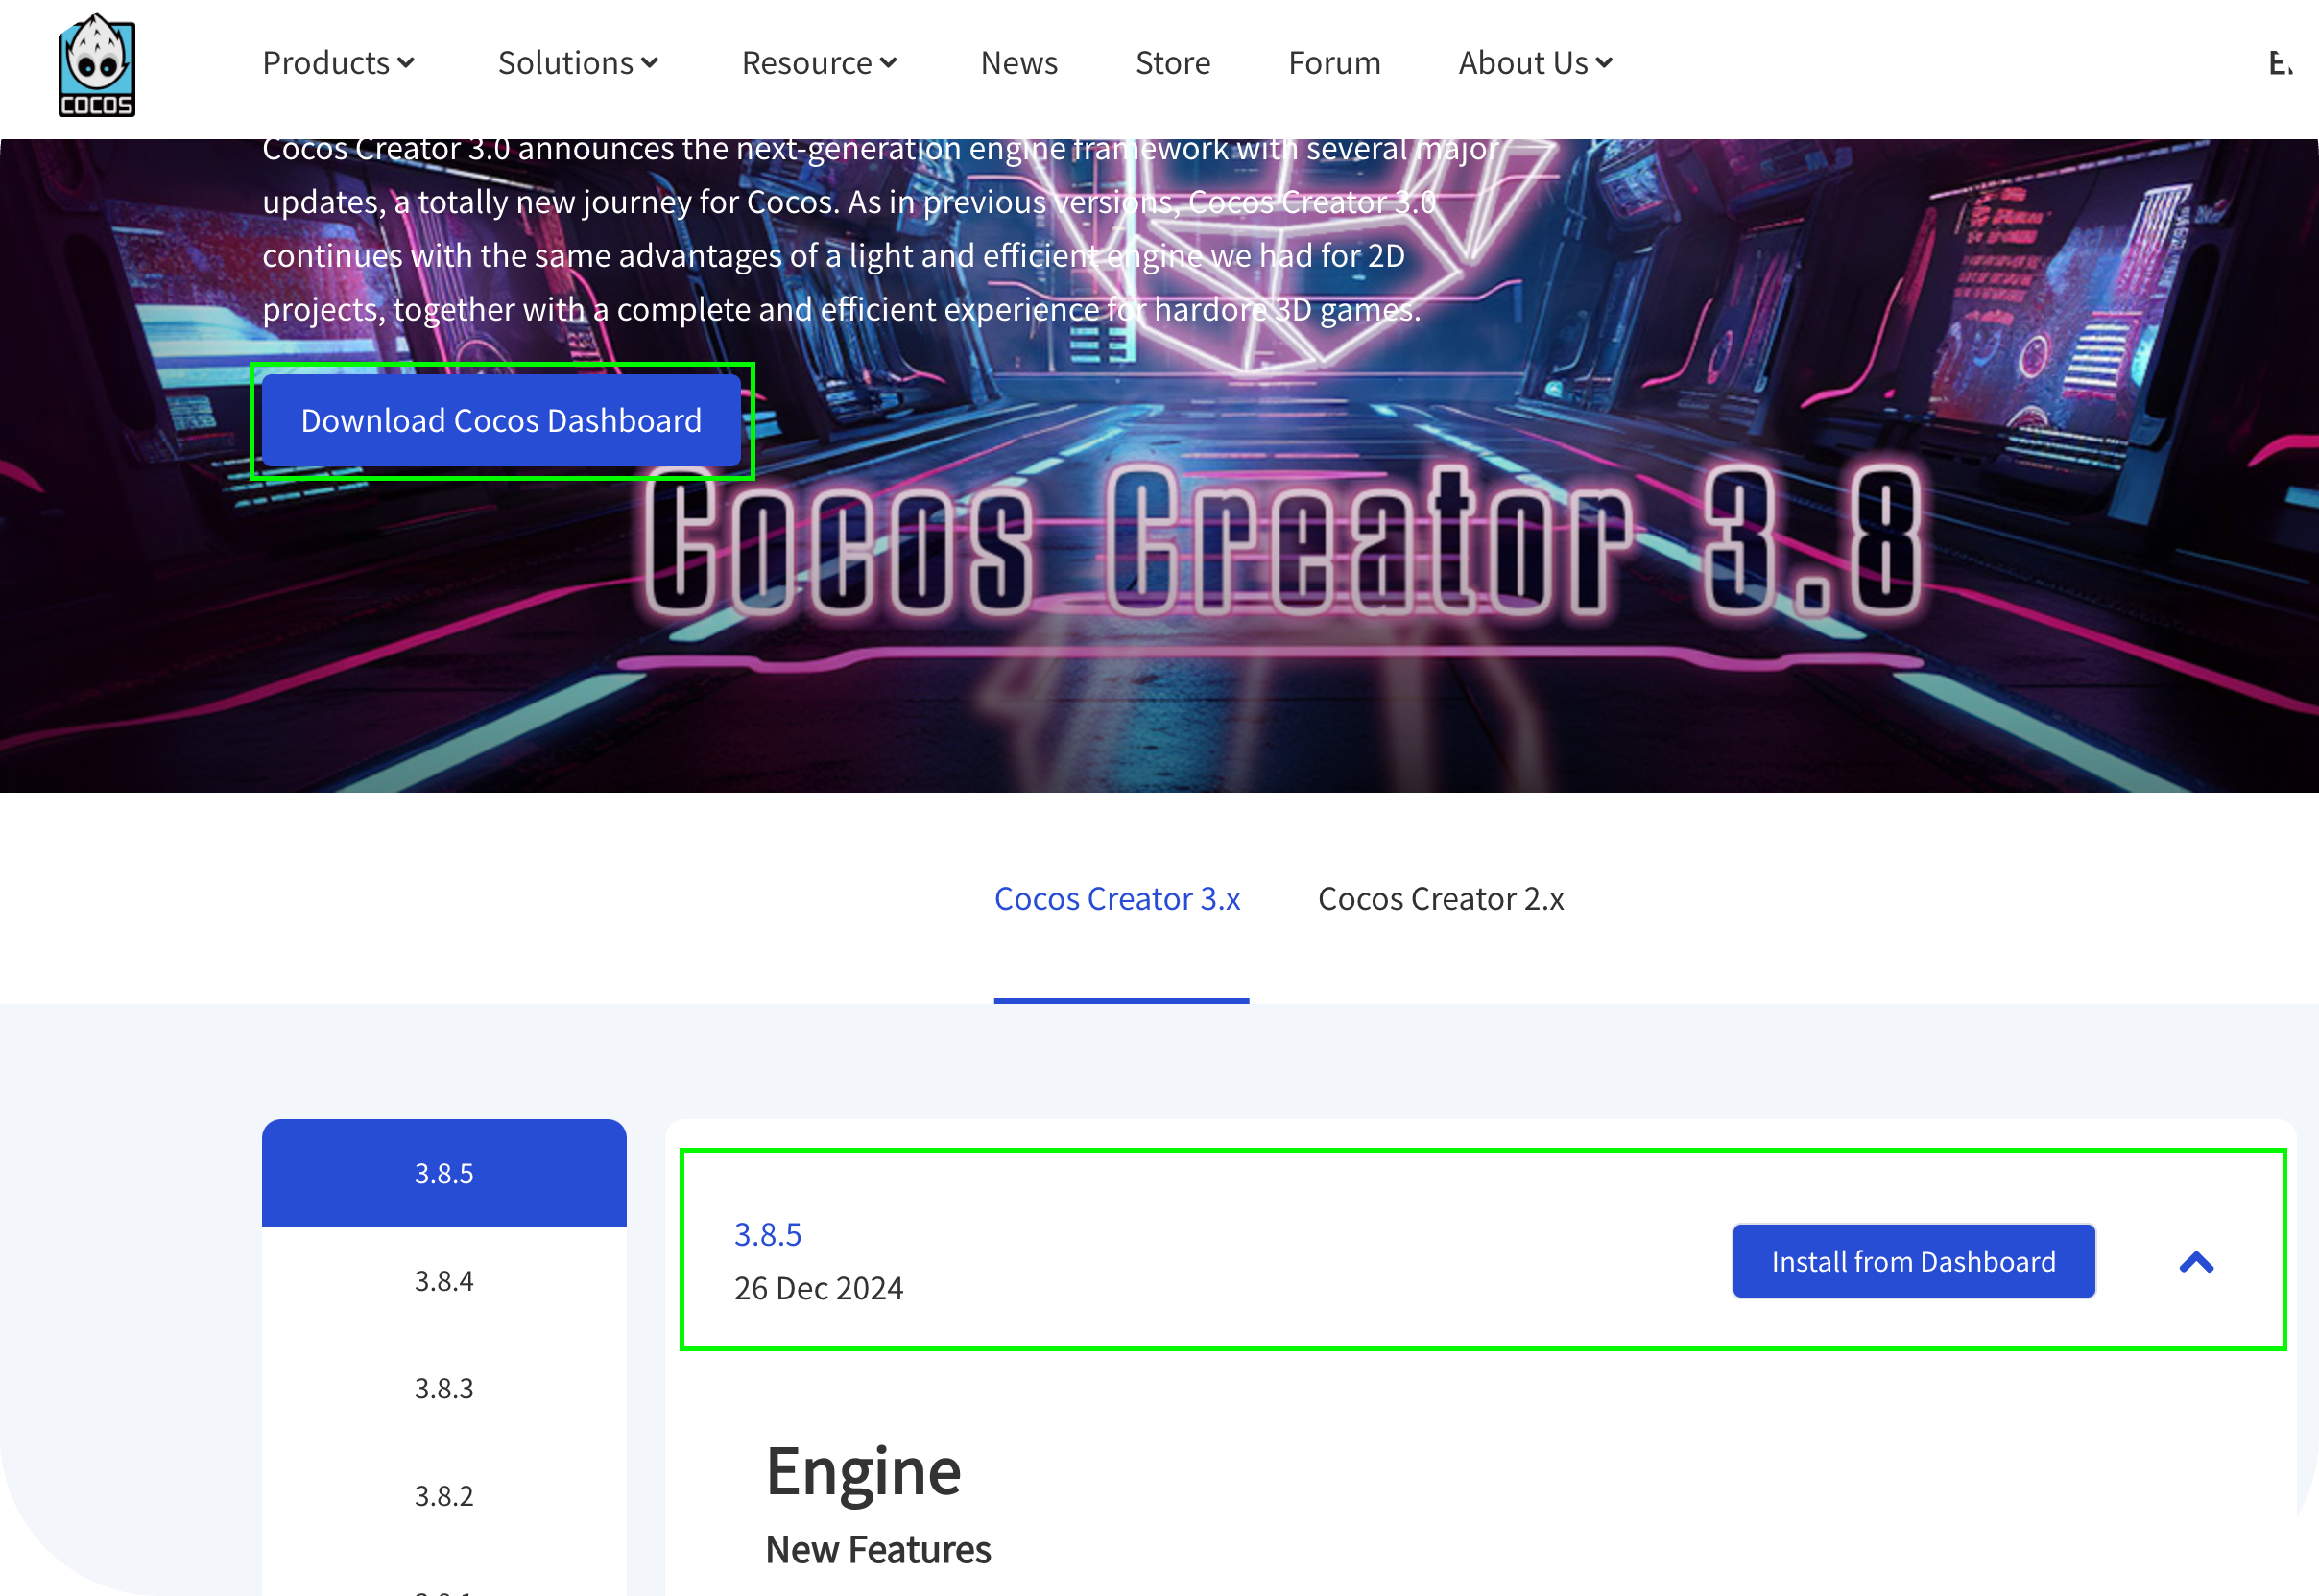
- 安裝 Cocos Creator Editor(本指南使用版本 3.8.4)。

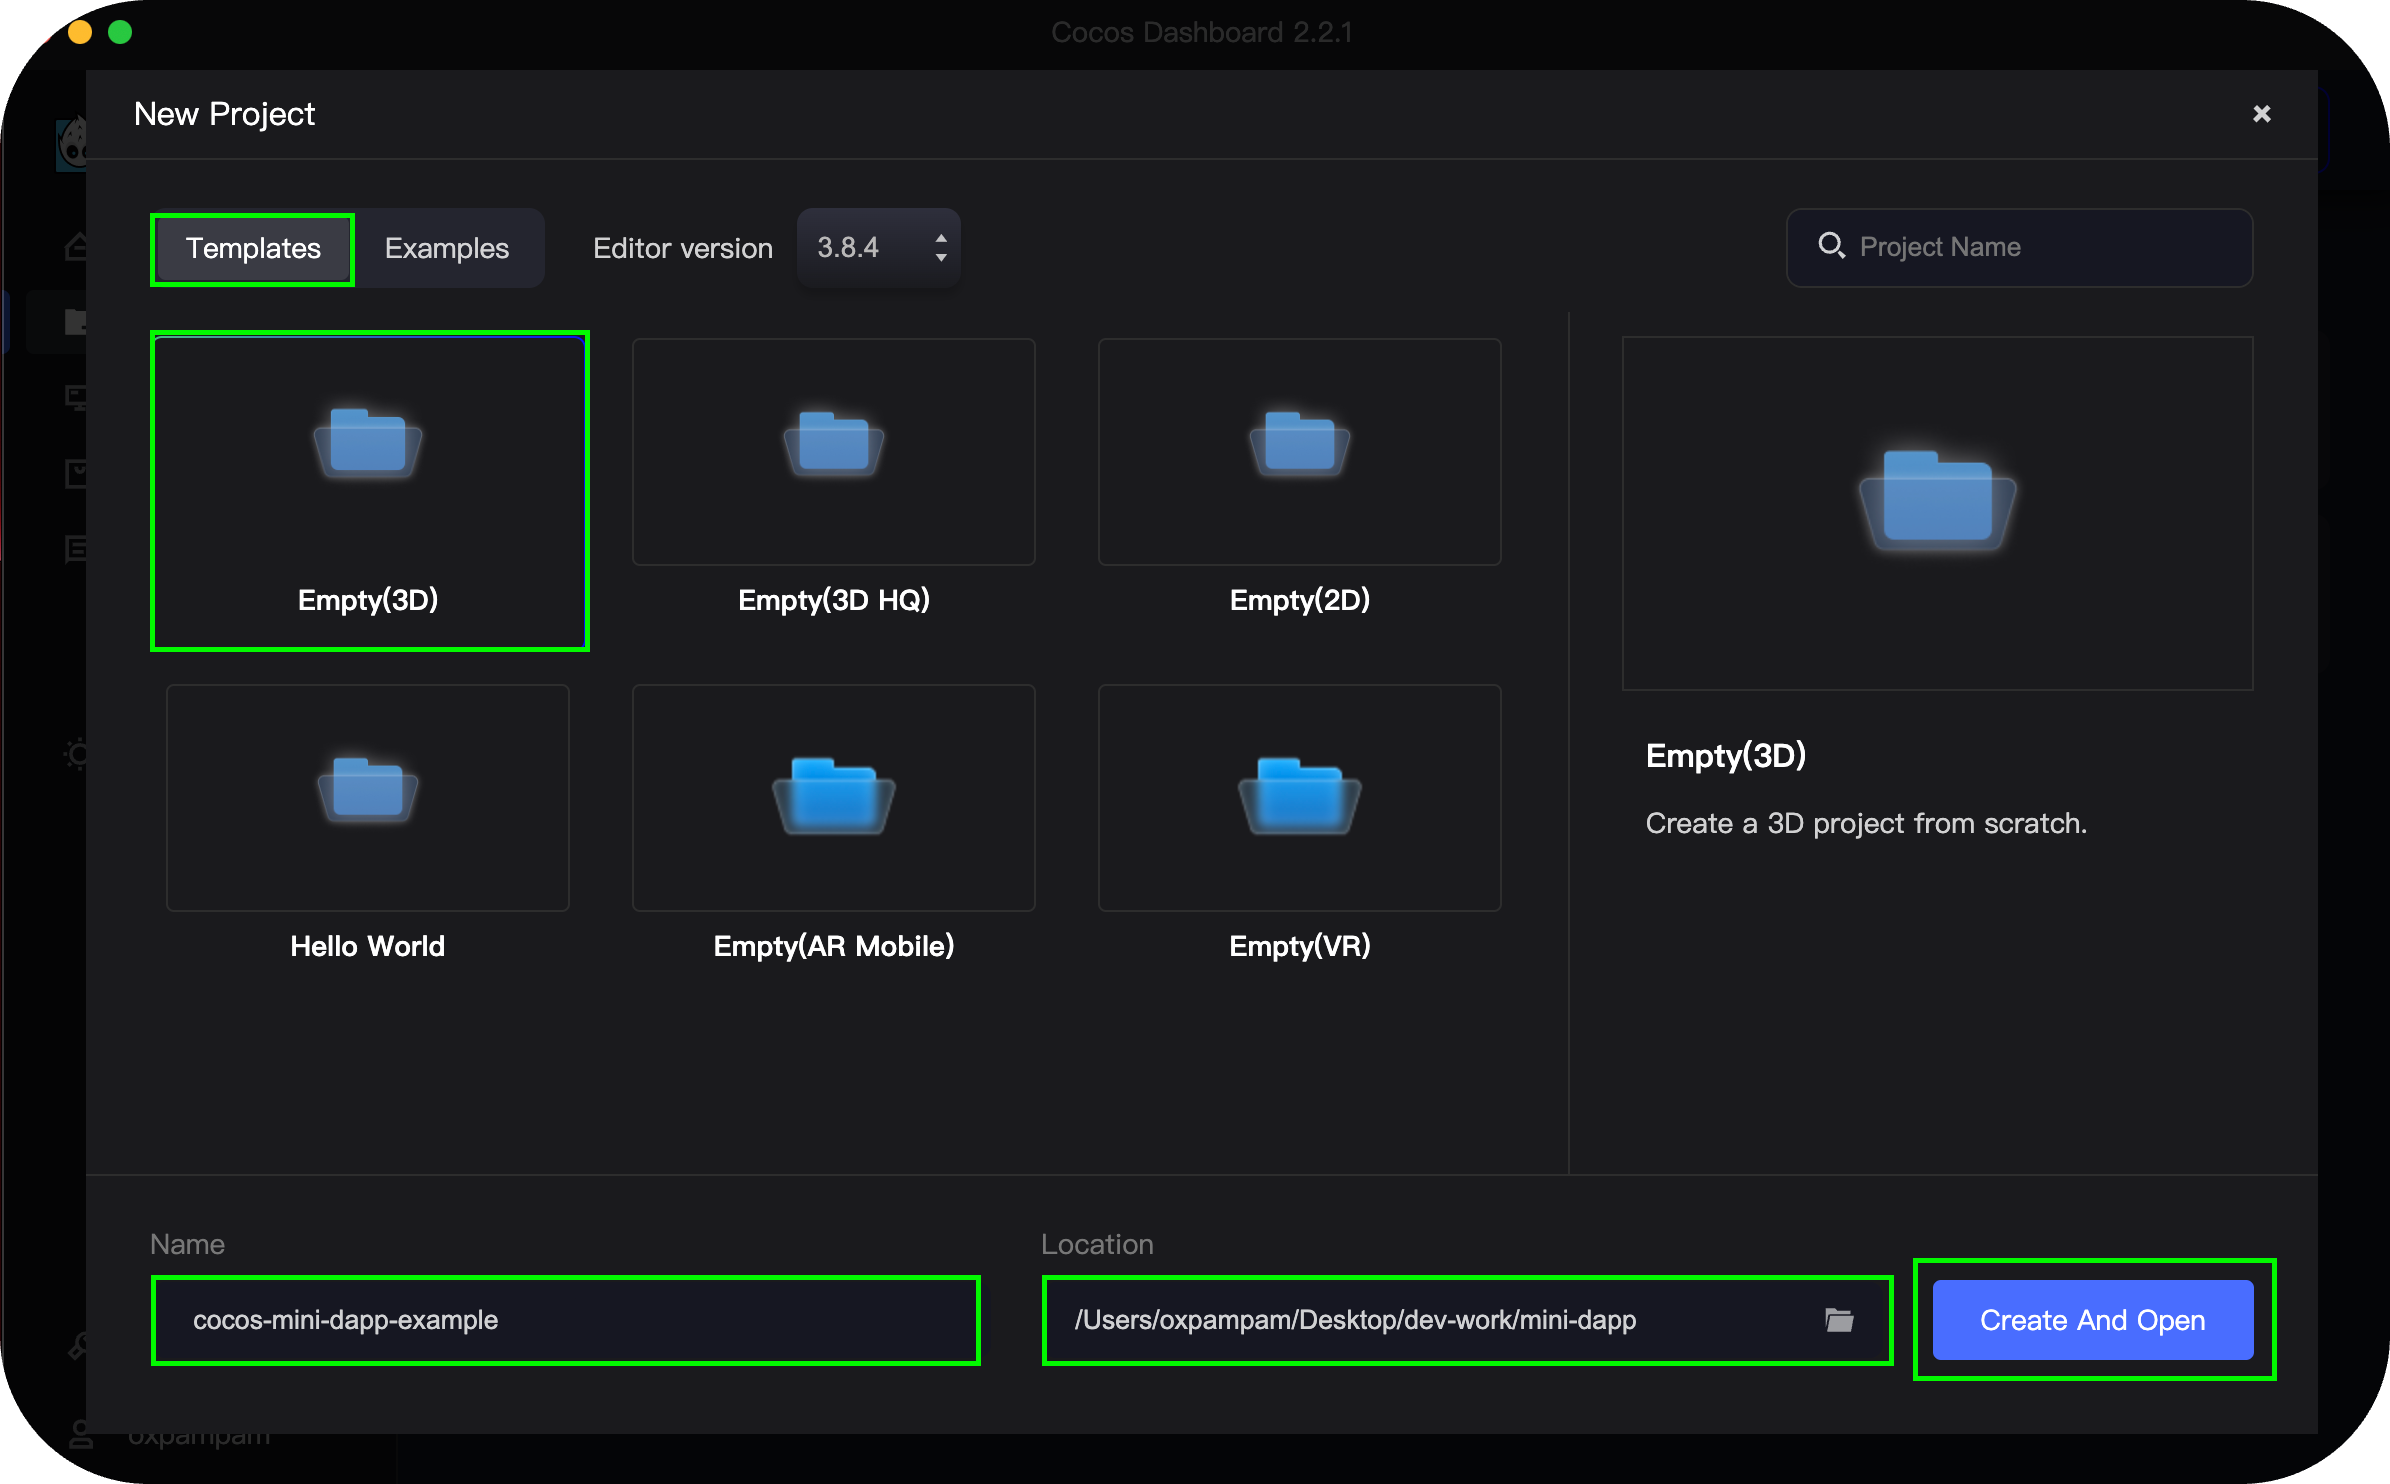
步驟 2:建立新的 Cocos Creator 專案
- 開啟 Cocos Dashboard,並導航至「專案」索引標籤。
- 按一下右上角的 New Project。
- 在 Templates 下方,選取 Empty (3D)。
- 輸入專案名稱 (例如 cocos-mini-dapp-example)。
- 選擇專案檔案的首選位置。
- 按一下 ** 建立並開啟**,以完成設定。