本頁面使用機器翻譯自英語,可能包含錯誤或不清楚的語言。如需最準確的信息,請參閱英文原文。由於更新頻繁,部分內容可能與英文原文有出入。請加入我們在 Crowdin 上的努力,幫助我們改進本頁面的翻譯。 (Crowdin translation page, Contributing guide)
UI 創建
在本節中,我們將為 dApp 建立使用者介面 (UI),包括錢包連線、餘額更新和鑄幣功能。
設定主場景
步驟 1:建立場景資料夾
- 導覽到專案的 assets 資料夾。
- 按一下滑鼠右鍵,然後選取 Create Folder。
- 命名為 場景。 (插入圖片)
- 在場景資料夾內,按滑鼠右鍵並選擇 ** 建立 → 場景**。

- 出現提示時儲存場景檔案。
- 按兩下新建立的場景,將其設定為 ** 預設場景。
步驟 2:建立基本畫布
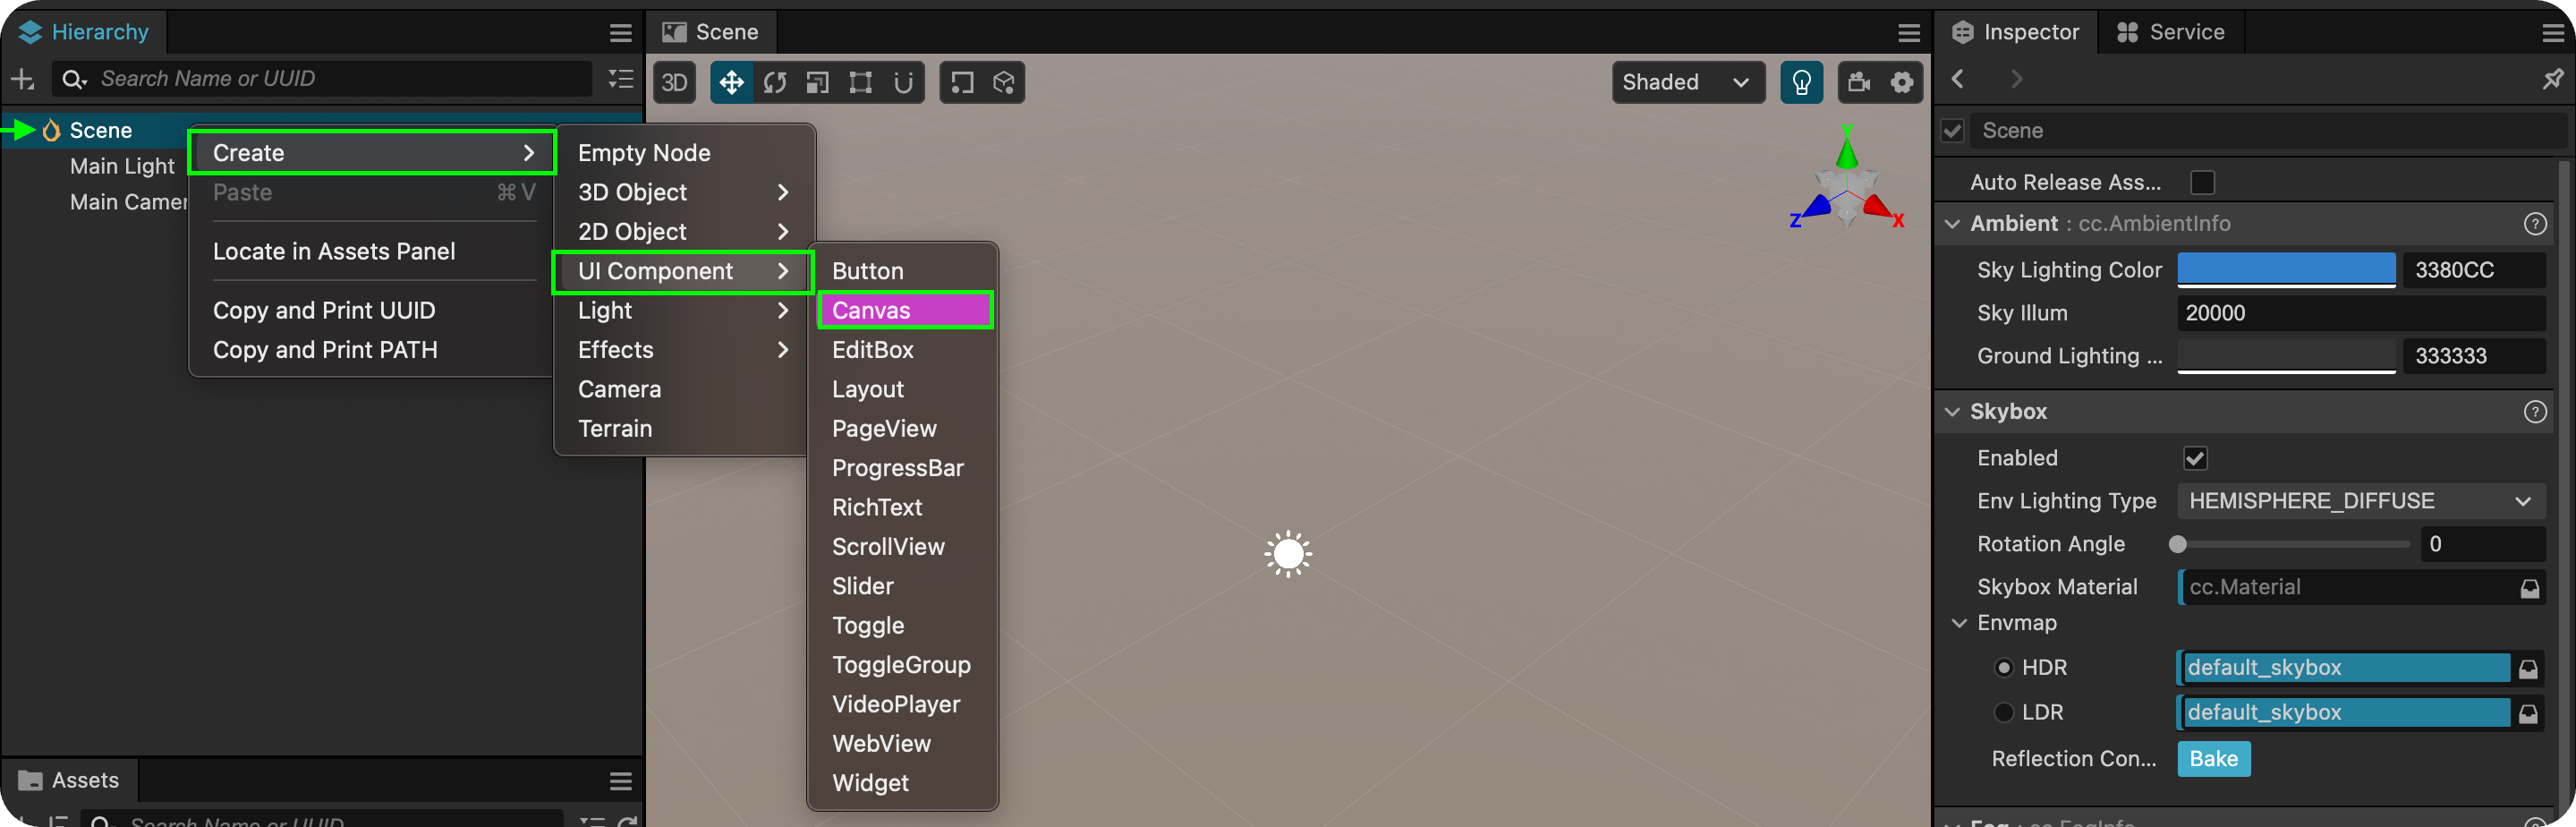
- 在 Hierarchy 視窗中,用滑鼠右鍵按一下 Scene。
- 導覽到 Create → UI Component → Canvas。
- 將它重新命名為 Canvas
步驟 3:建立 Web3UI 容器
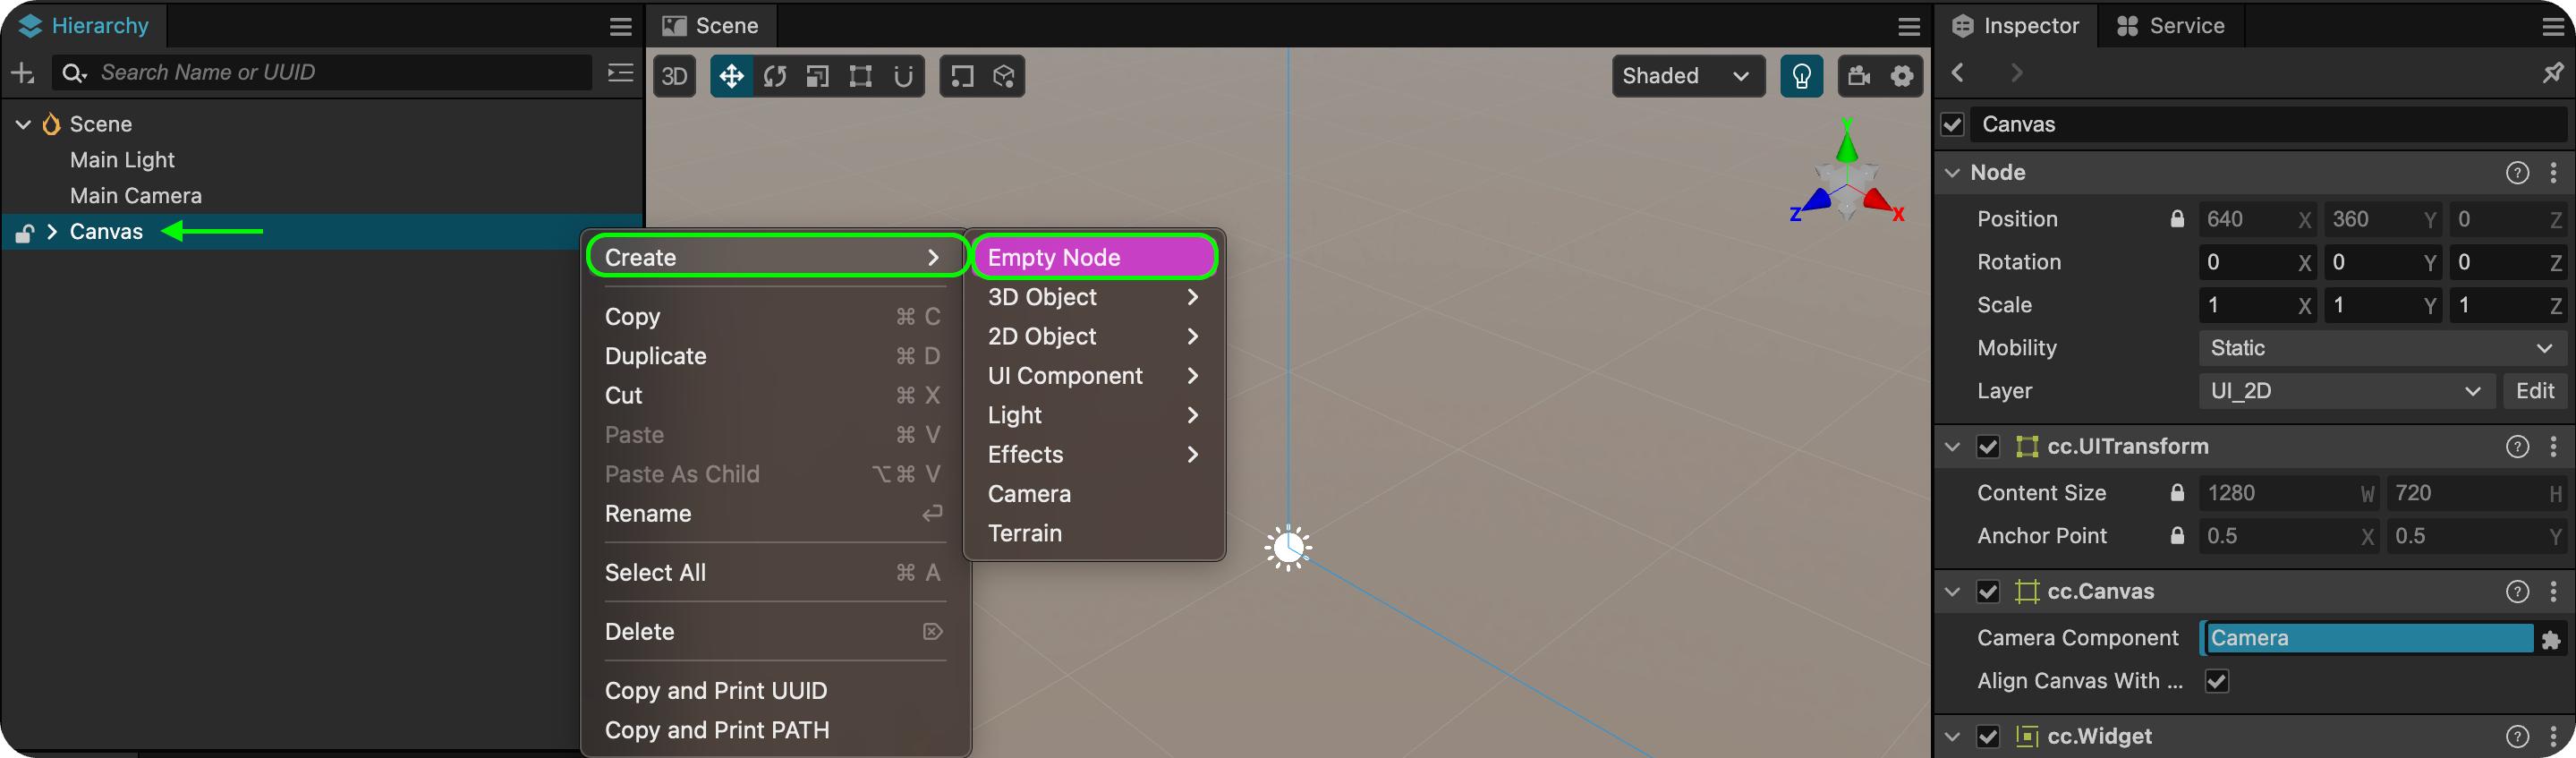
- 在新建立的 Canvas 上按一下滑鼠右鍵。
- 選擇 建立 → 空節點。
- 將它重新命名為 Web3UI。
步驟 4:設定主要 UI 物件
在 Web3UI 內,建立下列元件:
1. 連接錢包按鈕
- 右鍵按一下 Web3UI → 建立 → UI Component → 按鈕。
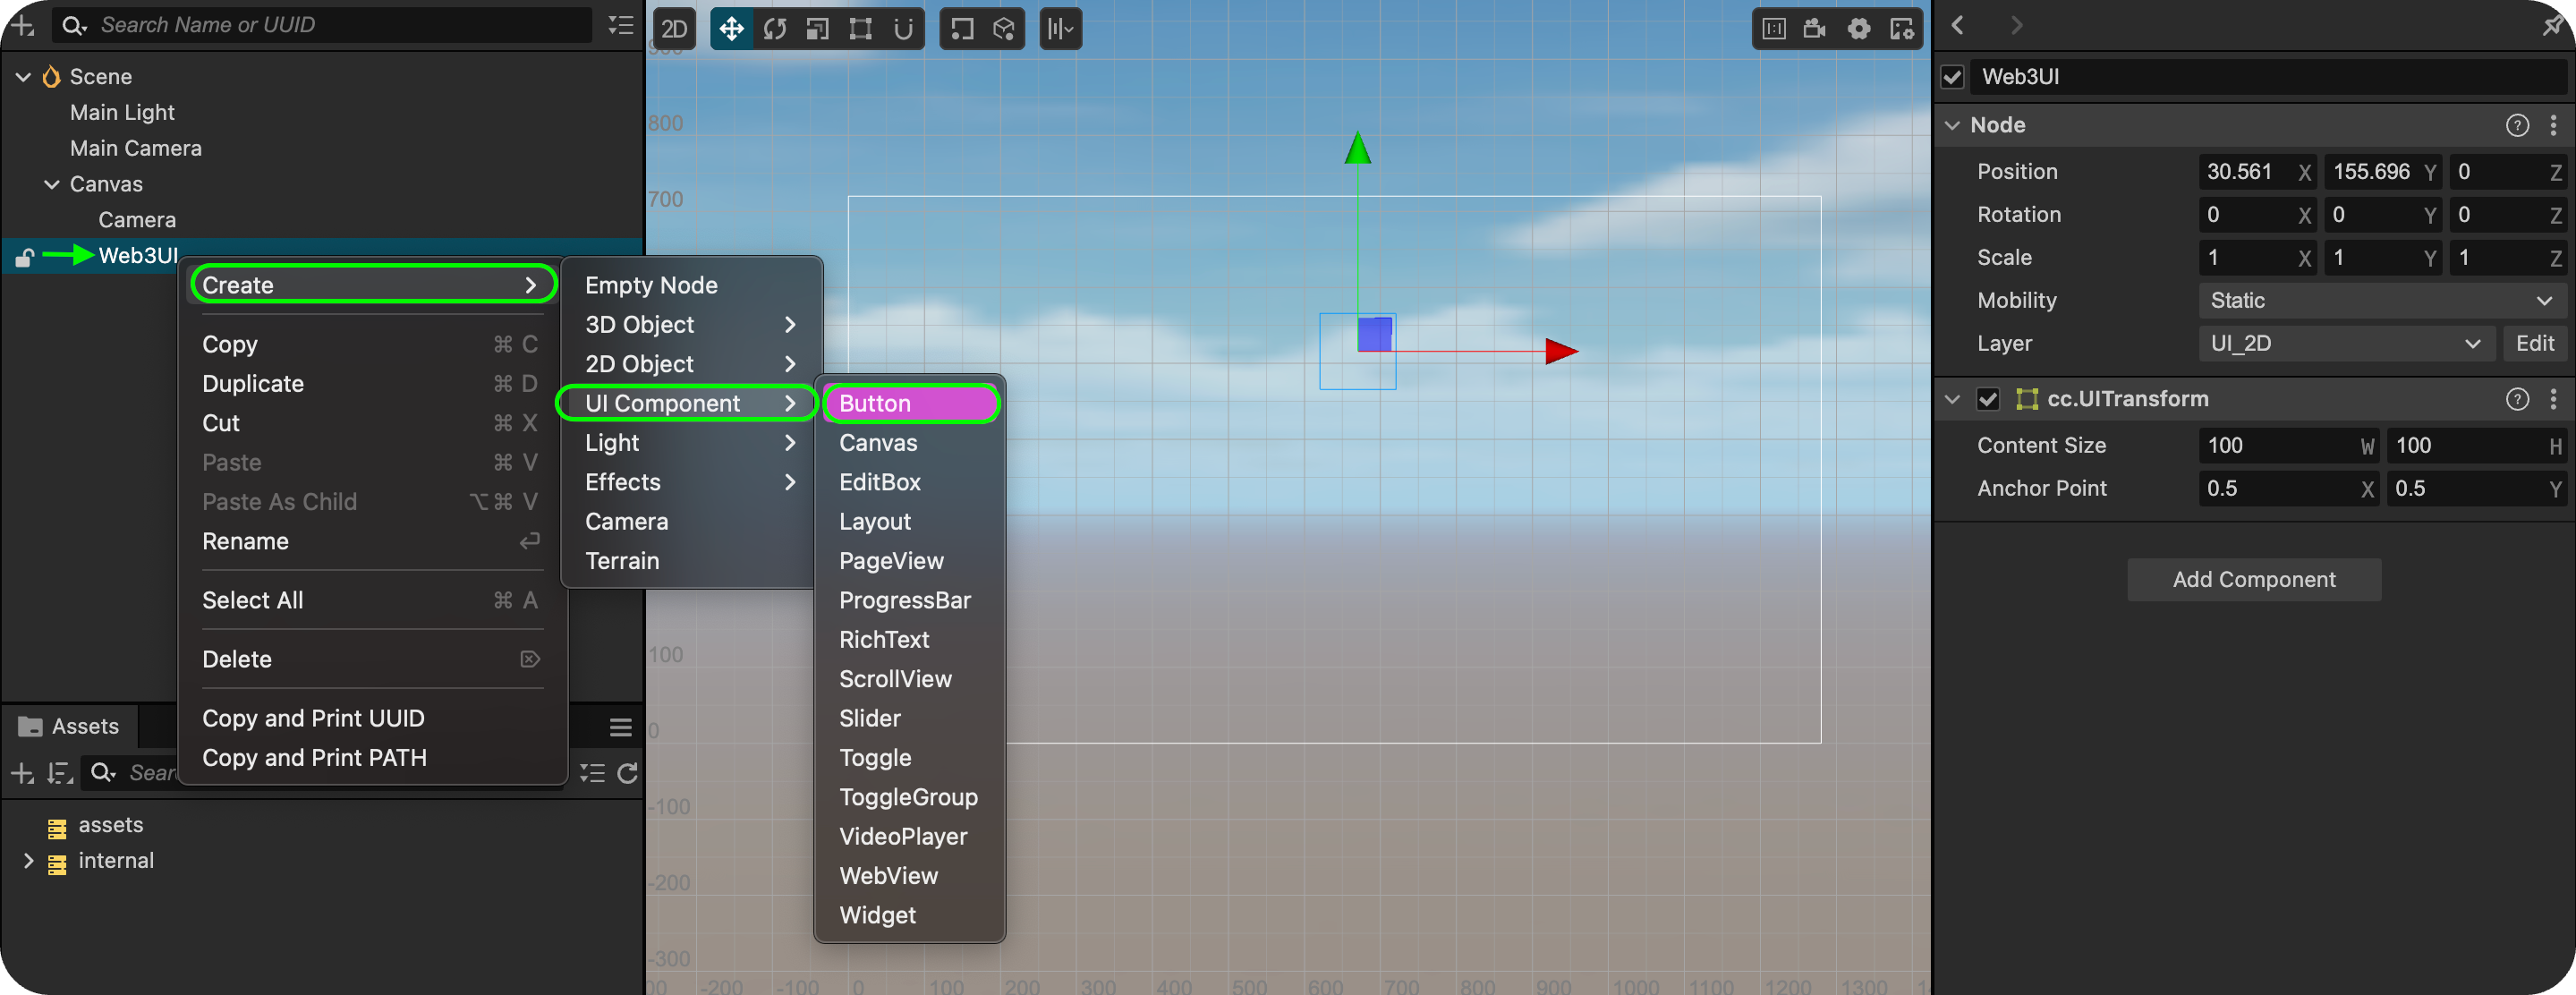
- 將它重新命名為 ConnectWallet。
- 在 ** 檢查窗格**,將按鈕標籤文字設定為 ** 連接錢包**。
2. 薄荷鈕扣
- 右鍵按一下 Web3UI → 建立 → UI Component → 按鈕。
- 將它重新命名為 MintButton。
- 將按鈕標籤文字設定為 Mint Button。
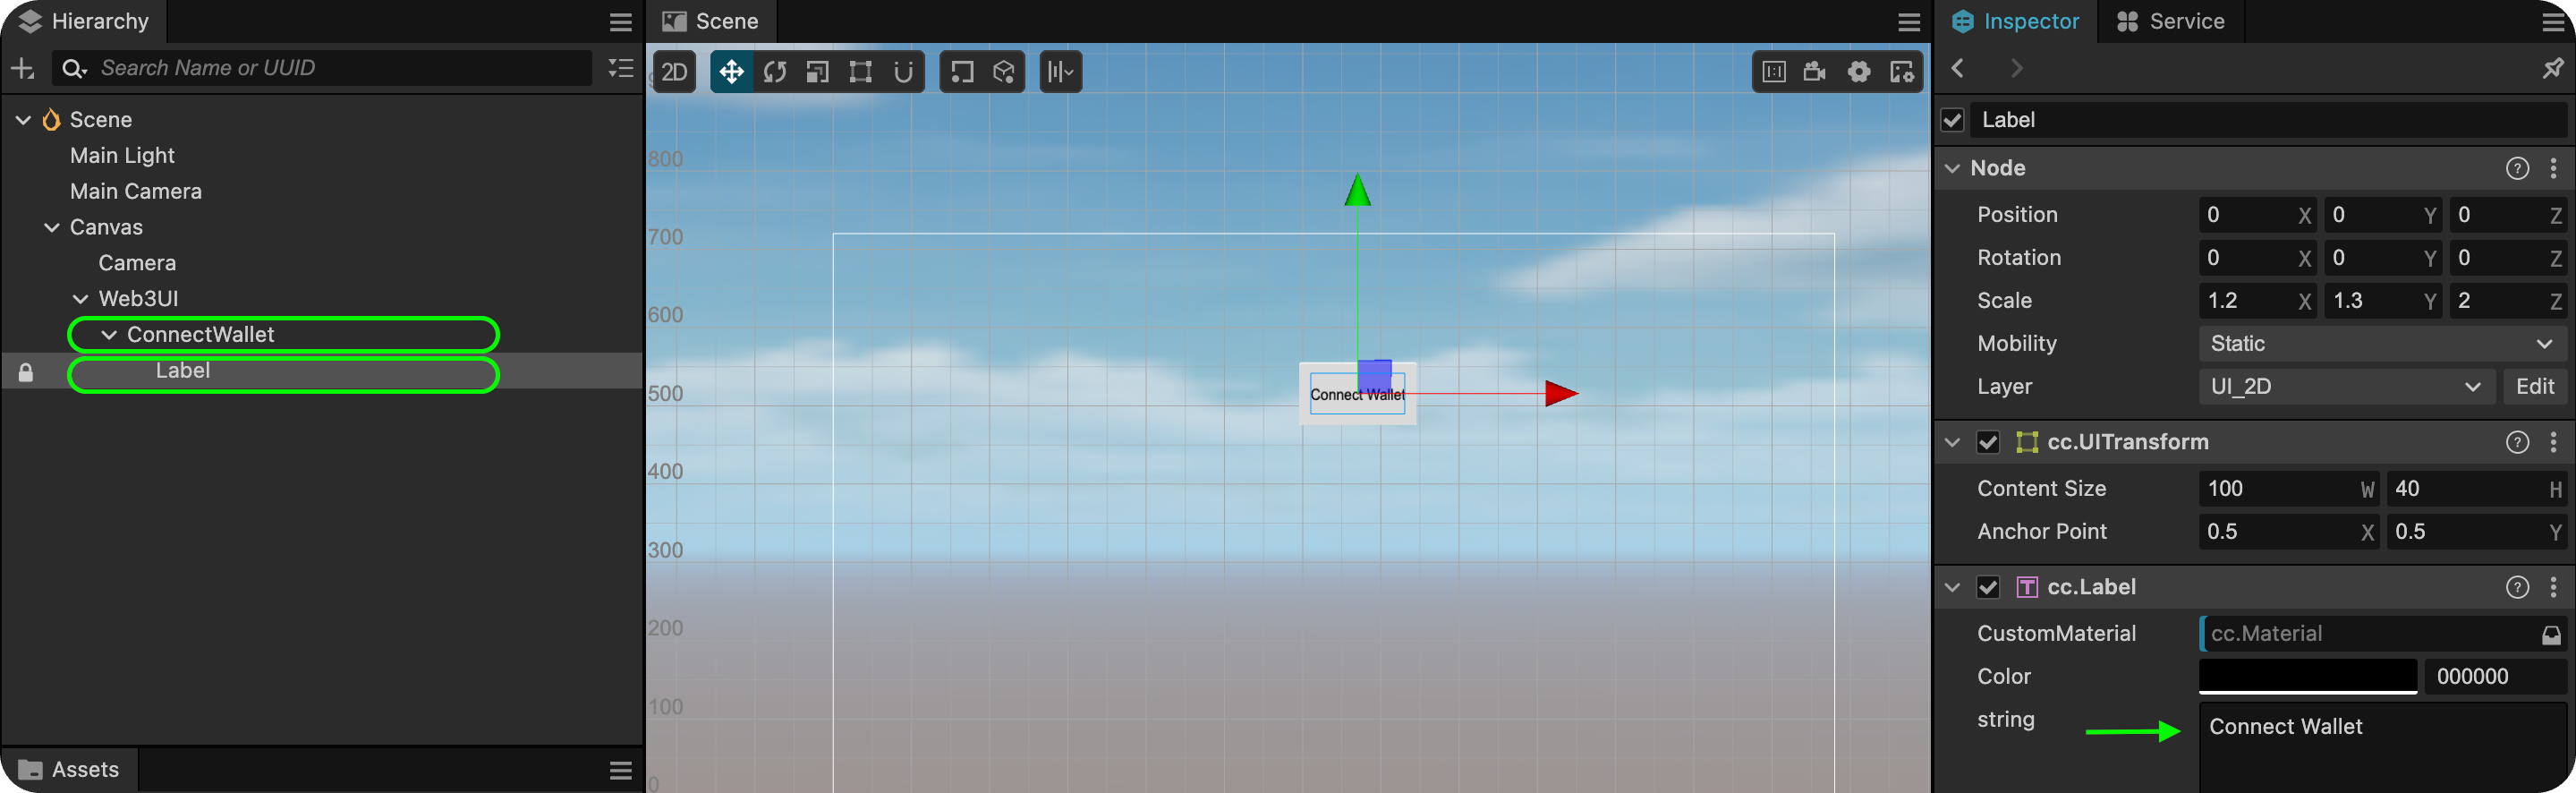
3. 地址標籤
- 按一下 Web3UI → 建立 → 2D 物件 → 標籤。
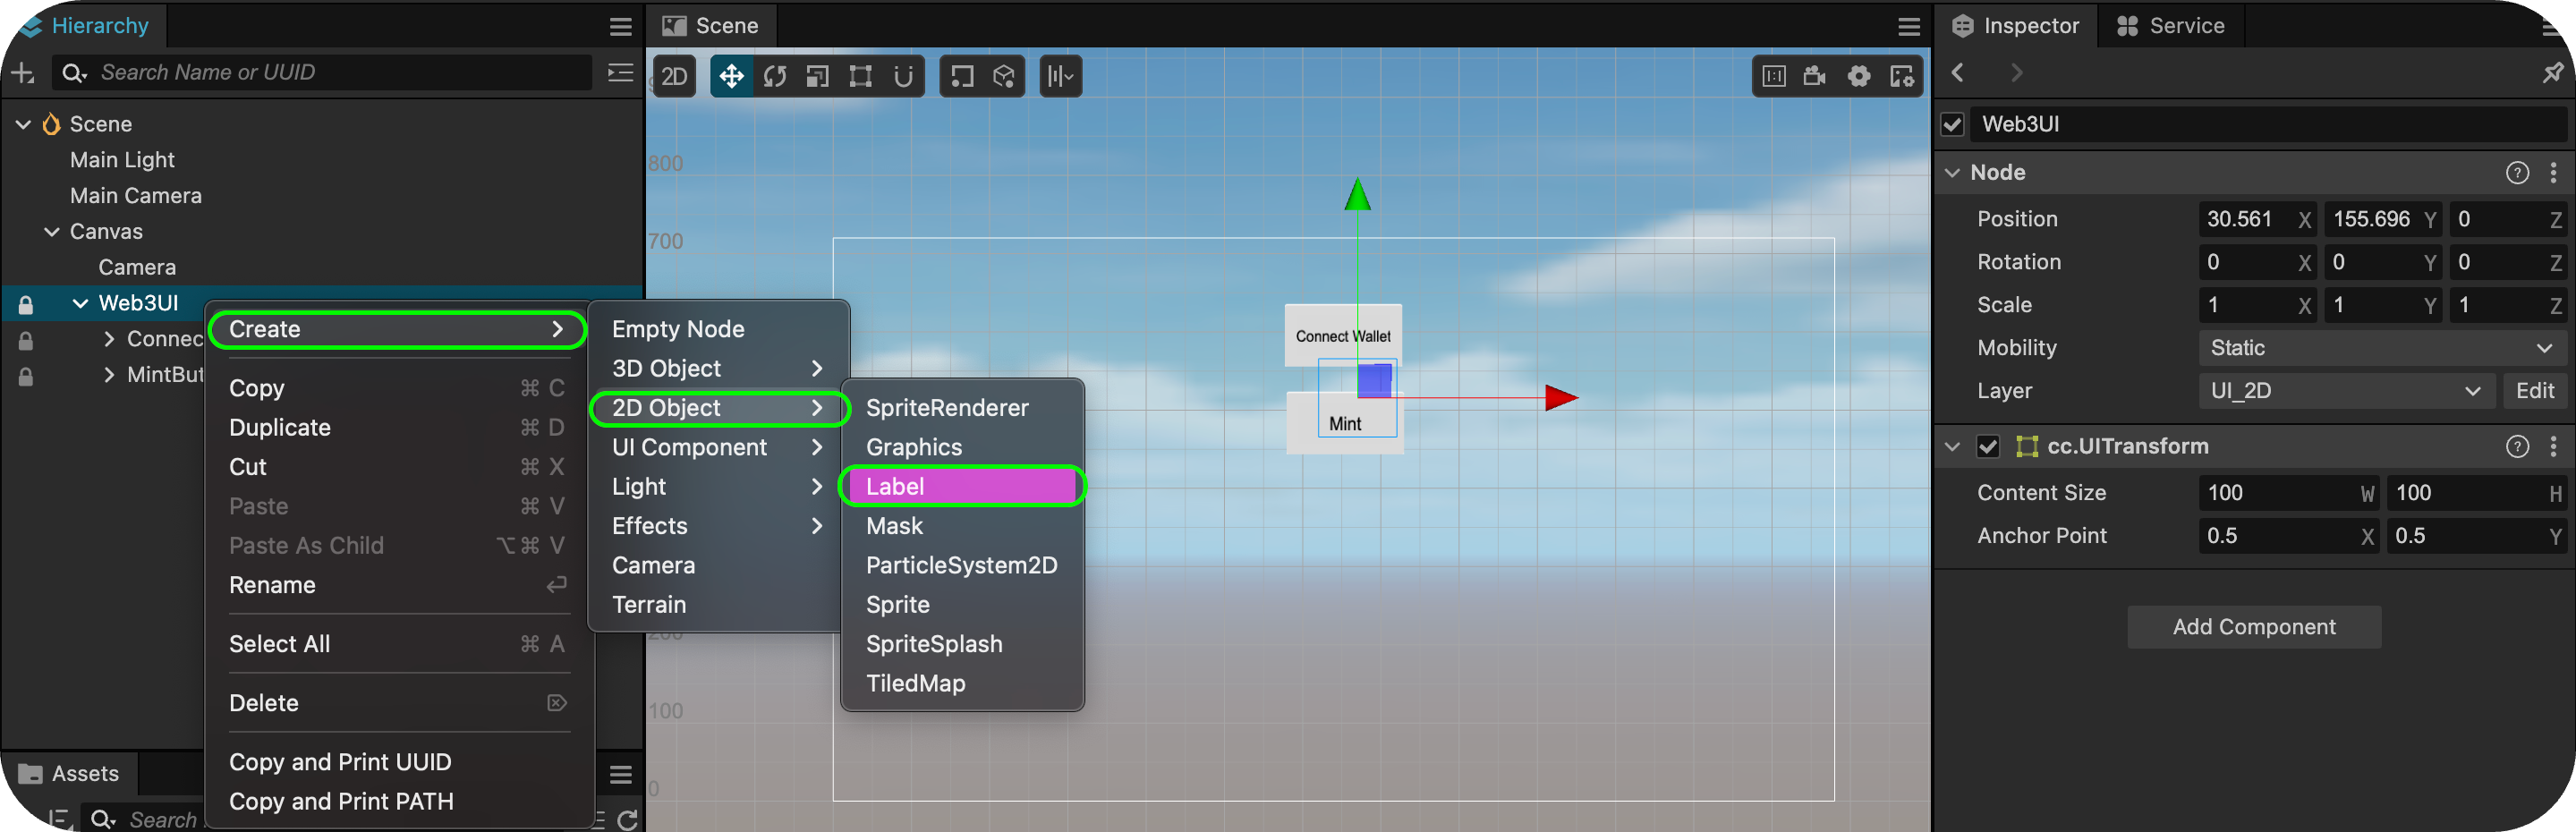
- 將它重新命名為 AddressLabel。
- 將標籤文字設定為 連線位址:。

4. 平衡標籤
- 按一下 Web3UI → 建立 → 2D 物件 → 標籤。
- 將它重新命名為 BalanceLabel。
- 將標籤文字設定為 0.000ET。
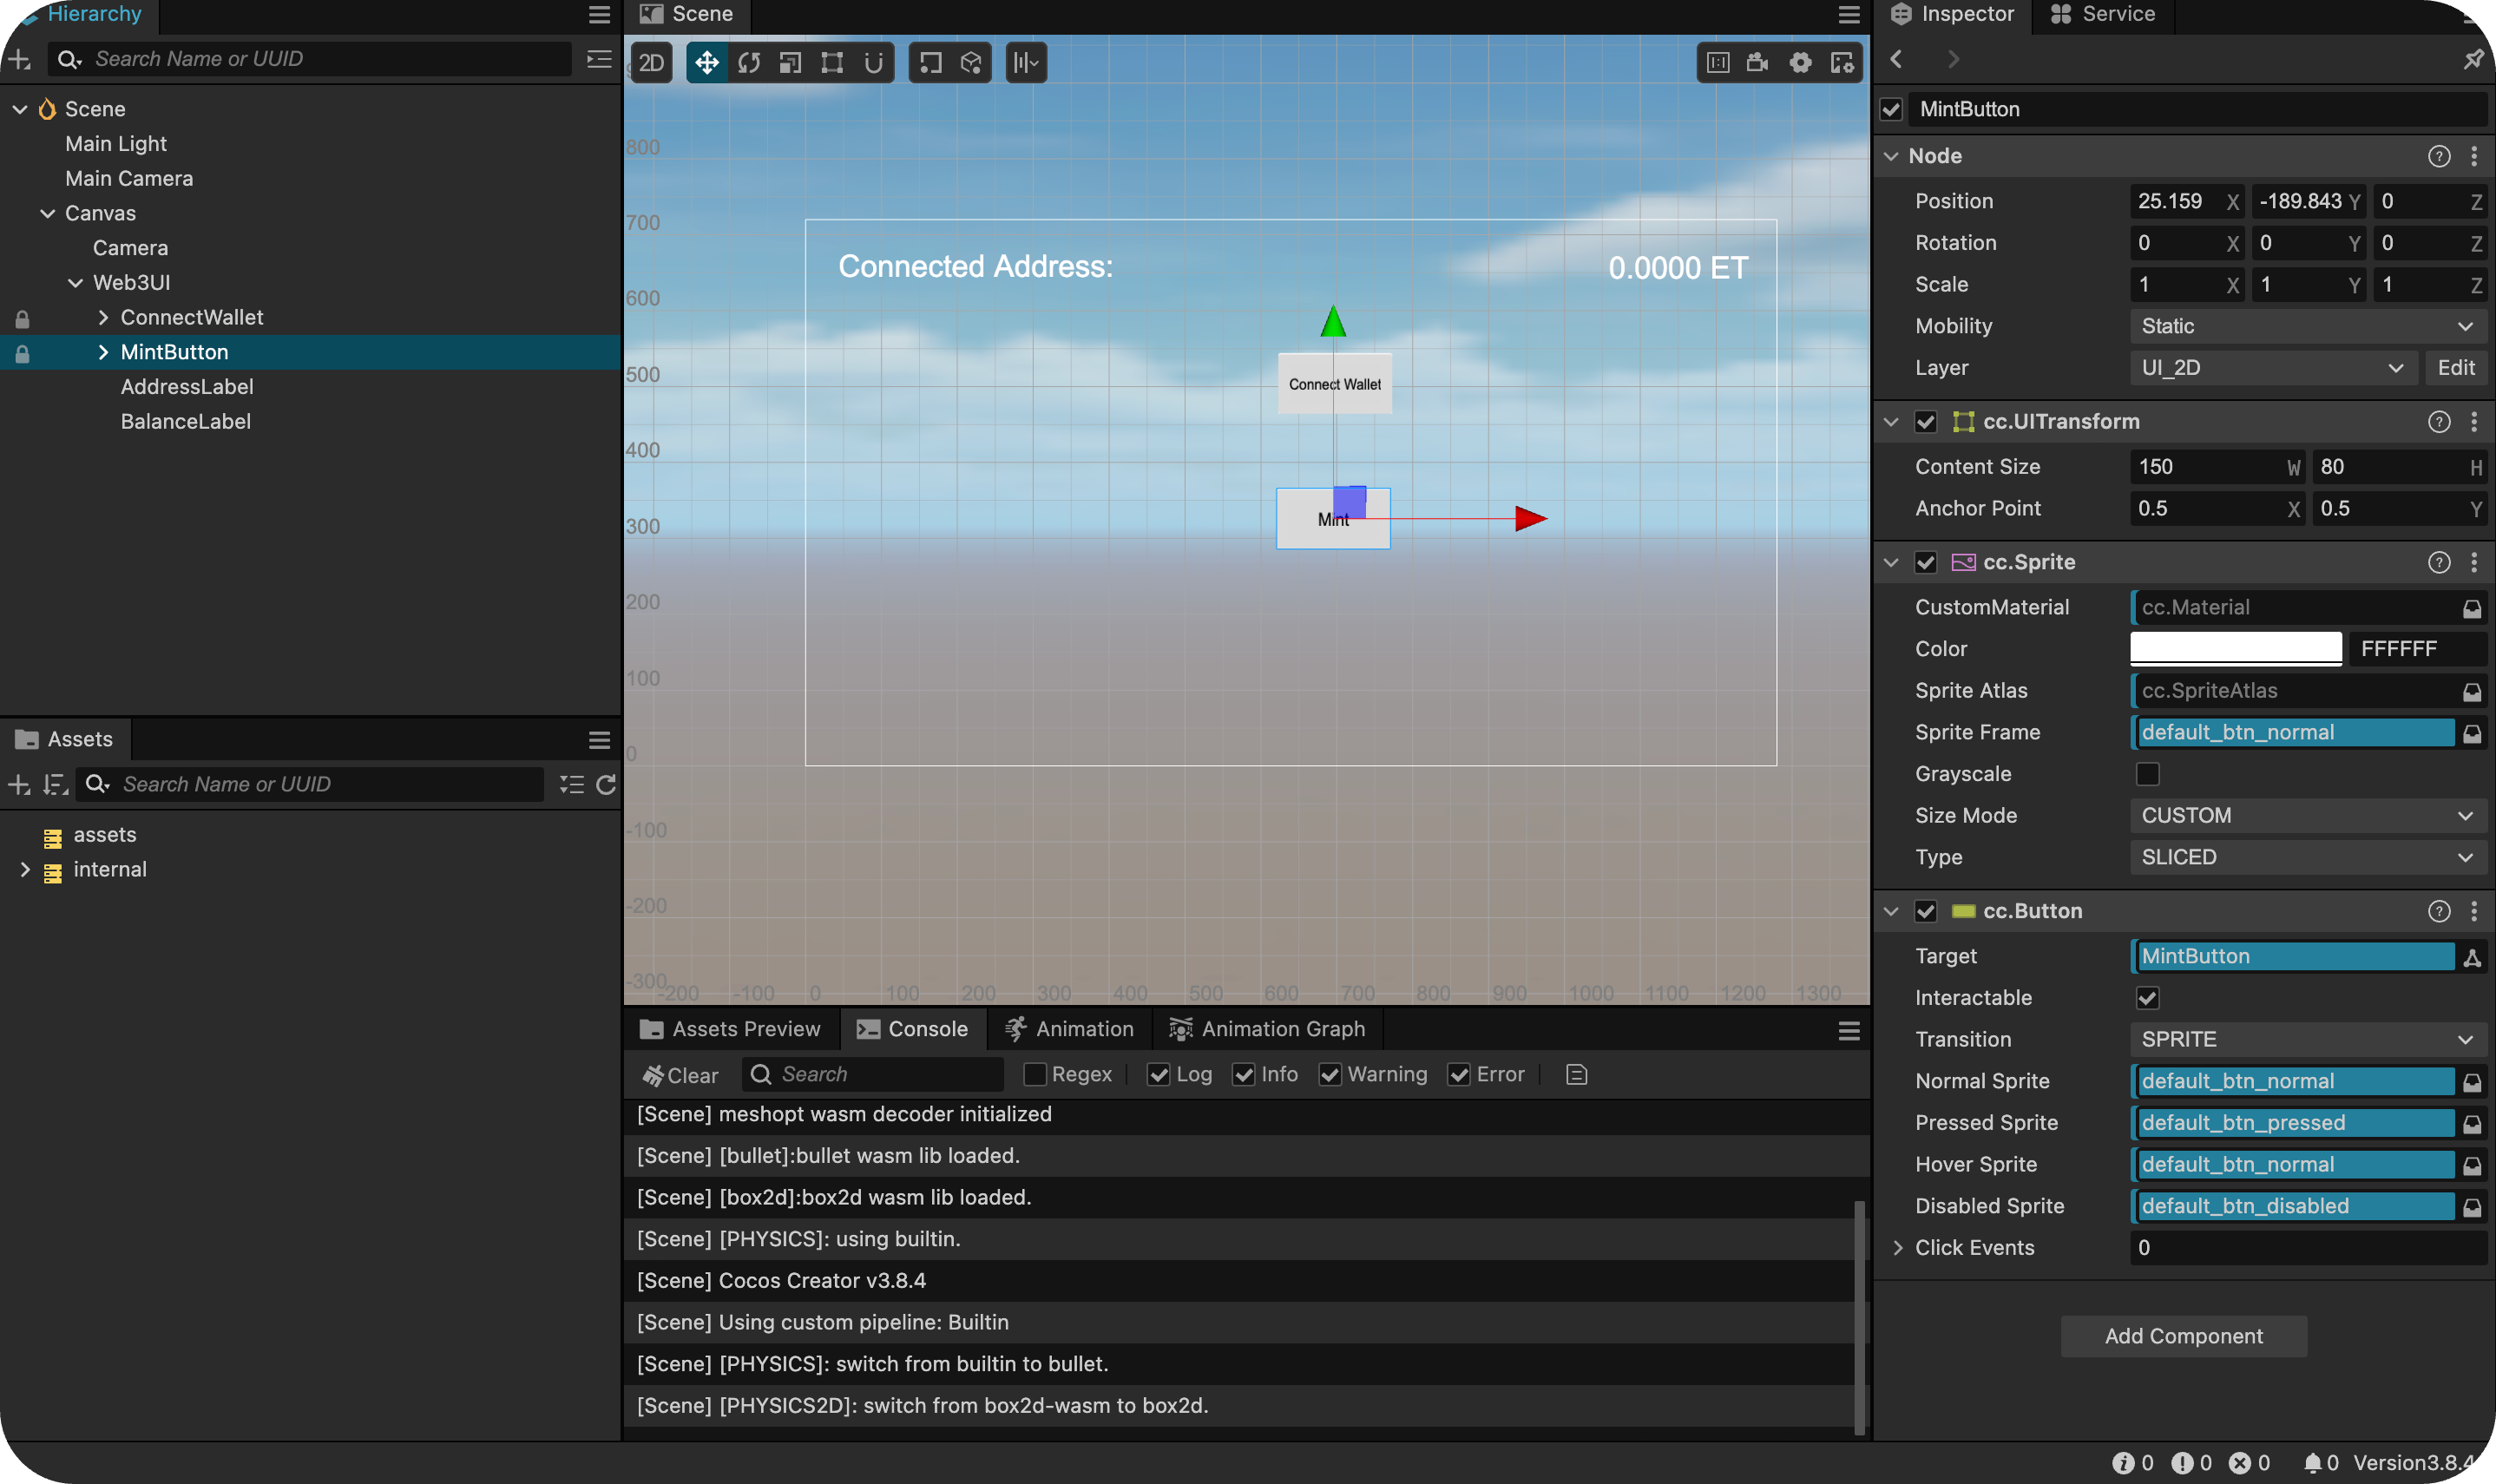
新增所有元件後,您的 Hierarchy 應該是這樣的:
Canvas└── Web3UI ├── ConnectWallet ├── MintButton ├── AddressLabel ├── BalanceLabel
備註
若要正確排列元件,請使用 Scene 頂端的對齊工具。 按一下每個元件,並視需要調整其位置